How to Arrange Throw Pillows Like a Professional Interior Stylist
The difference between a sofa that looks styled and one that looks like an afterthought is often just the pillows. A throw pillow arrangement adds the layers, depth, and color that a flat cushion line lacks, and the techniques professional stylists use in interior design are simple guidelines rather than rigid rules. This covers how to build a working pillow collection and how to place it on a sofa, a bed, and an accent chair.
Why Arrangement Matters
A sofa or bed is a large flat surface, essentially a blank canvas. Pillows are what add dimension to it, pulling together the colors already in the room, introducing pattern, and making a firm couch read as inviting. It is a small change with an outsized effect on how finished a space feels, which is why a room that seems to be "missing something" is often just short on pillow layering. For anyone staging a piece to sell, a considered arrangement can be the difference between a listing photo that looks flat and one that looks cozy enough to move quickly.
Building a Pillow Collection
Before placement, assemble covers that work as a set. Four principles keep the result cohesive rather than cluttered.
Use odd numbers. Aim for three or five pillows on a standard sofa, three on a loveseat. An odd count reads as balanced without being rigidly symmetrical, which is why stylists lean on it.
Mix textures. All-matching smooth cotton falls flat. Combine a velvet or faux fur for softness, a chunky knit or linen for a relaxed feel, and an embroidered or tasseled piece for handcrafted detail.
Harmonize color, don't match it. Pillows in the exact shade of the sofa disappear into it. Pull one or two colors from your existing decor and add an accent or a neutral, so a gray sofa might carry a deep blue, a mustard, and a patterned cover tying both together. A deliberate color palette keeps the mix intentional.
Vary the size. Do not rely on standard 18x18 inch squares alone. Mixing larger squares, smaller squares, and rectangular lumbar pillows creates the layered depth that makes an arrangement look considered.
Placement: Anchors, Mids, and the Statement
Build outward in three layers. Start with the anchors, your largest pillows, usually 20x20 or 22x22 inches in a solid color or subtle texture. Set one in each back corner of a three-seater against the arm; they form the base. Add the mids next, typically 18x18 or 16x16 inches, sitting in front of or slightly overlapping the anchors. These are where pattern and bolder color come in, ideally picking up one of the anchor colors so the look ties together. Finish with the statement piece, usually the smallest pillow or a lumbar, placed front and center or slightly off-center to draw the eye with a bold pattern, vivid color, or standout texture.
The optional finishing touch is the "pillow chop," the soft indent along the top edge that reads as professionally styled. Fluff the pillow, then press a gentle crease down the center of the top edge with the side of your hand. It only holds on feather or down inserts; foam inserts spring back and will not keep it. It is a preference, not a requirement.
Arranging by Furniture Type
The layering principle stays the same; the counts and sizes shift with the piece.
| Furniture | Back / anchor layer | Middle layer | Front / accent | Total |
|---|---|---|---|---|
| Sofa (3-seater) | 2 squares, 20-22 in | 2 squares, 18 in (or 1 square + 1 lumbar) | 1 lumbar or small square, 12x20 / 16 in | 3-5 |
| Queen bed | 2 Euro shams, 26 in | 2 standard in decorative shams | 1-2 accent squares or lumbar | 5-6 |
| King bed | 3 Euro shams, 26 in | 2 king in shams | 2-3 accent pillows | 7-8 |
| Accent chair | - | - | 1 square (16-18 in) or lumbar | 1 |
On a bed, think of it as a pyramid: Euro shams stand upright against the headboard as a backdrop, decorative shams prop in front, and accent pillows finish the front row. On an armchair, restraint wins; a single well-chosen square or a lumbar adds comfort and a pop of color without crowding the seat.
Choosing Inserts and Fill
The insert does more for the look than the cover does. The single most useful trick is to buy inserts one to two inches larger than the cover, so an 18-inch cover gets a 20-inch insert. The extra fill packs the corners and gives that plump, upholstered look instead of a limp cover with empty, dog-eared corners.
Fill type sets how the pillow behaves. Feather inserts are inexpensive, soft, and hold a chop well, though they compress over the day and need fluffing. Down is lighter, loftier, and more expensive, with the same moldable quality. A feather-and-down blend splits the difference and is the common choice for decorative pillows. Solid polyester fill is the cheapest, holds a rounded shape, and resists compression, but it will not take a chop and can feel stiff. If you like the crisp look and want easy care, poly works; if you want the soft, sink-in feel and the styled crease, choose feather or down.
You do not have to replace covers to upgrade. Swapping the lumpy poly insert out of a bargain pillow for a feather or down insert on sale transforms how it sits and feels for a few dollars, and it lets you keep covers you already like.
Common Mistakes and Fixes
Most arrangements fail in one of a few predictable ways, and each has a quick correction.
- Too many pillows. If someone has to move two just to sit, remove the least impactful ones until the seat is clear. Layering should not cost you the couch.
- Too few. One small pillow on a large sofa looks lost. Return to the odd-number rule, three to five on a three-seater.
- No variety. Identical size, shape, and fabric read as flat. Deliberately mix square and lumbar shapes and at least two or three textures.
- Cheap inserts. Lumpy polyester will not hold shape or a chop. Feather or down inserts are soft, hold their form, and can be swapped into covers you already own for an easy upgrade.
- Never fluffing. Regularly used pillows deflate and look neglected; a quick plop and punch as part of tidying restores them in seconds.
Frequently Asked Questions
How many pillows on a sofa?
Three to five for a standard three-seater, five to seven for a larger sectional. Enough to look inviting, not so many you cannot sit down.
What about kids and pets?
Choose durable, washable fabrics like cotton, linen, or outdoor weaves, and keep the covers inexpensive so a chewed or squished pillow is no crisis. Good covers turn up regularly for $10 or less.
Can I reuse old inserts in new covers?
Yes, as long as the old inserts are still plump and clean. If they are flat or lumpy, new feather or down inserts make new covers look far better.
Is the pillow chop necessary?
No, it is a styling preference, not a rule. It only holds on feather or down inserts anyway; synthetic fill springs back flat. If you prefer a plump, rounded look, skip it entirely.
Where do I store extras?
A basket beside the sofa handles a couple of spares; an ottoman with hidden storage or vacuum-seal bags in a closet works for seasonal swaps, which compress bulky pillows to a fraction of their size and keep them clean until the next change.
The reliable path is to buy a few covers in a coordinated palette, layer largest to smallest, and photograph a couple of versions to compare before settling on one. Pull a color from what is already in the room, and the arrangement will look intentional rather than assembled at random. To make a small room read larger, pair restrained pillow layering with deliberate negative space elsewhere.
Related Posts
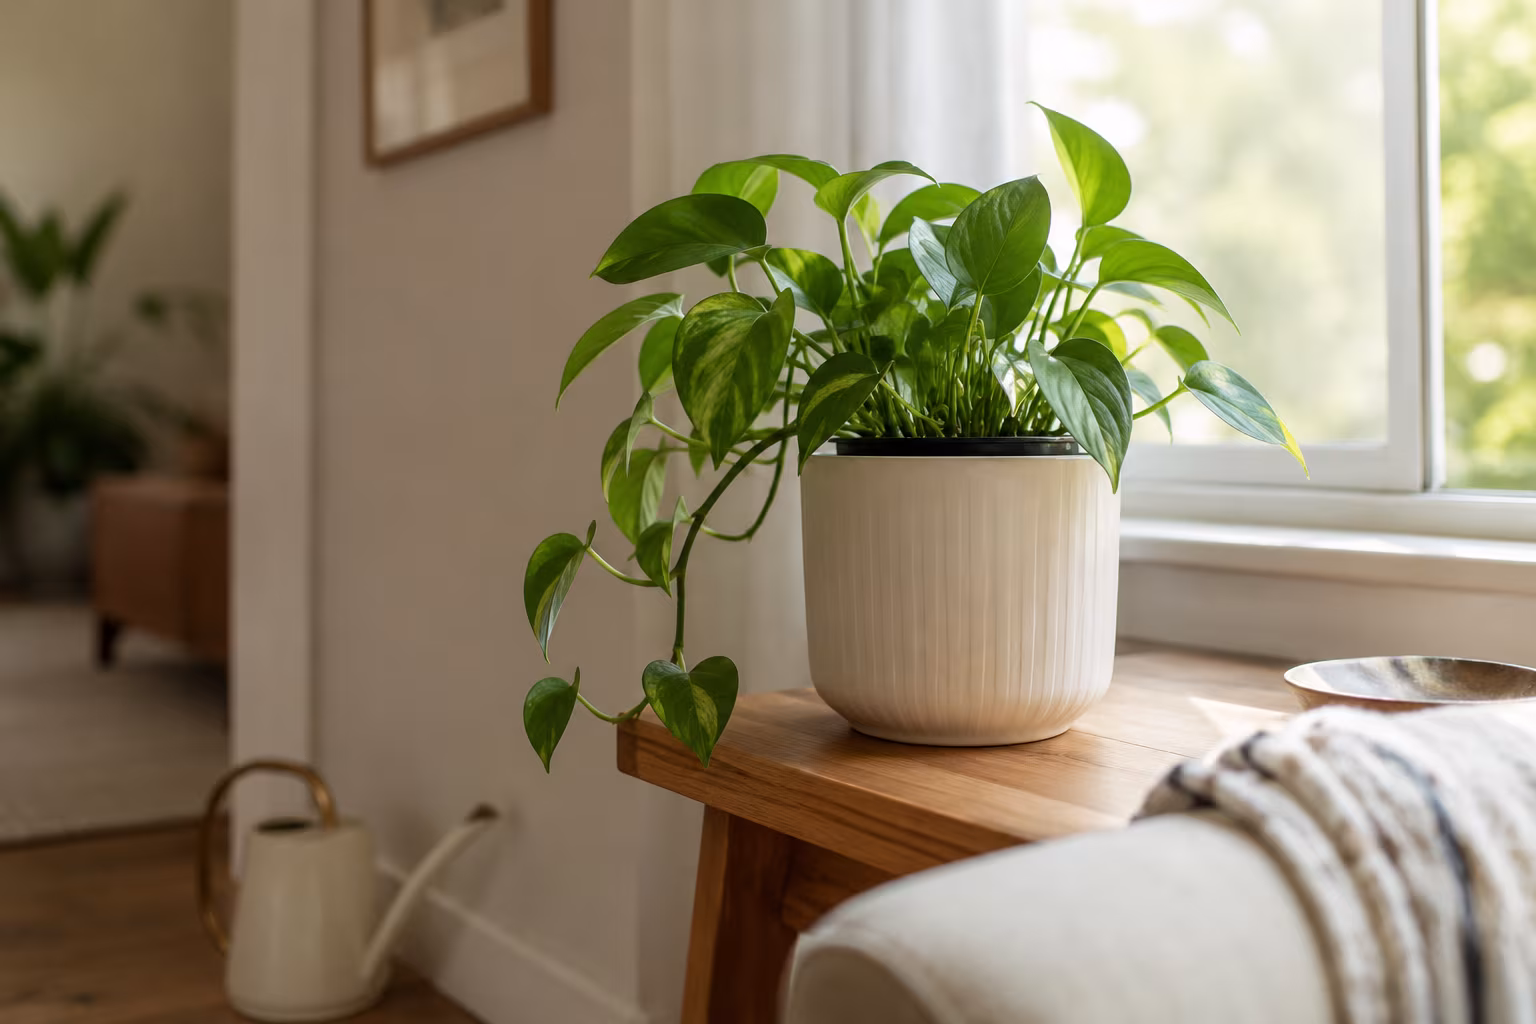
Indoor Plant Pot with No Drainage Hole: How to Make It Work
A no-drainage pot rots roots fast. Use the double-pot method, skip the gravel myth, pick...
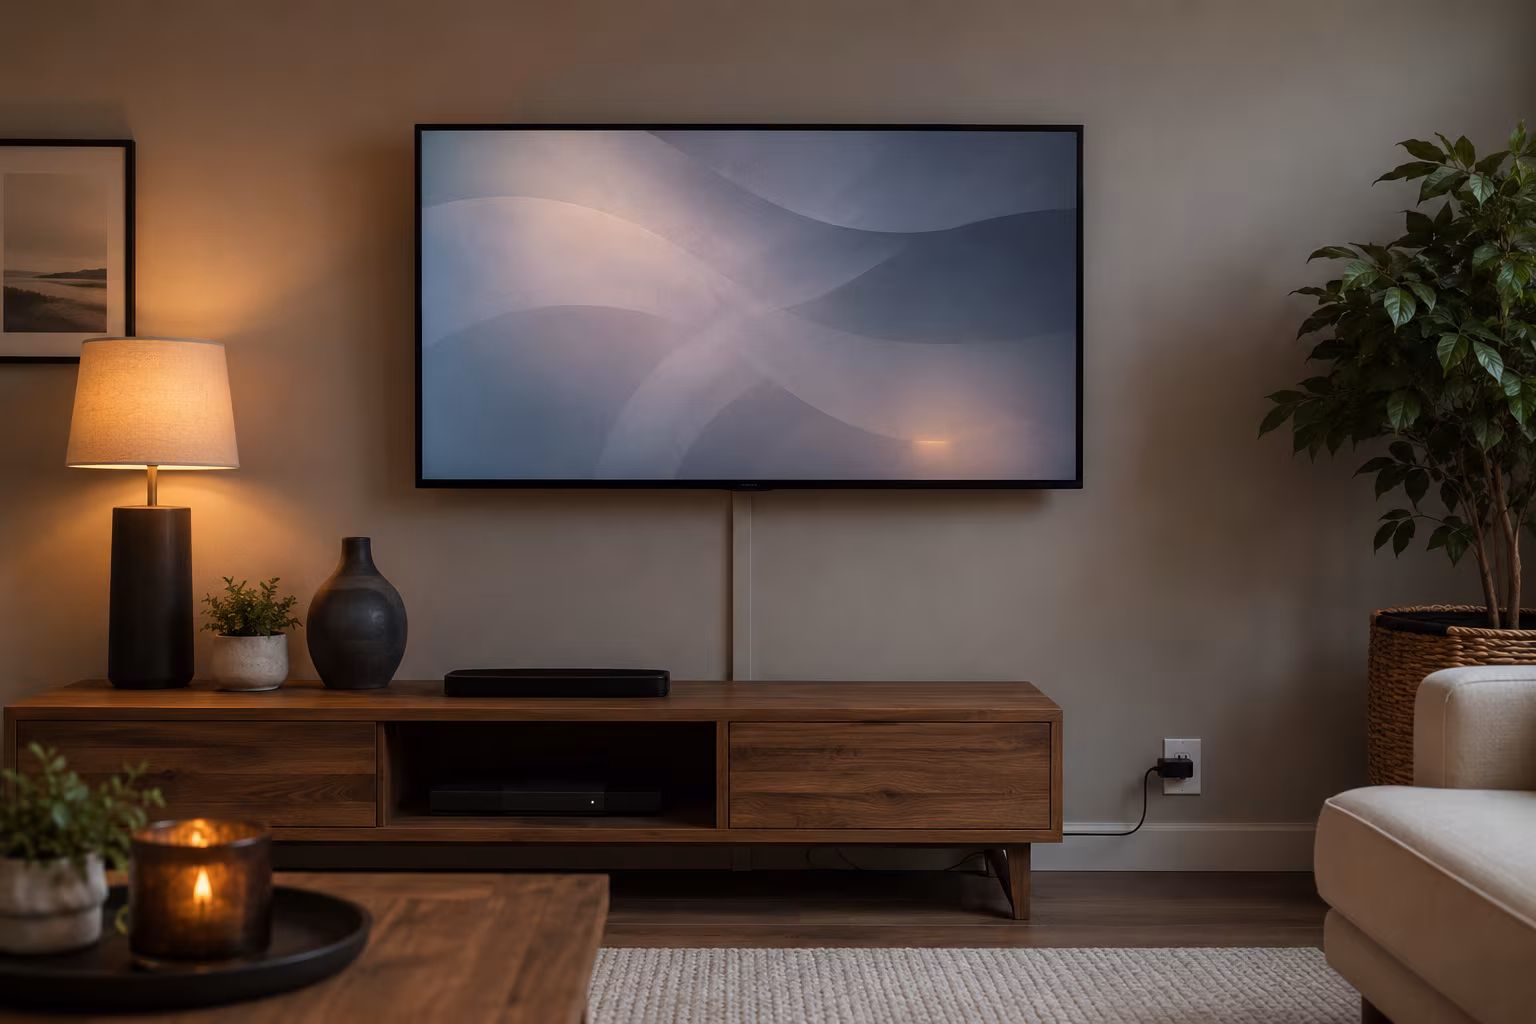
Hide TV Cable Clutter Renter-Safe Without Drilling
Hide a wall-mounted TV's cables without drilling: a paintable adhesive raceway to the outlet, a...
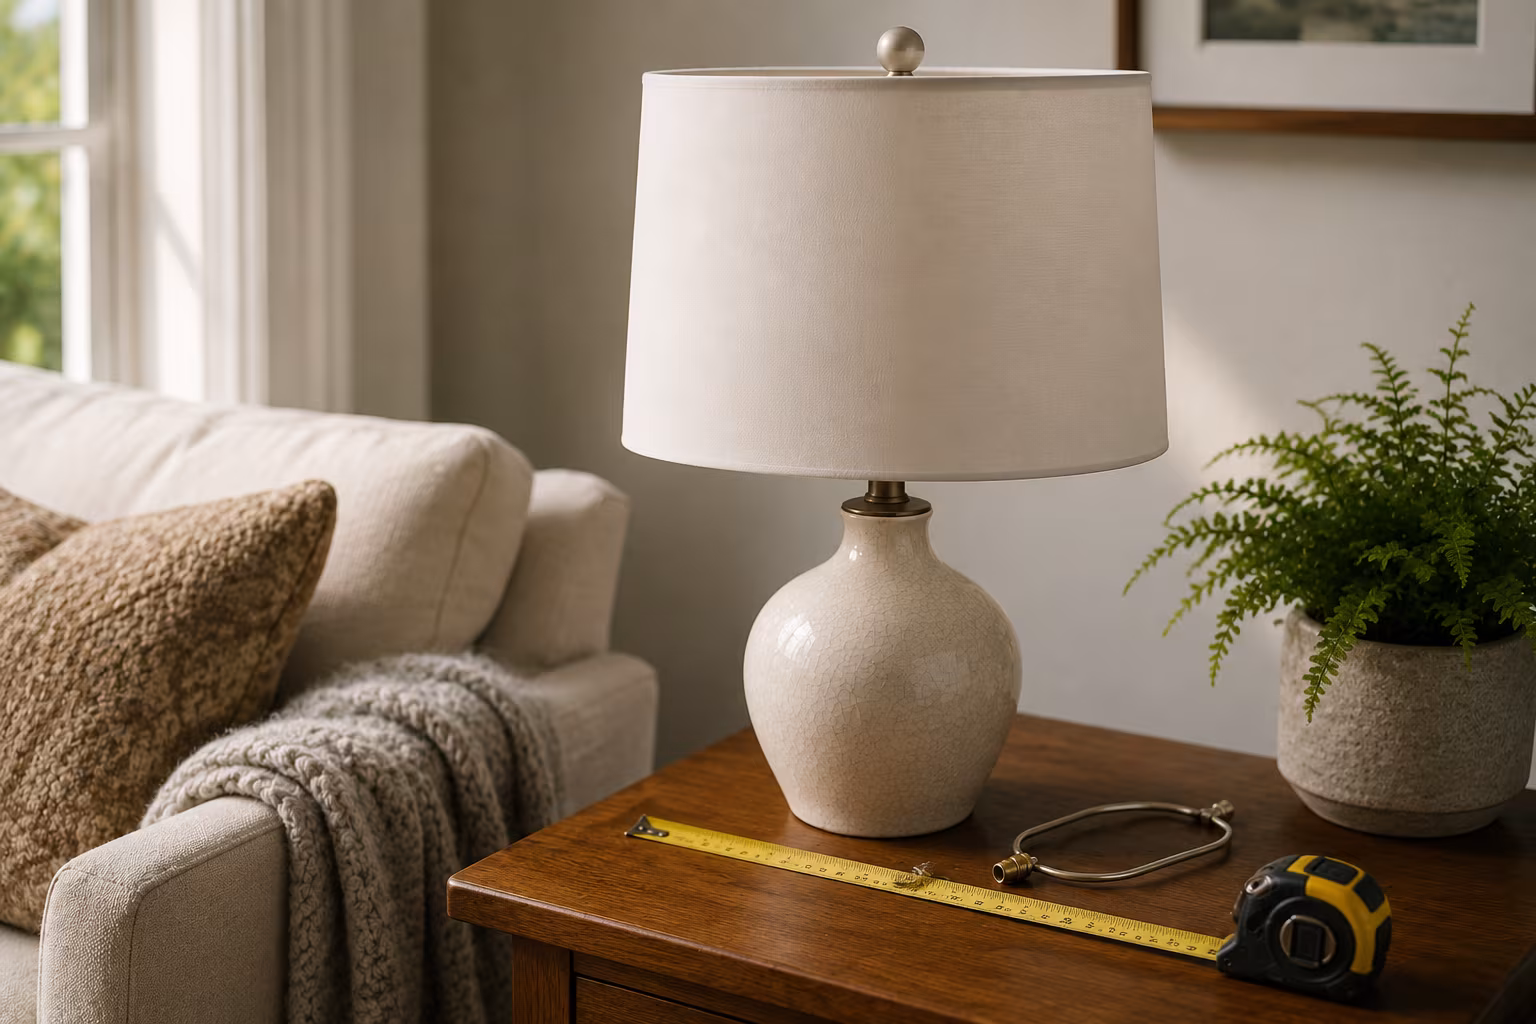
Lampshade Sizing: Harp, Bulb, and Drum Math Explained
Lampshade fit is three numbers: harp height near shade height, 3.5 inches of bulb clearance, and...
Color-Match Trim Paint to Existing Off-White Walls
Matching trim to aged off-white walls is about undertone, not lightness: cut a real chip, have...