How to Build a Simple Greenhouse from Cattle Panels and Plastic
A cattle panel greenhouse is one of the cheapest ways to extend a growing season. It uses rigid livestock fencing panels bent into an arch, anchored to the ground with rebar, and covered in greenhouse-grade plastic film. The result is a strong, tunnel-shaped structure you can build in a weekend for a fraction of the cost of a prefabricated kit, with no advanced carpentry required.
Why extend the season this way
Starting seeds under cover lets you plant weeks earlier than an open bed allows, because the enclosed air stays warmer than outside and shields seedlings from a late frost. On the back end, the same shelter keeps heat-loving crops such as peppers and tomatoes producing into fall. Growing from seed under protection also cuts your spending on nursery starts, which add up quickly across a season. For a milder version of the same idea, a cold frame does similar work on a smaller footprint.
What a cattle panel greenhouse is
The structure is exactly what the name suggests: galvanized steel cattle panels, the kind sold for livestock fencing, bent into a series of arches and skinned with plastic. The arch is what makes it work. A curved frame sheds rain and snow load far better than a flat roof and resists collapse without internal posts. Because the panels are welded steel mesh, you can attach plastic, clips, and end frames anywhere along the grid without drilling. It is a project a first-time builder can finish over a weekend.
Why cattle panels work so well
Repurposing farm materials is a reliable way to build cheaply, and cattle panels are among the best examples for a home garden project.
- Inexpensive — a single panel runs roughly $25 to $30 at a farm supply store, far less than framing an equivalent structure in lumber.
- Flexible despite looking rigid — the panels bend into a smooth arch with a bit of leverage, so no cutting or welding is needed to form the frame.
- Built for the outdoors — galvanized steel made to contain livestock will not rot and resists rust for many seasons.
- Easy to attach to — the open grid accepts zip ties, wire, and clips anywhere, which simplifies both assembly and later modifications.
Materials and tools
Do not economize on the plastic, since it is the one component that fails fastest if you buy the wrong grade. Here is what a roughly 10-by-12-foot greenhouse needs:
- Cattle panels (4 to 6) — standard panels are 16 feet long and about 50 inches wide. Five panels give you a greenhouse around 12 feet long.
- 6-mil UV-treated greenhouse film — measure length by the over-the-arch width and add two feet on every side for overlap. This film is engineered for years of sun exposure.
- Rebar, 1/2-inch by 24 inches (8 to 12 pieces) — these drive into the ground and hold the panel ends.
- Heavy-duty zip ties or galvanized wire — for lashing adjacent panels together.
- 2x4 or 2x2 lumber — for the end-wall frames and door.
- Hinges and a latch — basic hardware for the door.
- Spring clamps and greenhouse repair tape — to hold and seal the film.
- Tools — sledgehammer, wire cutters, tape measure, drill, staple gun, and a utility knife.
Preparing the site and anchoring
Pick a level spot with full sun, ideally with strong morning light, and clear an area a couple of feet larger than your planned footprint. Level ground matters because a slope makes the arches sit unevenly and complicates anchoring.
Mark the two long edges of the footprint with string or spray paint. For a 16-foot panel, an arch width of 10 to 12 feet gives good headroom; 10 feet is a common choice. Dig a shallow trench about 6 inches deep along each long edge. You will later bury the bottom edge of the plastic in this trench, which seals out drafts and stops wind from lifting the film.
Drive the rebar stakes into the ground along both marked lines, spacing them about 4 feet apart and keeping each stake directly opposite its partner across the width. Leave roughly a foot of each stake above ground. A sledgehammer makes this quick; the stakes are the entire foundation, so set them deep and solid.
Bending and connecting the arches
This is the satisfying part. Lay a panel flat, then walk it up into an arch by pushing the two ends toward each other and toward the opposing rebar stakes. The panels are heavy and springy, so keep your footing and lift with your legs; a second person makes it much easier, though one person can manage with steady leverage. Slide each end of the arched panel down over a pair of opposing rebar stakes.
Repeat for every panel, keeping the arches evenly spaced along the length, then lash neighboring panels together where they meet using heavy-duty zip ties or wire. Double up the ties at each connection point. The more securely the panels are joined, the more the whole tunnel behaves as one rigid shell instead of separate loose hoops.
Building the end walls and door
The two ends close off the tunnel and carry the door, and this is where many builds stall. Measure the arched opening at each end; it is not a clean rectangle, so build a simple rectangular 2x4 frame that fits snugly inside the lower portion of the arch, then add a horizontal crossbar where the top of the door will sit.
Fill the curved area above the wooden frame with a cut section of cattle panel or simply cover it with plastic later. For the door itself, build a square frame from 2x2 lumber sized to your opening, add a diagonal brace so it does not sag, and cover it with film or a polycarbonate sheet. Hang it on the end frame with two hinges and a simple latch. It does not need to be precise to function well.
Draping and sealing the plastic
Choose a calm, windless day for this, because a large sheet of film catches even a light breeze like a sail. Unfold the greenhouse plastic and lay it over the arched frame with at least a foot or two of overhang on every side, and center it as evenly as you can.
Secure one end first with spring clamps, then work down one long side, pulling the film taut and tucking its bottom edge into the trench you dug earlier. Backfill the trench with soil to lock the edge down and seal out drafts. Repeat on the opposite side. Aim for taut but not overstretched film, since plastic pulled to its limit tears at the first stress point.
Once the main body is secured, cover the ends. Where you used wood frames, staple the film directly to the lumber; where you are covering bare arch, cut the film to shape with generous overlap onto the main sheet and seal the seam with greenhouse repair tape. Cover the door and staple it tight. Then walk the whole structure looking for gaps, because wind exploits every loose seam. Thin wood or plastic battens screwed over the film along the end frames add meaningful wind resistance.
Adding ventilation
Ventilation is not optional. On a sunny day, even in cold weather, interior temperatures climb fast and can cook your plants, and the trapped humidity encourages fungal disease. The simplest setup is a hinged door at one end that you prop open during the day, plus a rollup flap of plastic at the opposite end to create a cross-breeze. For a more automated system, a solar-powered fan or a wax-cylinder automatic vent opener will manage airflow while you are away. Check an inexpensive min-max thermometer inside on sunny days until you learn how quickly your greenhouse heats up.
Common mistakes and fixes
Three issues cause most failures. The first is weak anchoring; the rebar must go deep, and in windy locations you can bury the bottom edge of the panels a few inches for extra hold. The second is poor plastic. A cheap construction tarp turns brittle and shreds within a single season and gives little insulation value, so invest in 6-mil UV-treated film. The third is neglecting heat and humidity. Cold weather outside does not prevent a sunny greenhouse from overheating, so open the vents and monitor the temperature rather than assuming it stays cool.
Frequently asked questions
What plastic should I use?
Use 6-mil UV-treated greenhouse film. It withstands direct sun without breaking down and insulates far better than construction plastic. It costs more up front but lasts for years, which the cheap film does not.
How large can I make it?
You are limited mainly by panel count and budget. Each panel is 16 feet long, the arch width usually falls between 8 and 12 feet, and you can join panels end to end to make the tunnel as long as you like.
Is it strong enough for wind and snow?
The arch shape sheds both well, provided the anchoring is solid. In areas with extreme wind or heavy snowfall, add straps over the plastic or a few internal supports for reinforcement.
Can I move it later?
It is possible but not easy. You would have to remove the plastic, disconnect the panels, and pull the rebar, so it is far better to choose the location carefully from the start.
Roughly what does it cost?
Expect somewhere between $200 and $500. Panels run $20 to $30 each, the greenhouse film is usually the single largest expense at $100 to $200, and rebar, ties, and end-wall lumber are relatively cheap, still well below the price of a prefab kit.
What if I do not have a sledgehammer for the rebar?
A heavy mallet or even a regular hammer works with more effort. Place a scrap of wood on top of the rebar to protect the head, or borrow a sledgehammer from a neighbor or tool library.
Related Posts
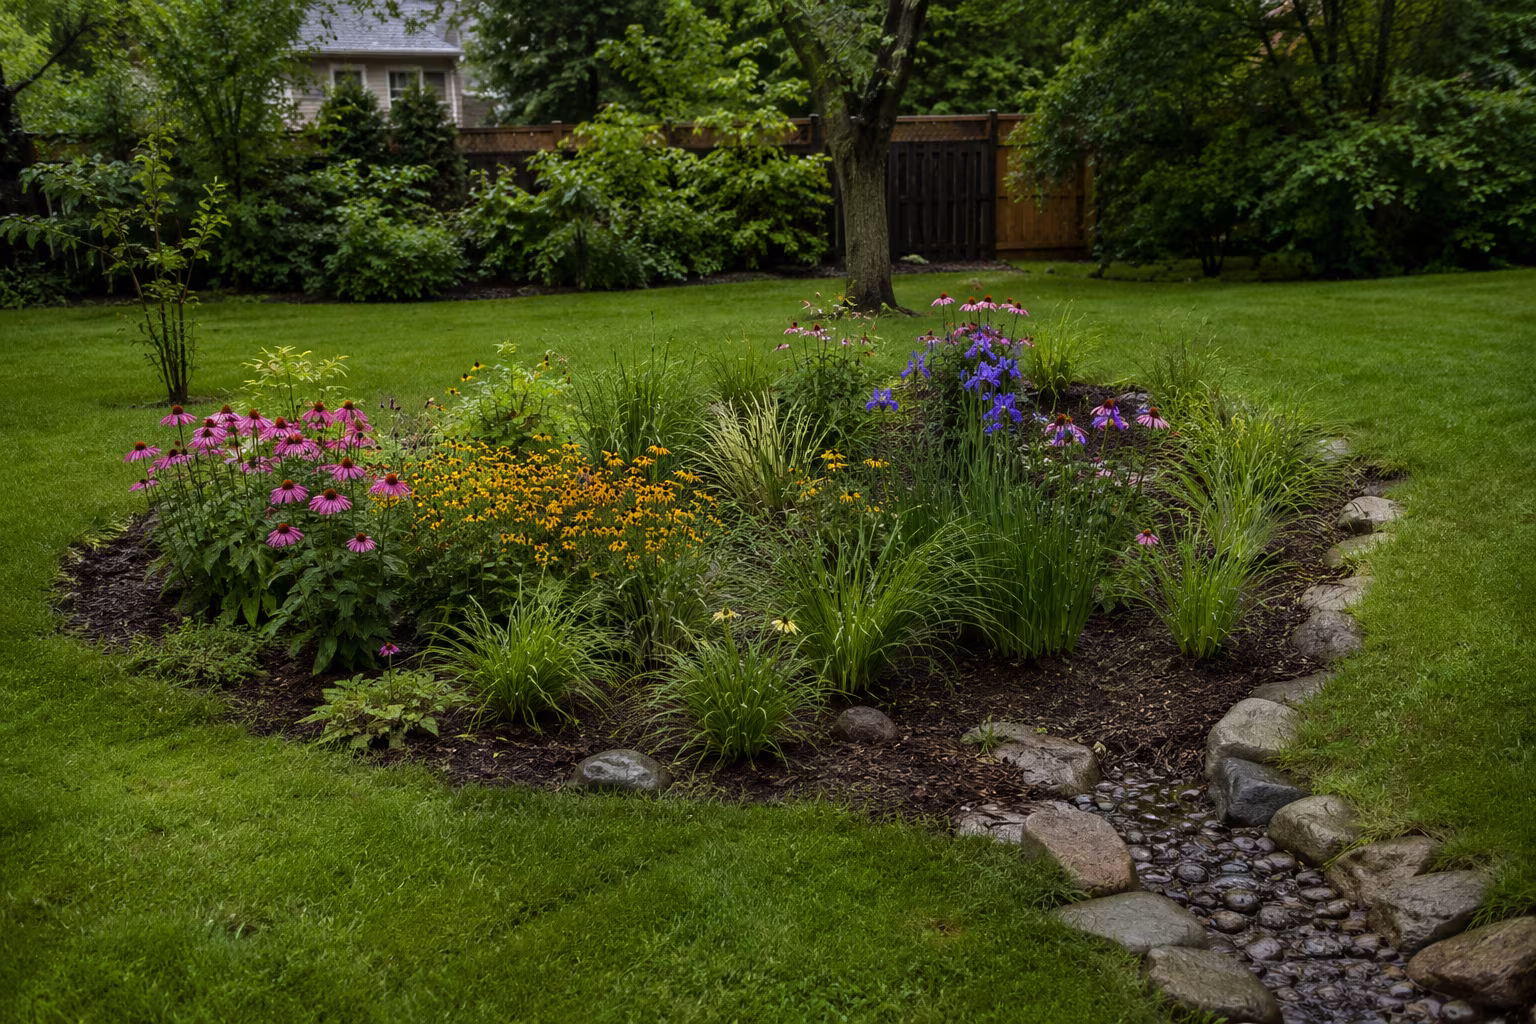
Building a Rain Garden That Actually Drains in Clay Soil
Rain gardens work in clay soil if you dig 12-18 inches deep, amend with coarse sand and compost...
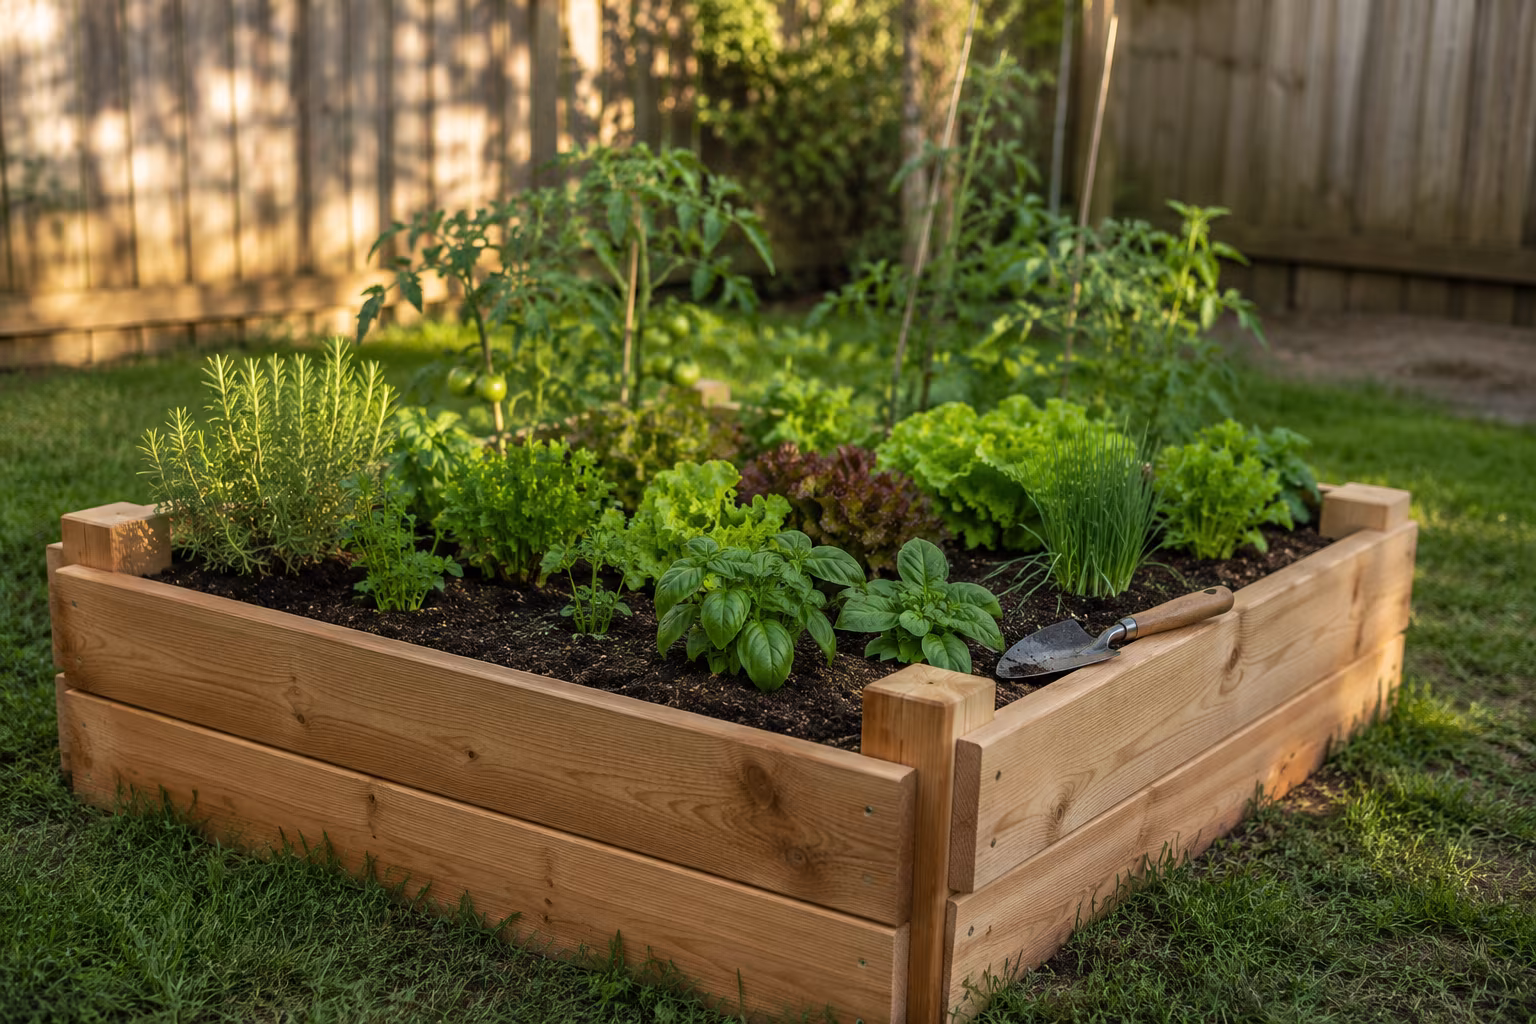
Pressure-Treated vs Cedar for a Small Raised Garden Bed
Cedar looks better and is organic-certified; modern pressure-treated lumber is cheaper, lasts...

Tarp Pitching for Side Wind: A Practical Field Guide
Pitching a tarp for side wind: lower the windward edge, why the plow point beats the A-frame...

The Complete Guide to Identifying and Removing Invasive Garden Plants
Identify English ivy, Japanese knotweed, garlic mustard, and thistles, then remove them for good...