

It’s the perfect time of year to spend time outdoors with friends and family, and recycling tree stumps into smooth surfaces is a great way to make enough seating for everyone. Tree stumps maintain your yard’s natural appeal, and with the added touch of a dipped-paint finish, they’ll make any fresh air living space welcoming and beautiful. Once you’ve given your stumps a modern twist, you can also match the shades with your own variegated fire pit. Your loved ones won’t want to leave your backyard all summer long!
Tip
- Call your local tree removal services to see about getting stumps for free — and make sure those stumps are not diseased or infested with termites.
Step 1: Sand the Stumps
Stumps don’t require much prep work, but sanding down the top will make sure you do away with loose slivers, sap and uneven edges. Just give the tops a nice sanding with any grit of paper — the final result doesn’t matter much since they’ll be painted.
After you’re finished sanding, wipe down each stump with a damp cloth to remove the dust.
Step 2: Position and Paint the Tops of the Stumps
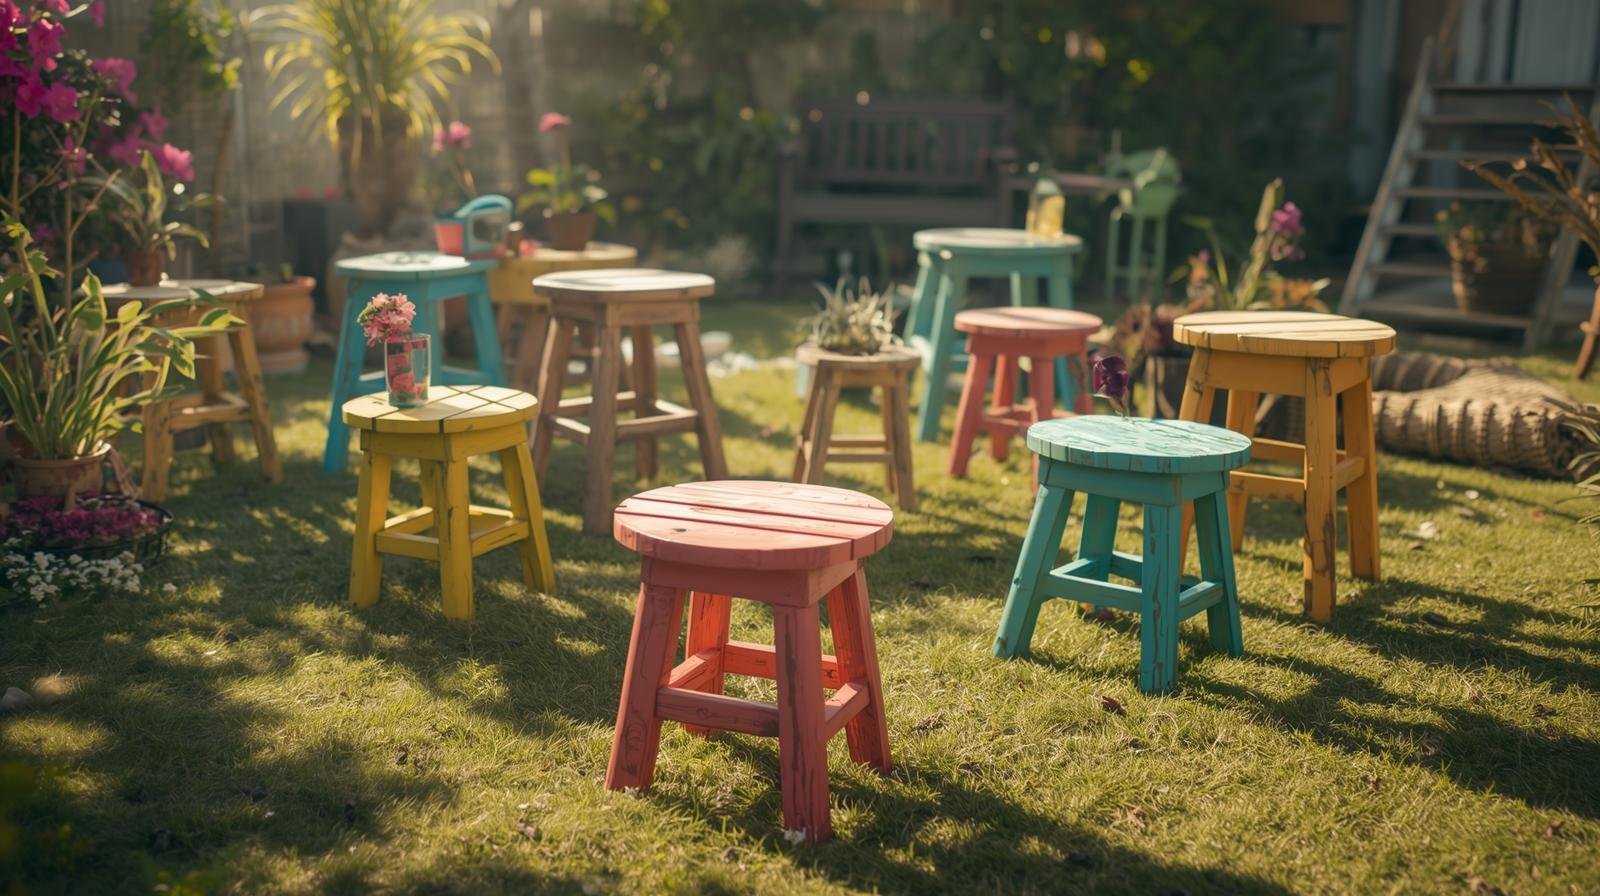
Position your stumps in their desired places before painting to avoid any touchups that might be required after transport. Then, choose a paint that’s appropriate for exterior uses and has a satin, gloss or high-gloss finish. This project used a satin finish of Behr Ultra in the following colors: Guava Jelly, Very Navy, Glitterati, Pink Mimosa and Tidewater.
Paint the top of each stump using simple foam brushes. But, be careful: stumps are very tough and they can break your brushes. The easiest way to combat this is to generously pour the paint directly on the stump, and then spread it out evenly over the surface. Using a patting motion with the foam brushes will make the paint last longer, too.
Give each top two coats of paint to ensure that the color is bold and even.
Step 3: Paint the Sides
After the tops have been painted, move on to the sides. Paint about 4 inches to 6 inches down, keeping an even line at the bottom. Since the surface is so rigid, you may need to use a thick coat of paint to fill in every cranny. And don’t be surprised if you need more than one brush to get the job done!
No top coat is needed if you use an exterior paint. However, if you prefer, use a polyurethane coat for more protection and shine.
Step 4: Take a Seat
Enjoy your seating around a matching fire pit for a fun evening under the stars. You can also make these for your patio or throughout your garden for a fresh pop of color!
