How to Design a Pollinator-Friendly Garden Using Only Seed Packets

You do not need landscape software or a horticulture background to plant a garden that feeds bees and butterflies. The information required to design one is already printed on the back of every seed packet: sun needs, spacing, planting depth, mature height, and bloom time. Read those correctly and a rack of two-dollar packets becomes a complete design tool. This guide covers why pollinator plantings matter, how to read a packet, and how to get from a blank patch of dirt to a season of blooms.
Why a pollinator garden is worth the effort
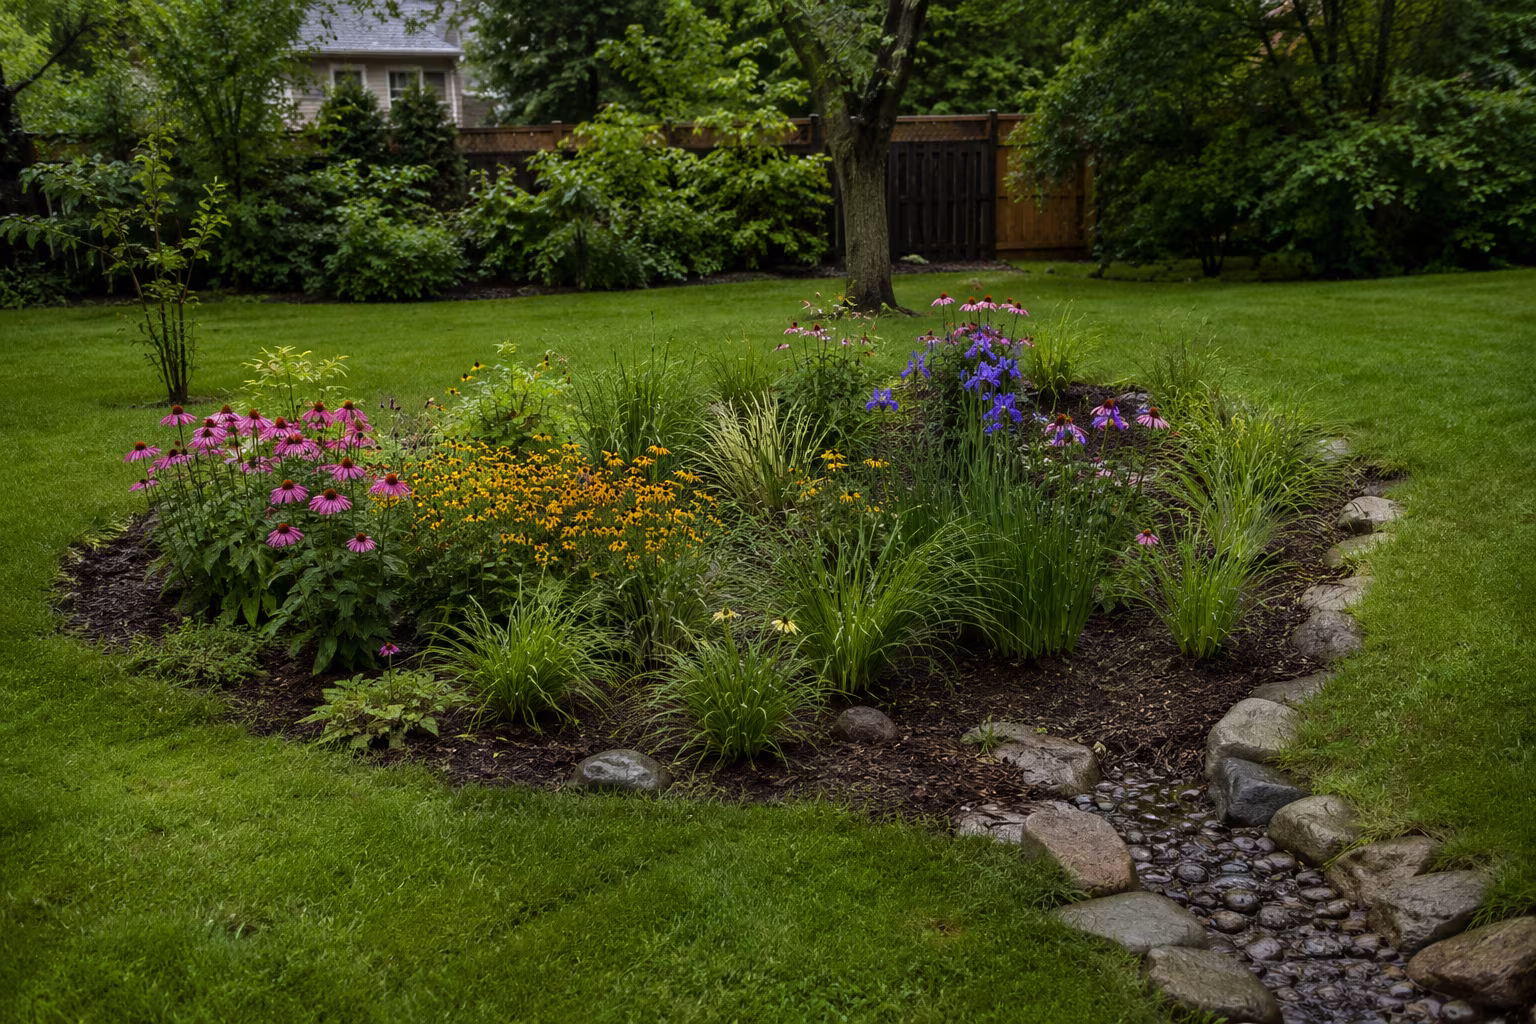
Bees, butterflies, moths, and hummingbirds move pollen between flowers, which is what lets many plants set fruit and seed. Their habitat is shrinking under development and pressure from pesticides, so even a small planted patch works as a food stop along the routes they travel. A pollinator garden the size of a raised bed or a cluster of balcony pots can support foraging insects through the growing season, and it brings color and movement to a corner of the yard that would otherwise sit empty. The payoff is both ecological and immediate: something is always in bloom, and something is always visiting it.
Why seed packets are the right starting point
Focusing on packets is a deliberate shortcut. They are cheap, sold nearly everywhere from garden centers to grocery aisles, and each one carries the core growing data on the back. A single packet holds dozens to hundreds of seeds for a couple of dollars, so starting from seed costs a fraction of buying established plants and leaves room to experiment across several varieties. That accessibility also cuts through the paralysis of planning: instead of decoding zone maps and reference books first, you can gather a handful of packets, read the fine print, and build the design from what is in your hand. It is a low-cost, low-commitment way to learn, which is exactly what a first garden should be. The approach is as budget-friendly as sourcing tools through a shared community workshop.
How to read a seed packet
The photo on the front is the least useful part. Turn the packet over and look for a specific set of figures. Sun exposure tells you whether the plant needs full sun (roughly six or more hours of direct light), partial shade, or shade. Planting depth and spacing tell you how deep to set the seed and how far apart, which prevents crowding. Days to germination and days to bloom set your expectations for when to see sprouts and flowers. Mature height decides where the plant belongs in the bed. Many packets now state outright whether a variety attracts pollinators, so a phrase like "bee-friendly" or "attracts butterflies" is a fast filter.
Use those figures to build a mix rather than a single showy flower. Choose varieties with staggered bloom times, some early, some mid-season, some late, so nectar is available from spring through fall instead of all at once. Vary flower shape and color too, since different pollinators favor different forms. For easy annuals, cosmos, zinnias, sunflowers, marigolds, and borage germinate readily and flower fast. For perennials that return each year, look at coneflower (echinacea), black-eyed Susan (rudbeckia), bee balm (monarda), and lavender. Milkweed is the one non-negotiable if you are on a monarch migration route, because monarch caterpillars feed on nothing else. Picking five to seven varieties with similar sun and water needs keeps a first bed manageable.
Mapping the space with paper and a pencil
Design happens on a scrap of paper, not a screen. Sketch the outline of the planting area, whether it is a raised bed, a strip of yard, or a row of pots. Then spend a day watching where the sun actually falls: note which areas get full sun, which sit in afternoon shade, and where the wind hits hardest. Those observations matter more than any plan drawn indoors, because putting a full-sun plant in a shady corner is the single most common beginner mistake.
Now place plants on the sketch using the packet data. Group varieties by sun requirement so the full-sun plants share the bright spots and the partial-shade ones get relief from the afternoon. Arrange by height as well: taller plants toward the back of a border or the center of an island bed so they do not shade shorter neighbors, with low, spreading plants along the edges. Finally, sequence bloom times across the layout so there is always something flowering. Your local university extension service is the best place to confirm which of these plants suit your specific region and soil; the university extension yard and garden resources are a reliable, non-commercial reference for that.
Adapting the plan for pots and small spaces
A pollinator garden does not need a yard. A balcony, a stoop, or a single sunny windowsill supports the same plan scaled down to containers, and the seed-packet data still drives every choice. The main constraint in pots is root room, so favor compact annuals like dwarf zinnias, marigolds, and nasturtiums, or contained perennials such as lavender that tolerate a pot. Choose containers at least 8 to 12 inches deep for most flowers, and make sure every pot has drainage holes, because seeds and roots sitting in waterlogged soil rot fast.
Container soil dries out much faster than ground beds, sometimes daily in summer heat, so plan to check moisture more often and water when the top inch feels dry. Group several pots together rather than scattering single ones; a cluster of blooms is far easier for a passing bee to find than one isolated plant, and it also raises the local humidity so the pots dry more slowly. Even two or three well-chosen pots of bee-friendly flowers make a real stop on a pollinator's route, which makes containers a low-commitment way to test the approach before committing a bed. The same paper-and-pencil sun mapping applies: watch how many hours of direct light the balcony or sill actually gets, since a spot that feels bright can still fall short of the six hours most flowering annuals need.
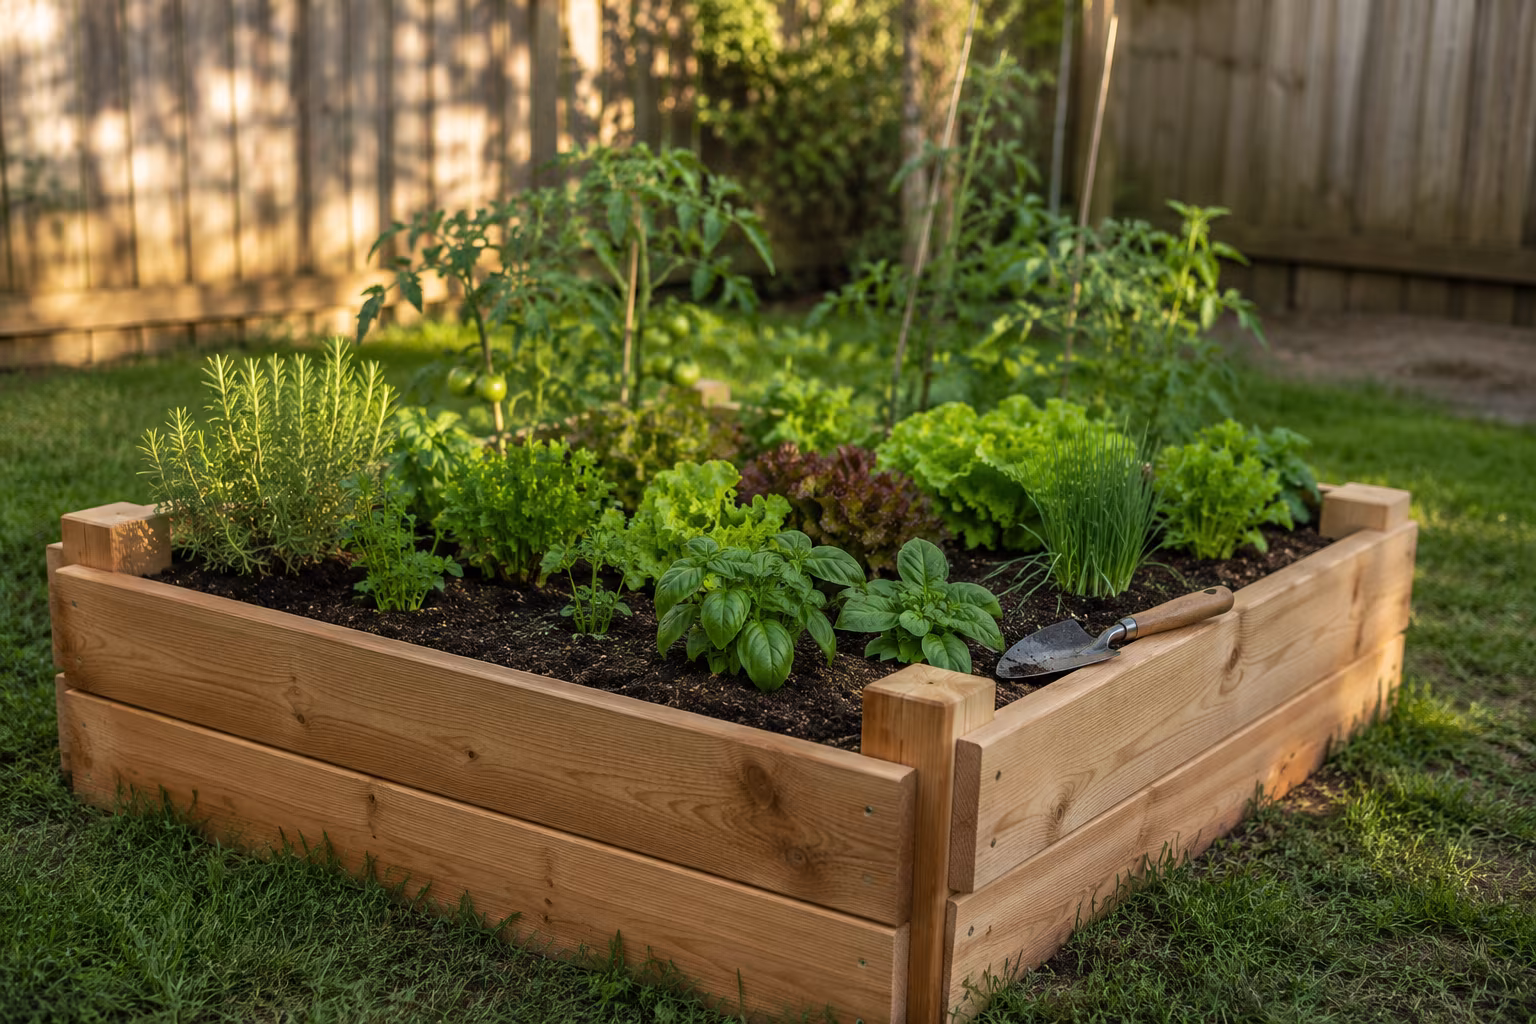
Preparing the ground and planting
Clear the chosen spot of weeds, grass, and debris so nothing competes with seedlings for water and light. Loosen the soil with a fork or shovel until the top few inches are crumbly; you do not need to dig deep, just enough for young roots to spread. If the soil is heavy clay or pure sand, work a 1- to 2-inch layer of compost into the top few inches to improve drainage and add nutrients. Rake the surface smooth and level so water spreads evenly and seeds do not wash into piles during rain.
On planting day, check each packet one more time for timing, depth, and spacing. Most seeds go in after the last local frost, and a common depth guideline is two to three times the seed's diameter, though the packet always overrides that. Space seeds according to the packet rather than scattering them, because overcrowding produces weak, disease-prone plants. Set very tiny seeds more evenly by mixing them with a pinch of sand before sowing, cover lightly, and water gently with a fine rose on the watering can so you moisten the soil without dislodging anything. Keep the soil consistently moist, never soggy, until seedlings emerge, which can take anywhere from a few days for marigolds to a couple of weeks for slower varieties.
Early care and the mistakes to avoid
Once seeds are in, the work is watering, weeding, and thinning. Keep the soil evenly moist while plants are young and during dry spells; inconsistent watering during germination is a leading cause of failure, since sprouts need steady moisture but too much rots them. Pull weeds while they are small, before they can crowd out your flowers. When seedlings are a few inches tall and too close together, thin the weaker ones to the spacing on the packet; it feels harsh to remove healthy sprouts, but the survivors grow noticeably stronger with the room.
The biggest avoidable error is reaching for chemical pesticides or herbicides, which harm the very insects you are trying to attract. If a pest problem appears, use targeted options like neem oil or encourage beneficial insects such as ladybugs instead. Then watch the garden closely: note which flowers draw the most visitors and which plants struggle where they sit, and move perennials or swap varieties next season based on what you see. As annuals fade, deadhead spent flowers to push more blooms, and let a few cosmos and zinnias self-seed for next year or collect and store dried seed in a cool, dry place. This observe-and-adjust rhythm is what turns a first attempt into a reliably buzzing bed, and it pairs naturally with related plantings like a native-plant butterfly waystation once you are ready to expand.
Related Posts
Building a Rain Garden That Actually Drains in Clay Soil
Rain gardens work in clay soil if you dig 12-18 inches deep, amend with coarse sand and compost...
Pressure-Treated vs Cedar for a Small Raised Garden Bed
Cedar looks better and is organic-certified; modern pressure-treated lumber is cheaper, lasts...

Tarp Pitching for Side Wind: A Practical Field Guide
Pitching a tarp for side wind: lower the windward edge, why the plow point beats the A-frame...

The Complete Guide to Identifying and Removing Invasive Garden Plants
Identify English ivy, Japanese knotweed, garlic mustard, and thistles, then remove them for good...