How to Marble Paper Using Shaving Cream and Food Coloring
Shaving-cream marbling is the cheapest way to make custom patterned paper, and it works because of a simple physical fact: a thick layer of foam holds water-based dye on its surface long enough for you to swirl it and press paper into it. The result is a one-off design you cannot buy in a store, made from two things most kitchens and bathrooms already stock. This walkthrough covers the science, the exact supplies, a numbered process, and the specific fixes for muddy or patchy results.
Why the shaving-cream method works
Traditional paper marbling floats pigment on a thickened liquid bath called size. Shaving cream is a stand-in for that bath: the dense foam is stable enough that drops of liquid food coloring sit on top rather than sinking, so you can drag them into swirls before they blend. When you lay paper on the foam, the dye transfers to the fibers; scraping the cream away leaves the pattern behind. The whole thing is forgiving because a botched swirl just gets smoothed flat and redone, with no wasted paper or expensive ink.
Supplies and what each one does
You need very little, and most of it is dollar-store grade. The table below lists what to buy and the spec that actually matters for each item.
| Supply | What to get | Why it matters |
|---|---|---|
| Shaving cream | Plain white foam, not gel | Foam holds dye on the surface; gel lets it sink and blend to mud |
| Food coloring | Liquid, not gel paste | Liquid disperses and swirls; paste clumps |
| Paper | Uncoated cardstock, 65–80 lb | Absorbs dye and stays flat; glossy stock repels color |
| Tray | Rimmed pan larger than the paper | Holds a half-inch foam bed with room to spread |
| Scraper | Old credit card or ruler | Straight edge lifts excess foam in one pass |
| Skewer | Bamboo skewer or toothpick | Fine point for dragging swirls |
| Drop cloth | Newspaper or plastic sheet | Food coloring stains counters and clothes |
Skip gel food coloring and any coated or photo paper; both are common causes of a failed first attempt. A stack of plain white cardstock gives the most reliable transfer while you learn the feel of it.
The step-by-step process
The full sequence takes about ten minutes per sheet once your station is set up, plus drying time.
- Lay down cover. Spread newspaper or plastic over the work surface and cut your paper to size so it fits inside the tray.
- Build the foam bed. Spray shaving cream into the tray and spread it flat with the scraper to about half an inch thick, level enough that paper can make full contact.
- Drop the color. Hold the food coloring close to the surface and add small dots or lines. Use two to four colors; more than that muddies fast. A few drops of each is plenty.
- Swirl. Drag the skewer through the surface in S-shapes or spirals. Keep the tip shallow so you move color across the foam rather than mixing it in. Fewer passes give crisp lines; more passes give a soft blended look.
- Transfer. Lay paper flat onto the foam and press gently across the whole sheet for five to ten seconds, especially the edges.
- Scrape. Peel the paper up from one corner, set it foam-side up, and pull the scraper across it in one firm stroke at a slight angle. The pattern appears under the removed cream.
- Reuse and repeat. Smooth the leftover foam and add fresh color for the next sheet. Once it turns gray, scrape it out and lay a new bed.
- Dry flat. Leave sheets on a flat surface for four to six hours, or overnight in humid weather. Flatten any curl afterward under heavy books.
Common mistakes and how to fix them
Muddy color is almost always one of two causes: too many drops crowded together, or over-swirling that blends everything into brown. Cut back to two or three colors and swirl only a few times. Blank patches where no color transferred mean the paper touched down unevenly; lower it flat and press the edges deliberately. Color that wipes straight off the dried sheet means the paper was coated or glossy, so switch to uncoated stock. And wipe the scraper clean between sheets, because leftover dye on the edge streaks into the next pattern.
Do not substitute acrylic paint for food coloring here. Acrylic is thick and opaque, so it clumps on the foam instead of feathering into swirls and gives a very different, non-marbled result. Liquid food coloring is formulated to disperse, which is exactly what this technique needs.
Choosing color combinations that stay crisp
Color choice decides whether the finished sheet reads as clean marble or muddy soup, and the deciding factor is where colors sit on the wheel. Combinations that stay next to each other, blue with green, red with orange, or yellow with orange, blend into pleasant transitions no matter how much you swirl. Combinations from opposite sides, red with green or blue with orange, turn brown wherever they touch, because mixing complementary colors cancels them out. That is the single most useful rule for this craft: keep a palette within one neighborhood of the wheel and the swirls stay vivid.
Two or three colors give the most control. A reliable starting recipe is one light color, one medium, and a small amount of a darker accent dropped last, so the dark tone reads as depth rather than taking over. Standard grocery-store food coloring comes in red, yellow, blue, and green; you can premix a drop or two into a spoon of water to make secondary shades like purple or teal before adding them, which gives softer results than dropping raw primaries side by side. Metallic or pastel results are not really possible with food coloring alone, so treat this as a saturated, translucent medium and lean into that.
Contrast matters as much as hue. A pale base color with one strong swirl color shows the pattern more clearly than three medium tones of similar value, which tend to flatten into one another. If you want a specific look, run a test sheet first: the same three colors can produce tight veins or broad watercolor washes depending only on how many times you drag the skewer, so it is worth burning one sheet to learn how your particular colors behave before committing to a batch.
What to make with the finished paper
Once dry, marbled sheets cut and glue like any other decorative paper. They make strong handmade greeting cards, journal and scrapbook covers, bookmarks, gift tags, and mats for framed art. Because each sheet is unique, they suit projects where you want a custom color story rather than a printed repeat. Food coloring is not fully lightfast, so pieces kept out of direct sun hold their color for years; anything destined for a sunny wall benefits from a light clear-craft sealant.
A quick session plan
If you want usable results in a single afternoon, mix one dye batch, run three or four sheets in a row while the foam is fresh, then reset the bed and switch palettes for a second run. Keep the first sheet from each color set as a test; the pattern almost always improves once you have felt how your specific colors spread. This same low-cost, low-stress rhythm is what makes marbling a natural companion to other quick everyday-item craft sessions, since the whole setup packs away in a shoebox.
Related Posts

Macrame Cord Choice for Beginners: Single-Twist vs 3-Ply
3-ply cord is forgiving, single-twist gives the boho fringe, braided locks in clean knots. The...

Punch Needle Loops Pulling Out: The Tension Fix Guide
Punch needle loops pull out for one of four reasons: supply tension, a loose foundation...

Sealing Watercolor Wood Slices for Indoor Display Pieces
Watercolor on raw wood fades fast without prep: the priming options, painting adjustments, spray...
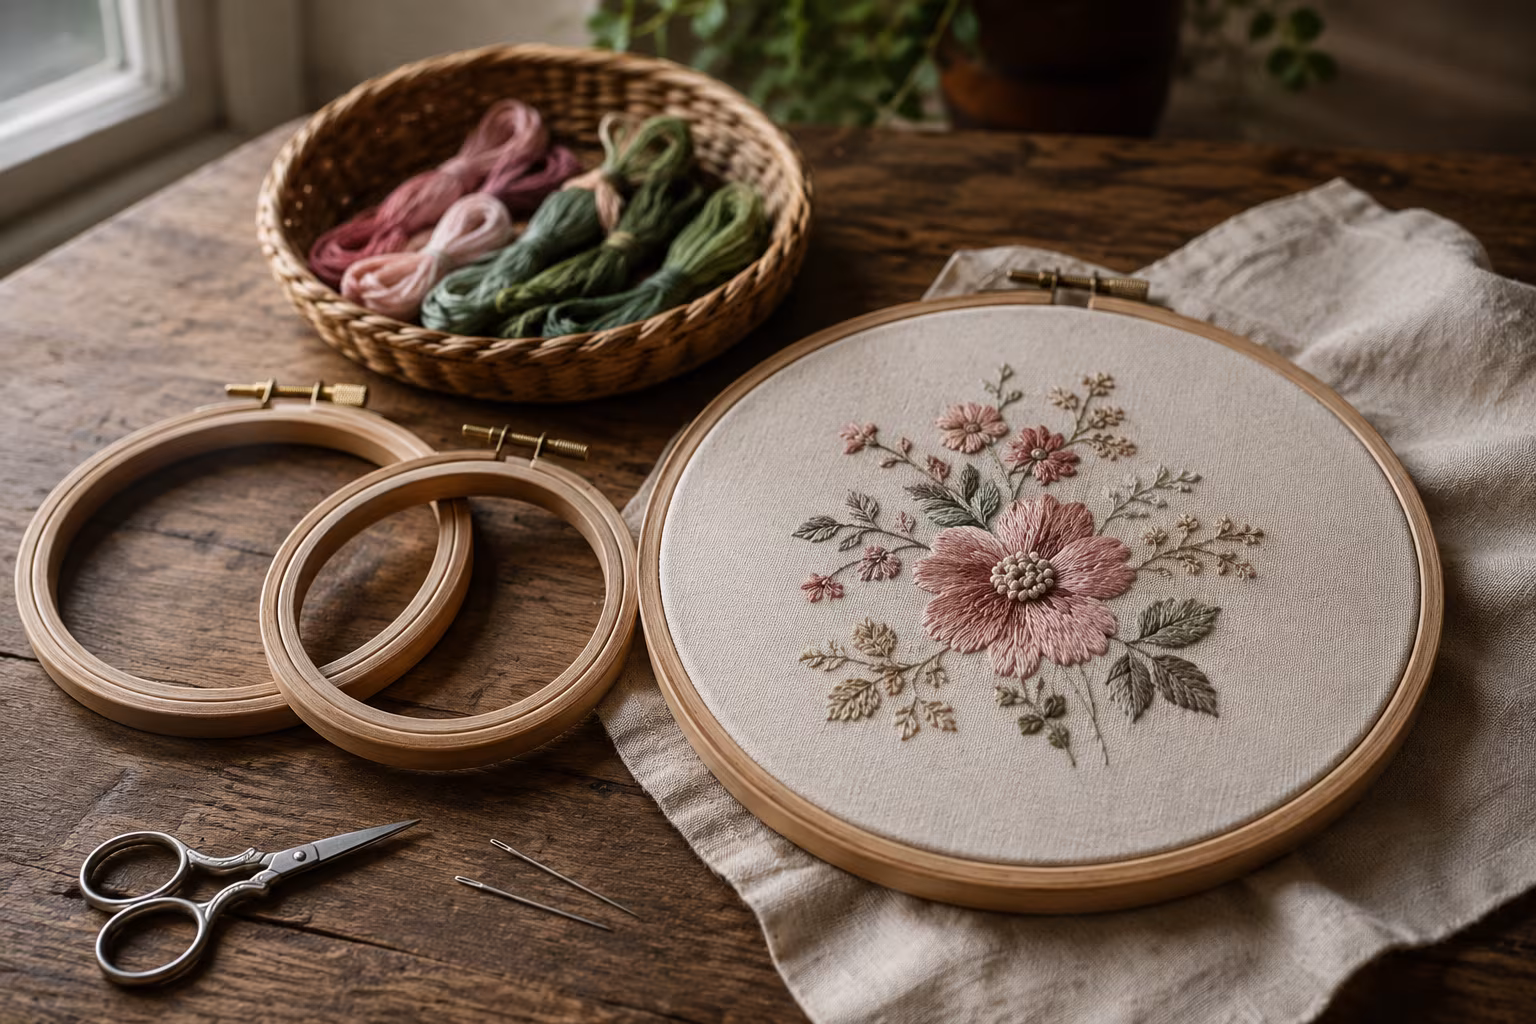
Beginner Hand Embroidery Hoops: Sizing for Long Projects
Choose the right embroidery hoop: why 6-to-8-inch beechwood beats large or bamboo, tension over...