How to Pick the Right Polymer Clay Brand for Different Project Types

Polymer clay is not one material but a family of PVC-based modeling compounds, and the brand you pick decides whether a project survives baking. A soft clay that is a joy to condition will lose fine detail and snap when sculpted thin; a firm clay that holds crisp lines takes real effort to warm up. Matching the clay to the job is the difference between wearable earrings and a drawer of broken charms.
What Makes Clays Different
Four characteristics separate the brands, and they trade off against each other:
- Softness vs. firmness out of the package. Soft clays condition and blend easily, good for beginners and larger pieces. Firm clays resist smudging and hold sharp texture but need more kneading, often through a pasta machine used for polymer clay.
- Strength and flexibility after baking. Some brands cure strong and slightly flexible, ideal for jewelry that gets handled; others are more brittle when thin and belong on sculptural pieces that sit on a shelf.
- Color range and retention. Palettes differ, and some colors darken in the oven, so a test bake matters for shade-critical work.
- Finish. Cured clay can be glossy, matte, or suede-like, which affects the look of jewelry and mixed-media pieces.
Matching Brand to Project
Start by naming the project, because the requirements diverge sharply. Delicate dangling earrings need strength and a little flex; a detailed miniature figurine needs firmness for crisp features; a chunky bead or a bulked-out sculpture core can use a soft, economical clay over a foil armature. Once you know which of those you are making, the brand choice is straightforward.
| Brand | Feel | Baked result | Best for |
|---|---|---|---|
| Sculpey Original / Bake Shop | Very soft | Brittle when thin | Beginners, kids, chunky shapes |
| Sculpey Premo | Medium | Strong, some flex | Versatile jewelry and small sculpture |
| Sculpey Soufflé | Easy, light | Strong, matte, flexible | Large lightweight statement pieces |
| Fimo Soft | Soft | Moderate strength | General crafting, simple beads |
| Fimo Professional | Firm | Strong, crisp detail | Canes, intricate sculpture |
| Kato Polyclay | Very firm | Very hard, durable | Advanced caning, thin durable pieces |
| Cosclay | Distinct, rubbery | Highly flexible | Bendable figures, cases |
For fine detail, a firmer clay like Fimo Professional or Kato holds tiny textures and sharp edges that a soft clay would blur, working in a cooler room firms up a soft clay temporarily if that is all you have. For durability and flex, Premo, Soufflé, or Cosclay resist the snapping that ruins thin earring charms. For bulk, Sculpey Original over an aluminum foil core saves material where fine detail is not the goal. Premo is the reliable middle ground: firm enough for detail, strong enough for jewelry, which is why it is a common default for polymer clay jewelry.
Choosing by Experience and Budget
Your comfort level should steer the first purchase. Beginners do best with a soft, forgiving clay such as Sculpey Original or Fimo Soft, so early frustration goes into learning shapes and blending rather than fighting a stiff block. As you want more control, detail retention, and durability, move up to Premo, Fimo Professional, or Kato. Cost tracks roughly with that progression, so buy affordable brands for practice and reserve the pricier professional clays for finished work; stocking basic colors of a go-to clay when it is on sale keeps costs down. Confirm that a brand and color are easy to repurchase before you build a signature style around it, since some niche clays are online-order only. When you do test brands, keep a short notebook logging the brand, project, ease of conditioning, detail retention, and strength after baking, that record becomes your own reference faster than any review.
Baking Basics That Apply to Every Brand
No brand performs to its rating if it is baked wrong, and most "bad clay" complaints are really baking problems. Polymer clay cures at a low temperature, typically 265-275°F (about 130°C) depending on the brand, for roughly 15-30 minutes per 1/4 inch of thickness. The two rules that matter most: use an oven thermometer because home ovens routinely run 25-50 degrees off their dial, and bake for the full time even when the piece looks done early, since strength develops through complete curing, not surface color. Underbaking, not thinness, is the usual reason a piece snaps.
Condition every clay thoroughly before shaping, warming and working it until it is smooth and pliable, which expels the air bubbles that later cause cracks. Bake on a ceramic tile or a piece of cardstock rather than bare metal, tent loosely with foil to prevent scorching on lighter colors, and let pieces cool gradually instead of moving them from a hot oven into cold air. These habits are brand-agnostic and fix more failures than switching clays ever will.
Common Pitfalls
Most problems trace to a few causes. Brittleness after baking usually means underbaking or an inaccurate oven, so use an oven thermometer and bake for the full time at the package temperature; for thin, handled pieces, pick a flexible clay like Premo or Soufflé. Lost detail points to a clay too soft for the work, switch to a firmer brand. Color shift comes from heat-sensitive pigments or too high a temperature, so test-bake and never exceed the stated temp. Sticky or gummy clay is often over-conditioned, too warm, or aging; chill it briefly or leach out plasticizer by pressing it between plain paper under a weight. Cracking comes from trapped air bubbles or sudden temperature changes, condition thoroughly to expel air and let pieces cool gradually. Different brands are generally chemically compatible and can be mixed, Premo and Soufflé blend well, but test a small piece first since baking ranges and post-bake flexibility differ.
The workflow that keeps results consistent looks the same across brands: identify the project, choose firmness for its detail-and-strength needs, verify your oven with a thermometer, and bake the full recommended time for the thickness. Get those four right and the clay stops being a gamble. If you enjoy the medium, the same match-material-to-job thinking carries into related crafts, from air-dry clay projects to choosing the right crafting adhesives.
Related Posts
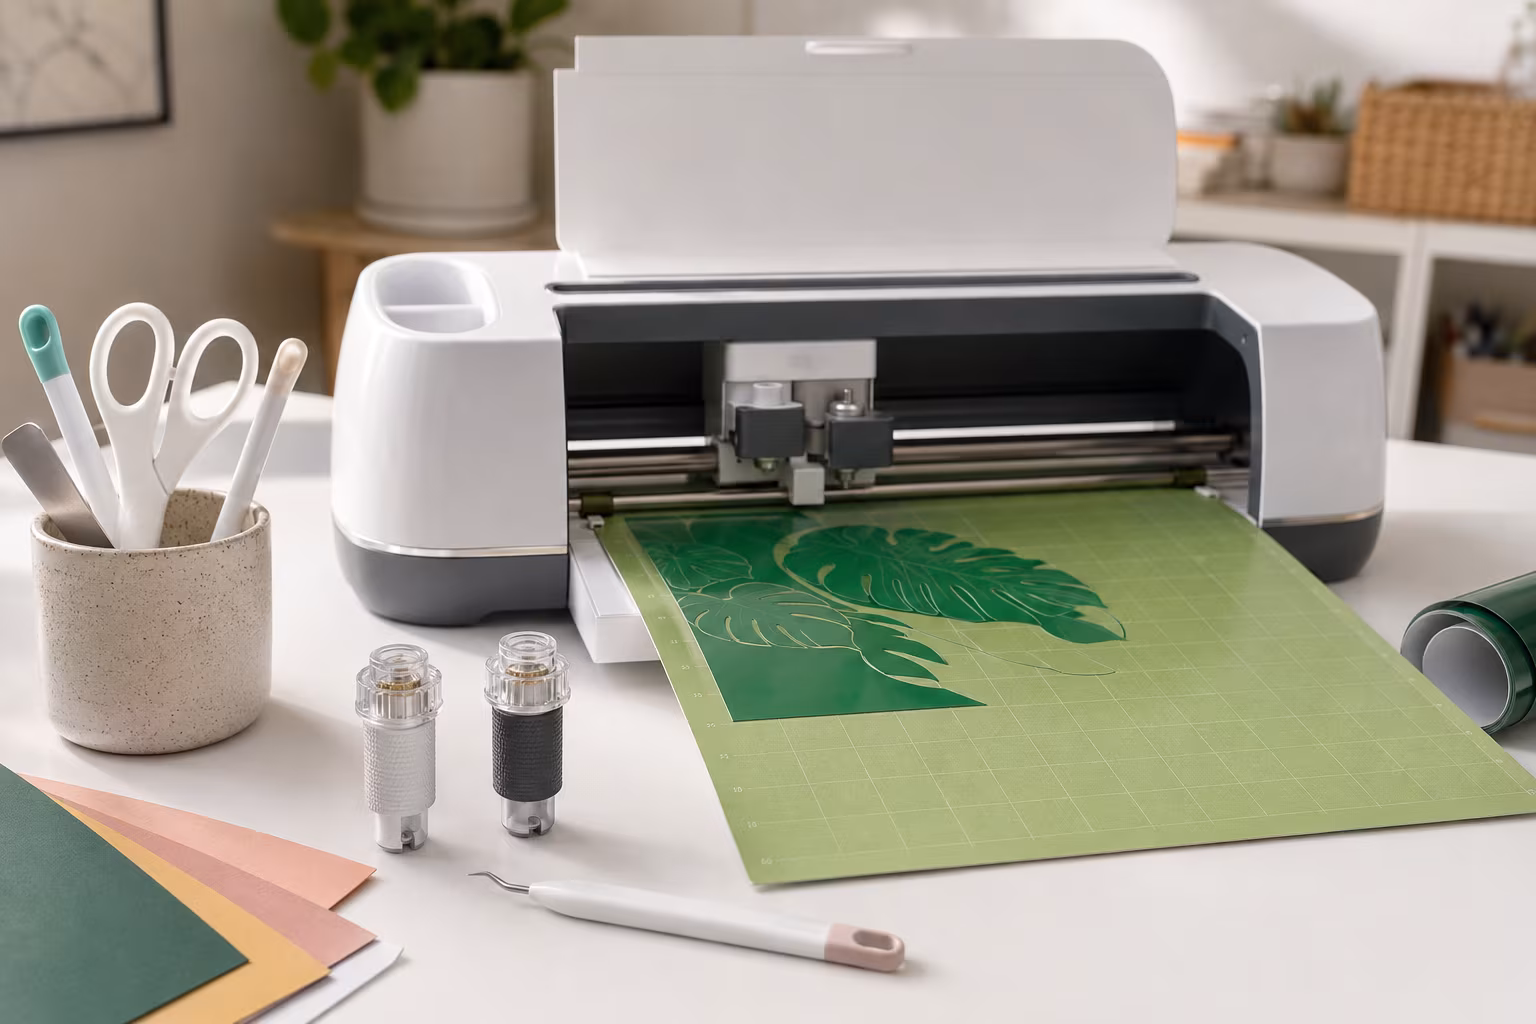
Beginner Cricut Blade Set: What You Actually Use Daily
The Cricut starter blade list is longer than most beginners need. The two or three blades that...
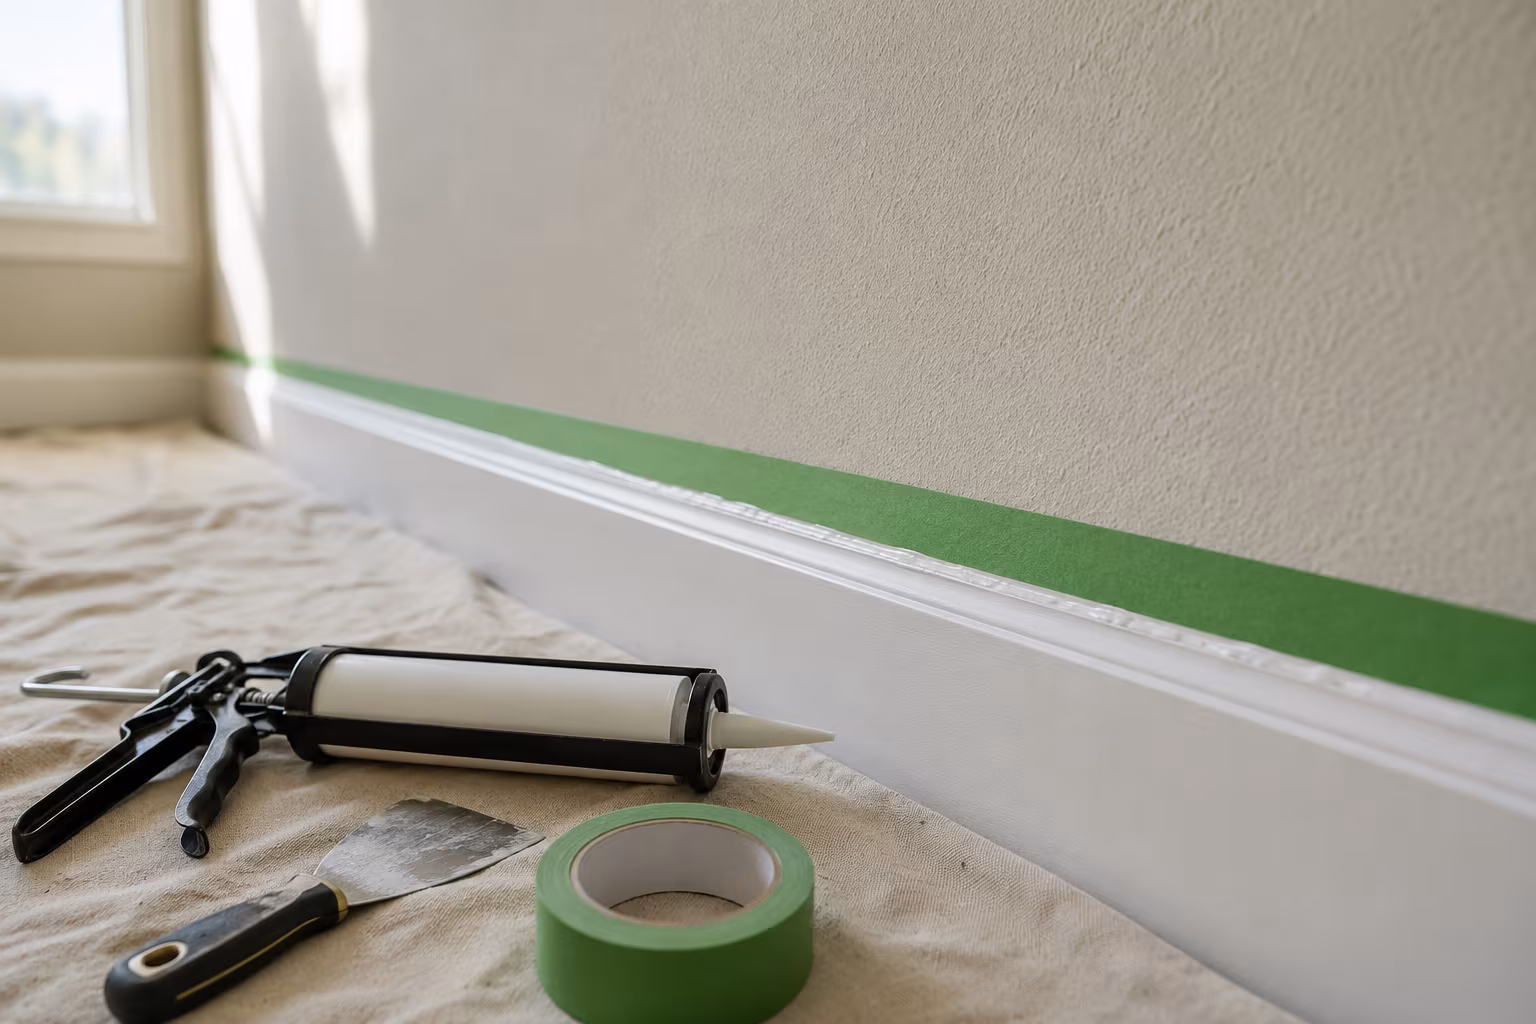
Painter's Tape for Crisp Lines on Textured Wall Surfaces
Standard blue tape bleeds on textured walls. The specialty tapes, caulk-edge-seal step, and...
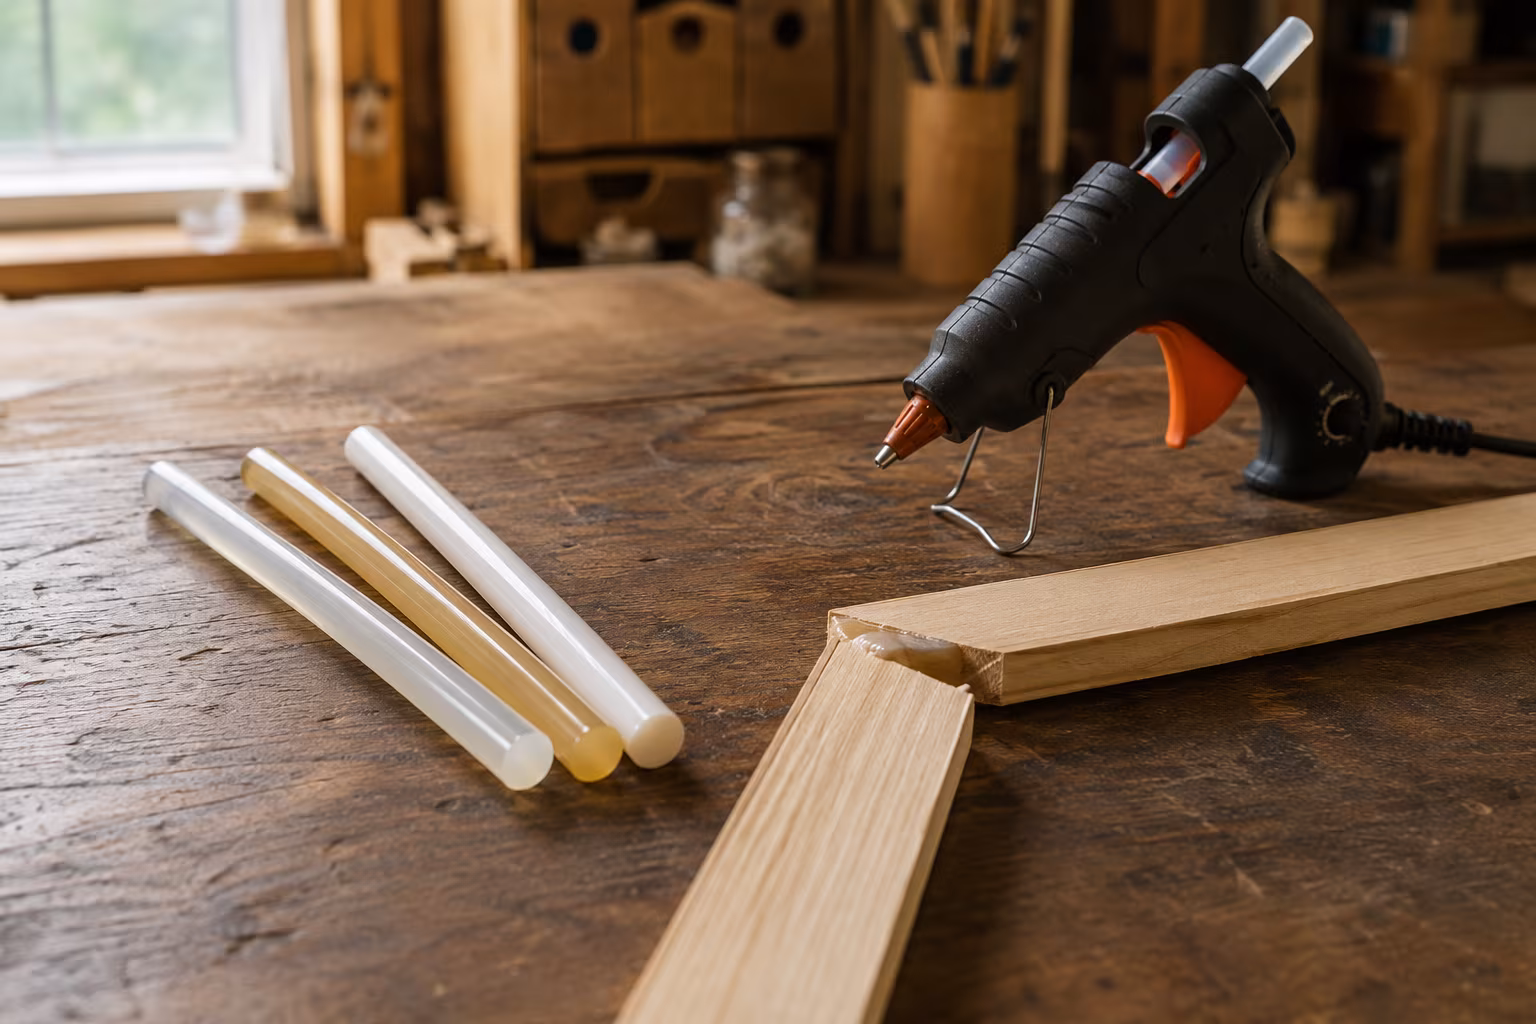
Hot Glue Sticks Compared: Low-Temp, High-Temp, Specialty
Low-temp glue sticks melt near 250°F, high-temp near 380°F. Compare stick types, specialty...

Sandpaper Grits Demystified: When to Stop Going Finer
Sand 80 to 120 to 180 for film finishes, 220 for oil, and stop there: finer burnishes wood and...