How to Run a Tie-Dye Workshop That Works for Adults and Children
A tie-dye session is one of the few crafts that genuinely works for a mixed-age group, but only if the setup accounts for a five-year-old's patience and a forty-year-old's desire to make something that looks deliberate. The trick is offering a shared material base with two levels of technique, so nobody is stuck doing a kindergarten project and nobody is fighting instructions they can't follow. This works well for a family gathering or a neighborhood get-together where ages span decades.
Choosing Fabric and Dye
Fiber content decides everything. Use 100% cotton: t-shirts, bandanas, tote bags, pillowcases, socks, or canvas shoes. Polyester and poly-cotton blends barely absorb dye and give muted, patchy results. Thrift-store white cotton shirts run about $1-3 each and are the cheapest way to stock a group; check the neckline tag for "100% cotton" before buying a stack.
For color that stays bright through dozens of washes, use Procion MX fiber-reactive dye, the same class of dye used commercially on cotton. It comes as a powder you mix with warm water in squeeze bottles, and it needs soda ash (sodium carbonate) as a fixative to bond the dye to the fiber. Pre-soak the fabric in a soda ash solution (about 1 cup per gallon of warm water) for 15-20 minutes, then wring it out before folding. The history and chemistry of tie-dye explains why reactive dyes outperform the all-in-one grocery-store kits that fade within a season.
Setting Up for Two Skill Levels
Cover every surface the dye can reach with tarps, plastic sheeting, or an old shower curtain. An outdoor space or a garage with a hose nearby is ideal because rinsing happens where the mess already is. Stock gloves in adult and child sizes, aprons or old shirts, and label bins for rubber bands, string, and squeeze bottles so you are not fielding "where are the bands" every two minutes.
Build a small pattern station with printed, numbered folds. Keep three easy ones front and center: the crumple (scrunch the whole shirt into a ball and band it), the bullseye (pinch a point, pull up, band at intervals), and the spiral (pinch the center, twist flat, band into wedges). For adults who want more, add pleating or a mandala fold. Kids gravitate to the crumple because it is fast and always reads as intentional; adults usually reach for the spiral.
Running the Workshop Step by Step
Pre-wash all fabric before the event to strip the manufacturer's sizing, which otherwise repels dye and causes blotchy coverage. Then run the group through a clear sequence:
- Fold and bind (15-20 min): demonstrate one easy fold, then circulate. Tighter rubber bands create sharper white lines.
- Apply dye (20-30 min): gloves on, no exceptions. Show how to squeeze color into the folds without fully saturating every spot, so white areas survive. This is a good moment to mention that red and yellow blend to orange and blue and yellow to green where colors touch.
- Bag and cure: seal each piece in its own plastic bag to stay damp, and let it sit 6-8 hours minimum, 24 hours for the deepest color. This cure time is when the dye chemically bonds; rushing it is the single biggest cause of washed-out results.
- Rinse and reveal: rinse in cold water while still banded until the runoff mostly clears, cut the bands, rinse again until clear, then wash in hot water with a little detergent, separate from other laundry.
Because the cure runs hours, plan a second activity to fill the gap: friendship bracelets, painted river rocks, or just snacks. That keeps the "is it ready yet" questions down and lets the reveal happen at a later, calmer point.
Common Mistakes
Skipping the pre-wash and the soda-ash soak are the two failures that ruin an otherwise fun afternoon; both cause pale, uneven patterns because the dye never fully penetrates or fixes. Under-buying protective gear is the next one: a single knocked-over squeeze bottle spreads fast, so keep more gloves, tarps, and old shirts on hand than you think you need, plus a bucket of soapy water and paper towels for spills as they happen, not after.
With younger children, resist complex folds. The crumple, bullseye, and simple stripes give the most reliable results and the least frustration; adults can layer on intricate folds once they see how the dye behaves. Children as young as 3-4 can squeeze dye onto pre-bound fabric with help, and by 6-7 most can band and fold their own designs.
For the active portion, budget 1.5 to 2 hours from setup through dye application, and communicate up front that curing and rinsing happen later. A tie-dye kit is the simplest route for a first small group, but if you plan repeat workshops, buying Procion dye, soda ash, and squeeze bottles separately in bulk costs noticeably less per bar of color.
Aftercare That Keeps Colors Bright
Tell participants how to wash the finished piece at home, because the first few laundry cycles decide how the colors hold. Wash tie-dye separately, or with like colors, for the first two or three washes, using cold water and a mild detergent to carry off any last unbonded dye. Skip fabric softener, which can dull the pattern, and hang-dry or tumble on low the first time to limit any bleeding onto other garments. A tablespoon of white vinegar in a cold pre-soak is a common step some crafters use before the first wash, though the soda-ash fixative during the workshop is what actually locks the color to the cotton. Handled this way, a well-cured Procion piece stays vivid for years rather than fading to a soft pastel after a summer of washing.
Related Posts
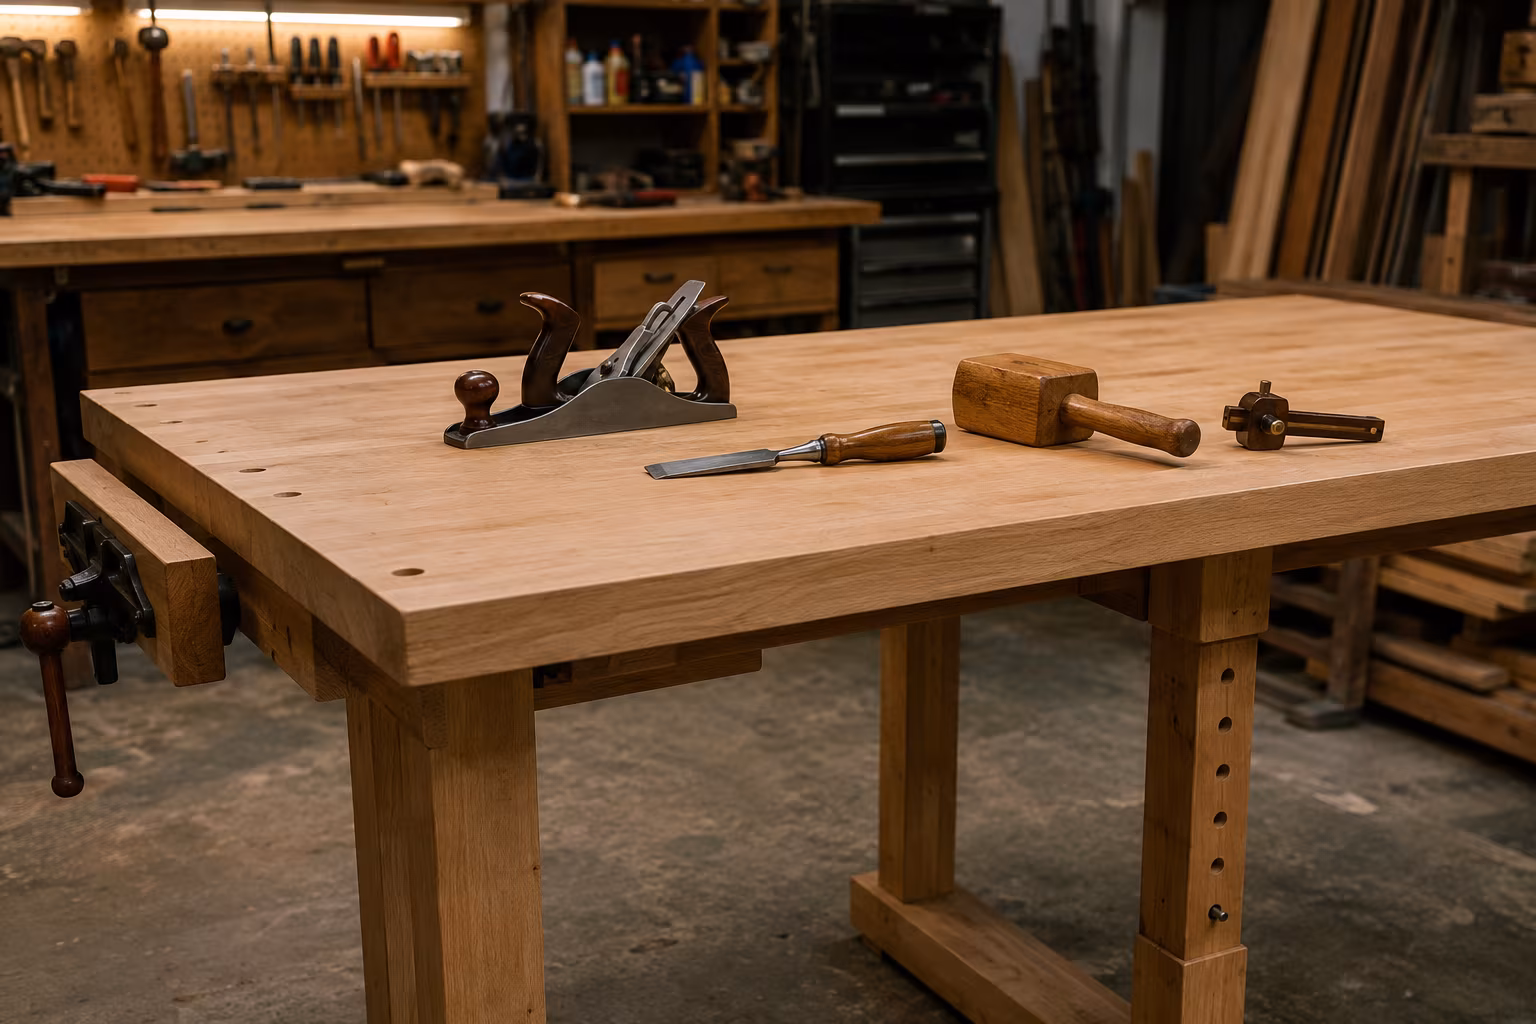
Workbench Height Without Hurting Your Back After Two Hours
A workbench at the wrong height becomes painful before the project is done. The elbow rule...
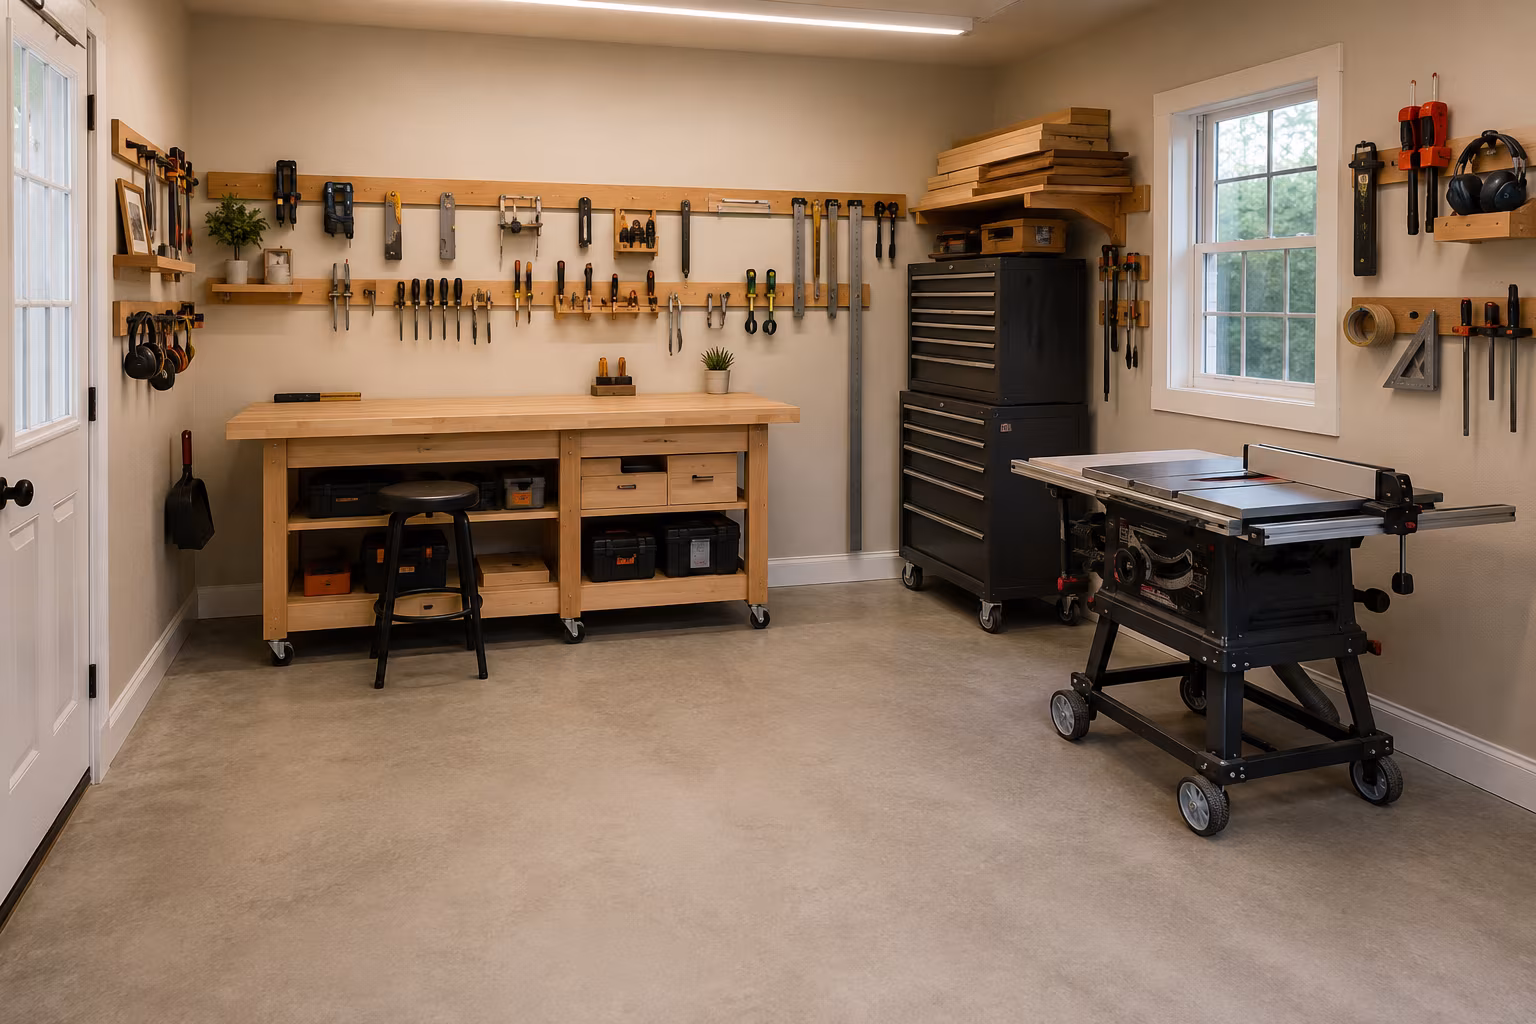
Single-Bay Garage Workshop Layout Without Losing the Car
Park the car and still keep a real workshop: mobile tools on locking casters, perimeter wall...

Pegboard vs French Cleat: The Honest Tool Wall Choice
Pegboard holds ~50 lb per sheet and rearranges instantly; French cleat holds 100+ lb per rail...

The Complete Guide to Starting a Fiber Arts Guild in Your Town
A practical plan to start a local fiber arts guild: finding founding members, picking a venue...