How to Set Up a Pop-Up Embroidery Circle at Your Local Coffee Shop
A pop-up embroidery circle is a casual, temporary stitching meetup you host in a public space such as a coffee shop. There are no dues, no formal instruction, and no fixed membership. You choose a date, secure a spot, and invite people to bring whatever project they are already working on. The format suits hand embroidery well because the tools are small, quiet, and portable, which makes a two-hour session in a shared room realistic without a dedicated studio.
Why the format works
Embroidery is slow, repetitive handwork that leaves your attention free for conversation. That is exactly what makes it a good group activity. Unlike a woodworking or ceramics session, there is no noise, no dust, and no equipment to share, so a table of six people can each stitch a different design without interfering with one another.
The low commitment is the point. A recurring class needs a curriculum, a room booking, and a paying roster. A pop-up needs a table and a start time. You can run it once, monthly, or drop it entirely if attendance fades, and nobody has lost a deposit. That flexibility is also what makes it easy to keep going: fewer moving parts means fewer reasons to cancel. If you already host open studio days or similar events, the same logic applies here.
What to bring as the host
Tell attendees to bring their own projects, but keep a small loaner kit so a first-timer or a forgetful regular can still stitch. A shoebox-sized container holds everything:
- Embroidery hoops in 4-inch to 6-inch sizes. Small hoops are easier for beginners to hold and fit any lap. Keep two or three spares.
- Plain woven fabric such as cotton or linen, pre-cut into 6x6-inch squares. Quilting cotton and cut-up pillowcases both work; avoid stretchy knits, which distort as you stitch.
- Six-strand cotton floss in a handful of basic colors. DMC and Anchor are the two most common brands and cost roughly one dollar per skein. White, black, and a few primaries cover most starter designs.
- Embroidery needles in sizes 5 to 9. The higher the number, the finer the needle; sizes 7 and 8 handle three or four strands of floss comfortably.
- Small sharp scissors for snipping thread, plus a water-soluble marking pen for tracing simple shapes like initials or leaves.
That entire kit costs under $30 to assemble and lasts for many sessions. You are not equipping a class; you are covering the one person who shows up empty-handed.
Setting one up, step by step
Most of the work is logistics, and it happens before anyone stitches a single knot.
Choose and clear the venue
Look for an independent cafe with communal tables or a quiet corner, good overhead light, and a mid-afternoon lull. Ask a manager for permission during off-peak hours rather than assuming a table is yours. Explain the plan plainly: a small group, roughly six to ten people, once a month, buying drinks and staying quiet. Weekday afternoons are the easiest sell because you fill seats that would otherwise sit empty.
Set a fixed start and end time
Two hours is the practical sweet spot, long enough to settle into a rhythm but short enough that people can plan around it. Put both times on every invitation, for example 2 to 4 p.m. A defined end lets attendees leave without awkwardness and keeps you from overstaying the cafe's welcome.
Spread the word in more than one place
A single flyer rarely fills a table. Combine a printed notice on the cafe's community board with a post in a local crafting group and a direct message to a few friends. Personal invitations convert far better than public posts, so name specific people you think would enjoy it. If you are also promoting a neighborhood supply swap or other local event, cross-mention them.
Host the first session
Arrive ten minutes early, claim the table, and start your own piece so the setup looks inviting. A small handwritten sign reading "Embroidery Circle" helps newcomers find you. Greet people by name, ask whether they have stitched before, and then let the group run itself. Your job is to hold the space, not to teach every stitch.
Common mistakes and fixes
The most frequent error is skipping permission. Occupying a table for two hours without asking annoys staff who have a business to run; a two-minute conversation with the manager solves it. The second is expecting a crowd. A first session of two people is normal and still worthwhile, so treat low turnout as a quiet work session rather than a failure. Third, hosts often assume they must be experts. A circle is peer-to-peer, and framing it as all-skill-levels removes that pressure, the same way a mixed-level lettering group works. Finally, always leave the table cleaner than you found it. Collect every thread snippet and reset the chairs; that goodwill is what earns you a standing invitation to return.
Frequently asked questions
What if nobody shows up to the first session?
Use the time to stitch your own project. A first meeting with low turnout usually means short lead time, so give at least two weeks' notice next time and send a few direct invitations rather than relying only on flyers.
Do I need to be an expert to host?
No. A pop-up circle is a shared space, not a class. You are facilitating a gathering, and you will often learn techniques from attendees.
How much does it cost to run?
Almost nothing beyond your own coffee. A loaner kit of hoops, fabric, floss, and needles runs under $30 and lasts for months, since most attendees bring their own supplies.
How long should a session last?
About two hours. That is enough time to settle in and talk without people feeling stuck when they need to leave.
Related Posts
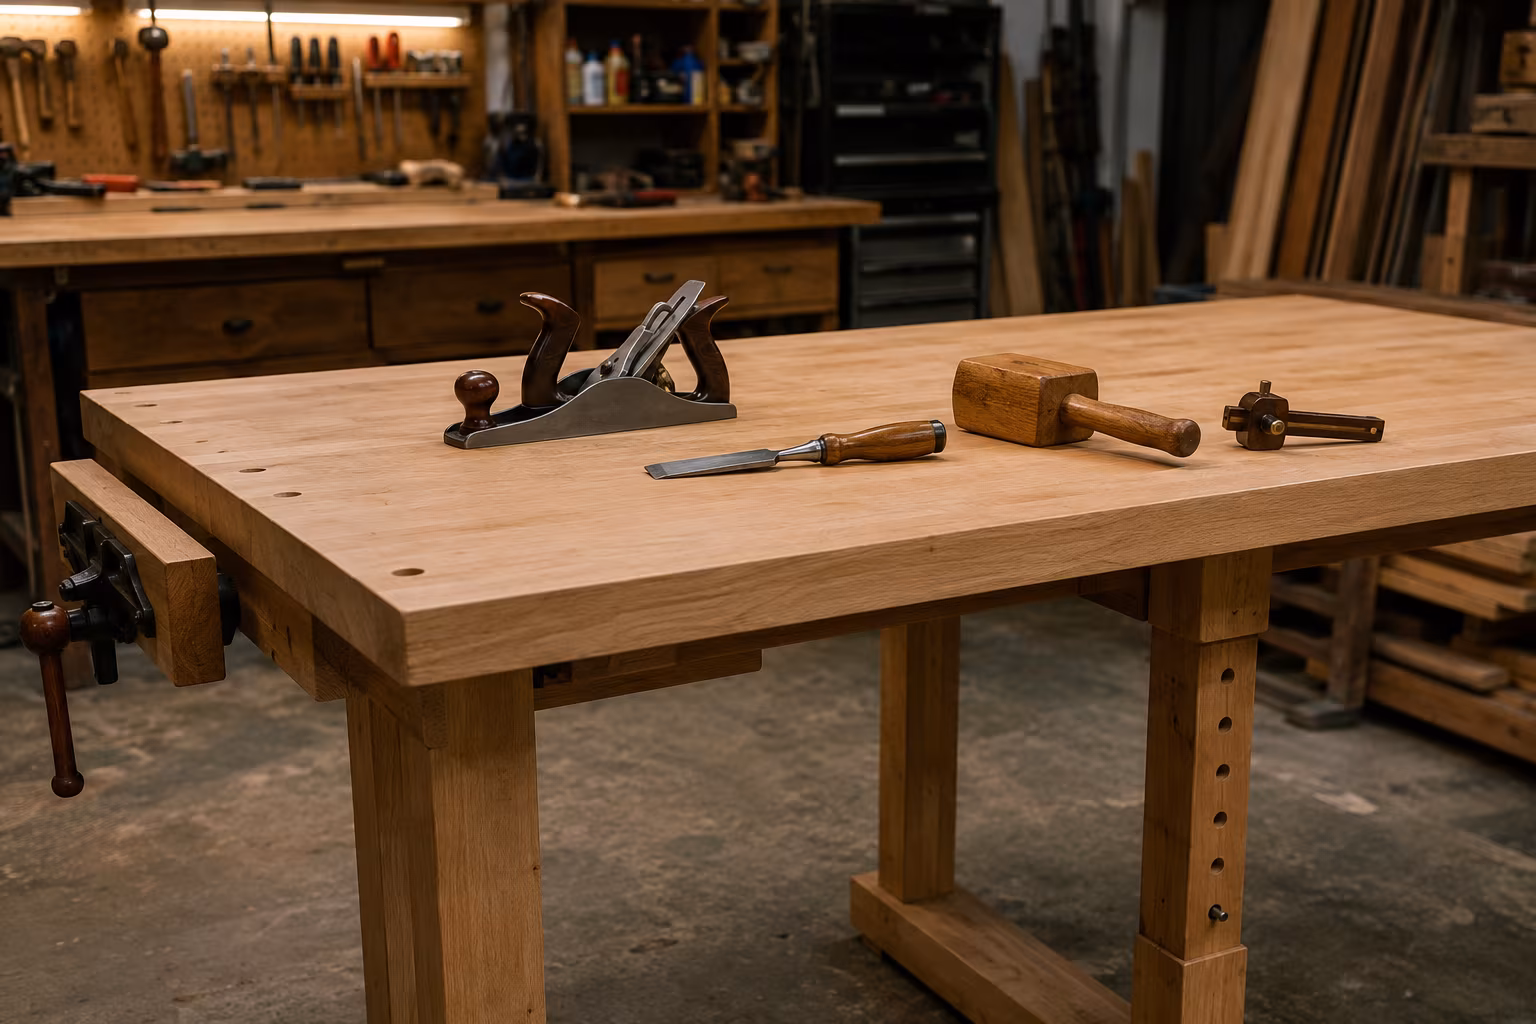
Workbench Height Without Hurting Your Back After Two Hours
A workbench at the wrong height becomes painful before the project is done. The elbow rule...
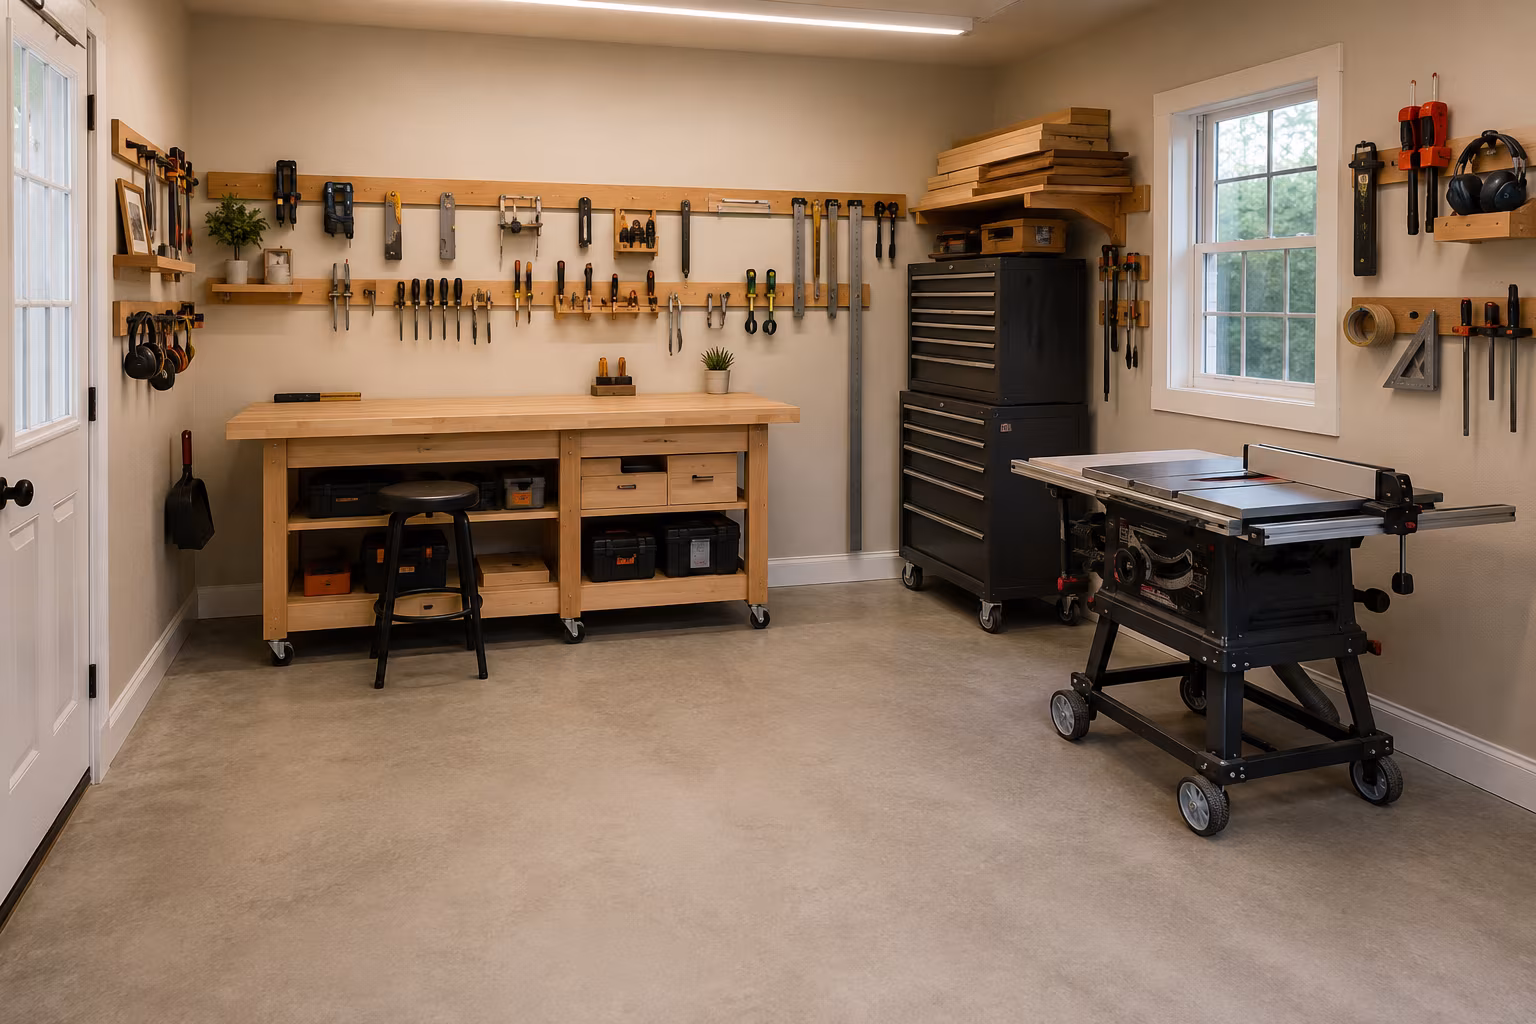
Single-Bay Garage Workshop Layout Without Losing the Car
Park the car and still keep a real workshop: mobile tools on locking casters, perimeter wall...

Pegboard vs French Cleat: The Honest Tool Wall Choice
Pegboard holds ~50 lb per sheet and rearranges instantly; French cleat holds 100+ lb per rail...

The Complete Guide to Starting a Fiber Arts Guild in Your Town
A practical plan to start a local fiber arts guild: finding founding members, picking a venue...