How to Style a Bar Cart That Doubles as Functional Home Decor
A bar cart earns its footprint when it does more than hold liquor. As a mobile, open-shelf surface, it adapts to whatever a small home needs most, shifting from a morning coffee station to an evening drinks setup or a craft-supply hub with a few swaps. Styling one well is less about buying new pieces than about layering function and looks in a deliberate order: get the working parts right first, then build the aesthetic on top. The method is the same one decorators use for any small vignette, and it works with items you probably already own.
What Makes a Bar Cart Functional
A functional cart is a versatile display surface that serves a clear primary purpose while staying easy to actually use. The trick is matching the cart to a real routine rather than copying a magazine setup. Each use-mode has a set of anchor items that define it.
| Use mode | Anchor items | Best for |
|---|---|---|
| Coffee and tea station | Machine, mugs, sugar, tea tins | Clearing kitchen counters |
| Cocktail bar | Core bottles, shaker, glassware, ice bucket | Entertaining |
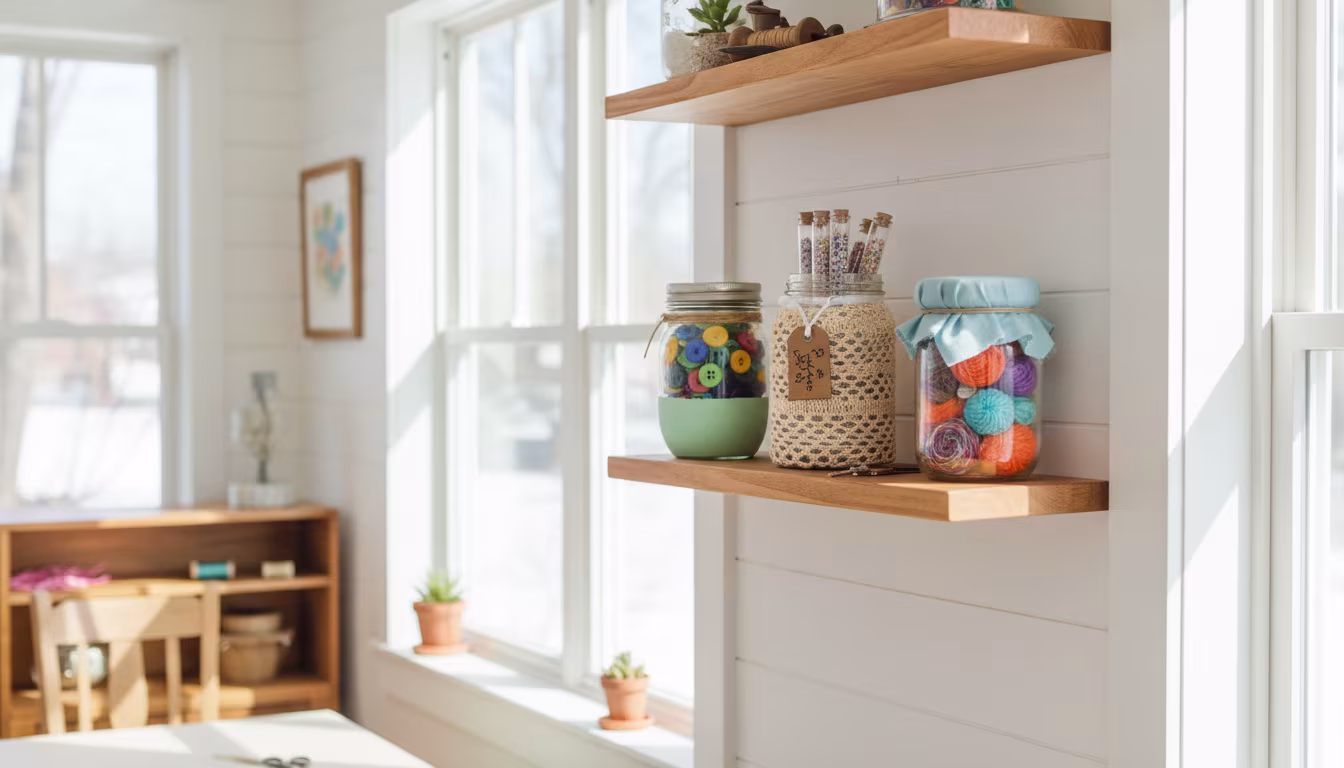
| Craft supply hub | Cutting tools, vinyl rolls, paper, small bins | Keeping supplies in reach |
| Reading nook sidekick | Books, blanket, lamp, mug warmer | A dedicated relaxation spot |
| Guest welcome station | Towels, water, snacks, toiletries | Hosting overnight guests |
This flexibility is what makes a cart valuable in a small home. In interior design terms it is a piece of functional decor, one that stretches a single square foot of floor across several jobs.
Choosing and Refreshing the Cart
You do not need an expensive cart to start. Thrift stores, estate sales, and flea markets turn up vintage carts for $15 to $30, often with a wobble or peeling paint that a screwdriver and a coat of spray paint fix. A matte-black or brass spray finish over a cleaned, lightly sanded frame reads as brand new. Giving a pre-loved cart this kind of upcycling refresh is both cheaper and more satisfying than buying one.
Match the cart to your space and use. Metal and wood are classic; acrylic or a repurposed rolling utility cart also works. Prioritize wheels if you will move it, and look at shelf depth, since deeper shelves with a lip hold taller items and keep bottles from rolling off. Two shelves is standard, but three gives you room to separate function from decoration.
Measure the corner before you commit to a cart. A typical bar cart runs about 30 to 34 inches tall and 30 to 36 inches wide, and it needs a few inches of clearance on each side so the wheels can roll and the top shelf stays reachable. If the cart lives in a walkway, choose a narrower profile around 16 inches deep so it does not clip passing hips. Checking these numbers against the spot saves you from hauling home a piece that technically fits the floor but crowds the room.
Anchor With Function First
Before any decorative object goes on, load the cart with its primary working pieces. A coffee cart gets the machine, everyday mugs, and a small sugar or creamer container; a drinks cart gets the core bottles and a shaker; a craft cart gets the tools and components you reach for most. These are the anchors that prove the cart can do its job.
Test it in real use at this stage. Does the coffee machine sit with enough clearance to lift the lid? Can you reach the shaker without moving three things? If the working layout is awkward now, no amount of styling will fix it later. Keep the anchors to the necessities so the cart does not read as cluttered from the start.
Layer in Pretty but Practical Pieces
With the anchors placed, add items that look good and still earn their spot. A tray is the workhorse here: it corrals coasters, a bottle opener, and a small garnish dish into one intentional group and lets you lift several items at once. Vintage silver or brass trays from estate sales add instant character.
Glassware is the next layer, and you do not need a matched set of twelve. A few interesting cocktail glasses, etched tumblers, or small snack bowls do more visual work than a full set. An ice bucket looks good and proves useful when you entertain. Mix materials on purpose here, letting glass, metal, ceramic, and wood play against each other for a layered look rather than a uniform one.
Lighting is the layer most people skip. A cart tucked in a dim corner reads as an afterthought until you add a small light source at eye level. A cordless puck light on the lower shelf, a short battery lamp beside the glassware, or a string of warm LEDs looped once around a handle gives the whole vignette a glow after dark and makes the surface usable for pouring a drink or reading a label. Keep the color temperature warm, around 2700K, so it flatters brass and wood rather than washing them flat. If the cart holds a coffee or reading setup, a small clip-on lamp angled at the shelf doubles as task light, which turns a decorative corner into one you actually use in the evening.
Add Greenery, Texture, and the Wall Behind It
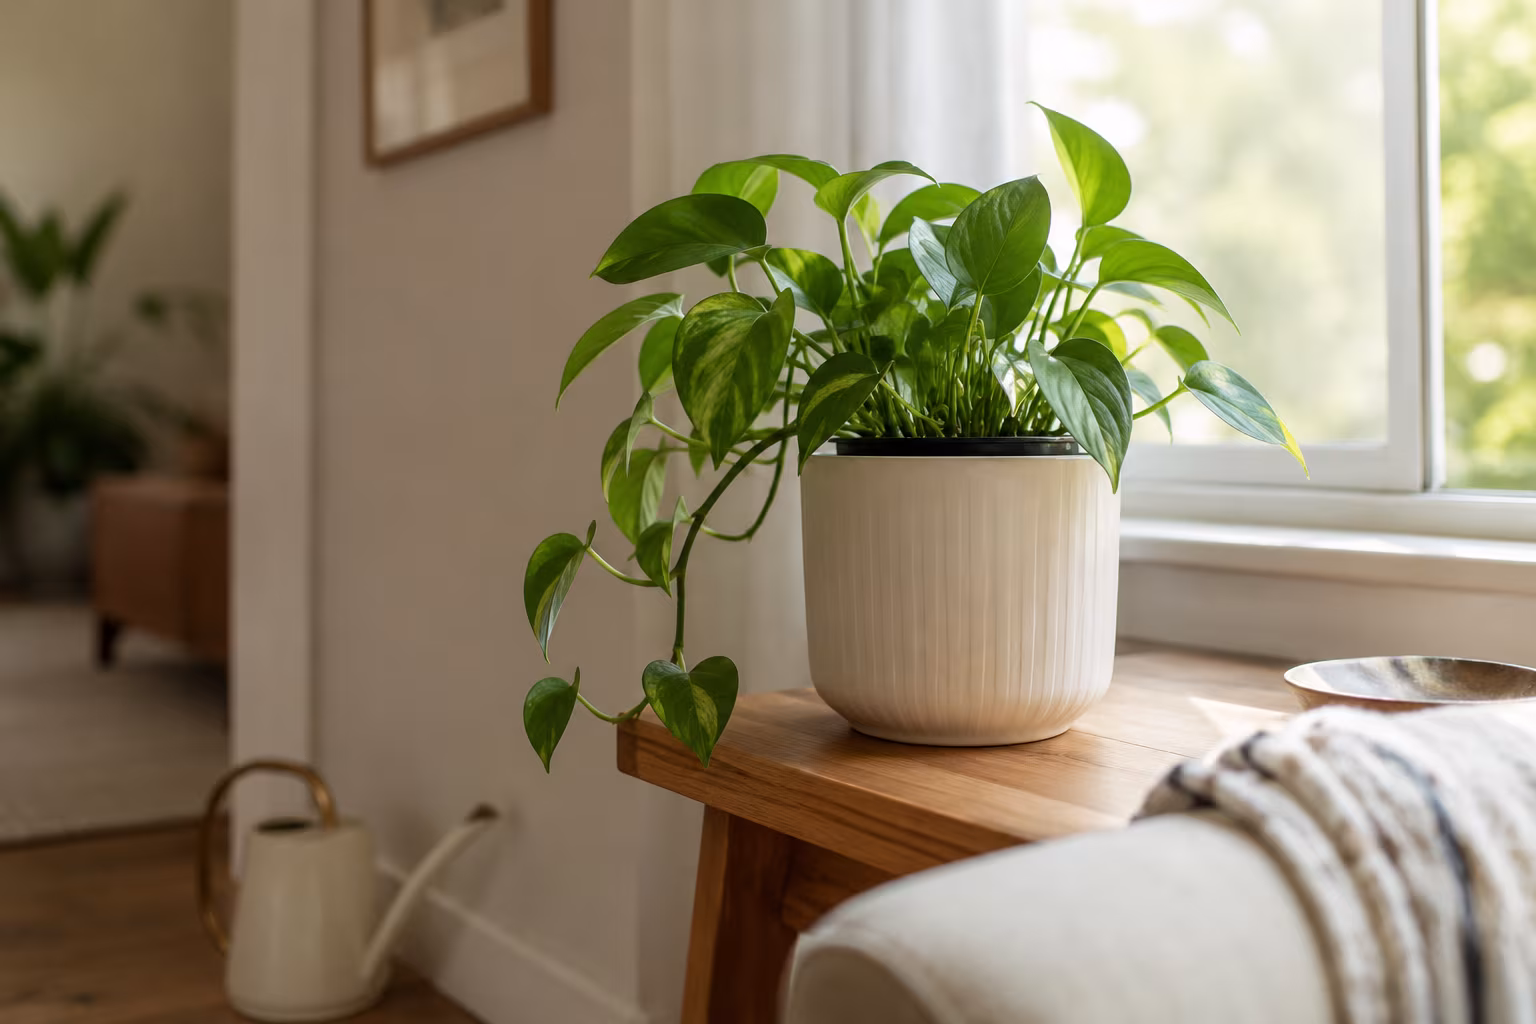
Every arrangement benefits from a touch of life. A small potted plant, a sprig of eucalyptus in a slim vase, or even a quality faux succulent adds color and organic warmth. Soften the cart's hard lines with a folded linen napkin, a small tea towel, or a lightweight throw over the handle. A woven basket adds natural texture while holding extra napkins or stirrers, so it stays useful.
Do not waste the wall the cart sits against. Hanging a mirror above it bounces light and makes a tight corner feel larger; art adds color and a backdrop. A set of floating shelves above the cart adds storage for spare glasses or plates without crowding the cart itself, turning the whole area into one intentional zone rather than a piece floating in space.
Personalize, Then Arrange and Rearrange
The details that make the cart yours are the personal ones: a stack of favorite books, a small framed photo, a figurine from a trip, or a clay vase you made in a pottery class. Curate rather than clutter; a few meaningful pieces beat a crowded shelf.
Styling is not one-and-done. Play with height by placing taller items toward the back or one side, and group small objects on a tray so they do not scatter. Decorators arrange objects in loose triangles of varying heights because the uneven grouping reads as balanced and natural. Step back often, or photograph the cart on your phone, to catch what is not working. A quick 15-minute refresh keeps the display from going stale.
Common Styling Mistakes
A handful of missteps turn a functional cart back into clutter. The most common is overdoing it, piling on every attractive object until the cart looks like a storage unit and you have to move five things to reach one. The fix is restraint: question whether each item serves a purpose, and rotate pieces seasonally instead of displaying everything at once.
Second is forgetting the function, styling it so beautifully you can no longer make a drink or grab a tool on it. Leave a small clear working area and keep clearance around the anchor pieces. Third is ignoring scale, pairing a tiny cart with chunky bottles or a large cart with a few small trinkets; mix heights and widths, and leave some empty space so the eye can rest.
Fourth is buying new when your own cabinets hold glassware, books, and small plants that would work; shop your house first for the pieces and for a look that genuinely reflects you. Fifth is setting it and forgetting it. Treat the cart as a living part of the room the way you would other functional decor: swap the flowers, rotate a book or two, and change the glassware with the season. Start with the cart you can find secondhand, anchor it to one real routine, and let the styling evolve every few weeks rather than locking it in place.
Related Posts
Indoor Plant Pot with No Drainage Hole: How to Make It Work
A no-drainage pot rots roots fast. Use the double-pot method, skip the gravel myth, pick...
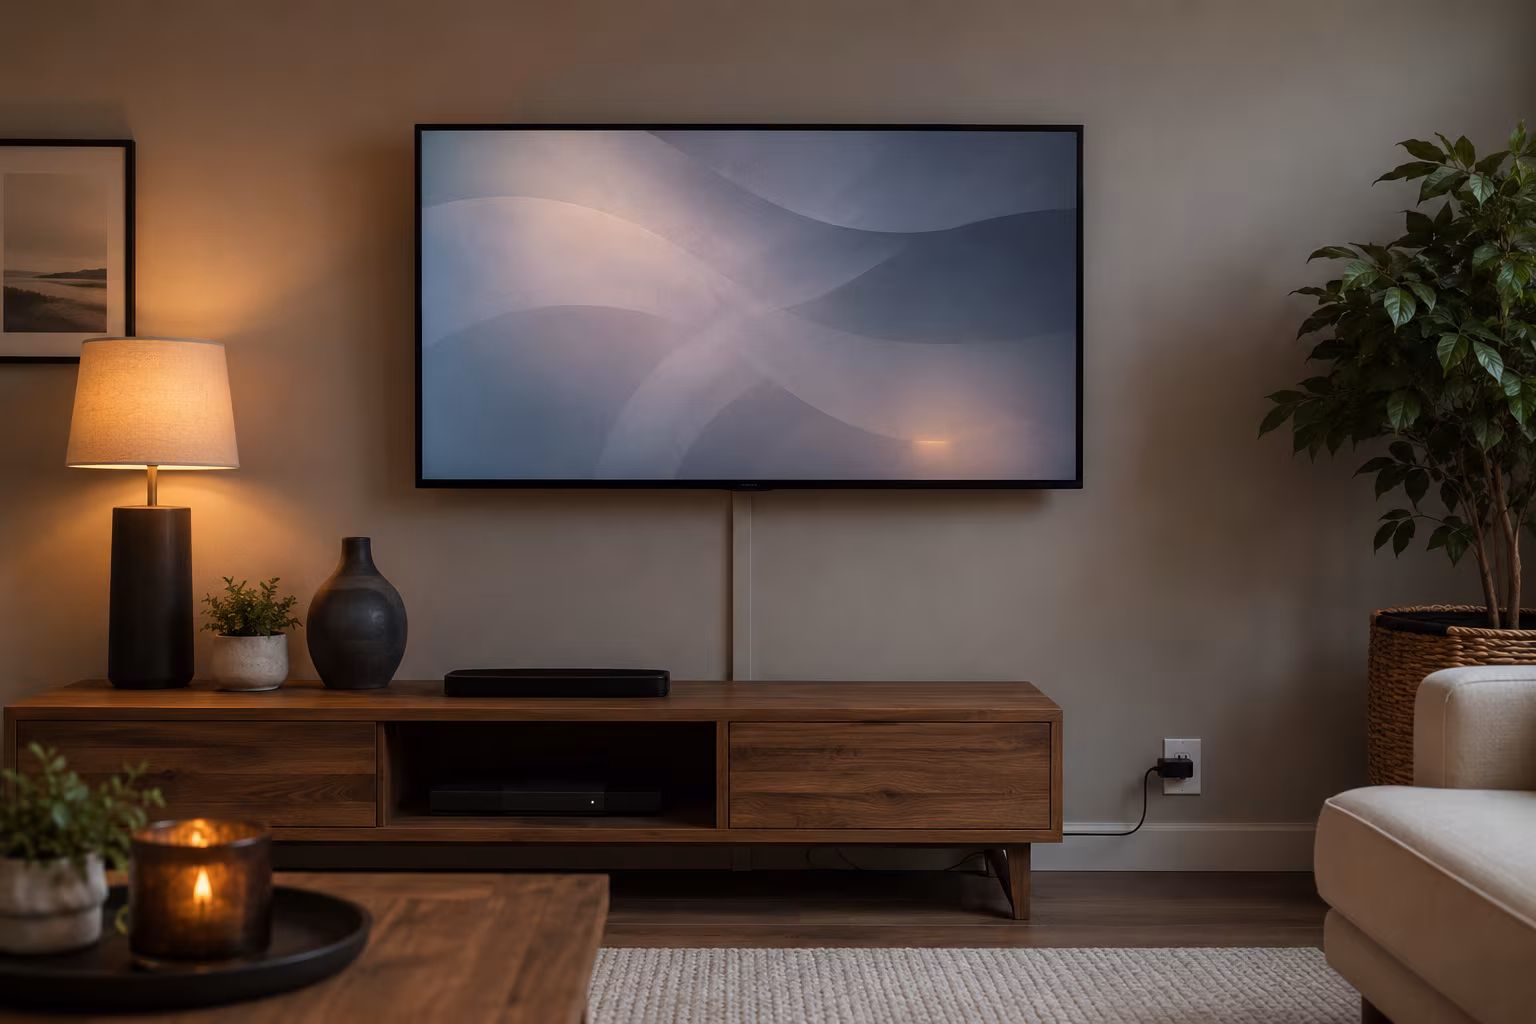
Hide TV Cable Clutter Renter-Safe Without Drilling
Hide a wall-mounted TV's cables without drilling: a paintable adhesive raceway to the outlet, a...
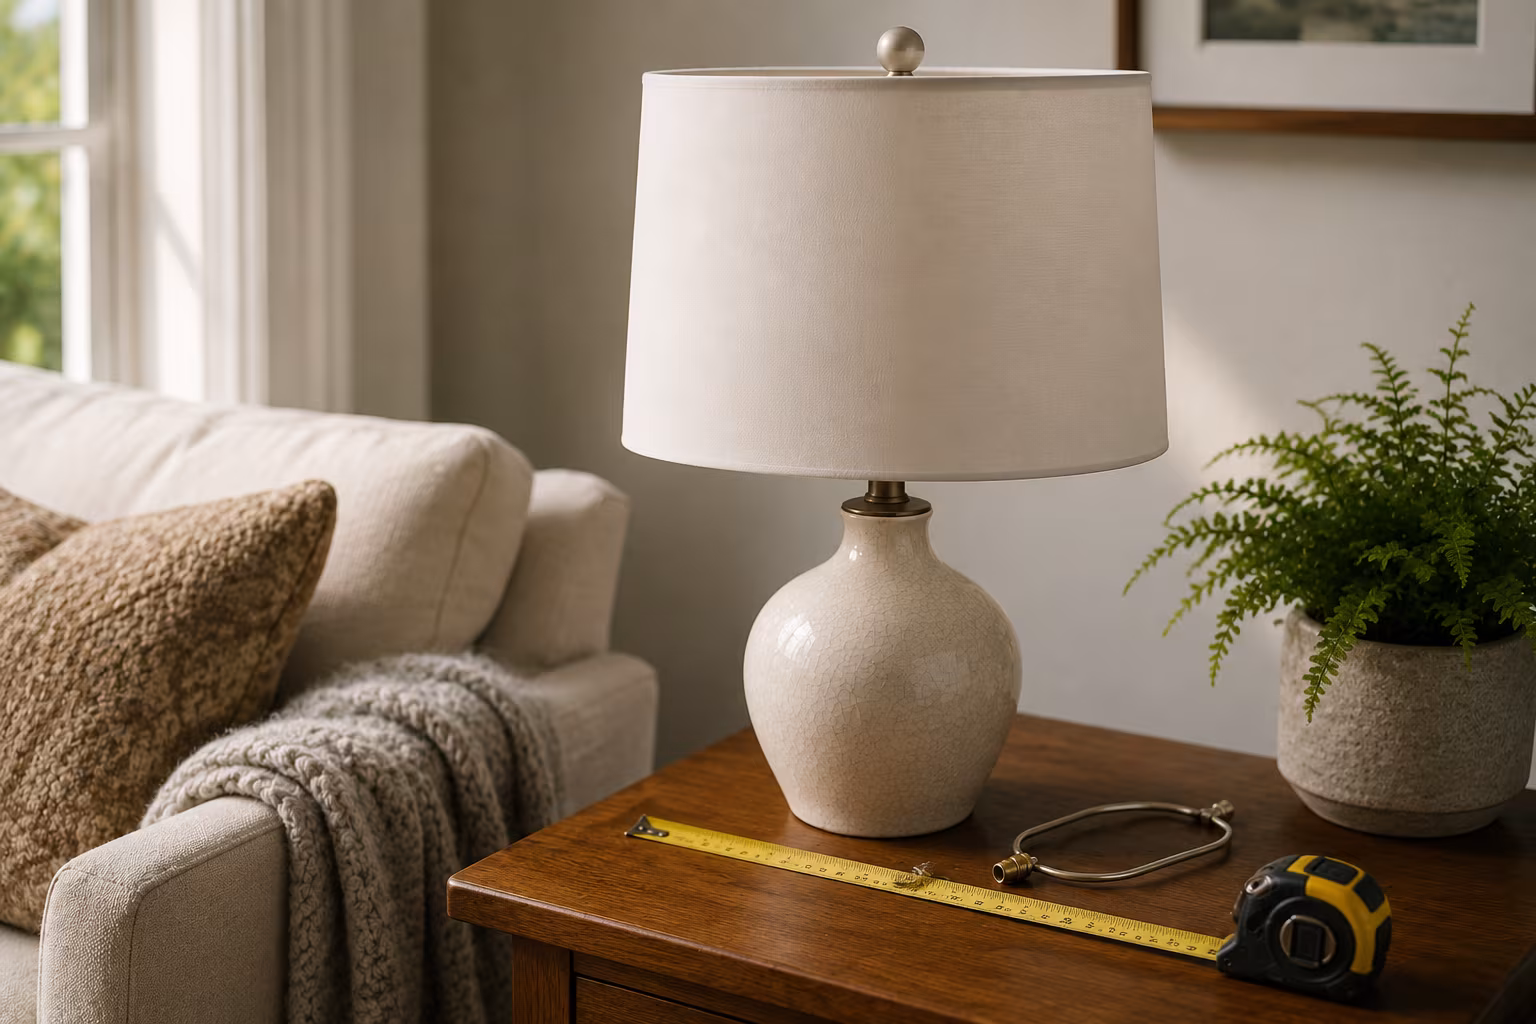
Lampshade Sizing: Harp, Bulb, and Drum Math Explained
Lampshade fit is three numbers: harp height near shade height, 3.5 inches of bulb clearance, and...
Color-Match Trim Paint to Existing Off-White Walls
Matching trim to aged off-white walls is about undertone, not lightness: cut a real chip, have...