How to Style a Console Table That Actually Looks Intentional
A console table sits in a high-traffic zone, usually an entryway or hallway, which is exactly why it collects mail, keys, and stray mugs. Styling it well is less about buying decor and more about arranging a small, deliberate group of objects that reads as intentional. The working term for that group is a vignette, and once you understand its structure you can restyle any flat surface in about 20 minutes.
Build around a vignette
A vignette is a curated arrangement of a few objects that work together as a composition rather than a scatter of unrelated items. Three qualities separate one that looks styled from one that looks like a junk drawer: varied height, mixed texture, and restraint. Interior stylists lean on the same odd-number grouping logic as the rule of thirds in photography, because groups of three or five feel more natural to the eye than symmetrical pairs.
Height variety is the single biggest fix. If every object stands 8 to 10 inches tall, the arrangement flattens out and your eye has nowhere to travel. You want a clear tall-medium-short progression, roughly a "mountain range" silhouette. Texture is the second lever: pair a rough stoneware bowl, a woven runner, and a smooth ceramic vase so the surface feels layered instead of uniform. The third is negative space — leaving part of the tabletop empty so the pieces you keep have room to register.
The four-layer height formula
Instead of eyeballing it, sort your candidate objects into four height bands. Choose one anchor, one or two tall pieces, two or three medium pieces, and a couple of small accents. On a standard console (typically 30 to 36 inches tall and 12 inches deep) that combination fills the surface without crowding it.
| Layer | Typical height | Example pieces |
|---|---|---|
| Anchor (usually on the wall) | 24–36 in | Framed mirror, large art, wall clock |
| Tall | 18–28 in | Table lamp, slim vase, trailing plant |
| Medium | 8–14 in | Stacked hardcovers, bowl, framed photo |
| Small accent | Under 6 in | Candle, catch-all dish, stone, bud vase |
The anchor does the most work. A mirror is the reliable choice in an entryway because it bounces light and makes a narrow hall feel wider; art or a wide tray works if you would rather not hang anything. Scale it to the table: a wall piece should span roughly two-thirds to three-quarters of the table's width so it reads as connected rather than floating. Everything else layers forward and outward from that focal point.
A step-by-step layering order
Clear the table completely first, including the lone coaster, so you are working from a blank surface. Then build in this sequence:
- Set the anchor — hang the mirror or art, or place your largest tabletop object slightly off-center.
- Add tall pieces. Place a lamp on one side and a plant or a book stack on the other, aiming for an asymmetric triangle rather than a mirrored pair.
- Fill with medium objects — a stack of two or three books topped with a small bowl, a framed photo, a sculptural piece — to bridge the tall and short items.
- Drop in small accents in a tight cluster, ideally corralled on a small tray or dish so they read as one moment instead of clutter.
- If the console has an open shelf or floor space beneath, use two woven baskets there for blankets, shoes, or magazines; it adds visual weight low down and hides the overflow.
Then step back four or five feet. Photographing the arrangement on your phone is genuinely useful — a photo flattens the scene and exposes lopsided weight or awkward gaps you miss up close. Adjust, and repeat until your eye moves smoothly across the whole surface.
Common mistakes and quick fixes
Five errors account for most console tables that feel off. Too many small objects creates visual noise; group them on a tray and rotate the rest into storage rather than showing all of them at once. Uniform height flattens everything; slide a book or two under a small object to lift it. One-note texture — all smooth or all rustic — reads as a store display; combine wood with metal, ceramic with fabric, matte with glossy.
No personality leaves the table sterile: work in at least one item that means something, a souvenir, a handmade piece of pottery, or a framed photo. And ignoring negative space makes the surface feel crowded — leaving a third of the tabletop clear is a feature, not a gap.
Lighting is worth one deliberate choice: a small table lamp on the console adds warmth at eye level and doubles as one of your tall pieces, and a low-wattage bulb turns the surface into a soft welcome light by the door. To keep the table from reverting to a drop zone, build in one functional catch-all: a shallow bowl or lidded box that has an accepted job (keys, mail) so those items land somewhere deliberate. A 30-second daily reset keeps it maintained. When you want a refresh, swap a single element seasonally — a small vase of stems in spring, a dried arrangement in fall — rather than restyling the whole thing. Most of the best pieces come cheap from thrift-store hunting, where a single interesting vase or vintage book runs a few dollars.
Related Posts
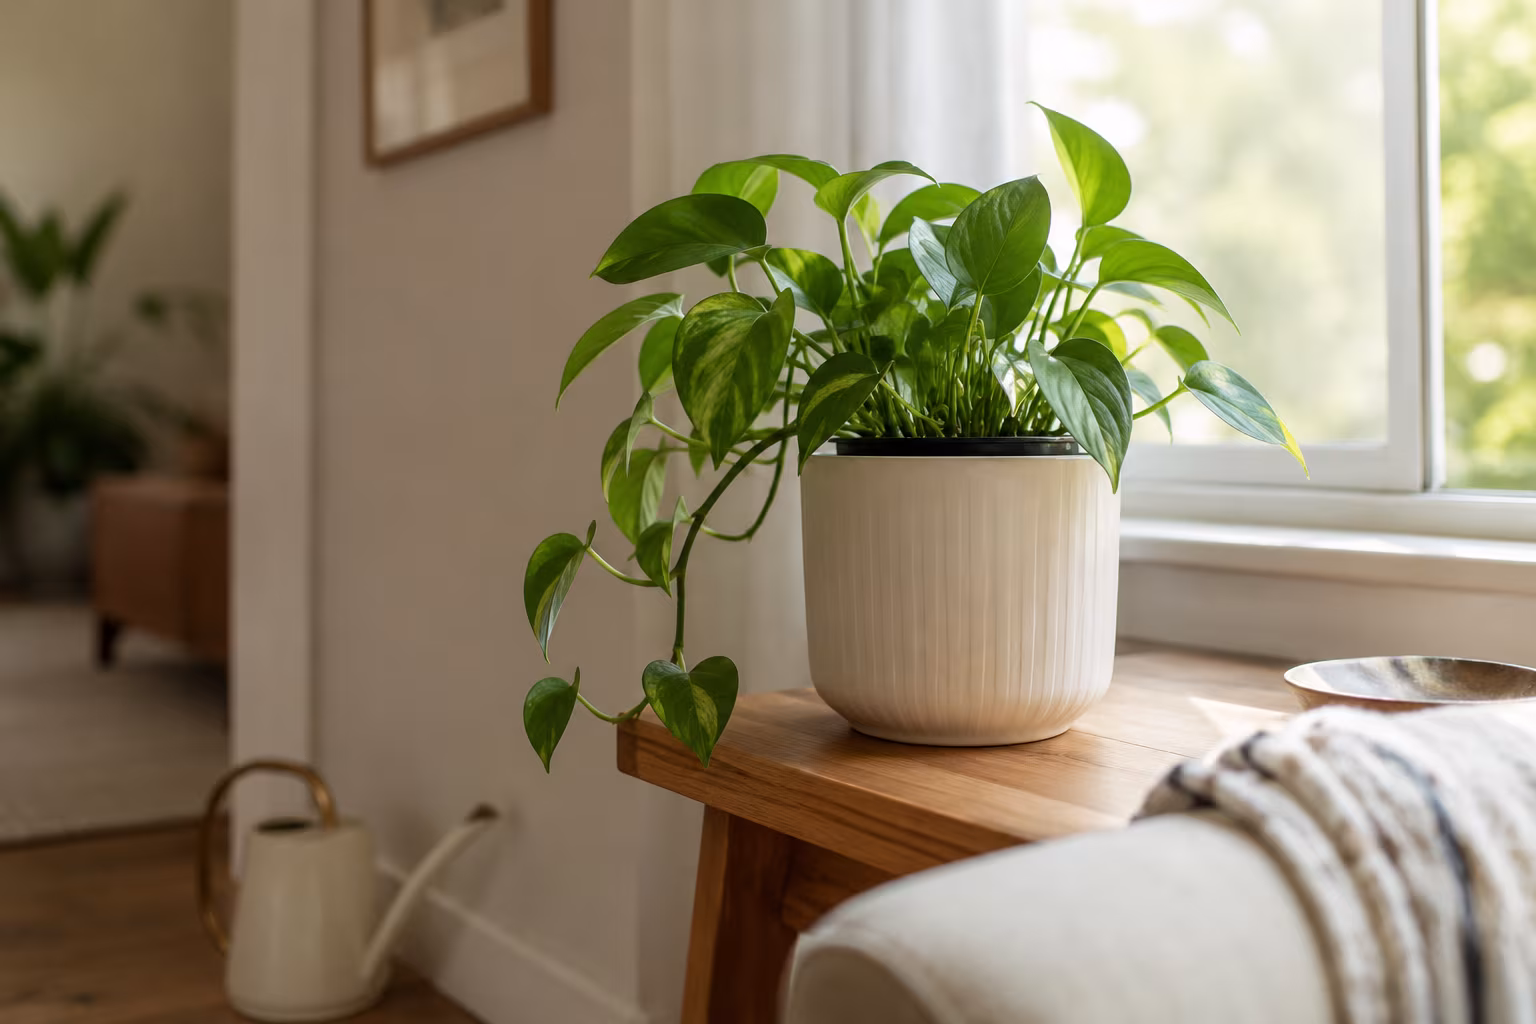
Indoor Plant Pot with No Drainage Hole: How to Make It Work
A no-drainage pot rots roots fast. Use the double-pot method, skip the gravel myth, pick...
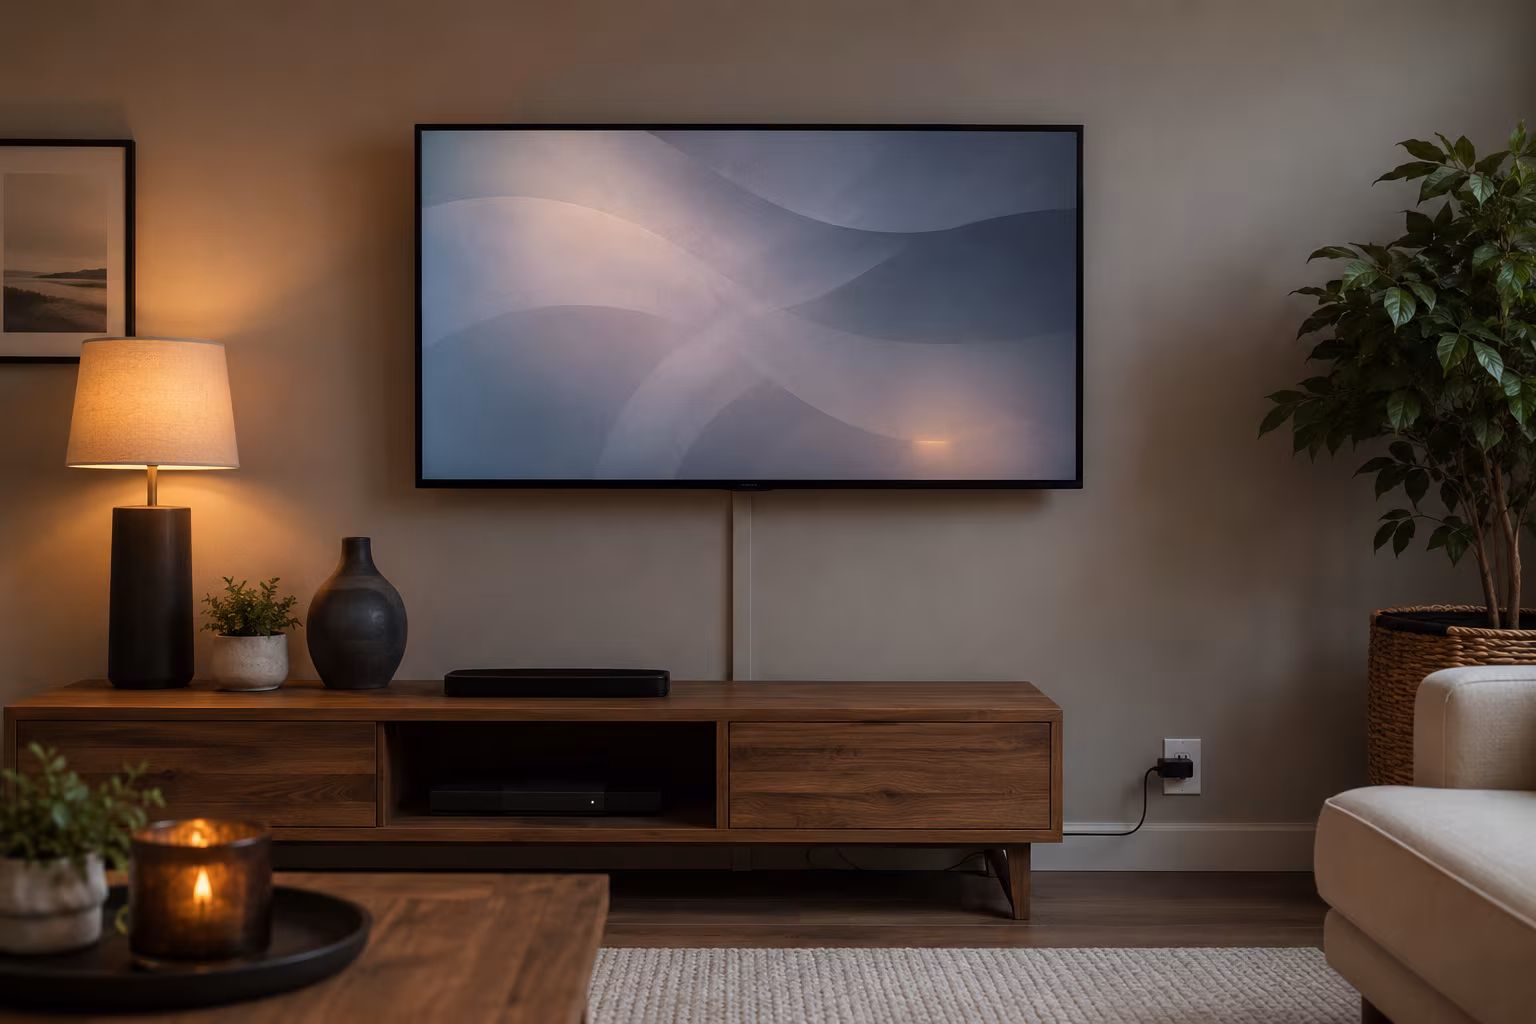
Hide TV Cable Clutter Renter-Safe Without Drilling
Hide a wall-mounted TV's cables without drilling: a paintable adhesive raceway to the outlet, a...
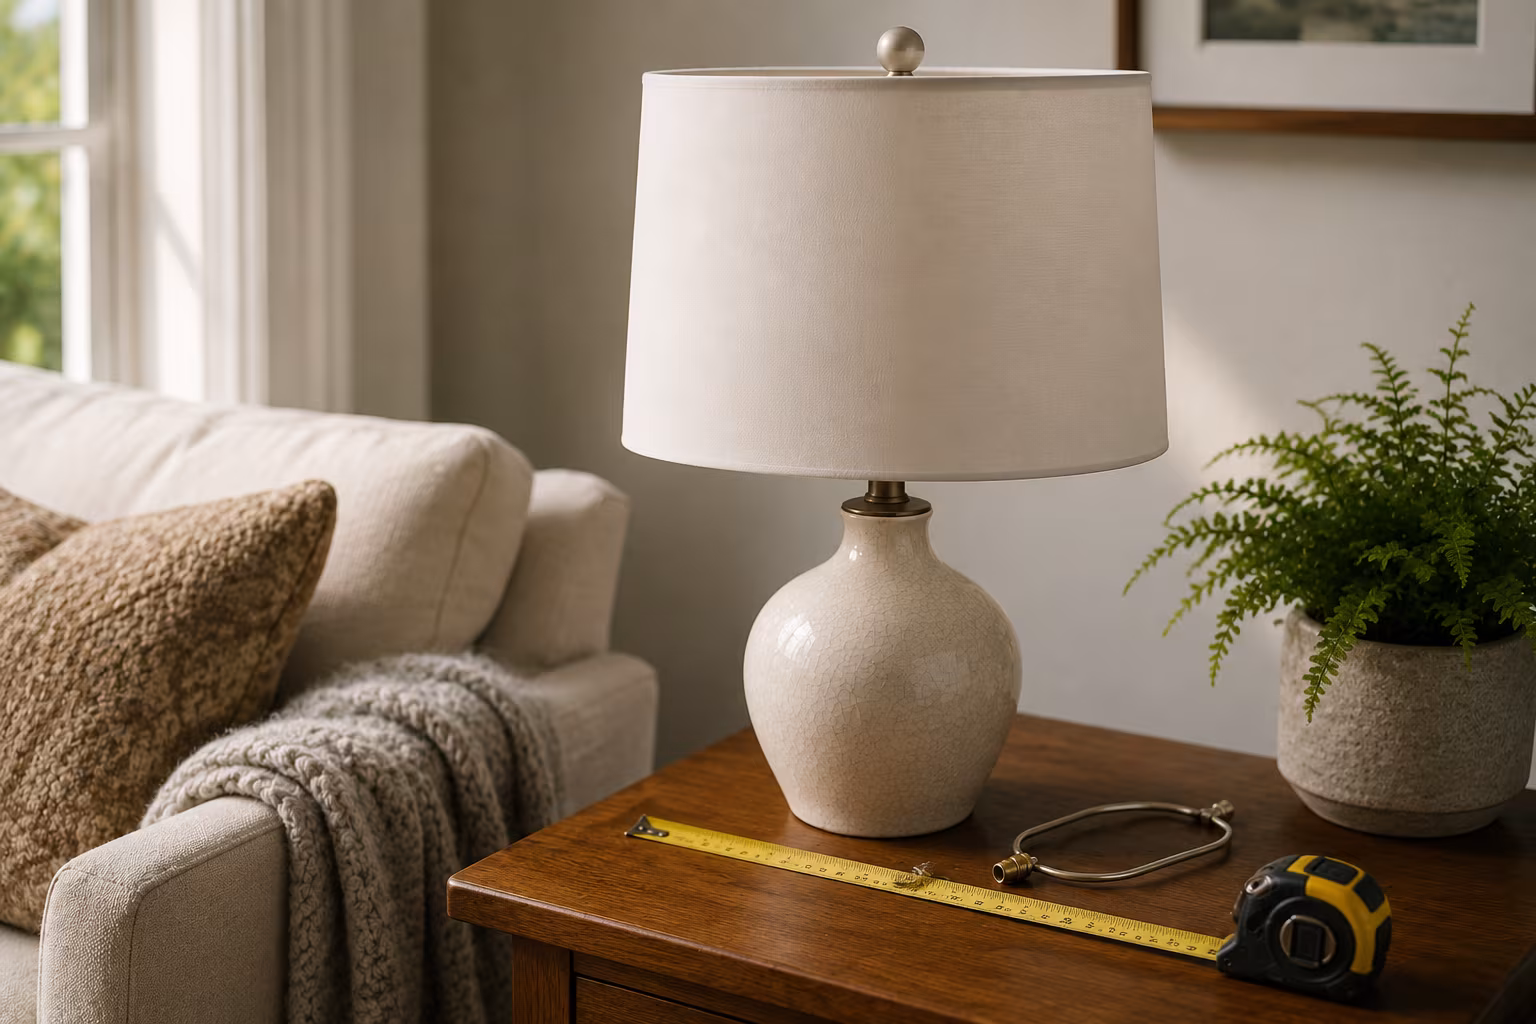
Lampshade Sizing: Harp, Bulb, and Drum Math Explained
Lampshade fit is three numbers: harp height near shade height, 3.5 inches of bulb clearance, and...
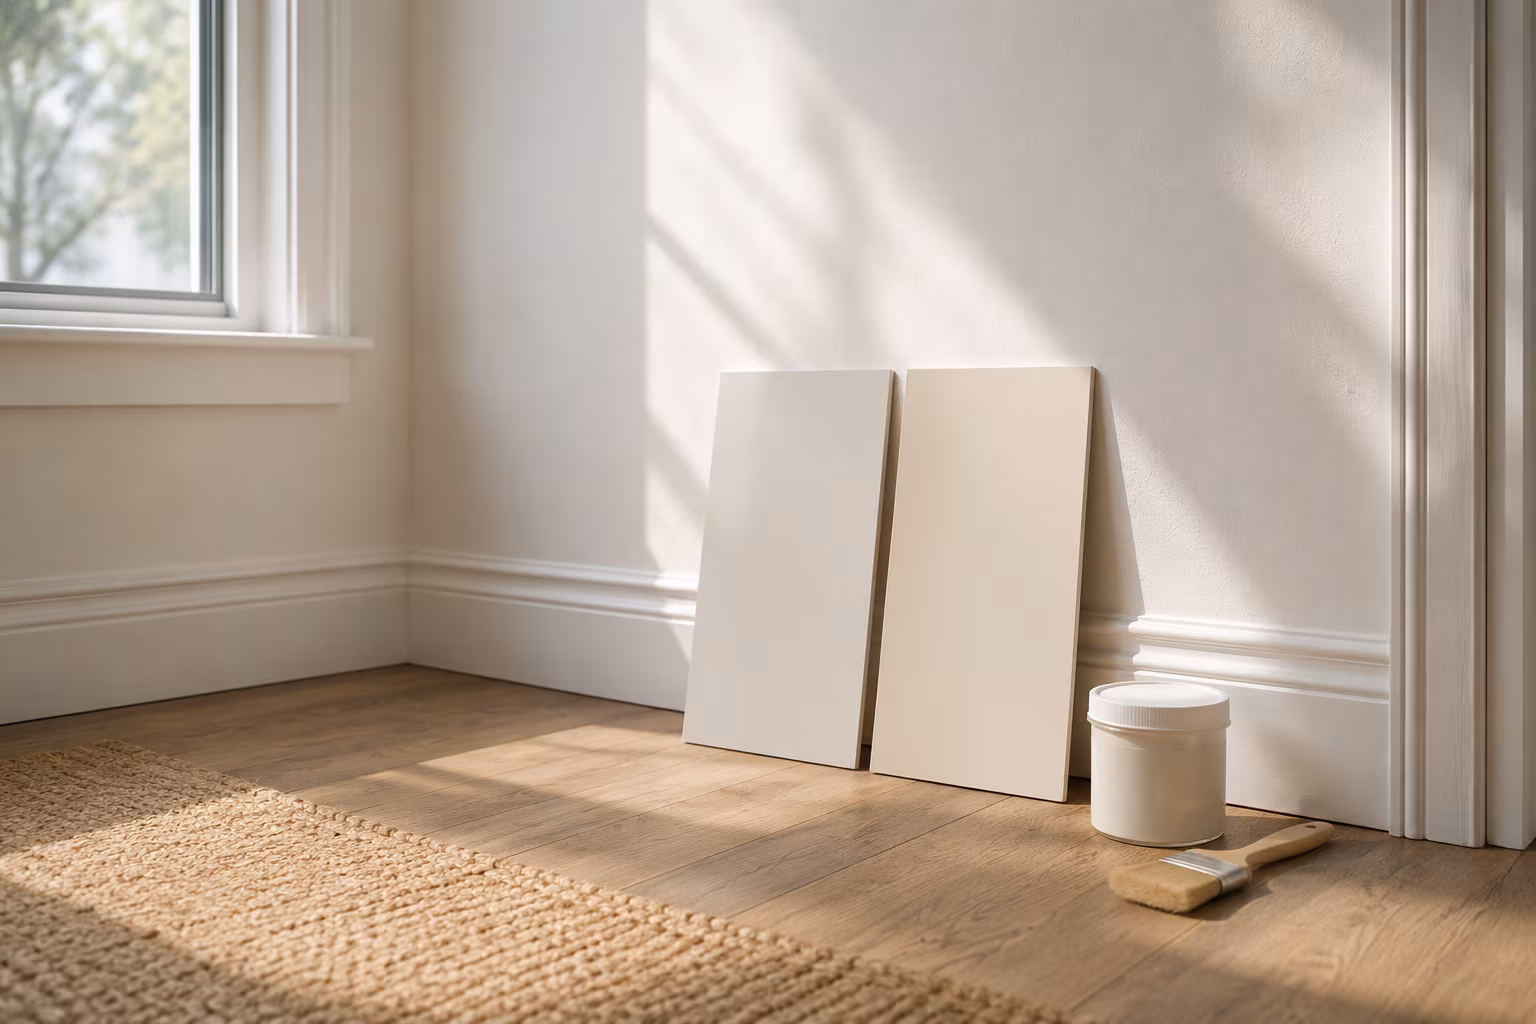
Color-Match Trim Paint to Existing Off-White Walls
Matching trim to aged off-white walls is about undertone, not lightness: cut a real chip, have...