How to Style Open Shelving Without Making Your Kitchen Look Cluttered

Open kitchen shelves photograph beautifully and, styled badly, look like a yard sale. The difference is not the shelves; it is the editing. The airy magazine version works because most of what could go on the shelf is deliberately left off. This is the process for getting that look and keeping it: curate hard, group with intent, build height, hold a tight palette, and protect the empty space.
Treat Shelves as Display, Not Storage
The mindset shift that fixes most cluttered shelves is simple: open shelving is display, not storage. A closed cabinet exists to hold everything; an open shelf exists to show a curated few things. When you stop trying to fit your whole cupboard up there and start selecting, the piling instinct fades on its own.
That does not mean function is optional. The pieces you reach for every day, the dinner plates, mugs, and everyday glasses, earn the prime, easy-to-grab spots. Everything else has to be either genuinely useful or genuinely worth looking at. If it is neither, it belongs behind a cabinet door.
A useful test is friction. If getting your morning coffee cup means lifting a decorative bowl out of the way first, the styling is fighting the kitchen instead of serving it. Match placement to how often you actually use something: daily items at chest to eye height on the lower shelves, weekly items a reach above, and purely decorative or seasonal pieces on the highest shelf where access barely matters. Get that hierarchy right first, and the visual arrangement becomes much easier because the heavy, frequently handled objects are already locked into sensible spots.
Clear the Slate and Curate
Take everything off the shelves, down to the brackets if you want a proper scrub, and clean the surfaces fully. Kitchen shelves in particular pick up an airborne film of cooking grease that plain dusting leaves behind, so wipe them with a little dish soap and warm water and let them dry before anything goes back. Dust and grease dull everything sitting on them, and a bare shelf makes it far easier to see what actually deserves to return.
Then be ruthless with the pile on your counter. Run each item against four questions: Do I use this regularly? Is it beautiful or does it bring me joy? Does it fit the kitchen's overall look? Do I have duplicates? Anything that fails all four gets donated, stored in a closed cabinet, or tossed if it is broken. A workable rule of thumb: if you have not touched it in six months and it is not sentimental, it does not go on the open shelf. Finding three identical spatulas in the process is normal, and cutting two of them is the point.
Group by Function and Form
With a curated collection in front of you, group like with like. Stack the everyday plates together, line the mugs in a row, gather the small bowls. Grouping creates instant visual order and makes items easy to grab without disturbing a whole arrangement.
Place the largest, heaviest, most-used pieces first and lowest. Everyday plates and bowls belong on the bottom shelf where they are easiest and safest to reach, and where their weight is not overhead. Build lighter and more decorative pieces upward from there. Anchoring the practical items early keeps the whole display balanced instead of top-heavy.
Build Anchors and Vary Heights
Think of each shelf as a few small vignettes rather than one long row. Set an anchor in each: a taller or larger piece such as a stack of plates, a pitcher, or a tall vase that gives the section structure. Anchors keep the eye from sliding across a flat, evenly spaced line.
Around each anchor, deliberately vary the heights. Lining everything up at the same level reads monotonous. Use small bowls or cups to create low points, stack a couple of cookbooks horizontally and set a short plant on top, and let a leaning piece of art rise behind shorter objects. Those shifts in level are what make a shelf look designed rather than stocked. Vertical thinking matters too: a leaning frame or a tall vessel draws the eye upward and makes the whole wall feel larger.
A reliable vignette recipe uses three heights and odd numbers. Set one tall element, such as a pitcher or a leaning 8-by-10 frame, then one medium element like a short stack of plates, then one low element such as a small bowl or a trailing pothos in a squat pot. Groups of three or five read as more natural than pairs or perfect rows, a habit borrowed from floral and interior styling. Overlap the pieces slightly in depth rather than lining them flat against the wall, so a nearer object partly crosses the one behind it. That small amount of layering adds the sense of a composed scene instead of a row of items waiting to be used.
Layer Texture, Color, and Breathing Room
Cohesion comes from a disciplined palette. Keep the bulk of the kitchenware in neutrals, whites, creams, grays, and natural wood, with only one or two accent colors, often the green of a small plant. That restraint is what stops a shelf from reading as a chaotic rainbow even when it holds a fair amount.
Within that palette, mix materials for depth: ceramic against wood against glass against metal. A stack of white plates beside a wooden cutting board, a clear glass jar of utensils, and a small metal planter carries variety without visual noise. Balance warm and cool surfaces too, pairing the warmth of natural wood with the cool smoothness of white ceramic, so the shelf feels layered rather than one flat tone. Then protect the empty space. Deliberate negative space around each group lets the eye rest and makes the pieces you kept look intentional. If a shelf starts to feel cramped, remove something. When you think it is done, photograph it with your phone, since the camera exposes imbalances the eye glosses over, then live with it a day or two and adjust.
Common Mistakes
Too much of everything is the core failure; no amount of grouping saves a shelf with no gaps, so when in doubt take one item off. Ignoring function buries daily-use pieces behind pretty ones, so keep what you reach for within easy reach. A hodgepodge of colors and styles gives the eye nowhere to land; stick to one aesthetic and a cohesive color palette. Forgetting vertical space wastes the display's most dramatic dimension; use tall vessels, stacked books, and leaning art. And neglecting upkeep lets exposed shelves collect dust and drift out of order, so fold a quick five-minute tidy into your weekly counter wipe-down.
Common Questions
What if my kitchen is small? Open shelving can make a small kitchen feel larger by removing bulky upper cabinets that cut off the room. Just curate harder and lean on a light, neutral palette to keep it airy.
How often should I re-style? A full re-style once or twice a year, often seasonally, is plenty. A quick weekly tidy handles the rest; maintenance beats constant redoing.
Can I store food up there? Yes, in clear airtight containers. Matching jars of dry goods or spices look far neater than bags and boxes, though they need regular dusting.
Budget decor ideas? Thrift stores yield ceramic bowls, small frames, and glass jars for a few dollars each. Plants are cheap and add life, and a clear bottle makes a fine single-stem vase.
How do I handle dust? Regular cleaning is the only real defense. Fold it into your weekly wipe-down: pull the items, dust the shelf, wipe the pieces, and replace them. A few minutes done consistently keeps it under control.
Does this work in a rental? Yes. If you cannot add built-ins, use a freestanding shelving unit or baker's rack, or install removable floating shelves with minimal wall damage.
Related Posts
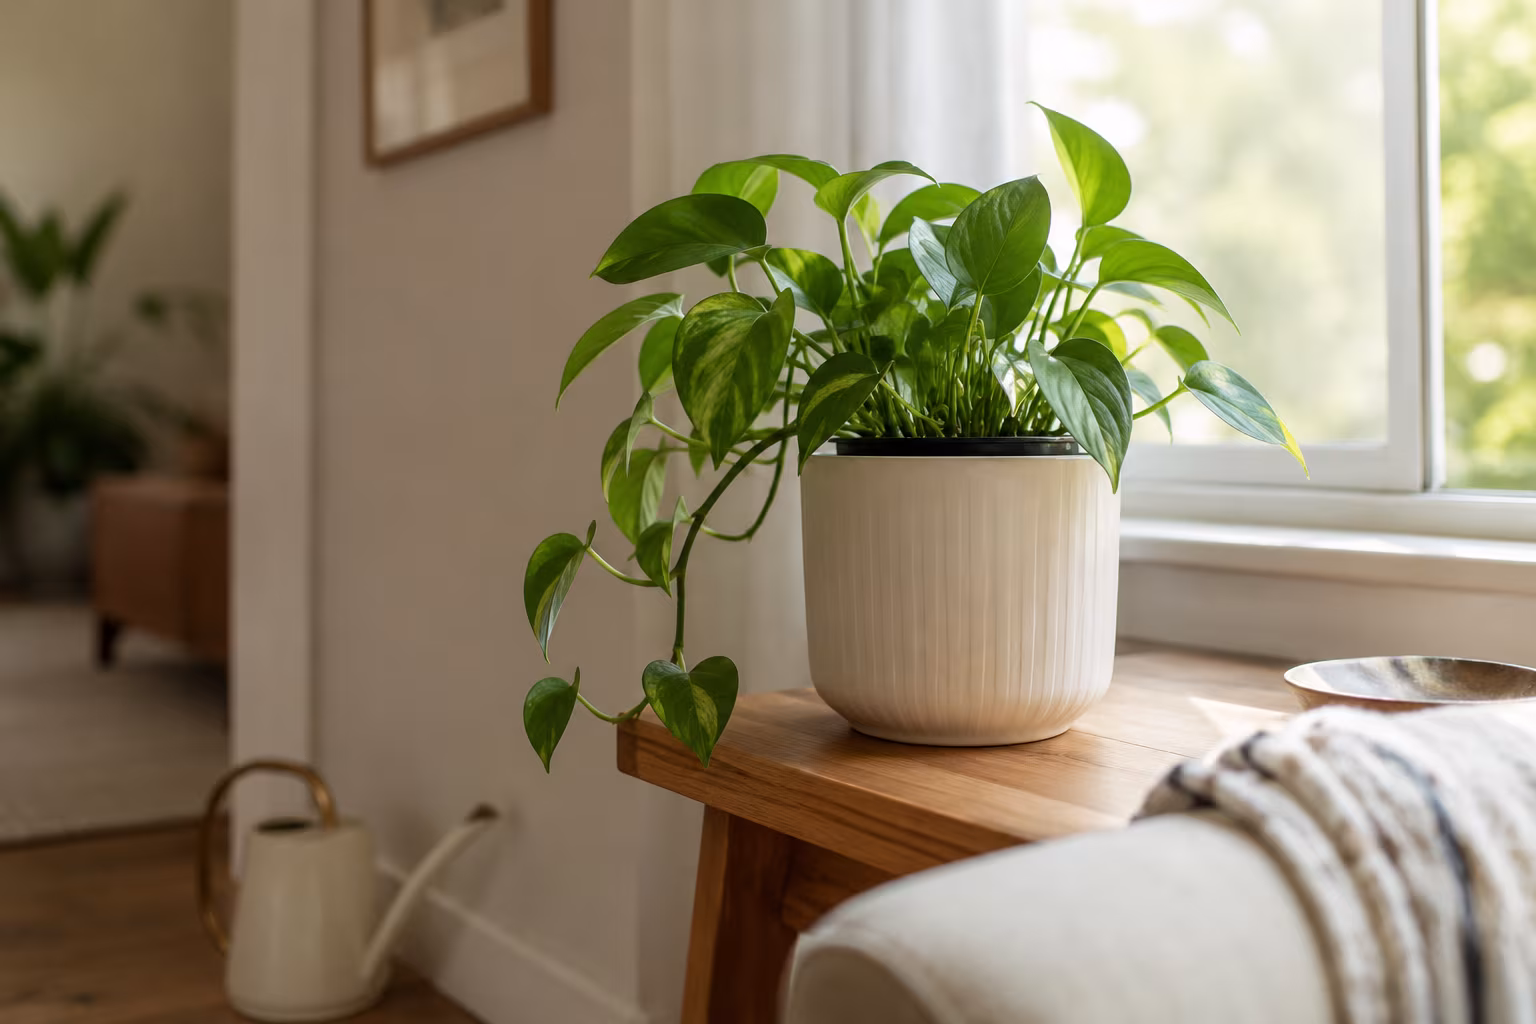
Indoor Plant Pot with No Drainage Hole: How to Make It Work
A no-drainage pot rots roots fast. Use the double-pot method, skip the gravel myth, pick...
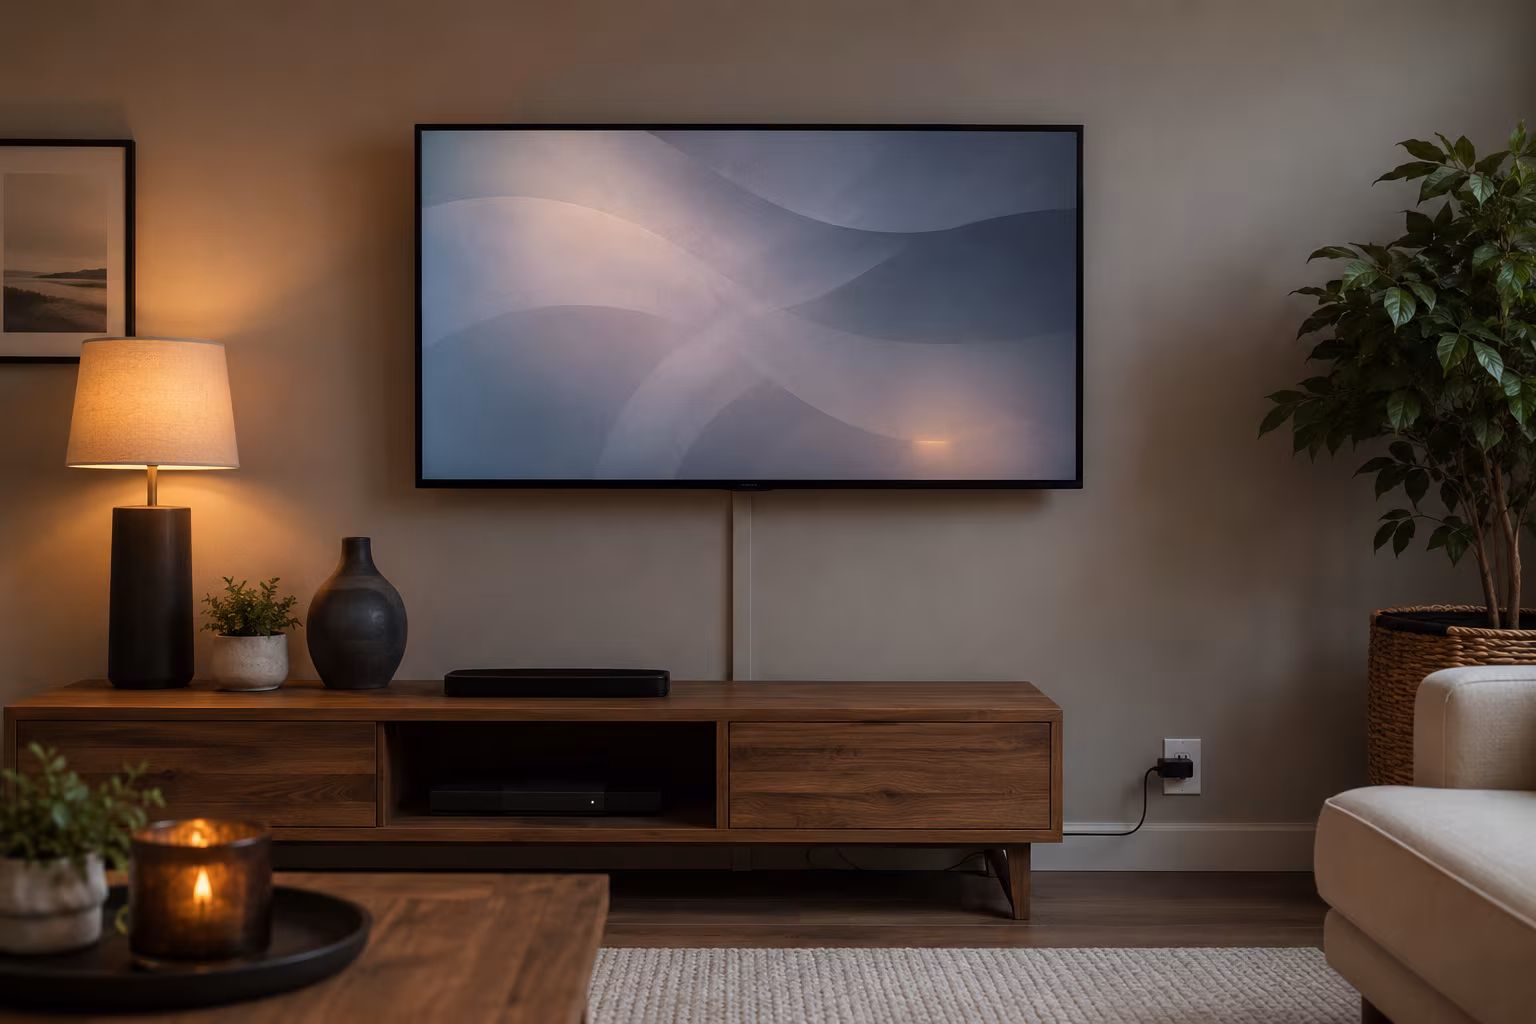
Hide TV Cable Clutter Renter-Safe Without Drilling
Hide a wall-mounted TV's cables without drilling: a paintable adhesive raceway to the outlet, a...
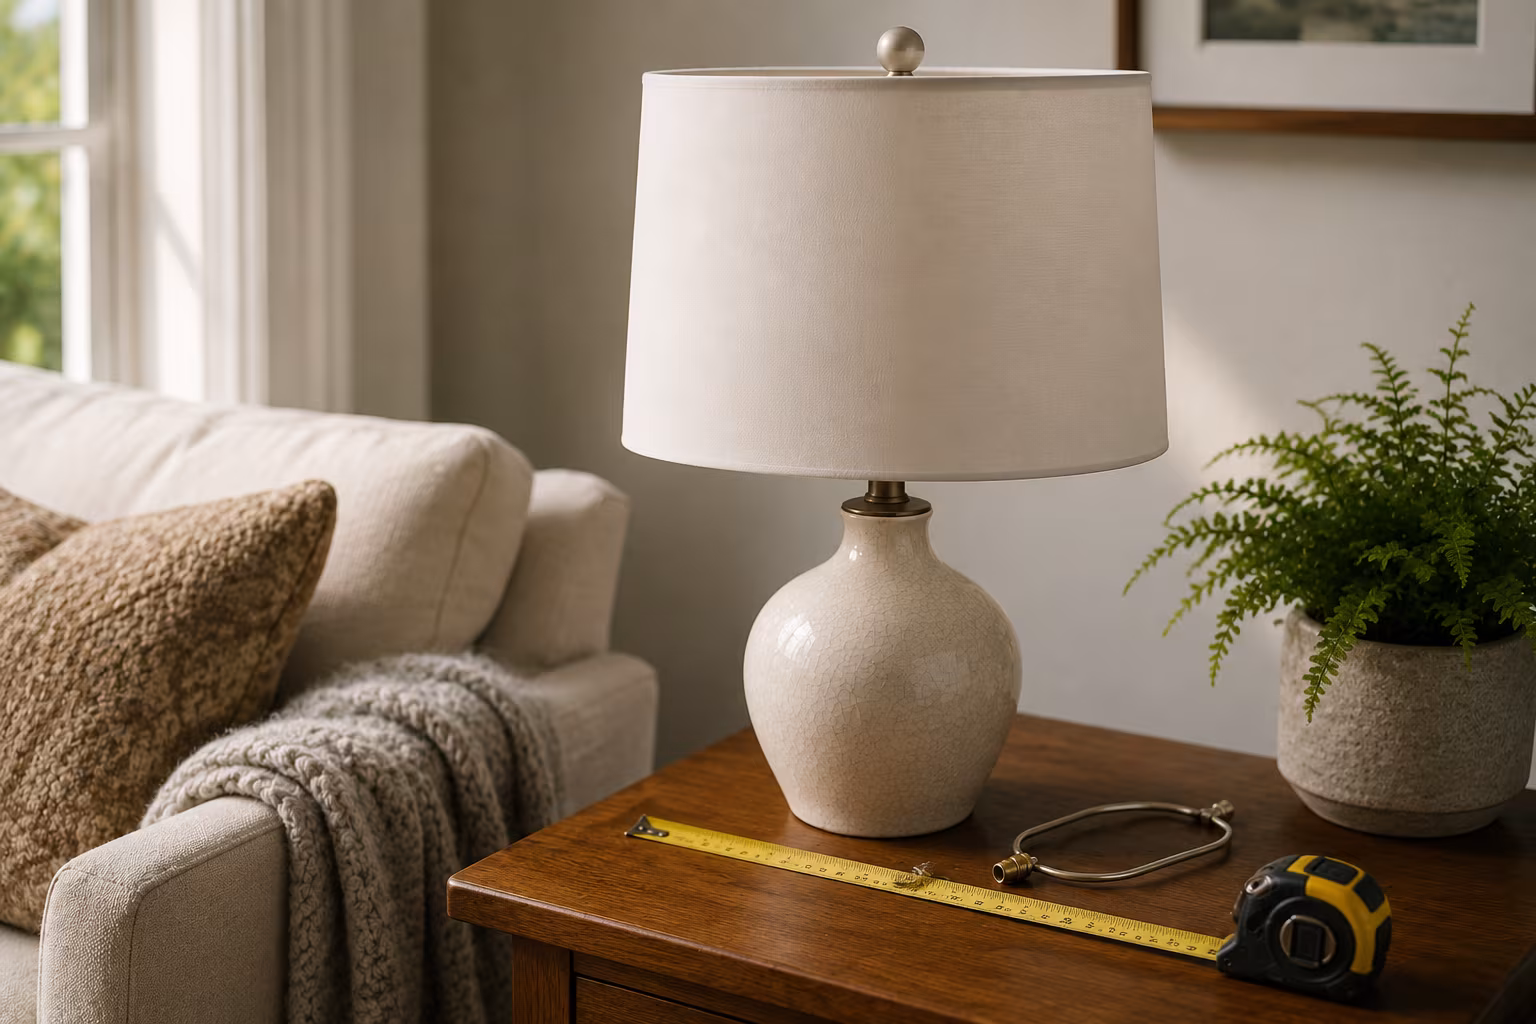
Lampshade Sizing: Harp, Bulb, and Drum Math Explained
Lampshade fit is three numbers: harp height near shade height, 3.5 inches of bulb clearance, and...
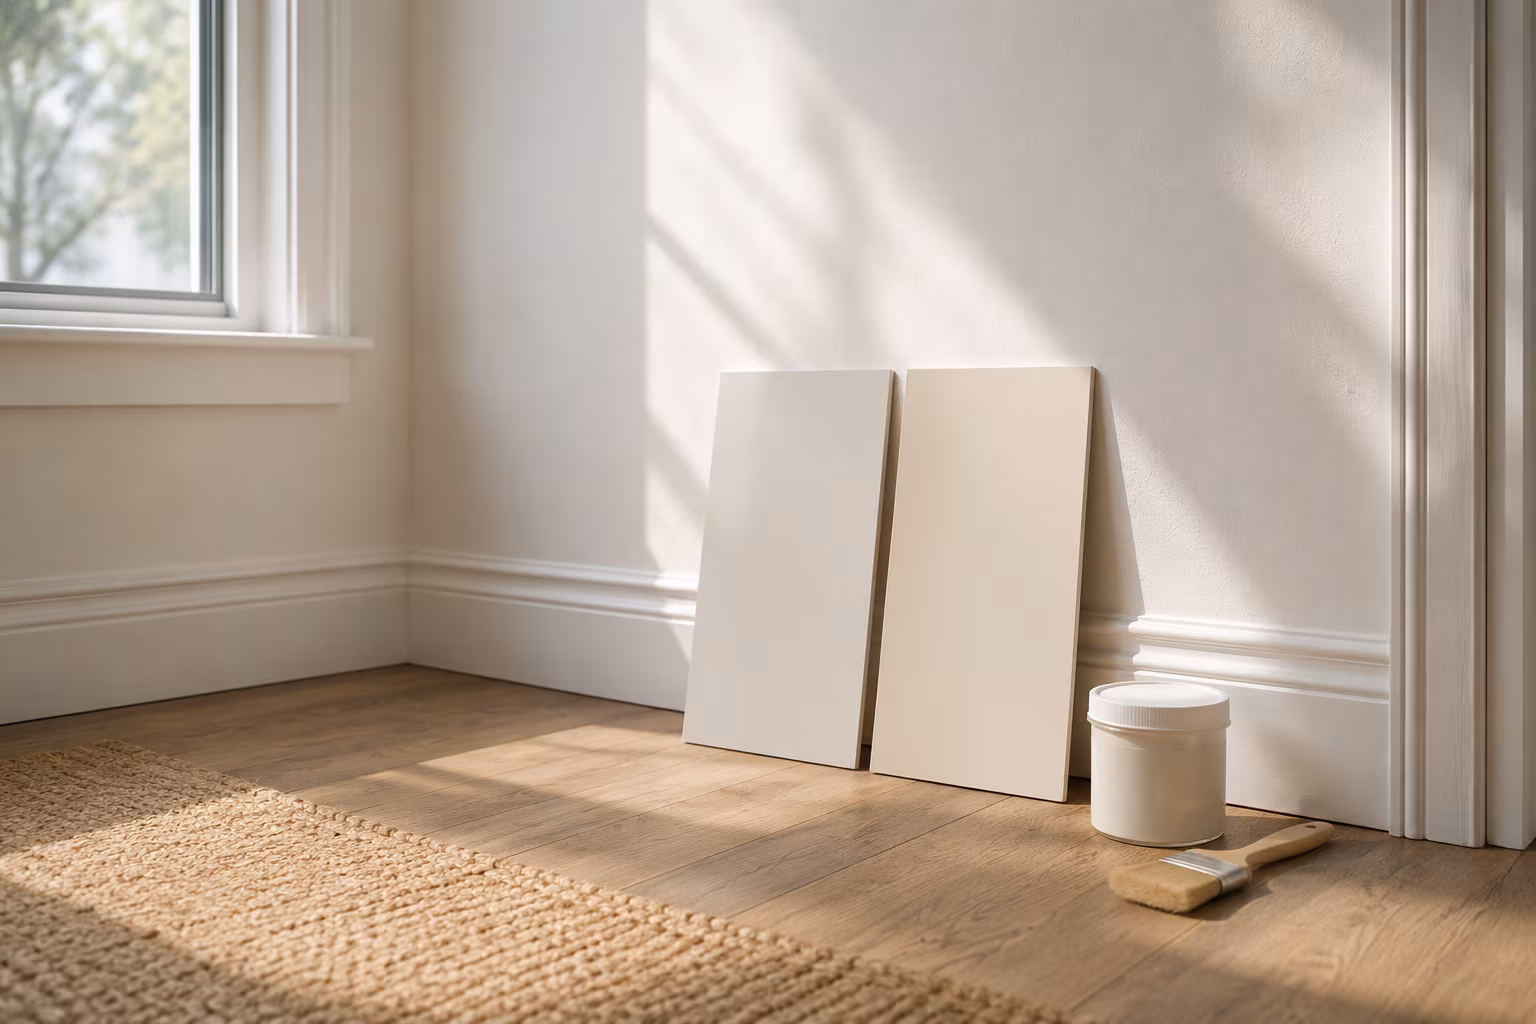
Color-Match Trim Paint to Existing Off-White Walls
Matching trim to aged off-white walls is about undertone, not lightness: cut a real chip, have...