How to Transfer Inkjet Prints onto Ceramic Mugs Permanently
Transferring an inkjet print onto a ceramic mug lets you turn a $1 thrift-store mug into a personalized piece for a fraction of the cost of a printed one. The method relies on inkjet waterslide decal paper, a clear acrylic sealant, and a low-temperature oven cure. It is not sublimation, which needs special inks and a heat press; this is a hand technique that any inkjet printer can handle. Done properly, the decal resists hand-washing for years. Done in a hurry, it peels after the first wash, so the process rewards patience at every drying stage.
How the Waterslide Method Works
A waterslide decal is a thin, coated film printed with your image. When you soak it, the printed layer separates from its paper backing and slides onto the ceramic surface, leaving just the image behind. Because standard inkjet ink is water-soluble, you seal the print before it ever touches water, and a short bake afterward fuses the sealed decal to the glaze. That baking step is what converts a temporary sticker into a lasting design.
Supplies You Will Need
Gathering everything first keeps you from stopping mid-project, which is where most mistakes happen. You will need:
- An inkjet printer using liquid ink cartridges, not a laser printer with toner.
- Inkjet waterslide decal paper in clear or white; be sure it says "inkjet," not "laserjet."
- A plain ceramic mug, light-colored if you are using clear paper.
- Scissors or a craft knife for cutting the design.
- A bowl of warm water for soaking.
- Rubbing alcohol and a lint-free cloth to clean the mug.
- Clear acrylic spray sealant, such as a crystal-clear enamel or acrylic sealer.
- An oven for curing, plus gloves and a soft squeegee or your finger for smoothing.
Designing, Printing, and Sealing
Build your design in free software like Canva or GIMP and size it to the mug. A quick check is to cut a piece of plain paper to your intended size, tape it to the mug, and confirm the proportions. If your paper applies face down, mirror the image first; most inkjet decal papers apply face up and need no mirroring, so read the specific paper's instructions.
Run a test print on plain paper to confirm sizing and color, then load the decal paper and print on the glossy side at the printer's best or highest-quality setting, since inkjet printing lays down a finer dot pattern at that setting for the sharpest image. Let the print dry at least 20 to 30 minutes, longer in humidity, or the ink will smudge in the next step.
Sealing makes the ink waterproof and is the step that most affects durability. In a ventilated area, hold the spray can 8 to 10 inches from the paper and apply a very light, even mist; a heavy coat curls the paper and can make the ink run. Let it dry 15 to 20 minutes, then repeat for three thin coats total. After the final coat, let the sheet cure for several hours, or overnight, before it goes near water.
Applying the Decal and Baking
While the print cures, wipe the mug with rubbing alcohol and a lint-free cloth to remove oils and dust that would keep the decal from bonding. Cut out your design, staying as close to the edge as possible if you are using clear paper, since any excess film will show on the mug.
Submerge one cut decal in warm water for 30 to 60 seconds, until the film begins to shift on its backing. Lift it out, position it on the mug, and hold the film in place with a finger while sliding the paper backing out from underneath. Smooth from the center outward with a finger or soft squeegee to push out water and air bubbles; the film is delicate when wet, so work gently and do not stretch it. Let the mug air-dry undisturbed for at least 24 hours.
To cure, place the mug in a cold oven, then set it to 250°F (120°C). Putting a cold mug into an already-hot oven risks thermal shock and cracking. Once it reaches temperature, bake 15 to 20 minutes, then turn the oven off and let the mug cool completely inside it before removing. The slow cooldown protects the ceramic and lets the sealed decal set into a strong bond.
Clear Versus White Decal Paper
The paper choice determines how your design reads on the mug. Clear waterslide paper is transparent wherever there is no ink, so any white in your artwork shows through as the mug's color. It suits designs with no white elements, or any design applied to a white or light mug that supplies the background itself.
White waterslide paper has an opaque white base, so white in your design prints as white and the whole decal carries a solid white border around the cut shape. It is the right choice for dark mugs or for artwork that needs a true white to look correct. When in doubt, white paper is the safer default. Trim clear paper right to the artwork edge; with white paper you have a little more margin, though clean cuts still look best.
Common Mistakes and Durability
Most failures trace to four causes. Ink smudging before sealing means the print was not dry enough, or the sealant went on too heavily. Bubbles and wrinkles under the decal come from not smoothing thoroughly from the center outward. A decal that will not slide off its backing either needs another 10 to 15 seconds in the water or is the wrong paper type for your printer. And peeling after a few washes points to a mug that was not cleaned with alcohol, a skipped bake, or removing the mug before it cooled.
Even a properly baked mug lasts longer with hand-washing; dishwashers are harsh enough that most decal-paper makers recommend against them. Without an oven, extra sealant coats cured for a full 72 hours give a decorative-only result that will not survive regular washing. The same technique works for personalized gifts in batches: print several designs on one sheet, process multiple mugs at once, and factor in the multi-day drying schedule if you are working toward a deadline. Buy a couple of extra thrift-store mugs to practice the slide-and-smooth step before committing your best design.
Related Posts

Macrame Cord Choice for Beginners: Single-Twist vs 3-Ply
3-ply cord is forgiving, single-twist gives the boho fringe, braided locks in clean knots. The...

Punch Needle Loops Pulling Out: The Tension Fix Guide
Punch needle loops pull out for one of four reasons: supply tension, a loose foundation...

Sealing Watercolor Wood Slices for Indoor Display Pieces
Watercolor on raw wood fades fast without prep: the priming options, painting adjustments, spray...
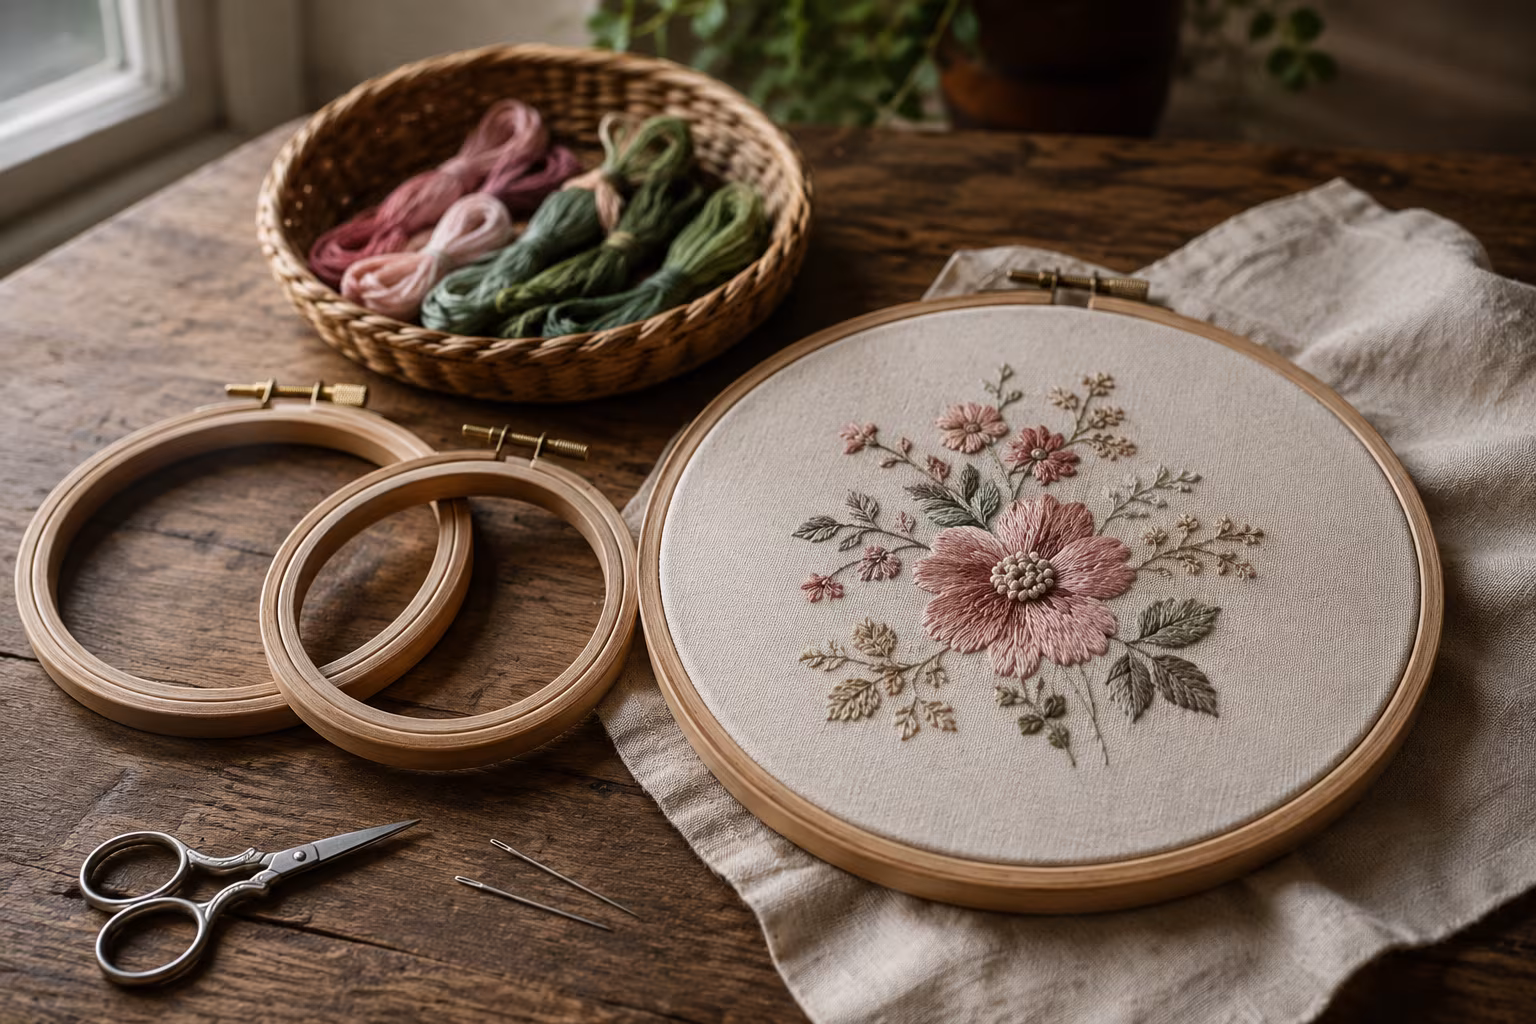
Beginner Hand Embroidery Hoops: Sizing for Long Projects
Choose the right embroidery hoop: why 6-to-8-inch beechwood beats large or bamboo, tension over...