How to Use Peel-and-Stick Wallpaper for a Damage-Free Accent Wall
Peel-and-stick wallpaper is a self-adhesive fabric or vinyl film that applies like a large sticker: you peel the paper backing, press the sheet to the wall, and smooth it flat. Unlike traditional pasted wallpaper, it needs no water tray, no glue, and no drying time, and it lifts off cleanly later without stripping paint or drywall. That makes it the most practical way for renters to add an accent wall. A standard accent wall of roughly 30 to 45 square feet takes two rolls and about two hours, and materials run around $40 to $80 depending on the brand.
Why It Works for a Damage-Free Wall
The adhesive on most residential peel-and-stick paper is pressure-sensitive and repositionable for the first few minutes after contact, so a crooked strip can be lifted and re-set instead of scrapped. Because it bonds to the paint layer rather than soaking into it, removal is a matter of peeling slowly from a top corner at a shallow angle. This only holds if the wall was painted at least three to four weeks before installation, so the paint has fully cured. Fresh paint is still soft and can lift with the film.
The material suits high-impact, low-commitment projects: a geometric print behind a desk, a faux grasscloth in an entry, or a botanical pattern in a guest room. It performs best on smooth, matte or eggshell walls. Glossy paint reduces adhesion, and heavily textured surfaces such as knockdown or orange-peel let the texture telegraph through the print.
Tools and Materials
Measure the wall height and width, multiply for square footage, then add 15 to 20 percent for pattern repeats and trimming waste. The table below covers everything a single accent wall needs.
| Item | Purpose | Notes |
|---|---|---|
| Peel-and-stick rolls | Wall covering | Wall area + 15-20% for repeat matching |
| Tape measure and pencil | Measuring, marking cut lines | Mark on the paper backing |
| Level (24 in or longer) | Plumb line for the first strip | Sets alignment for the whole wall |
| Sharp utility knife | Cutting strips and trimming edges | Change the blade often; dull blades tear |
| Metal straightedge | Guiding the knife | Rigid ruler or drywall square |
| Plastic smoother (squeegee) | Pressing out air bubbles | Often included with the roll |
| Step stool or ladder | Reaching the ceiling line | Do not overreach from the floor |
Step-by-Step Installation
Prep first: wipe the wall with a damp cloth to remove dust and grease, fill nail holes with spackle, sand smooth, and let the surface dry fully. Adhesive will not bond to a dusty or damp wall.
- Cut the first strip. Measure ceiling to baseboard and add 4 to 6 inches for trimming slack. Cut on the backing with the straightedge and knife.
- Draw a plumb line. An inch or two from the corner, use the level to mark a true vertical guide. Walls and corners are rarely square, so never use the corner itself as your reference.
- Hang the first strip. Peel the top 6 to 12 inches of backing, align the side edge to the plumb line with a slight ceiling overlap, and press. Peel the backing down about a foot at a time, smoothing as you go.
- Smooth outward. Work the squeegee from the center of the strip toward the edges. Push bubbles off the nearest edge rather than trapping them in the middle.
- Match the pattern. Butt or slightly overlap each new strip by 1/16 to 1/8 inch, aligning the repeat before pressing the full length down.
- Trim the excess. Hold the straightedge tight at the ceiling and baseboard and run a fresh blade along it for a crisp cut.
- Handle outlets safely. Switch off the circuit at the breaker, paper over the outlet, cut an X over the opening, trim to the box edge, and reinstall the cover to hide the cut lines.
At an inside corner, do not try to fold one strip around it. Wrap about a quarter inch onto the adjoining wall, then start the next strip fresh with its own plumb line on the new face. Walls are almost never truly square, and forcing a single sheet around the bend traps wrinkles that no amount of smoothing will remove.
For a deeper look at how conventional pasted papers differ, the overview on the history and types of wallpaper is a useful reference before you shop.
Common Mistakes to Avoid
Skipping the plumb line is the error that ruins whole walls: eyeballing the first strip sends every following strip further off, opening visible seam gaps by the third panel. Buying too little is the next: run out mid-project and a dye-lot mismatch on the replacement roll shows plainly. Rushing the smoothing step leaves bubbles you notice only after stepping back; if one survives, prick it with a pin and press the air out. On lightly textured walls, stick a test patch for a few days before committing the whole wall, since texture and weak adhesion cause edge lift over time.
Leftover strips are worth keeping. They line drawer bottoms, back a thrift-store bookshelf, or cover a plain storage box, and a spare panel is your repair stock if an edge lifts down the road. Cleanly applied and properly cured, most residential peel-and-stick paper holds three to five years before it needs attention, longer in a low-sun, low-humidity room. Pair this technique with other simple household-item projects and a plain rental starts to feel like yours without a single hole in the wall.
Related Posts
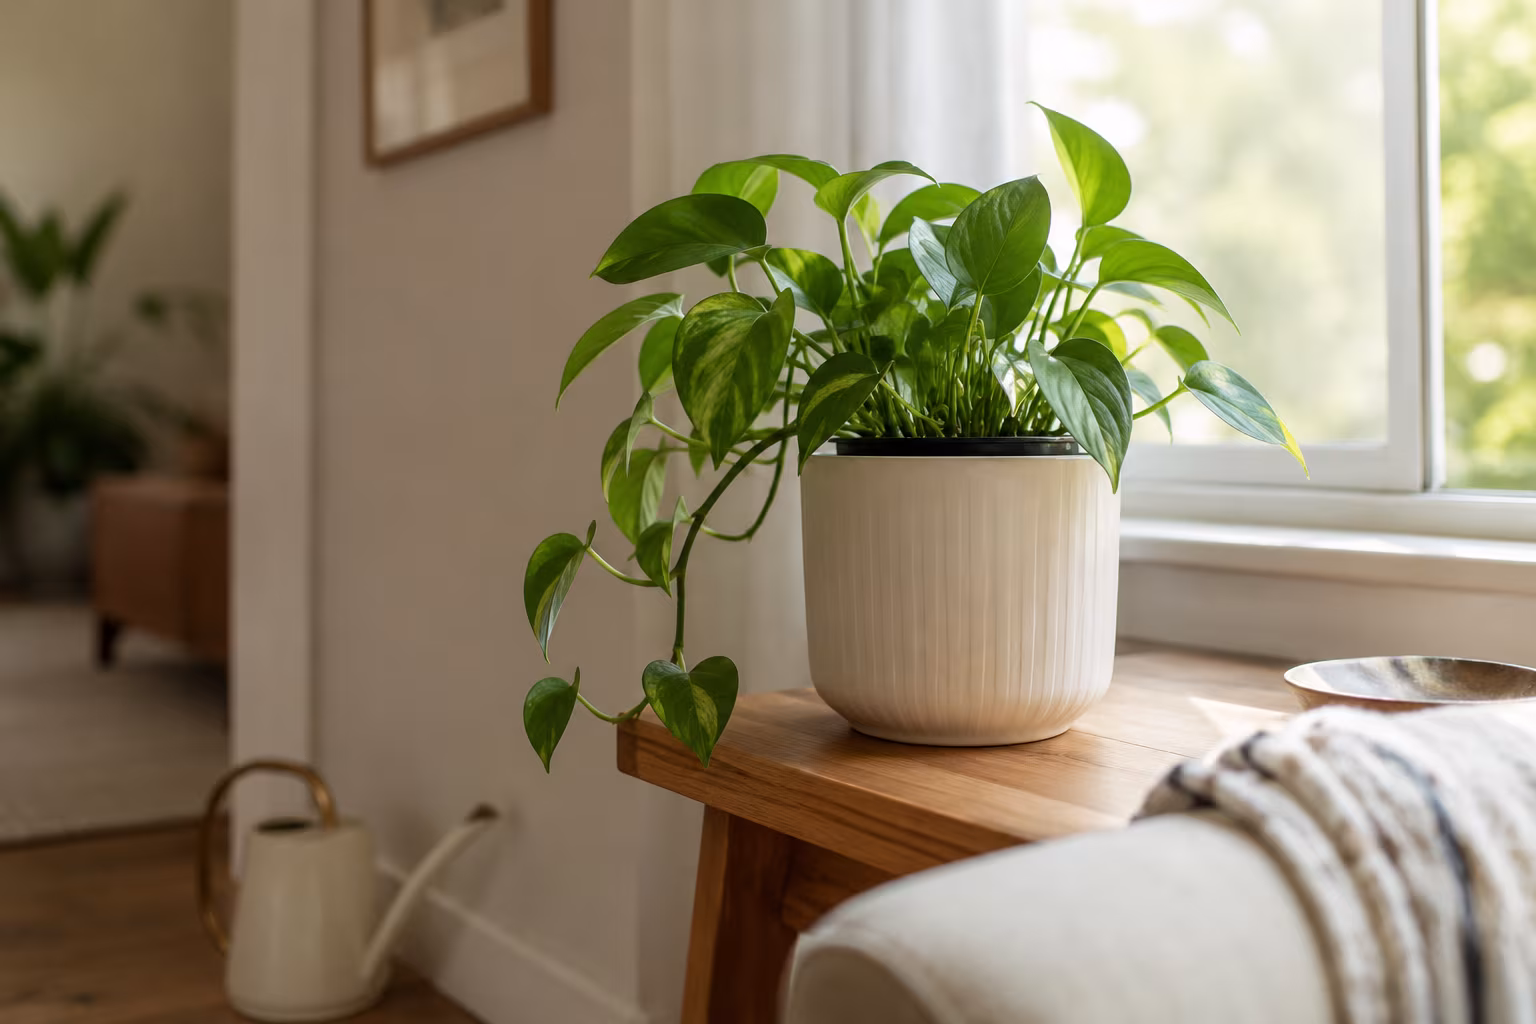
Indoor Plant Pot with No Drainage Hole: How to Make It Work
A no-drainage pot rots roots fast. Use the double-pot method, skip the gravel myth, pick...
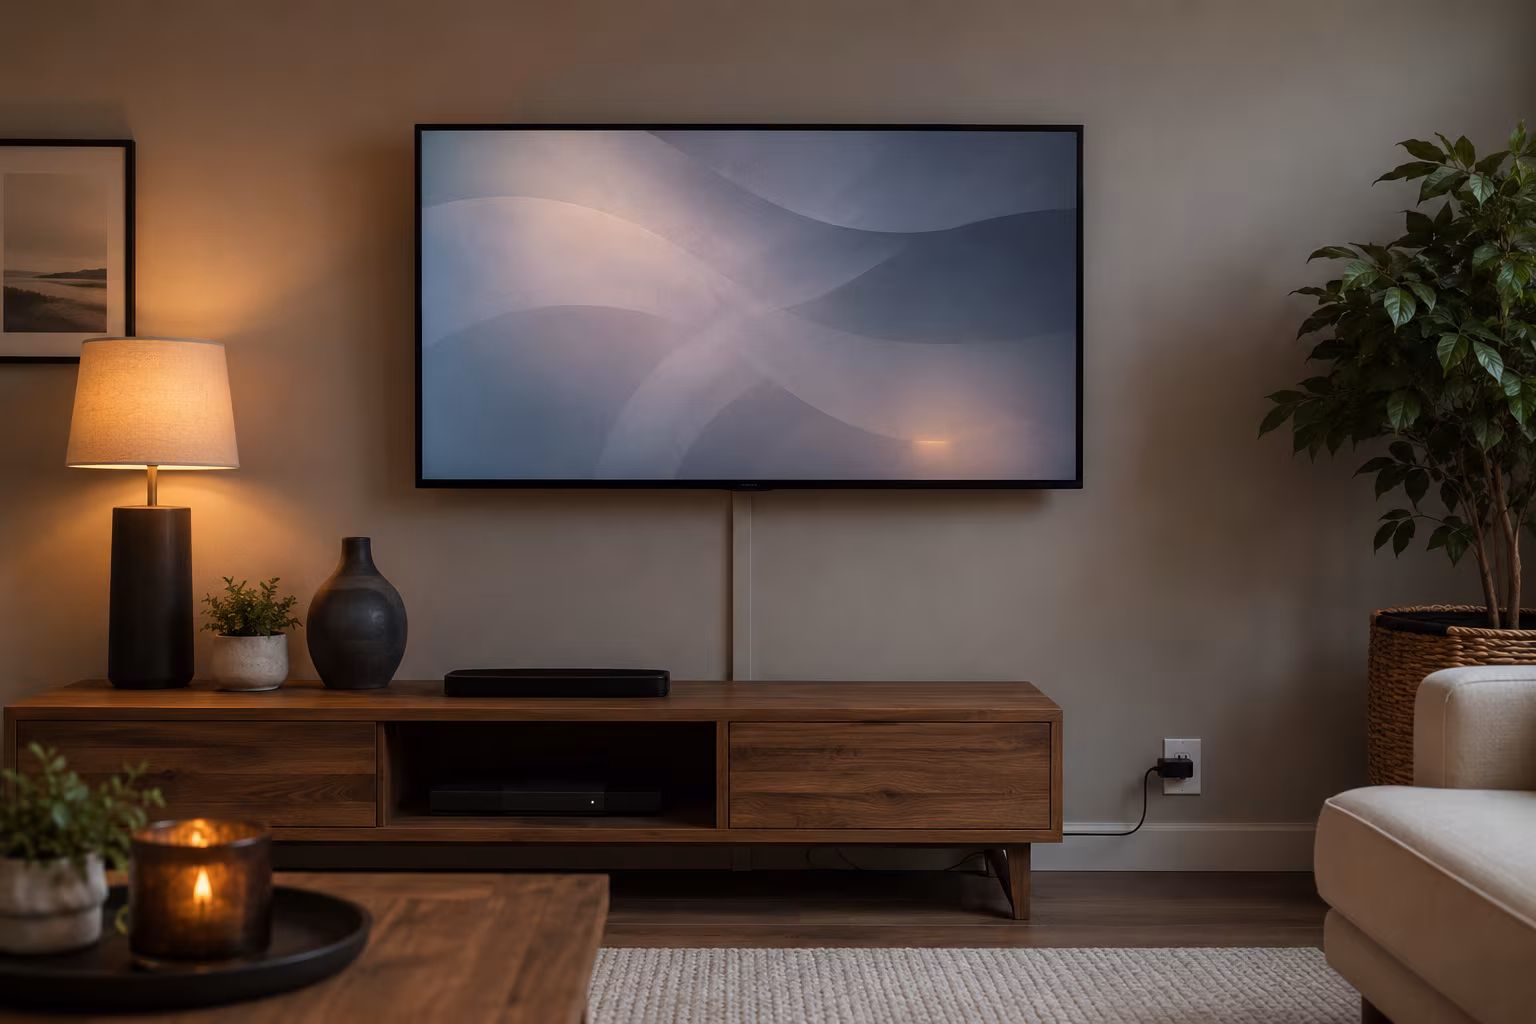
Hide TV Cable Clutter Renter-Safe Without Drilling
Hide a wall-mounted TV's cables without drilling: a paintable adhesive raceway to the outlet, a...
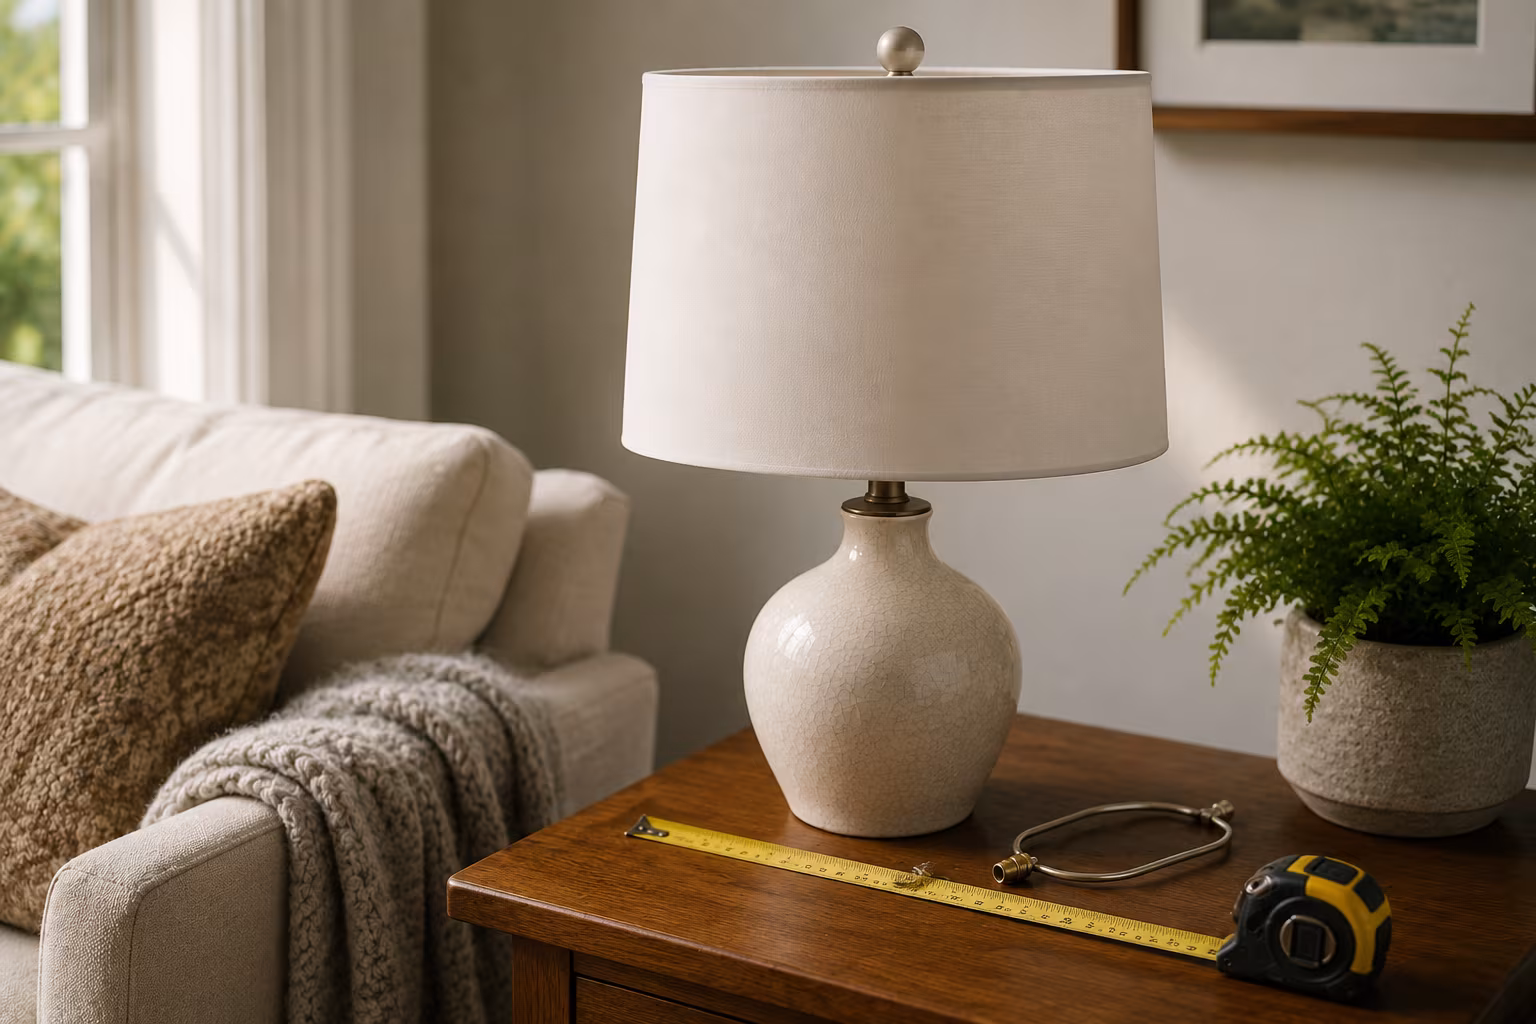
Lampshade Sizing: Harp, Bulb, and Drum Math Explained
Lampshade fit is three numbers: harp height near shade height, 3.5 inches of bulb clearance, and...
Color-Match Trim Paint to Existing Off-White Walls
Matching trim to aged off-white walls is about undertone, not lightness: cut a real chip, have...