The Best Airbrush Kits for Painting Miniatures and Scale Models

Brush strokes on a base coat and streaky, uneven color are the two problems that push most miniature painters toward an airbrush. An airbrush sprays paint as a fine atomized mist rather than dragging it across the surface, which eliminates brush marks and lays down thin, even layers you can build into smooth gradients. It also saves real time: base coating a unit of twenty 28mm figures by hand can take an evening, while an airbrush covers the same batch in a few minutes with a more consistent finish. For anyone painting armies, vehicles, or large flat panels on scale model cars and aircraft, that speed and evenness are the main draw.
What a miniature airbrush kit actually includes
A usable kit is more than the pen-shaped tool. Four components do the work, and matching them to small-scale painting matters more than brand names.
The airbrush itself should be a dual-action, gravity-feed model. Dual-action means one trigger controls both air (press down) and paint (pull back), so you adjust flow mid-stroke. Gravity-feed puts the paint cup on top, so you can work with just a few drops at a time — ideal for the small paint volumes miniatures need. Siphon-feed and single-action airbrushes exist, but they use more paint and air and give less fine control.
The compressor supplies steady air. Look for a built-in pressure regulator and, ideally, a small air tank; a tank smooths out pulsing and lets the motor cycle less often. The hose connects the two — most use a standard 1/8-inch fitting, but confirm thread compatibility when mixing brands. Finally, the needle and nozzle set the finest line you can spray. Sizing is the detail beginners most often overlook:
| Needle/nozzle size | Best for | Typical air pressure |
|---|---|---|
| 0.2 mm | Fine detail, highlights, thin lines | 10–15 PSI |
| 0.3 mm | All-round base coats and blends | 15–20 PSI |
| 0.35–0.4 mm | Priming, varnishing, large surfaces | 20–25 PSI |
A 0.3 mm nozzle is the practical sweet spot — small enough for zenithal highlighting, forgiving enough that thicker paints don't clog it constantly. A functional starter kit with compressor and a dual-action airbrush runs roughly $100–$150, which is enough to work with for a year or more before you consider upgrading any single part.
Setup, paint thinning, and your first passes
Set up in a ventilated spot with a spray booth or a cardboard box lined with a rag to catch overspray; the paint mist is fine enough that you should not breathe it, so wear a respirator mask. Then work through the sequence:
- Thin the paint. Airbrush paint should run like skimmed milk, not yoghurt. Start around 1:1 paint to thinner for most acrylic miniature paints (Vallejo, Citadel, Army Painter), adjusting from there. Use a dedicated airbrush thinner where you can — it contains a retarder that slows drying and reduces "tip dry," the clogging that happens when paint crusts on the needle. Distilled water works in a pinch.
- Set pressure. For general miniature work, dial in 15–20 PSI. Too high causes overspray and instant tip dry; too low leaves the paint splattering instead of atomizing.
- Practice on scrap. Run water, then thinned paint, across an old bottle or plastic sheet. Learn the "air on, paint on, paint off, air off" trigger order — it keeps paint from drying in the nozzle at the end of each stroke.
- Base coat in thin layers. Hold the model 3–6 inches away and build coverage with several light passes rather than one heavy one, rotating the figure to reach every angle. Thin coats preserve the sculpted detail that a thick coat would drown.
The mechanics of airbrushing are covered in depth in the general overview of airbrush technique, which is worth a read before your first session. For paint-selection specifics, our miniature painting starter kit guide pairs well with airbrush work.
The mistakes that ruin airbrushes — and the fixes
Wrong paint consistency. Too thick clogs and sputters; too thin spiderwebs and pools. Mix to that skimmed-milk flow and test on scrap before touching a model.
Skipping the clean-up. This is what actually kills airbrushes. Acrylics dry fast inside the tiny nozzle and needle channel. After every session, empty the cup, flush cleaner or distilled water until it runs clear, back-flush by capping the nozzle and letting air bubble back into the cup, then disassemble and gently wipe the needle and nozzle. Do a partial flush between color changes.
Bad distance. Held too far, paint dries mid-air and lands as a grainy "dusting"; too close, it floods and pools. Keep to that 3–6 inch working range, moving closer only for fine lines at lower pressure.
Rushing. Airbrushing is muscle memory. Spend fifteen minutes on scrap at the start of each session, especially before trying a new technique like a smooth two-tone gradient, where you base coat a dark color then spray progressively lighter, thinner mixes onto the raised areas.
Metallic paints are workable too — thin them a little more and stir often, since the metal flakes settle fast, and some ranges are sold pre-formulated for airbrushing. A few habits round out the setup: keep a jar of cleaner and a cotton bud within reach for quick between-color flushes, run "airbrush-ready" paints when you want to skip mixing entirely, and drop pressure to 10–15 PSI when you get in close for edge highlights or fine lines. Start with a cheap kit, keep it scrupulously clean, and the results on a workbench will improve faster than almost any other single tool you can add.
Related Posts
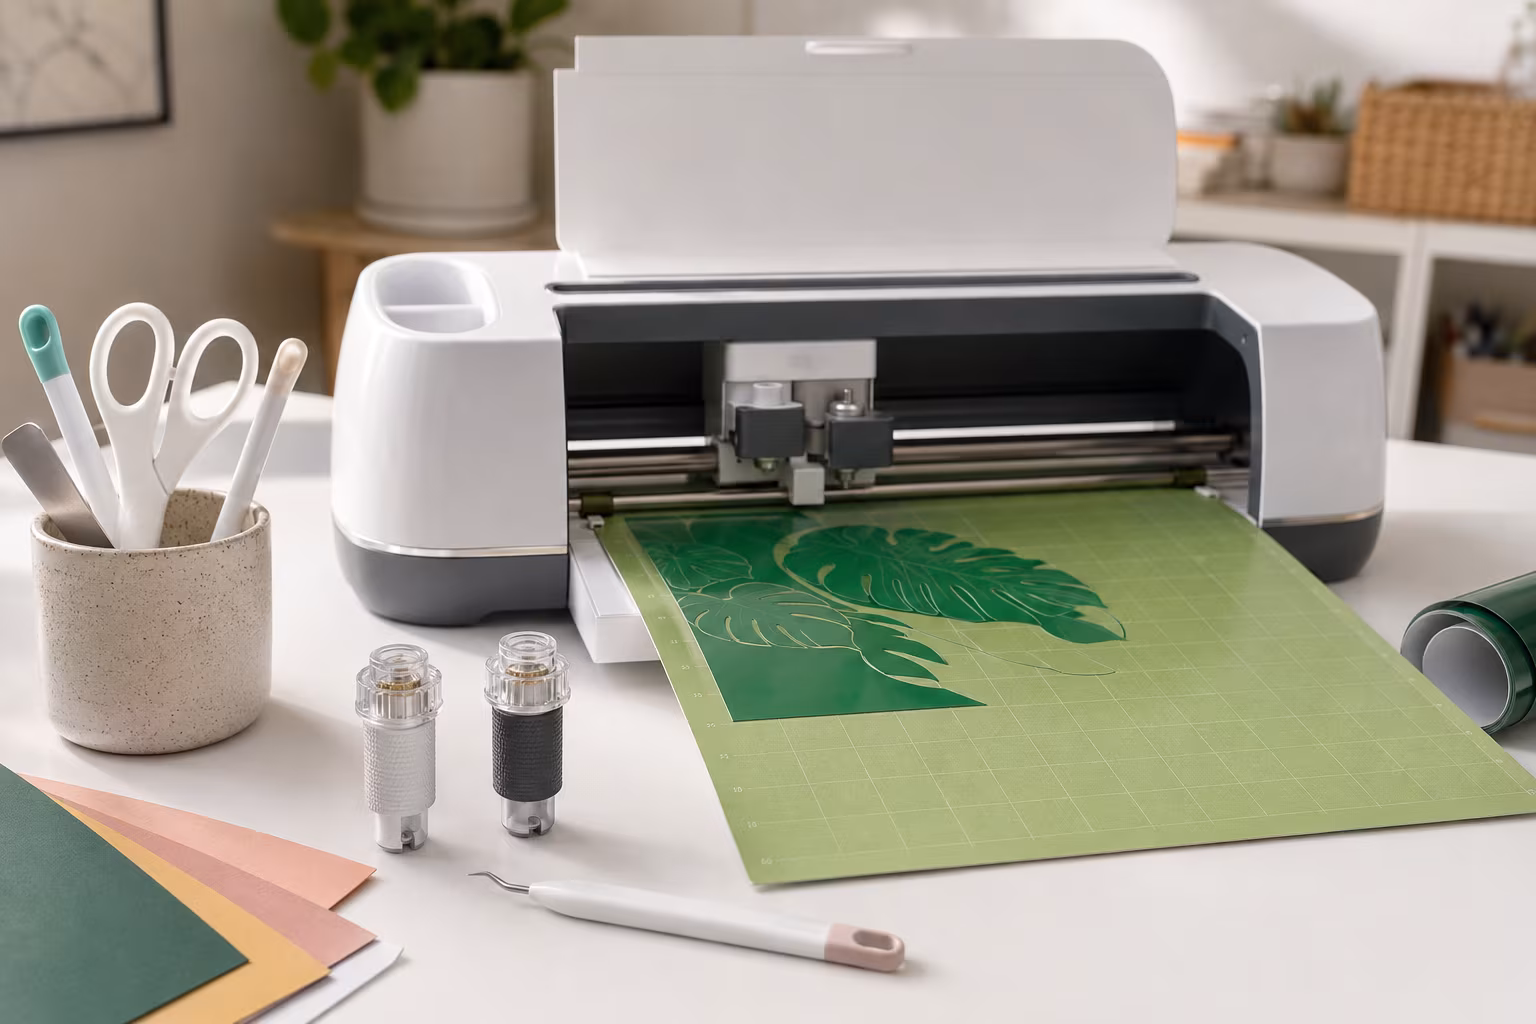
Beginner Cricut Blade Set: What You Actually Use Daily
The Cricut starter blade list is longer than most beginners need. The two or three blades that...
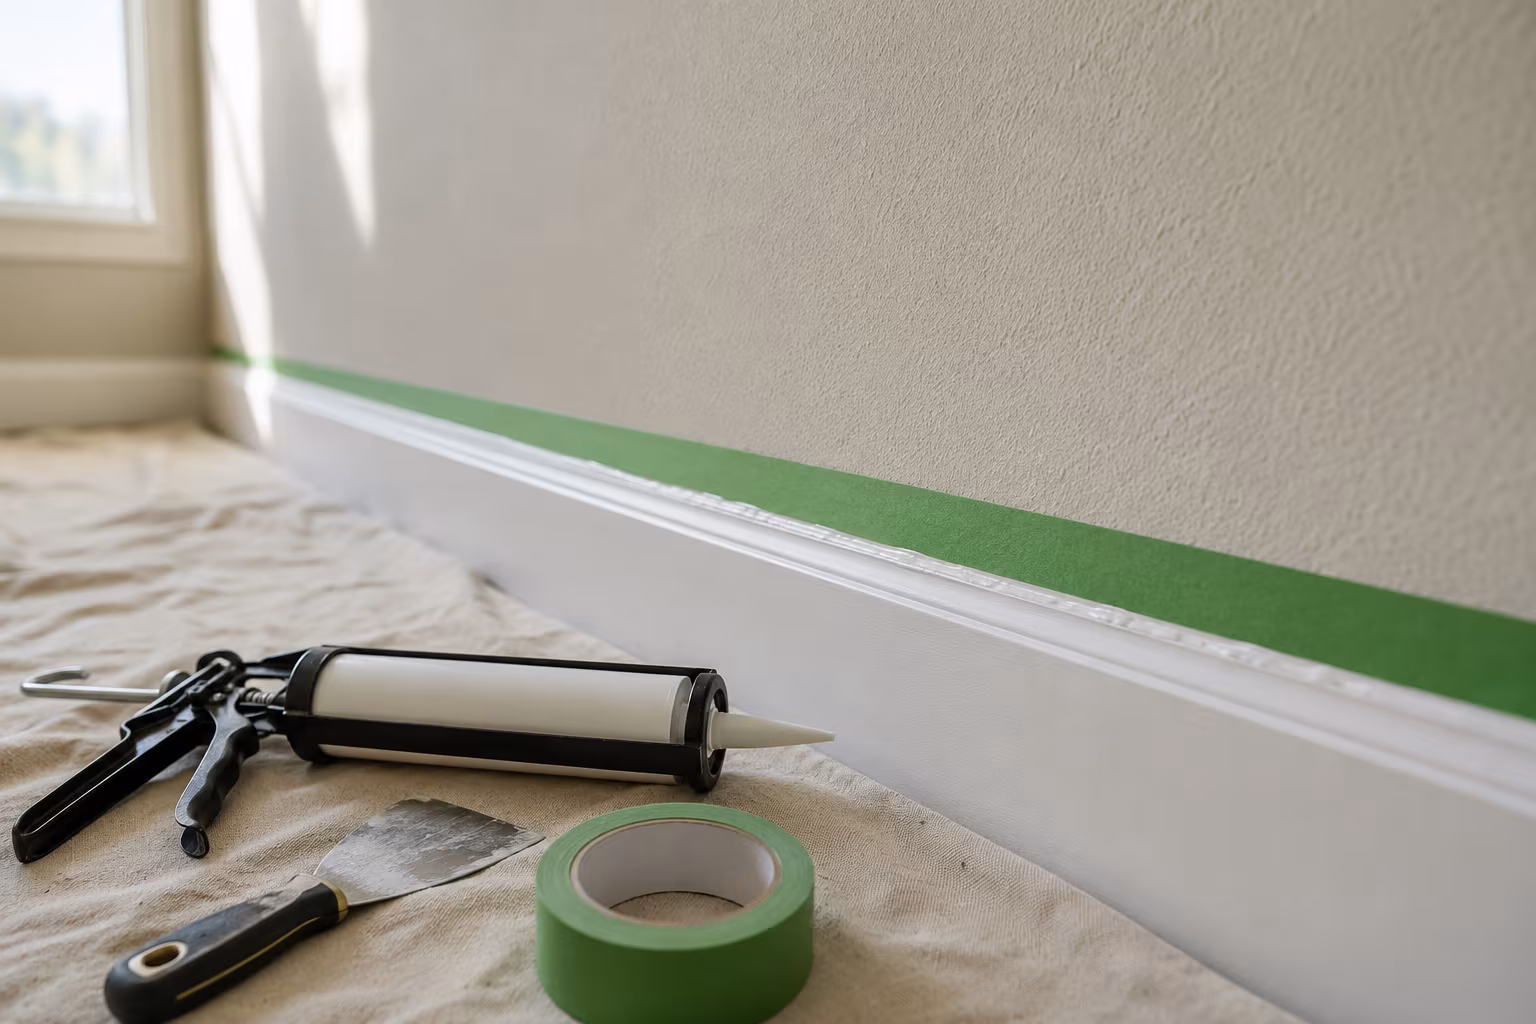
Painter's Tape for Crisp Lines on Textured Wall Surfaces
Standard blue tape bleeds on textured walls. The specialty tapes, caulk-edge-seal step, and...
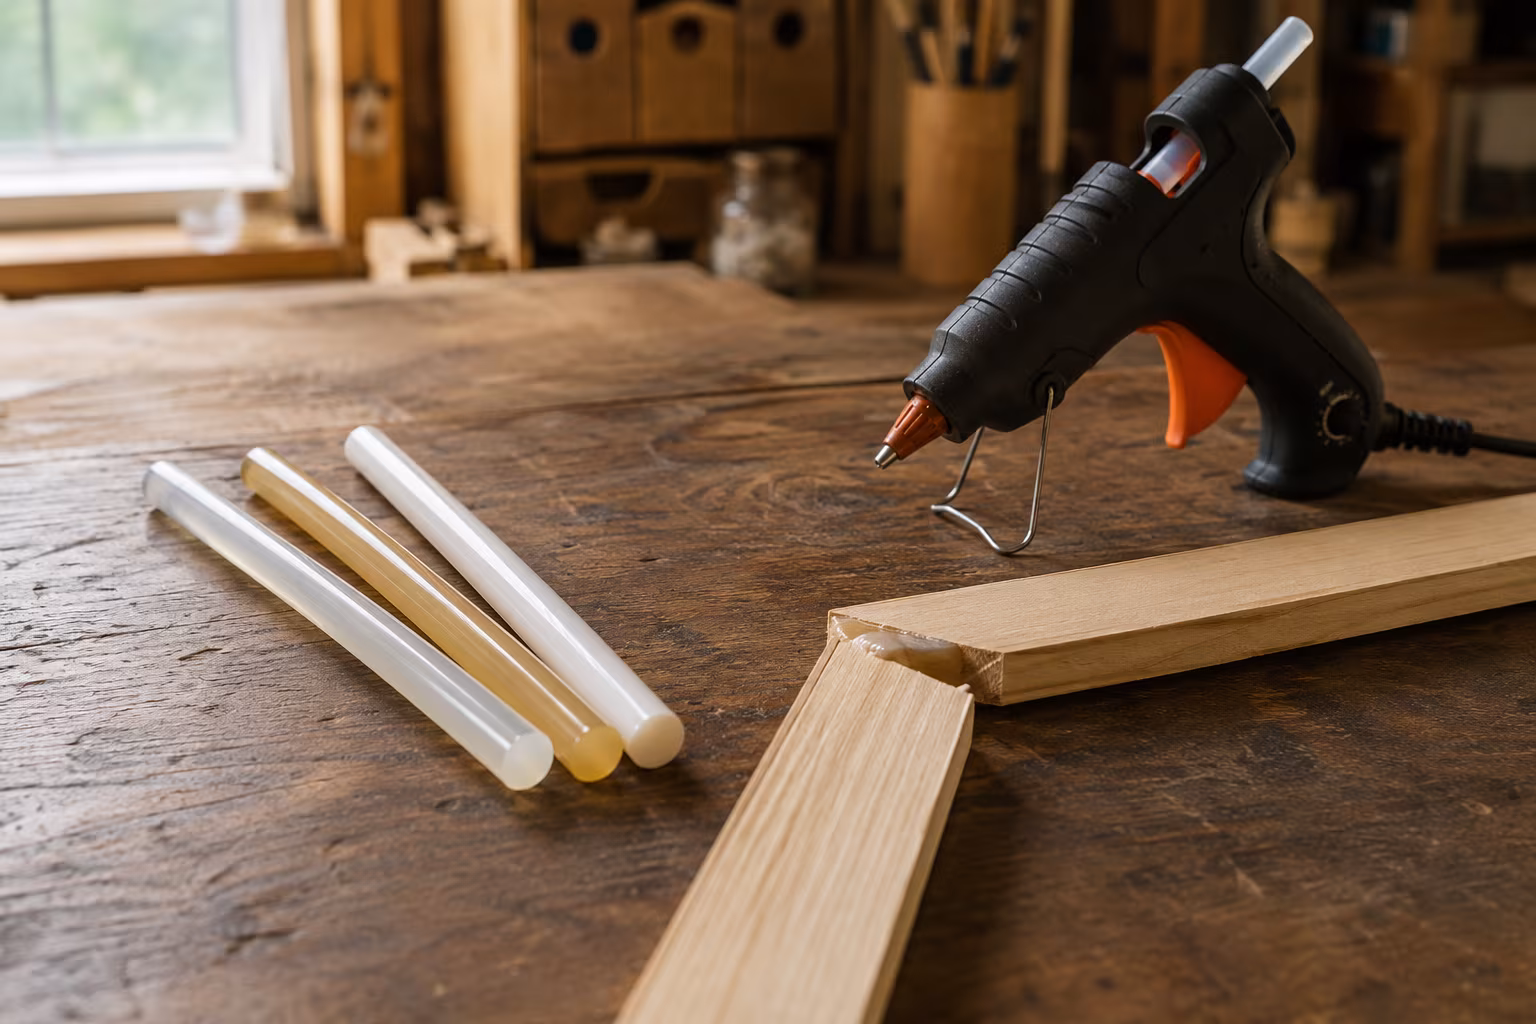
Hot Glue Sticks Compared: Low-Temp, High-Temp, Specialty
Low-temp glue sticks melt near 250°F, high-temp near 380°F. Compare stick types, specialty...

Sandpaper Grits Demystified: When to Stop Going Finer
Sand 80 to 120 to 180 for film finishes, 220 for oil, and stop there: finer burnishes wood and...