The Best Paper Trimmer Options for Card Making and Scrapbooking
Cutting card bases square with scissors and a ruler is slow and rarely consistent. A dedicated paper trimmer fixes both problems: it produces straight, repeatable cuts in seconds. The catch is that "trimmer" covers several distinct tools, rotary, guillotine, and bypass, each suited to different materials and volumes. Picking the right one depends on what you make and how much of it. A quick grounding in how a paper cutter works helps before you buy.
Why a Dedicated Trimmer Is Worth It
A trimmer's value is consistency and speed, not just straight lines. Cutting 20 card bases to a precise 4.25 by 5.5 inches by hand takes an afternoon and still yields slightly mismatched sizes; a trimmer produces 50 identical pieces in minutes. For any project involving repeated, uniform cuts, that repeatability is the whole point, and it is where a craft knife and ruler fall short.
The Main Types of Trimmer
Each type uses a different cutting mechanism, and each has clear strengths and limits.
Rotary Trimmers
A rotary trimmer runs a small circular blade along a track, rolling through the paper like a pizza cutter. Because the blade rolls rather than chops, it produces clean edges with minimal tearing, which makes it the best choice for delicate materials like vellum, photos, laminated pieces, and glitter cardstock. Many models accept swappable blades for scoring, perforating, or decorative wave cuts, and the enclosed blade is relatively safe. The trade-offs: it can be slower on a single sheet, and replacement blades add ongoing cost as they dull.
Guillotine Trimmers
The classic hinged-arm cutter brings a long blade down with force, slicing through stacks quickly. A guillotine handles 10 to 15 sheets of cardstock in one pass, keeps its edge for a long time, and is the fastest option for large batches. The downsides are safety and size: the exposed blade demands care, the units are large and heavy, and they can leave a slightly fuzzy edge on thick or textured stock if the blade isn't sharp.
Bypass Trimmers
A bypass trimmer uses two blades that pass each other like scissors mounted on a base. It is typically compact, portable, and affordable, giving clean single-sheet cuts with a clear alignment guide. It is not built for thick stacks, one or two sheets at a time is the realistic limit, and the blades on cheaper models often aren't replaceable.
When a Craft Knife Beats a Trimmer
Not a trimmer in the strict sense, but a craft knife (such as an X-Acto) with a self-healing mat is essential for intricate cuts, curves, and odd shapes a straight-edge tool can't reach. It offers unmatched flexibility for detail work but requires a steady hand, frequent blade changes, and practice to get long straight cuts. Snap-off or replaceable blades matter here: a knife blade dulls fast on cardstock, and a dull tip drags and tears rather than slicing. Keep it for stencils, embossed trims, and tight interior corners, and let the trimmer handle every straight edge.
The table below sums up how the four tools compare.
| Type | Cutting capacity | Best for | Main limit |
|---|---|---|---|
| Rotary | A few sheets | Photos, vellum, glitter cardstock, precise layered cuts | Slower on single sheets; blade cost |
| Guillotine | 10–15 sheets | Large batches, thick cardstock, bulk cutting | Bulky; exposed blade needs care |
| Bypass | 1–2 sheets | Beginners, small spaces, single projects, travel | Not for thick stacks |
| Craft knife + mat | 1 sheet | Intricate shapes, curves, small touch-ups | Hard to keep long cuts straight |
Choosing the Right Trimmer
There is no single best trimmer; the right one follows your crafting style, materials, space, and budget.
Match It to Your Projects
A card maker producing hundreds of pieces for a market benefits from a guillotine's speed, while someone building a single intricate scrapbook layout is better served by a rotary for precision or a craft knife for detail. Mixed work often justifies owning two, a rotary for clean edges and a small bypass for quick everyday cuts.
Consider Your Materials
Paper weight and texture matter. Rotary trimmers excel with delicate, tear-prone papers like vellum and handmade stock. Guillotines can snag glitter paper but power through heavy cardstock in bulk. Bypass trimmers suit standard to medium-weight cardstock in the 65 to 110 lb range. Match the tool to the paper you actually use most.
Factor In Space and Budget
A large guillotine needs a permanent home; a compact bypass or small rotary tucks away and travels to a crop or a friend's table. On price, functional entry-level trimmers run $20 to $40, while high-end models with extra features reach $100 to $200 or more. A solid mid-range trimmer covers most card making and scrapbooking; upgrade later only if you hit a specific limitation. Comparable value-first thinking applies to budget-friendly workspace supplies generally.
Check the Key Features
- Ruler and grid lines: clear markings, ideally in both inches and centimeters, for squaring paper accurately.
- Paper guide: a sturdy 90-degree guide that doesn't wiggle keeps cuts square.
- Cutting capacity: scrapbookers need a full 12-inch width; card makers usually want at least 8.5 inches.
- Blade availability: confirm replacement blades are easy to find and affordable before buying, proprietary blades can be discontinued.
- Safety features: blade guards and locks, especially on guillotines.
Blade maintenance also deserves a look before you commit. A trimmer that cuts a lot of cardstock will dull its blade within months of heavy use, so confirm replacement blades are in stock for that model and note their price, a $30 trimmer that needs $12 blades every few months costs more over time than a sturdier unit with cheap, common refills. If you can, test a display model or a friend's trimmer before buying: feel the weight, work the mechanism, and align a sheet. Hands-on time reveals comfort and ease of use that reviews can't.
Common Mistakes and Fixes
Even a good trimmer produces bad cuts when misused. The recurring issues:
- Dull blades. The top cause of frayed, chewed edges. Replace the rotary blade or the trimmer if the blade isn't serviceable; guillotine blades last a long time but can be sharpened.
- Poor alignment. A crooked cut usually means the paper wasn't square against the guide. Push it firmly into the corner, check it against the grid lines, and use the paper clamp if the model has one.
- Overloading. Exceeding the rated sheet capacity dulls blades and produces uneven cuts. Make two passes with fewer sheets rather than forcing one thick stack.
- Skipping cleaning. Paper dust, glitter, and adhesive build up on the track and guides, throwing off accuracy. Wipe the trimmer down after big sessions with a dry cloth or soft brush; a little rubbing alcohol lifts sticky residue, kept clear of printed markings.
- Neglecting safety. Use blade guards, keep fingers clear of the path, and store the trimmer locked or out of reach around kids and pets.
Frequently Asked Questions
Do I need a trimmer if I have scissors and a craft knife?
For straight, precise, repetitive cuts, yes. Scissors and knives handle freehand and irregular shapes well but can't match a trimmer's speed and consistency on straight lines and uniform sizing.
When should I replace the blade?
When you notice frayed edges, tearing, or having to press harder than usual on paper that used to cut cleanly. Don't wait until projects are ruined.
Are expensive trimmers always better?
No. High-end models add features and heavier construction, but a sturdy mid-range trimmer with good accuracy reviews serves most hobbyists well. You often pay for a brand name or features you won't use.
Can I cut fabric with a paper trimmer?
Generally no. Fabric needs dedicated rotary cutters and a thicker mat; cutting fabric on a paper trimmer dulls the blade and snags the material. Keep fabric and paper tools separate.
What's best for beginners?
A quality bypass trimmer or a smaller rotary. Both are safer, easier to learn, and less intimidating than a large guillotine, with enough precision for most card making and scrapbooking.
Pick the type that matches your usual paper and volume, keep the blade fresh, and align each sheet before cutting. That is most of what separates crisp, repeatable results from wonky edges, and it pairs well with organized cutting supplies and the same attention to different adhesives that finish a clean project.
Related Posts
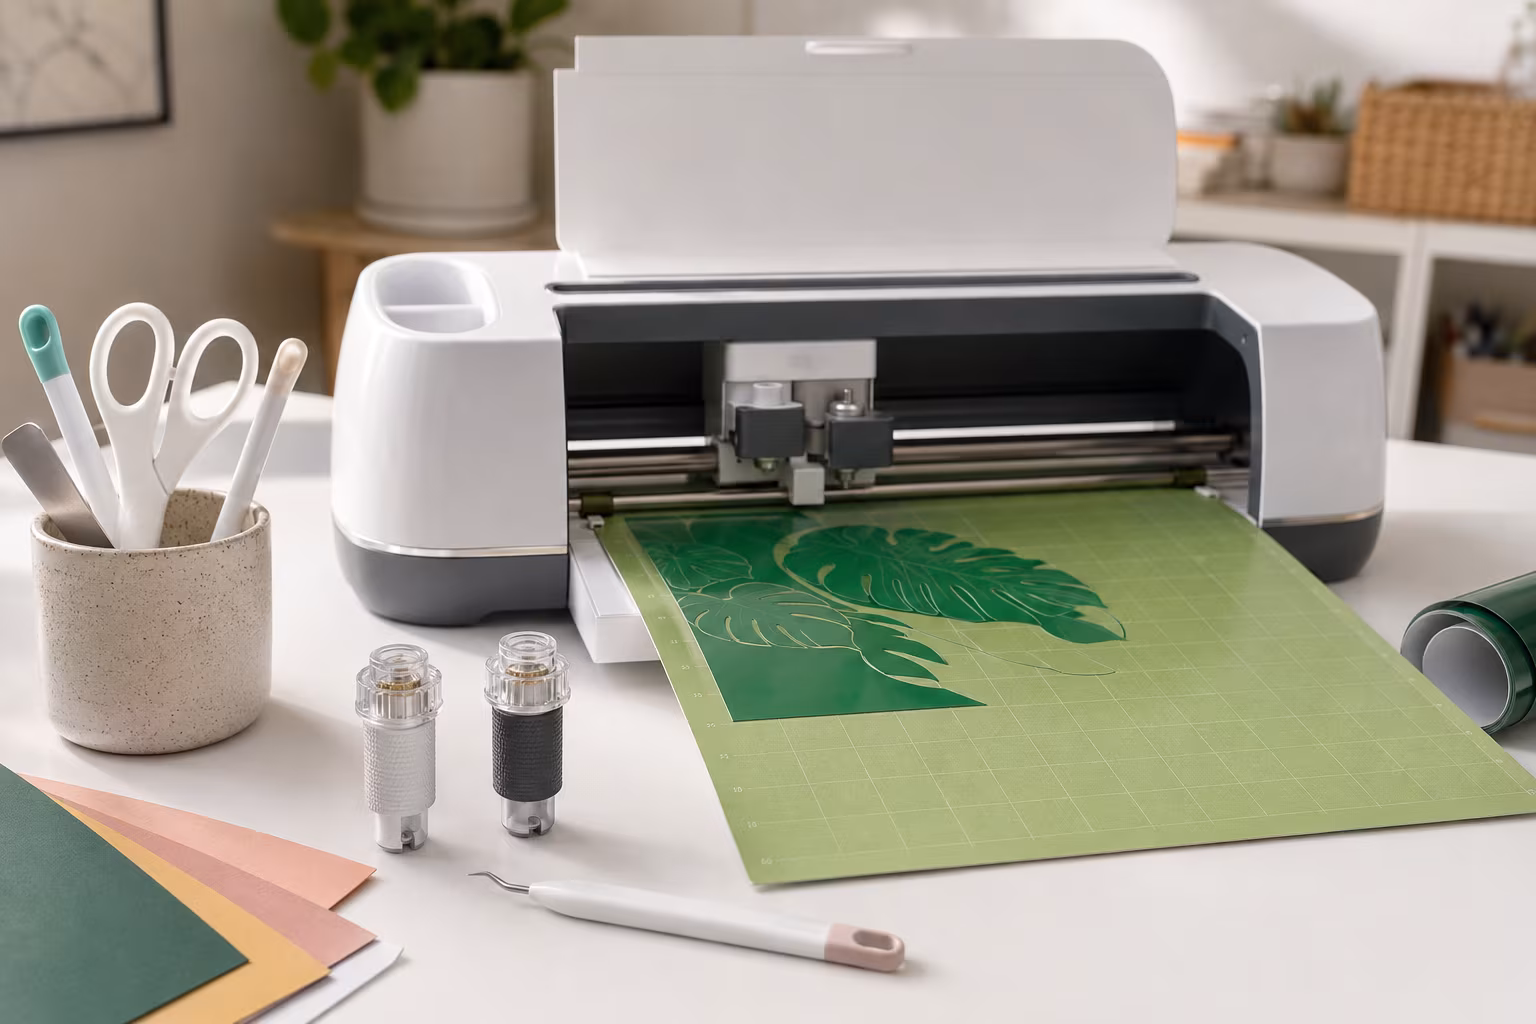
Beginner Cricut Blade Set: What You Actually Use Daily
The Cricut starter blade list is longer than most beginners need. The two or three blades that...
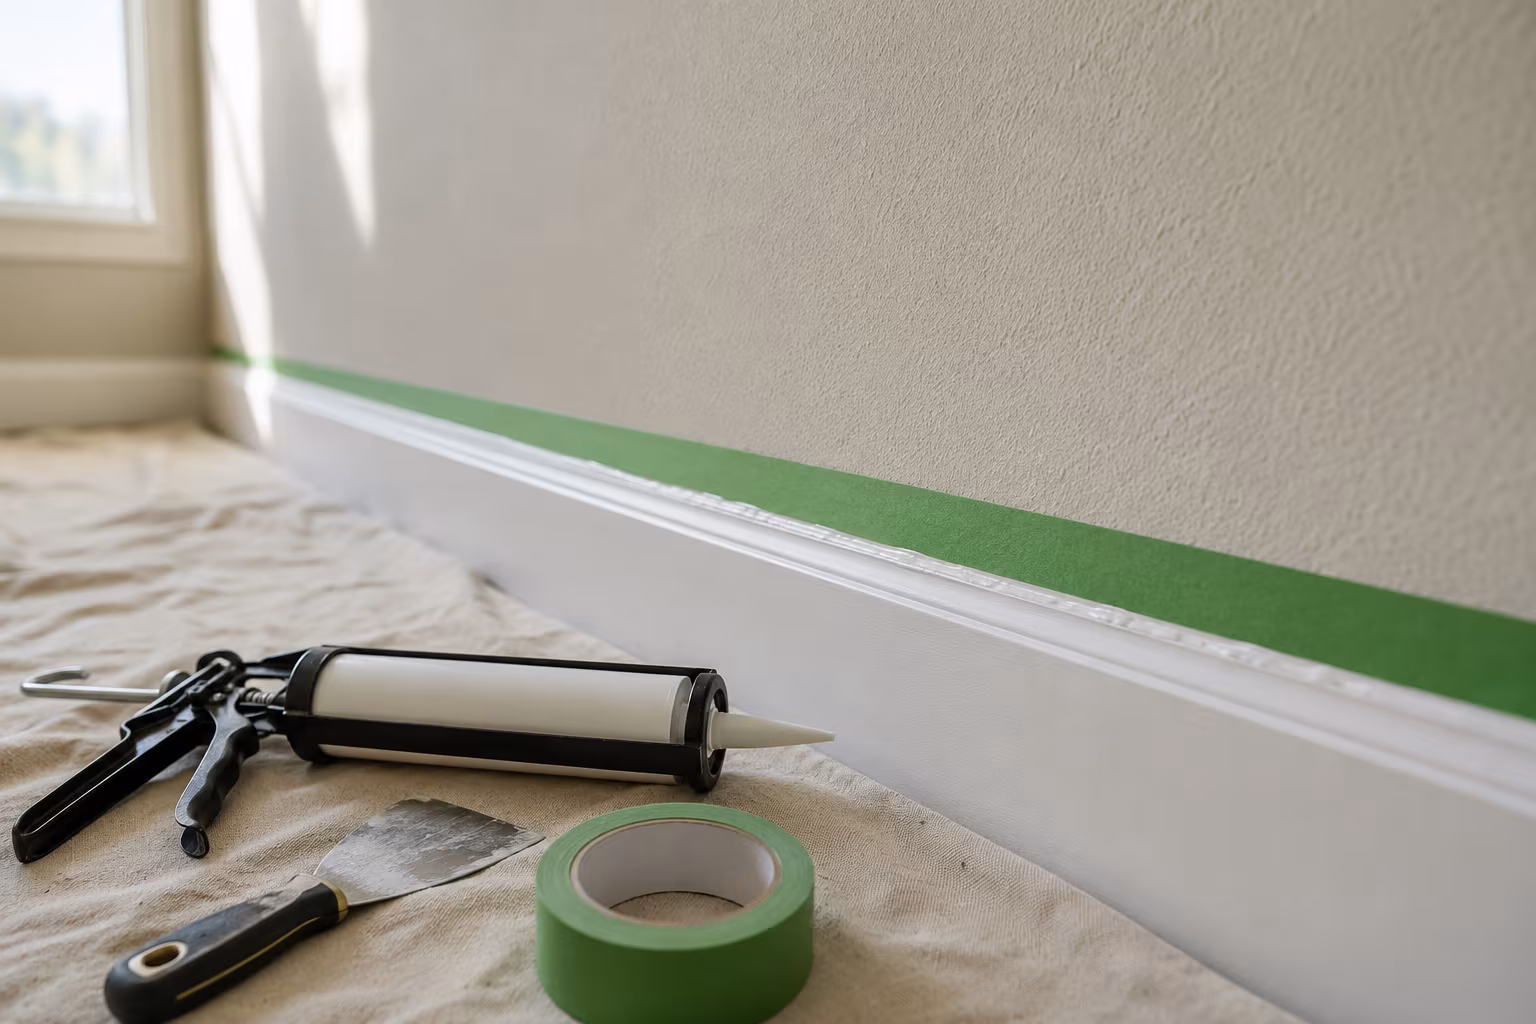
Painter's Tape for Crisp Lines on Textured Wall Surfaces
Standard blue tape bleeds on textured walls. The specialty tapes, caulk-edge-seal step, and...
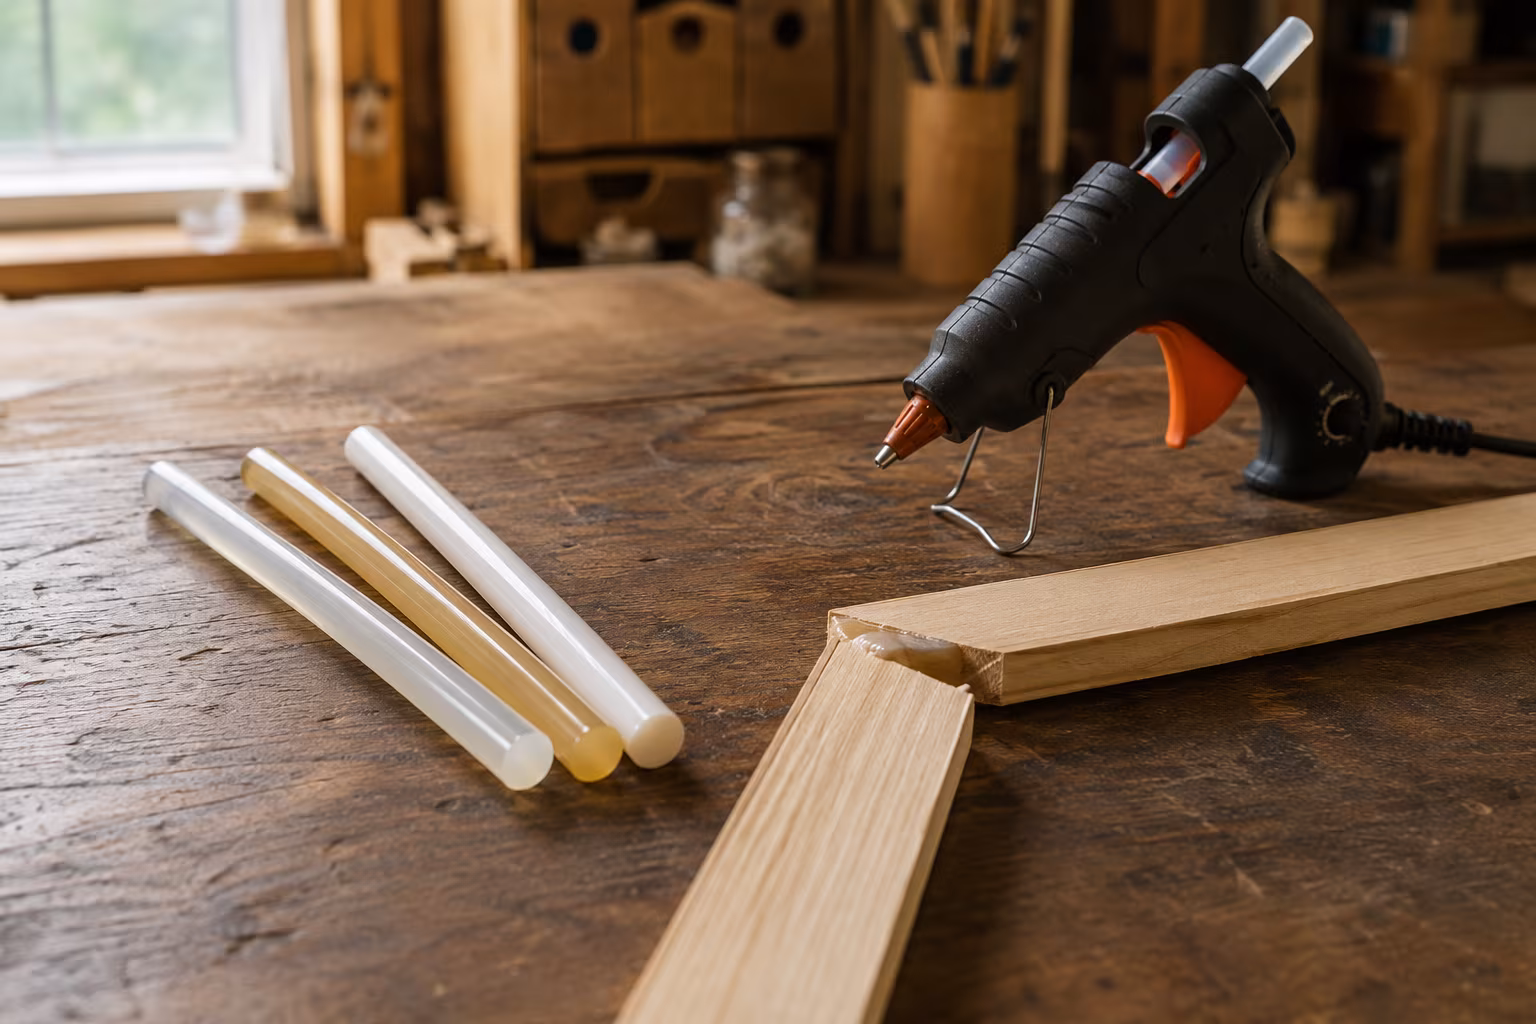
Hot Glue Sticks Compared: Low-Temp, High-Temp, Specialty
Low-temp glue sticks melt near 250°F, high-temp near 380°F. Compare stick types, specialty...

Sandpaper Grits Demystified: When to Stop Going Finer
Sand 80 to 120 to 180 for film finishes, 220 for oil, and stop there: finer burnishes wood and...