The Complete Guide to Different Types of Crafting Adhesives
Grabbing the wrong glue is the fastest way to undo hours of cutting, sanding, and assembly. Craft adhesives are not interchangeable: a bond that holds paper will peel off fabric in the wash, and a glue that grips wood will bead up on smooth plastic. The choice comes down to three things — what materials you are joining, how much load the bond has to carry, and how much drying time you can spare. Get those right and most projects hold on the first try.
The Main Adhesive Families
Every glue has a job it does well and a job it does badly. PVA white glue (Elmer's and school glues) is a water-based polyvinyl acetate that dries slowly and stays slightly flexible — ideal for paper, cardboard, and papier-mache. Tacky glue is a thicker clear PVA with more initial grab, better for cardstock, light wood, and embellishments. Wood glue is a yellow aliphatic-resin PVA that cures rigid and, when clamped, forms a joint stronger than the surrounding wood. Fabric glue stays flexible so it survives bending and washing.
For instant grab there is hot glue, and for permanent structural bonds there are cyanoacrylate and epoxy. The table below sums up how the common options behave.
| Adhesive | Best for | Set time | Full cure |
|---|---|---|---|
| PVA white glue | Paper, card, papier-mache | 20-30 min | 24 hours |
| Tacky / clear craft glue | Cardstock, light wood, trims | 10-15 min | 24 hours |
| Wood glue (yellow PVA) | Wood-to-wood joints | 30-60 min (clamped) | 24 hours |
| Fabric glue | Textiles, patches, hems | 2-4 hours | 48-72 hours |
| Hot glue (high-temp) | Felt, florals, quick holds | 30-60 seconds | Instant |
| Cyanoacrylate (super glue) | Plastic, ceramic, metal, small parts | 10-45 seconds | 24 hours |
| Two-part epoxy | Glass, metal, load-bearing repairs | 5-30 min working time | 24-72 hours |
Matching Glue to Material and Load
Start with the surfaces. Porous materials — wood, paper, unglazed ceramic — soak up water-based glue and bond mechanically as it dries, so PVA and wood glue excel there. Slick, non-porous surfaces such as glazed tile, glass, hard plastic, and metal give a PVA nothing to sink into; those need cyanoacrylate or epoxy, which cure by chemical reaction rather than evaporation.
Then weigh the load. A dab of hot glue is fine for felt on a wreath but will shear off a chair leg under weight; a broken joint that carries stress wants wood glue with clamps or a two-part epoxy. Heat and moisture matter too — hot glue softens near a stove or in a hot car, and only epoxy and specific "waterproof" wood glues survive repeated wetting. When two materials differ sharply, such as smooth metal glued to porous fabric, epoxy usually bridges the gap best.
Application and Cure Times That Actually Hold
Thin, even layers beat thick ones every time. Excess glue oozes, dries cloudy, warps paper, and cures into a weak flexible film instead of a thin strong one. Use a brush or toothpick for liquid glue, spray adhesive in sweeping passes from 6-8 inches away, and lay hot glue in small dots. Clean, dry, dust-free surfaces are non-negotiable — wipe wood with a damp cloth and let it dry, and degrease plastic or metal with rubbing alcohol first.
The biggest mistake is confusing dry-to-the-touch with fully cured. Wood glue and epoxy feel dry within an hour but reach maximum strength only after 24 to 72 hours, so clamp anything structural and leave it alone. Sanding or stressing a joint early is how a glued box comes apart in your hands. For repositionable work — layered scrapbooking or fine woodworking — slower-drying glue is an advantage because it buys you time to align pieces before it grabs.
Common Mistakes to Avoid
A handful of errors account for most failed bonds. Skimming past the label costs 30 seconds and hides details like ventilation requirements or two-surface application. Using too much glue weakens the joint and leaves residue. Dirty surfaces — dust, oil, fingerprints — block adhesion entirely. And impatience, handling a project before full cure, pops parts off during finishing.
- Wrong glue for the job: wood glue on fabric or hot glue where waterproofing is needed will always fail; check the material first.
- No test run: with unfamiliar glue or a delicate surface, try a scrap or hidden spot to see how it dries and whether it stains or frosts dark materials.
- Ignoring shelf life: opened liquid glues thicken and lose grip in 6-12 months; store them capped, upright, and cool, and date the bottle.
- Skipping clamps: wood glue and epoxy need pressure to reach full strength — masking tape, rubber bands, or a firm hand for a few minutes works for lighter pieces.
To remove dried glue, match the solvent to the adhesive: warm soapy water softens uncured water-based glues, acetone dissolves cyanoacrylate (test it first, since it attacks some plastics and finishes), and rubbing alcohol loosens hot glue. If you keep just two adhesives on the bench, a clear tacky glue covers most paper and light craft work, and a tube of super glue handles small non-porous repairs — enough to build a layered greeting card or reattach a snapped-off handle without a second trip to the store.
Related Posts
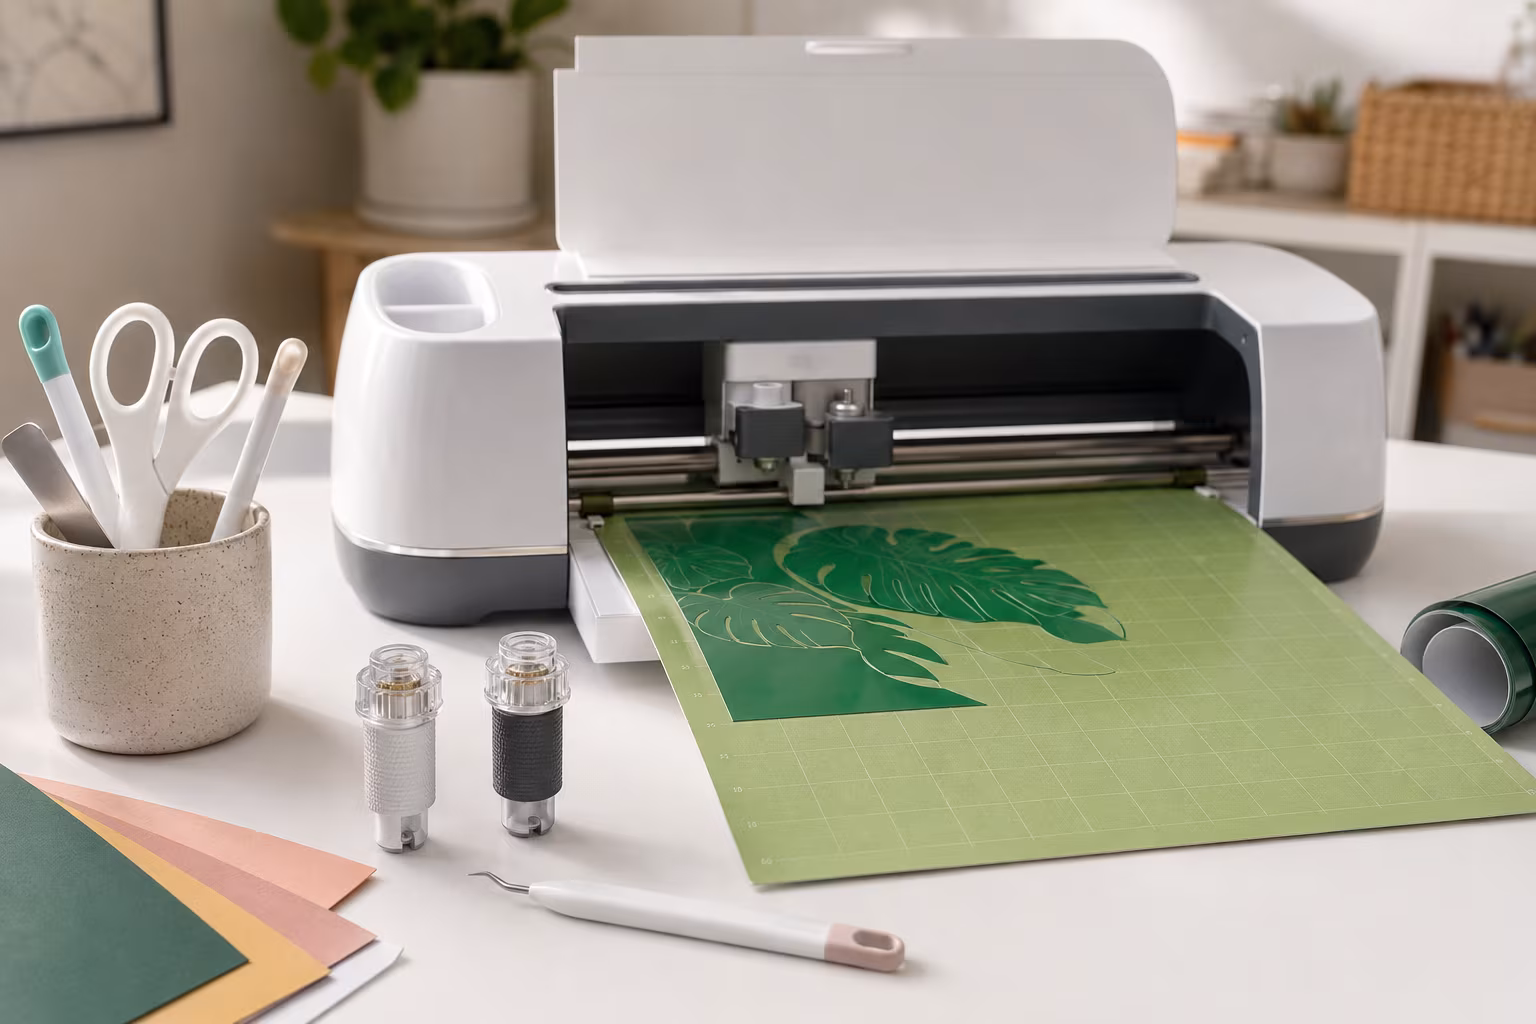
Beginner Cricut Blade Set: What You Actually Use Daily
The Cricut starter blade list is longer than most beginners need. The two or three blades that...
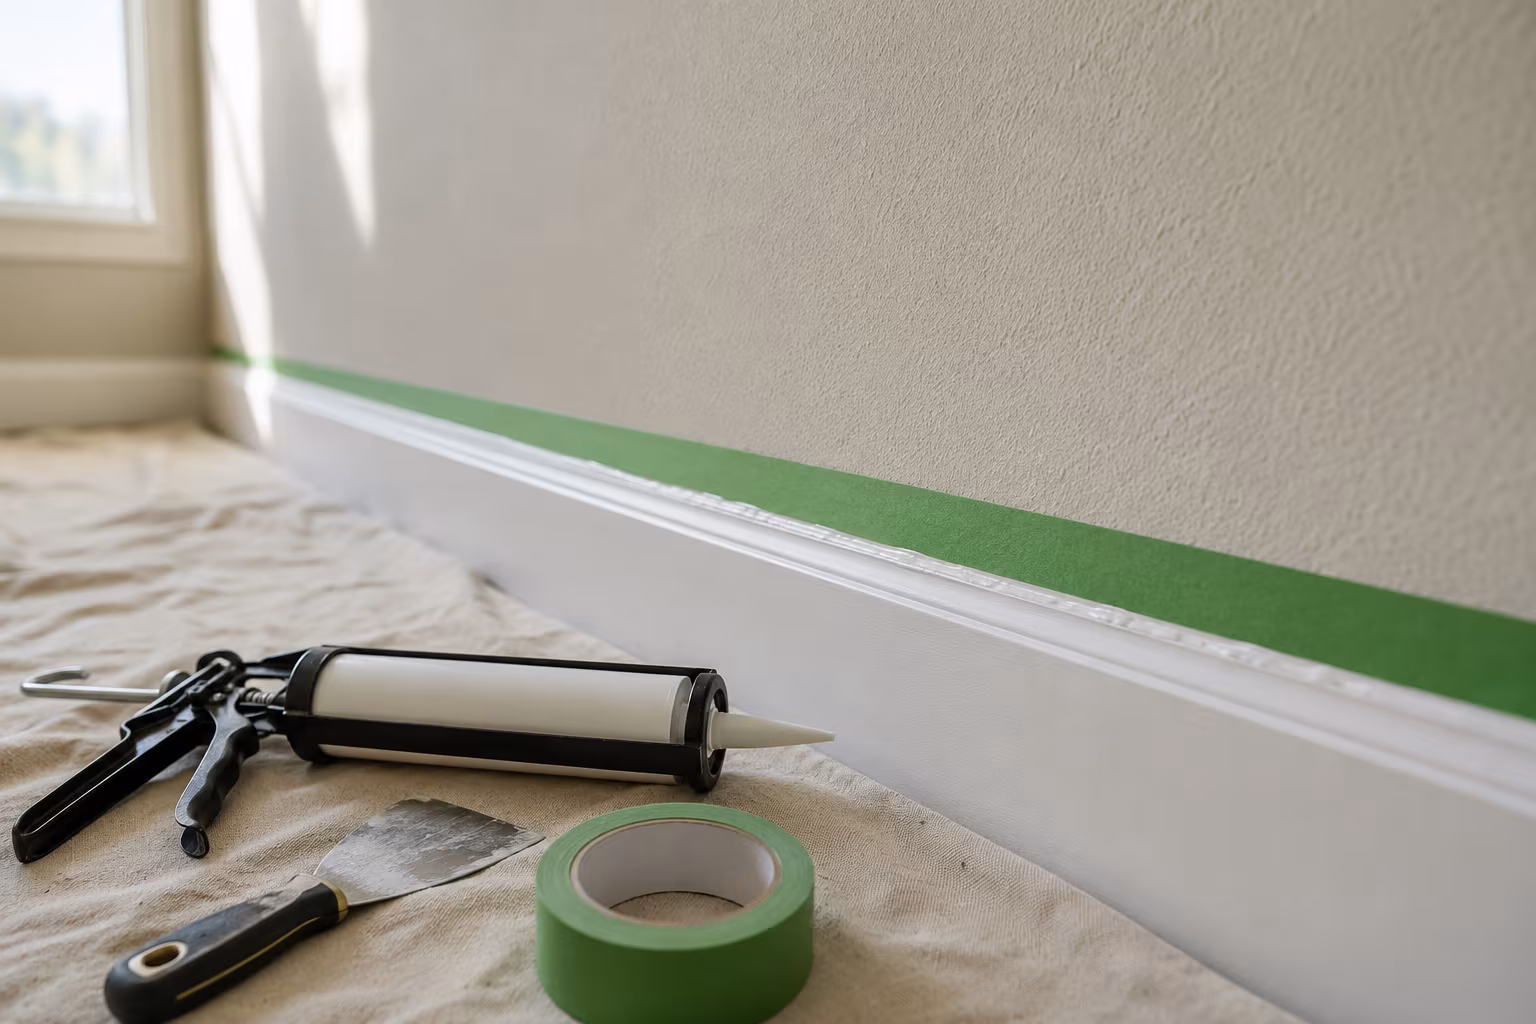
Painter's Tape for Crisp Lines on Textured Wall Surfaces
Standard blue tape bleeds on textured walls. The specialty tapes, caulk-edge-seal step, and...
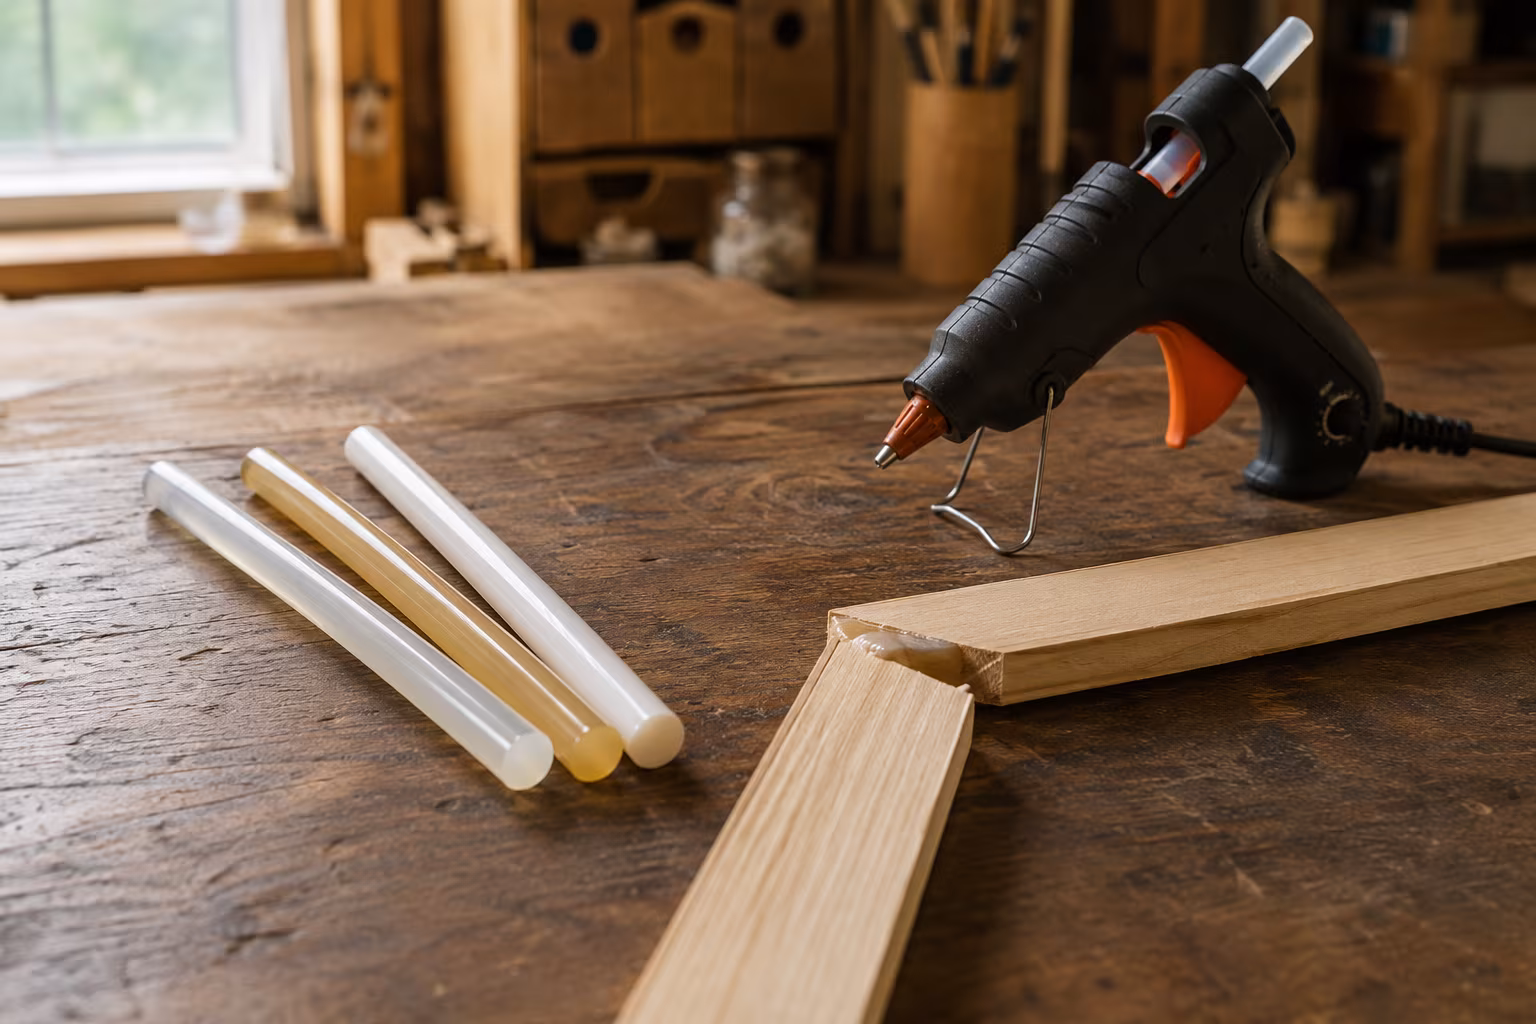
Hot Glue Sticks Compared: Low-Temp, High-Temp, Specialty
Low-temp glue sticks melt near 250°F, high-temp near 380°F. Compare stick types, specialty...

Sandpaper Grits Demystified: When to Stop Going Finer
Sand 80 to 120 to 180 for film finishes, 220 for oil, and stop there: finer burnishes wood and...