The Complete Guide to Pressure Washing Your Patio and Walkways
A patio that has gone green and grimy over a wet winter is more than an eyesore — algae film makes concrete genuinely slippery, which is a real hazard for kids and older family members. A pressure washer blasts pressurized water through a narrow nozzle to strip away moss, dirt, mildew, and years of built-up film that a garden hose and brush can't touch. Beyond safety, a clean slab restores curb appeal and makes an outdoor space usable again. The catch is that the same force that cleans can etch concrete or splinter wood, so technique matters as much as the machine.
Electric vs. gas, and the parts that matter
Two categories cover home machines. Electric pressure washers are lighter, quieter, and lower-maintenance, and at roughly 1600–2000 PSI they handle a patio, outdoor furniture, or a car well. Gas models push higher PSI and more gallons per minute (GPM), which suits big driveways and stubborn stains, but they're loud and need more upkeep. For most patio and walkway work, an electric unit around 1600–2000 PSI is plenty; a large driveway or deep-set staining is the case for renting a gas machine for a day.
Whichever type, the core parts are the same: a motor or engine for power, a pump that pressurizes the water, a reinforced high-pressure hose, a spray gun with a trigger, an extension wand, interchangeable nozzles that set the spray pattern, and usually a detergent tank or siphon injector for cleaning solution. Setting one up becomes routine after a couple of tries.
Two numbers describe any machine: PSI (pounds per square inch, the cutting force) and GPM (gallons per minute, how fast it rinses debris away). Both matter — high PSI with low flow cleans slowly because it can't move loosened grime, while a balanced 1.2–1.6 GPM at 1600–2000 PSI clears a residential patio efficiently. A "surface cleaner" attachment, a flat disc that houses two spinning nozzles under a shroud, is worth adding for large flat areas: it holds a constant distance and eliminates the streaking that freehand wanding tends to leave on open concrete.
Nozzles: the choice that prevents damage
Nozzles are color-coded by spray angle, and picking the wrong one is the fastest way to wreck a surface. Wider angles spread the force and clean gently; narrow angles concentrate it. Always start wide and test on an inconspicuous spot — you can step up the intensity, but you can't undo an etched line.
| Nozzle color | Spray angle | Use |
|---|---|---|
| Black | 65° (soap) | Lowest pressure; applies detergent |
| White | 40° | Gentle general cleaning, softer surfaces |
| Green | 25° | Everyday concrete patios and driveways |
| Yellow | 15° | Tough spots; use with caution, never on wood |
| Red | 0° | Pinpoint stream; can damage concrete — rarely needed |
For concrete, the green 25-degree tip is the reliable workhorse — strong enough to clean without gouging. The red 0-degree tip has almost no place in routine cleaning.
Washing the patio, step by step
- Gather gear. Set out the washer, a garden hose long enough to reach the tap, and an extension cord for electric models. Put on eye protection and closed-toe shoes; hearing protection too for gas units. Rebounding grit in an eye is a common, avoidable injury.
- Prep the area. Clear all furniture, pots, and décor, then sweep thoroughly. Loose stones become projectiles under high pressure, and sweeping first prevents that. Rinse or tarp nearby plants, since the spray can shred foliage.
- Connect and prime. Attach the garden hose to the inlet and the high-pressure hose to both the outlet and the spray gun, tightening every fitting. Turn the water fully on, then squeeze the trigger to bleed air out before starting the motor — this primes the pump and protects it.
- Apply detergent (optional). For heavy mold or algae, fit the black soap nozzle, load a pressure-washer-safe detergent (never household dish soap, which can damage the pump), and coat the surface evenly. Let it dwell 5–10 minutes per the label, but don't let it dry on the concrete.
- Wash. Switch to the green nozzle, stand 12–18 inches back, and hold the wand at a slight angle. Keep it moving in even, overlapping passes — think of mowing a lawn, with a few inches of overlap each stroke — and keep the distance consistent to avoid streaks and clean lines.
- Rinse. Wash away all detergent and loosened dirt, working from the highest point down and pushing runoff toward the edge and away from clean areas.
- Shut down and store. Turn off the machine and water, squeeze the trigger to release residual pressure, then disconnect and drain the hoses and clean the nozzles before storing the unit dry.
Common mistakes and how to avoid them
Wrong nozzle or too much pressure. A red or yellow tip held close can permanently etch concrete or strip deck paint. Start with white or green and a good distance, increasing intensity only if needed.
Washing too close. Even a mid-pressure tip held too near leaves streaks and clean lines that are hard to blend. The 12–18 inch gap lets the fan spread and clean evenly.
Skipping prep. Not sweeping means blasting debris around, scratching the surface or pelting yourself; not shielding plants means damaged foliage. Ten minutes of clearing pays off.
Ignoring safety gear. High-pressure water rebounds with grit and, at close range, can cut skin. Eye protection and closed-toe shoes are non-negotiable.
Neglecting the machine afterward. Stagnant water left in the pump causes mineral buildup and can freeze and crack parts in cold weather. Flush the detergent, run clean water through, and drain the hoses after each use.
A few points before you start: skip bleach entirely — it corrodes pump components and harms surrounding plants, so use a purpose-made detergent instead. For residential concrete, 1500–2500 PSI is the useful range; less won't cut it, more risks damage. Wood decks, softer pavers, and painted surfaces need lower pressure and wider nozzles, always tested in a hidden spot first. If you only have a one-off job, home-improvement stores and equipment rental shops rent washers by the day, which is a sensible way to clean a slab without buying a machine. An average 10×15-foot patio takes roughly 2–3 hours including setup and cleanup — a steady pace, not a rushed one, gives the cleanest result and the fewest accidental marks.
Related Posts
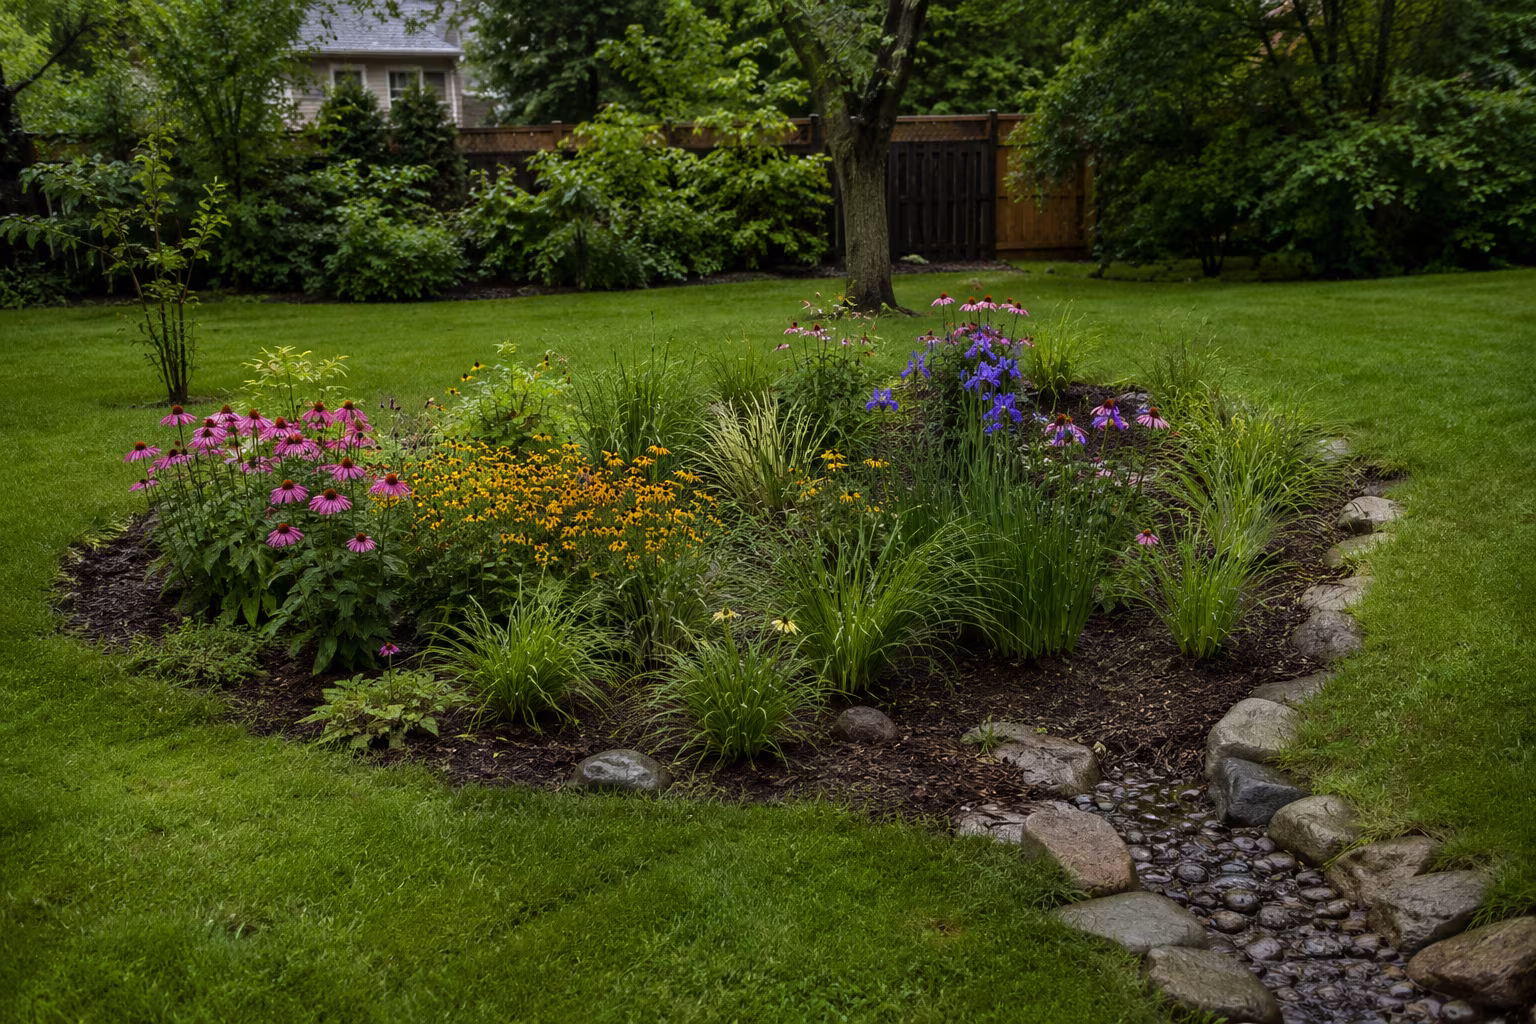
Building a Rain Garden That Actually Drains in Clay Soil
Rain gardens work in clay soil if you dig 12-18 inches deep, amend with coarse sand and compost...
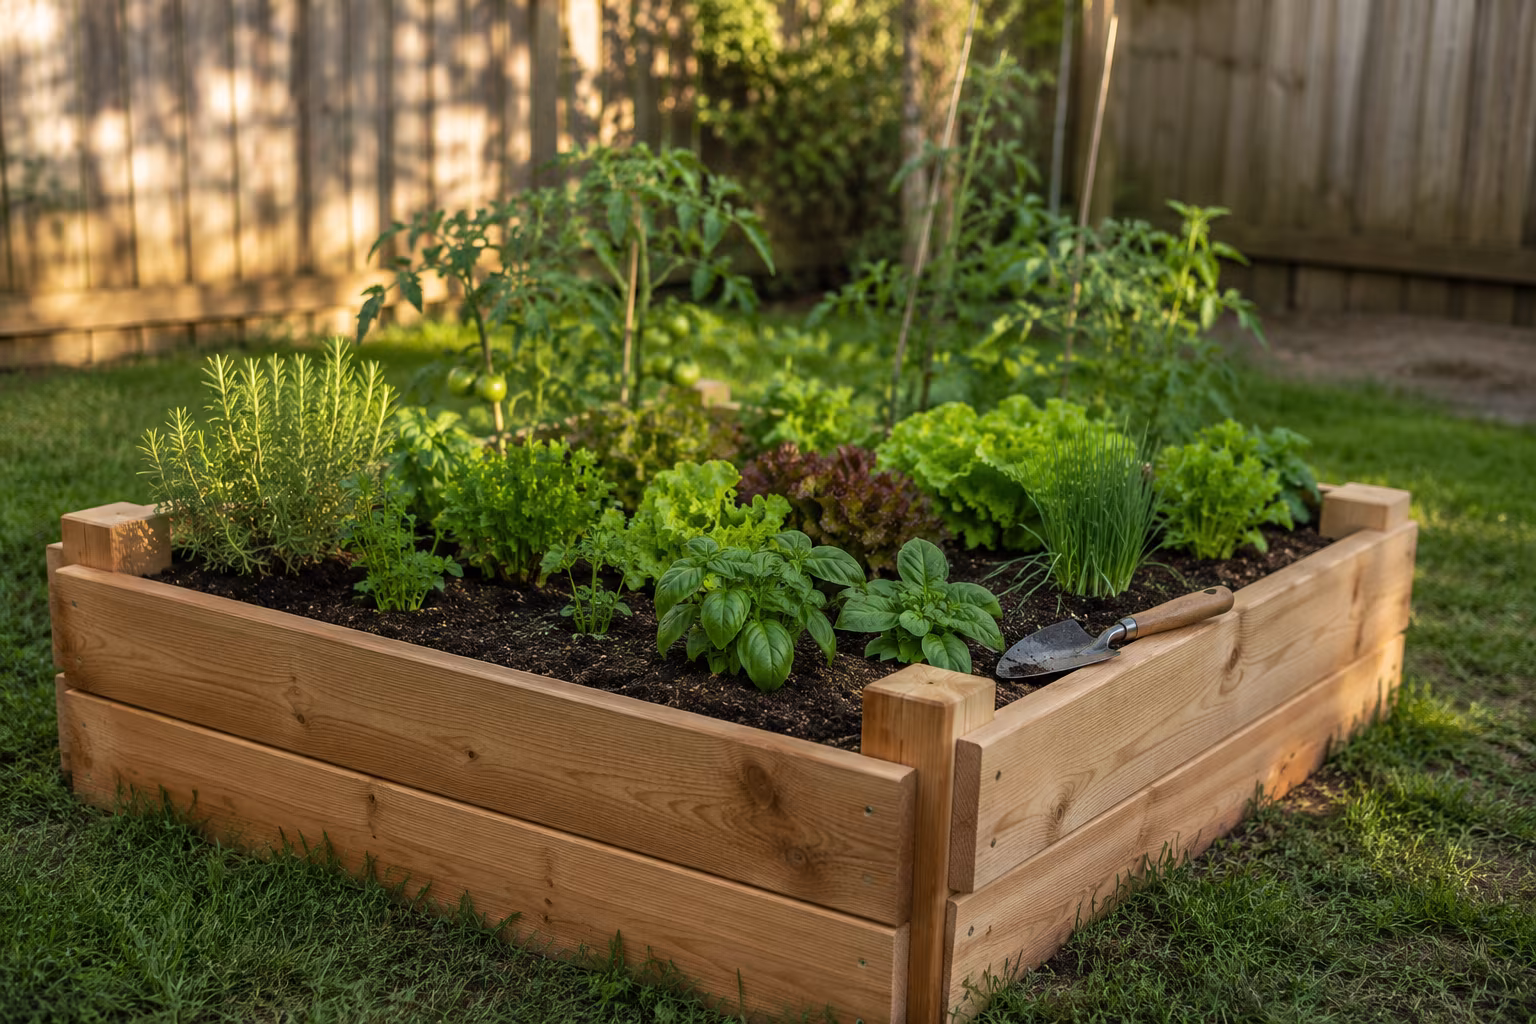
Pressure-Treated vs Cedar for a Small Raised Garden Bed
Cedar looks better and is organic-certified; modern pressure-treated lumber is cheaper, lasts...

Tarp Pitching for Side Wind: A Practical Field Guide
Pitching a tarp for side wind: lower the windward edge, why the plow point beats the A-frame...

The Complete Guide to Identifying and Removing Invasive Garden Plants
Identify English ivy, Japanese knotweed, garlic mustard, and thistles, then remove them for good...