
The Complete Guide to Starting a Monthly Craft Book Club
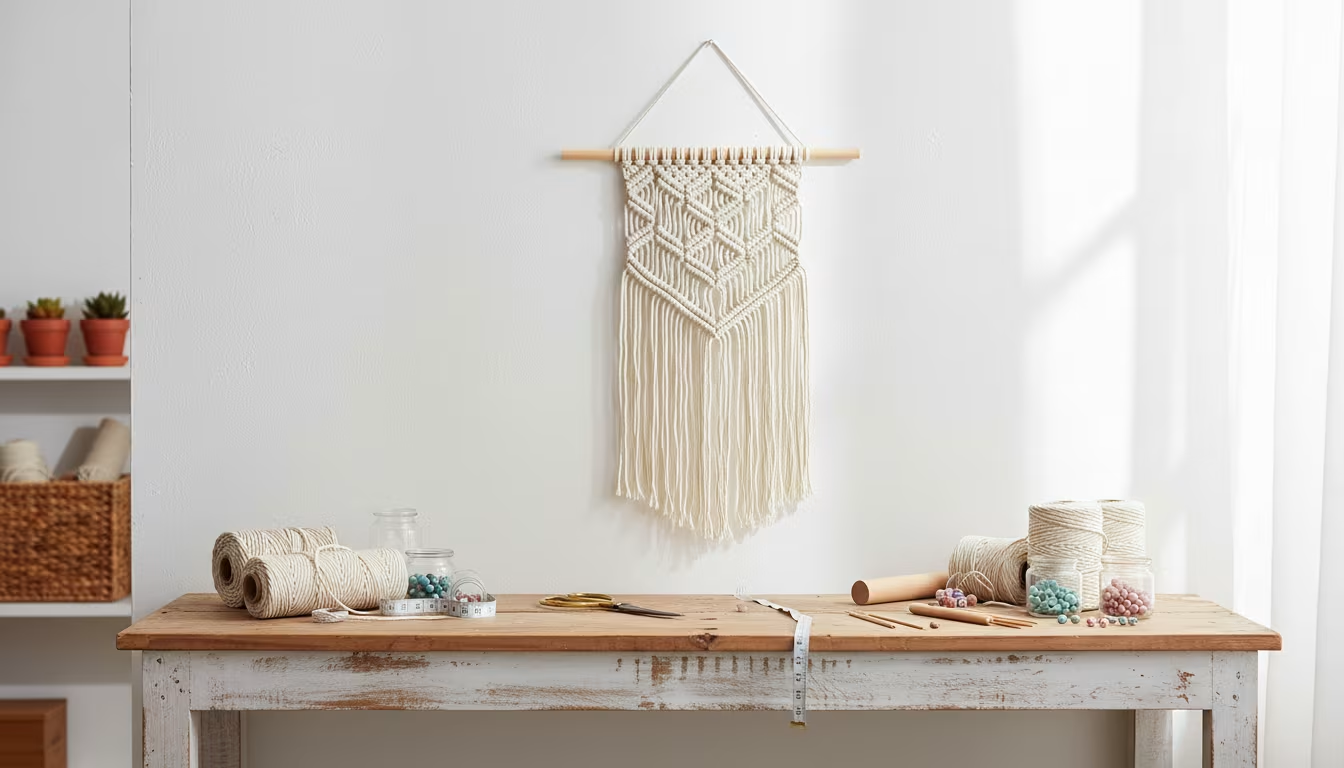
A craft book club solves the two problems that stall most makers: supplies that pile up unused, and the lack of a reason to actually finish anything. Instead of discussing chapters the way a reading group does, members pick a craft book, a technique, or a single project and work through it together — sharing tools, troubleshooting in real time, and showing progress at each meeting. The structure supplies accountability; the group supplies momentum. It borrows the format of a traditional book discussion club but replaces reading aloud with making.
Why a shared club beats solo crafting
Working alone, a frustrating seam or a stalled project tends to end with the whole thing shoved in a closet. In a group, someone across the table has hit the same wall and can talk you through it. Beyond troubleshooting, a club widens what you attempt. Books on origami, block printing, or hand embroidery get bought and never opened when the cost and risk fall on one person; split three ways and paired with company, they get tried. You also spread expense — a shared book, shared consumables, occasionally a shared machine like a Cricut cutter or a heat press — and you build a small circle of people who understand why a clean saw cut or a good thrift find is worth celebrating.
Choosing your club's focus
Decide on a direction before inviting anyone. It shapes which book you start with and who it attracts. Three formats cover most groups:
- The "try everything" club — a different craft each month: knitting, then simple woodworking, then paper crafts. Best for people who like variety and don't mind the occasional dud.
- The "skill deep dive" club — one comprehensive book on a single craft, worked through over several months. This is how you build genuine competence in something like relief printing or embroidery rather than a scattering of half-learned techniques.
- The "upcycle and thrift" club — projects built from repurposed materials, like turning old denim or picture frames into something new. It keeps material costs near zero and forces creative problem-solving.
None is better than the others; the point is to name one so the first few decisions make themselves.
Gathering your group and choosing the first project
Three or four committed people is plenty to start. Past about eight, coordinating schedules and sharing tools gets unwieldy and quieter members stop getting airtime. Draw from friends who already craft or have said they'd like to try, post on a local makers' group or a community board, or ask at a craft store or library. Plenty of people are quietly looking for exactly this.
For the very first meeting, pick something simple, fast, and cheap — a project that finishes in about an hour on materials most people already own. A basic paper-flower tutorial needing only paper, scissors, and glue is a good template: everyone leaves with a finished object and the confidence to come back. Browse the library or search "beginner [craft] projects" and screen for clear instructions and a short materials list. Early on, participation and a completed piece matter far more than ambition.
Setting a schedule and a place to meet
Consistency keeps a group alive. Monthly is the most sustainable cadence — enough time to finish a project between sessions without pressure, frequent enough that momentum holds. Pick a standing day so nobody has to renegotiate each month.
Location depends on the craft. A home with a large table handles messy work; a coffee shop suits clean, portable crafts like knitting or sketching; many public libraries and community centers offer free meeting rooms. Rotating between members' homes spreads the hosting load and lets everyone share their space, so no single person is always cleaning up afterward.
Running the session
A meeting has a rhythm worth following:
- Send a reminder a few days ahead listing the project, the book if there is one, and the materials to bring. Suggest snacks — crafting runs long and people get hungry.
- Open with the "book club" part. Spend a few minutes on the chosen project: what was clear in the instructions, what looked confusing, what everyone wants to try. A quick icebreaker ("first DIY project you ever made") loosens a new group.
- Make together, not in silence. This is a working session with conversation — trading tips, troubleshooting a stuck step, passing around a tool that worked. When someone finds a shortcut, have them demonstrate it. Keep a few spare basics on hand (scissors, glue, a ruler) for whoever forgets something.
- Close with a share and a decision. Everyone shows progress, finished or not. Then agree on the next project and, critically, set the next date before anyone leaves — deciding it on the spot is the single biggest thing that keeps follow-through from slipping.
Keeping it going and the mistakes that sink clubs
Two failure modes account for most clubs that fizzle. The first is choosing projects that are too ambitious or expensive. If every meeting demands $50 of new materials, attendance drops fast; alternate a challenging project with a cheap, quick one. The second is drifting toward perfectionism. This is a hobby group, not a professional workshop — early results are supposed to be rough, and treating them that way keeps people coming back rather than dropping out over a crooked seam.
The best projects a club produces aren't the flawless ones; they're the ones that come with a story of learning something together.
Keep communication easy. Send a reminder before each meeting and a short recap with photos afterward. Be understanding when life pulls someone away — a missed session isn't a lost member. And stay willing to change course: if a craft isn't landing with the group, move on to something else. A club that tries candle-making and finds it doesn't click should simply pick a different project next month rather than force it.
Skill gaps are a feature, not a problem. Beginners learn directly from more experienced members, and experienced makers get fresh eyes on old habits. Choose projects with adaptable difficulty — an easier and a harder version of the same idea — so everyone is stretched without anyone being lost. Members don't need identical supplies either; a similar yarn weight in a different color, or whatever someone already has on the shelf, is usually fine. For groups spread across distances, video calls work well for demonstrating technique and sharing progress, with a little extra planning around materials.
On money, a simple rule keeps everyone in: aim to keep per-meeting material costs under about $15, and rotate an occasional "stash-only" session where members work purely from supplies they already own. Shared equipment stretches the budget further — one member's die-cutting machine, a communal set of acrylic paints, a single good pair of fabric shears passed around the table. A running group notebook or shared photo album of past projects also gives newcomers an easy on-ramp and reminds the group how far it has come.
Start small: pick one easy project, invite two friends, set a date, and hold the first meeting before the enthusiasm fades. The friendships and the finished shelf of projects both build from there.
The two numbers that keep a club alive:
| Rule | Number | Why |
|---|---|---|
| Per-meeting materials | under ~$15 | a $50 night empties the room |
| Project rhythm | alternate hard with cheap-and-quick | attention and budgets both recover |
Related Posts
Workshop Air Compressor Sizing: CFM and SCFM
Air compressor matched to your tools means smooth work; too small means constant waiting. CFM...

Workshop Dehumidifier Sizing for Tool Rust Prevention
Tools rust silently when shop humidity sits over 60%. The pint capacity that matches your shop...
Bench Vise Sizing and Mounting for First-Time Buyers
Bench vises bolted to scrap plywood pull right out. The right size for the work, the right...
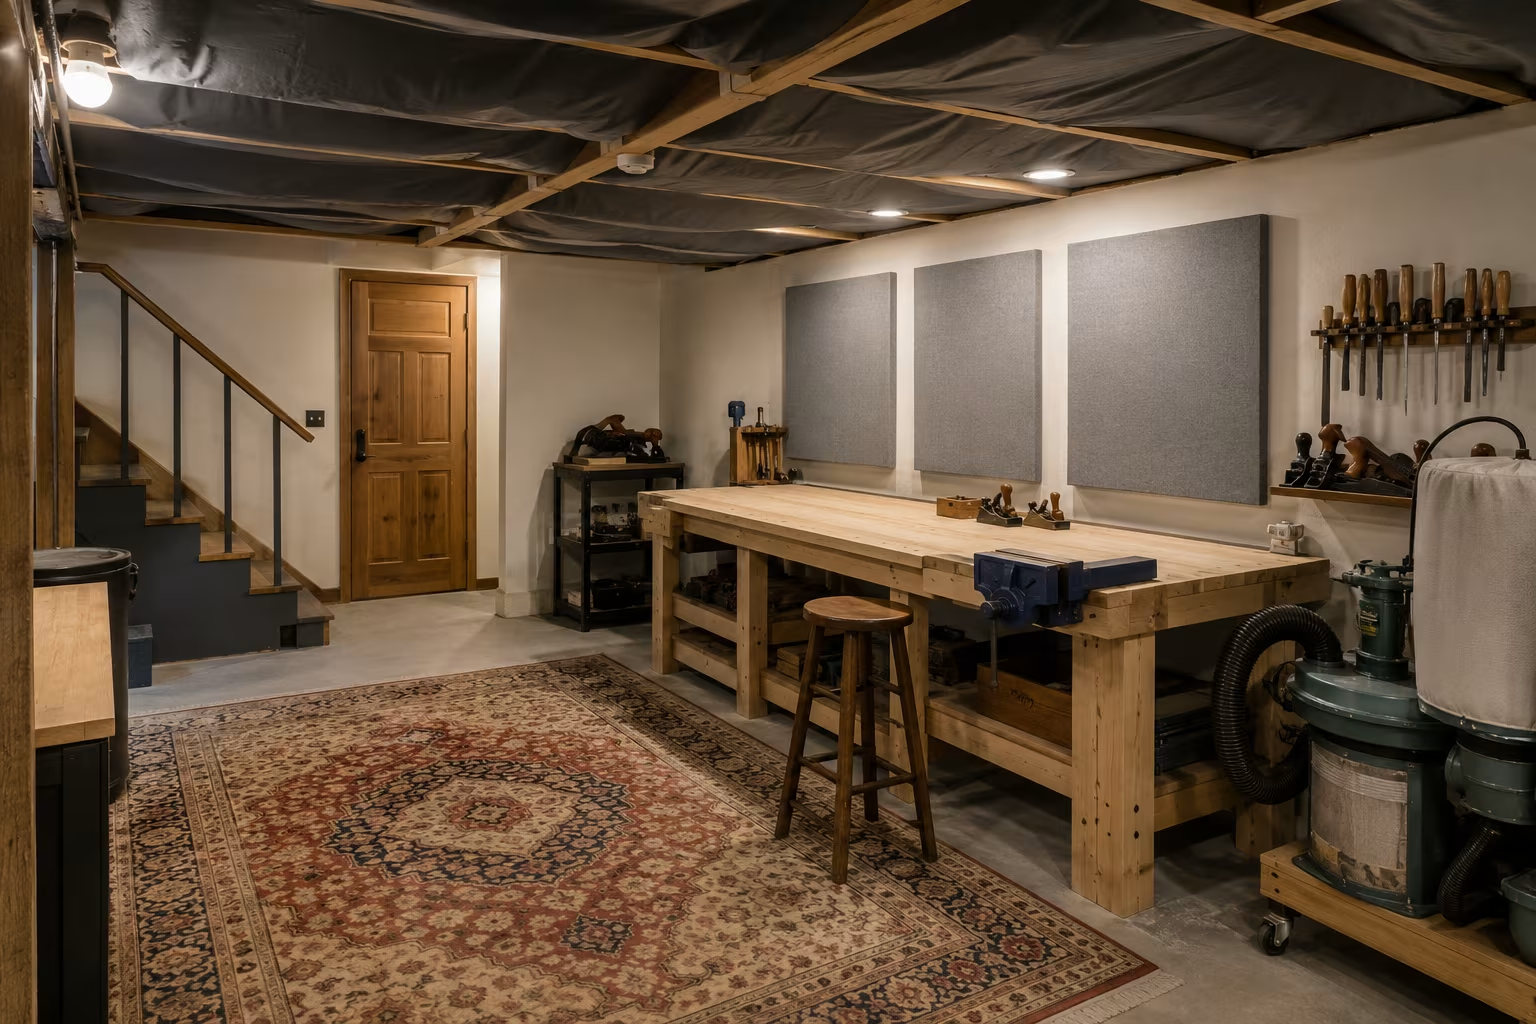
Soundproofing a Basement Workshop on a Renter's Budget
Basement shop noise traveling up to the family room is how you lose workshop privileges. The...
Comments
No comments yet. Be the first to share your thoughts!