Why Adjustable Desk Lamps with Magnifiers Improve Craft Precision
An adjustable desk lamp with a built-in magnifier combines two things detail crafts depend on: bright, shadow-free light and clear magnification, held in a flexible arm so both hands stay free. For anyone doing embroidery, jewelry assembly, miniature painting, or soldering, it is the single accessory that most reduces eye strain and improves precision. The lamp does not correct vision the way glasses do; it enlarges the work and lights it evenly so your eyes resolve fine detail without you leaning in and hunching over the bench for hours.
Why Lighting and Magnification Matter
Detail work under inadequate light causes real physical strain: eye fatigue, headaches, and neck ache from craning toward the piece. It also costs accuracy. A cut that lands a millimeter off, a bead set slightly crooked, or a brush stroke that misses its mark accumulates across a project until the finished piece looks rougher than the maker's actual skill.
The value is not only seeing better but seeing enough to work comfortably. This is not a niche tool for poor eyesight; it helps any maker who handles small parts. Even a crafter with sharp vision benefits, because the lamp removes the need to squint at threading a micro-bead or placing a fine cut, and it keeps sessions from ending early in frustration.
What a Magnifier Lamp Actually Is
The tool is a task light with an articulated or gooseneck arm that clamps to a bench or stands on a weighted base. Its defining feature is a magnifying lens set in the center of a ring of LEDs, so the light surrounds the lens and illuminates exactly the area you are enlarging. Because the lens and light are integrated into one positionable unit, you are not juggling a separate lamp and a handheld magnifying glass, which is what frees both hands for the actual craft.
Understanding Diopters
Magnifying power is measured in diopters, and the relationship is simple arithmetic: magnification equals one plus the dioptre value divided by four. That is why a 3-diopter lens enlarges an object to about 1.75 times its size and a 5-diopter lens to about 2.25 times. Higher diopters mean stronger magnification but a shorter working distance and a narrower depth of field, which is why jumping straight to a high power feels disorienting.
| Diopter | Magnification | Working distance | Best for |
|---|---|---|---|
| 3 | ~1.75x | Roughly 13 in | General crafting, reading, paper cutting |
| 5 | ~2.25x | Roughly 8 in | Embroidery, jewelry, most detail work |
| 8 | ~3x | Roughly 5 in | Miniature painting, micro-electronics |
For most general crafting, a 3- to 5-diopter lamp is the right starting point. Reserve 8-diopter and higher for genuinely tiny work, and begin lower rather than higher, since too much magnification too soon throws off depth perception.
Lens Size and Light Type
Lens diameter sets your field of view. A larger lens, around 5 inches, shows a wider area and suits projects where you move around the piece; smaller lenses on compact units are better for a single fixed task. A 5-inch lens is a reasonable all-rounder for mixed crafts.
Nearly all modern magnifier lamps use LEDs, which run cool, last for years, and draw little power compared with the incandescent bulbs they replaced. Many offer adjustable brightness and adjustable color temperature, from warm white around 3000K to cool daylight near 6000K. Cool, bright white generally serves detailed work best because it renders edges and color accurately, though warmer light is easier on the eyes over a long evening session.
Clamp, Base, or Floor Mount
How the lamp attaches to your workspace matters as much as its optics. A clamp mount grips a bench edge up to about 2.5 inches thick, frees the entire desk surface, and holds the arm rigidly, which is ideal for a fixed craft station. A weighted base model stands anywhere without a clamp and moves easily between rooms, but it eats into your working area and tips more readily if the arm is fully extended. A floor-standing model on a rolling base swings over an armchair or a larger project and is the choice for quilting or model work spread across a table, though it is bulkier to store.
The arm itself comes in two styles. A spring-balanced articulated arm, like a classic architect lamp, holds any position and adjusts with one hand, which suits frequent repositioning. A gooseneck arm is cheaper and bends to almost any shape but slowly droops under the weight of a glass lens, so it drifts during long sessions. For daily detail work, a clamp mount with a spring-balanced arm gives the steadiest, most repeatable setup, and it is worth checking that the clamp opening fits your bench before buying.
Positioning the Lamp
Clear the workspace first so the arm can swing freely over your work without knocking into tools. Clamp the lamp to the back or side of the bench so the lens can hover directly over the spot where your hands naturally rest while working on fine detail.
Aim the light to come from above and slightly in front of the piece rather than straight down or from one hard side, which casts shadows off your hand and tools. Start at a medium brightness and raise it only if needed. The goal is even, comfortable illumination, not a spotlight that produces glare.
Dialing in Focus and Posture
Lower the lens over the project and keep a comfortable distance, generally 5 to 10 inches depending on the diopter, then adjust the arm until the work snaps into sharp focus. You are not pressing your eye to the lens like a microscope; you are using it to bring detail closer while your eyes stay at a natural distance. Finding that focus point takes a little practice, so start with the lens slightly high and lower it until the image is crisp.
Then check posture, since the entire point is to reduce strain rather than trade one discomfort for another. Adjust the chair, the piece, and the arm until your back is reasonably straight and your head is upright. If you are leaning in or stretching, the setup is defeating itself. Take regular breaks; even with good ergonomics, staring at small work for hours is tiring, so a timer that prompts a stretch every 30 to 45 minutes helps.
Craft Applications
The lamp is versatile across most detail crafts:
- Jewelry making: opening tiny jump rings, setting small stones, stringing micro-beads.
- Embroidery and cross-stitch: counting individual threads and placing stitches accurately on high-count fabric.
- Model building and miniature painting: ultra-fine details on figures and applying decals.
- Paper crafts and card making: intricate die-cutting, precise scoring, and gluing small embellishments.
- Electronics and soldering: working on small circuit boards and joining fine wires, where shadow-free light matters most.
- Quilting and sewing: threading needles, detailed appliqué, and careful seam ripping.
- Restoration: cleaning antique items and working on watch movements and other delicate pieces.
If a task requires focusing on small details, the lamp reduces strain and improves precision across the board. It also doubles for close reading, coin and stamp inspection, or any task that calls for a magnified, well-lit view.
Match the diopter to the scale of the work rather than owning one lamp for everything. Embroidery on 14-count aida and general jewelry assembly sit comfortably at 5 diopters, while decal placement and reading fine print are fine at 3. Only micro-electronics and tiny miniature detailing genuinely need 8 diopters, and at that power the narrow focus band means you keep the piece almost still under the lens. Some lamps accept a clip-on secondary lens that adds a small high-power window in one corner, which lets you keep a comfortable base magnification and drop to the stronger lens only for the occasional tiny detail.
Common Mistakes
There is a short learning curve, and four errors account for most early disappointment. The first is too much magnification too soon: an 8-diopter lens as a first lamp makes everything feel oversized and flattens depth perception, which is disorienting. A 3- or 5-diopter is far more manageable to start with.
The second is a bad light angle. Pointing the light straight down at a shiny surface bounces glare back at you and tires the eyes faster; angling it slightly off-center kills both glare and shadows. The third is a dirty lens, where dust, fingerprints, or dried glue haze the view; wipe the lens with a microfiber cloth before each session. The fourth is falling back into poor posture even with the lamp set up correctly, slowly hunching closer over the hour until you are nose to lens. Reset your position periodically and let the lamp bring the detail to you.
Choosing One Without Overspending
Good models with a 3- to 5-diopter lens and LED lighting commonly fall in the $40 to $80 range. On a tight budget, a plain adjustable desk lamp paired with a clip-on magnifying attachment works, though an integrated ring light around the lens is noticeably better. Higher-priced lamps buy less lens distortion, a stiffer arm that holds its position, and features like variable brightness and color temperature; cheaper ones do the basic job with a flimsier arm and a slightly less clear lens.
Pick the diopter to match your craft, clamp the lamp where the lens naturally reaches your work, set the light to come from above and slightly ahead, and give yourself a few sessions to adjust to the new perspective before judging it. Start a first project simple, a straight cut or a single placed bead, and the hand-eye coordination settles within about fifteen minutes of use. Once it does, detailed work that used to end in a squinting headache becomes something you can sustain comfortably for an evening.
Related Posts
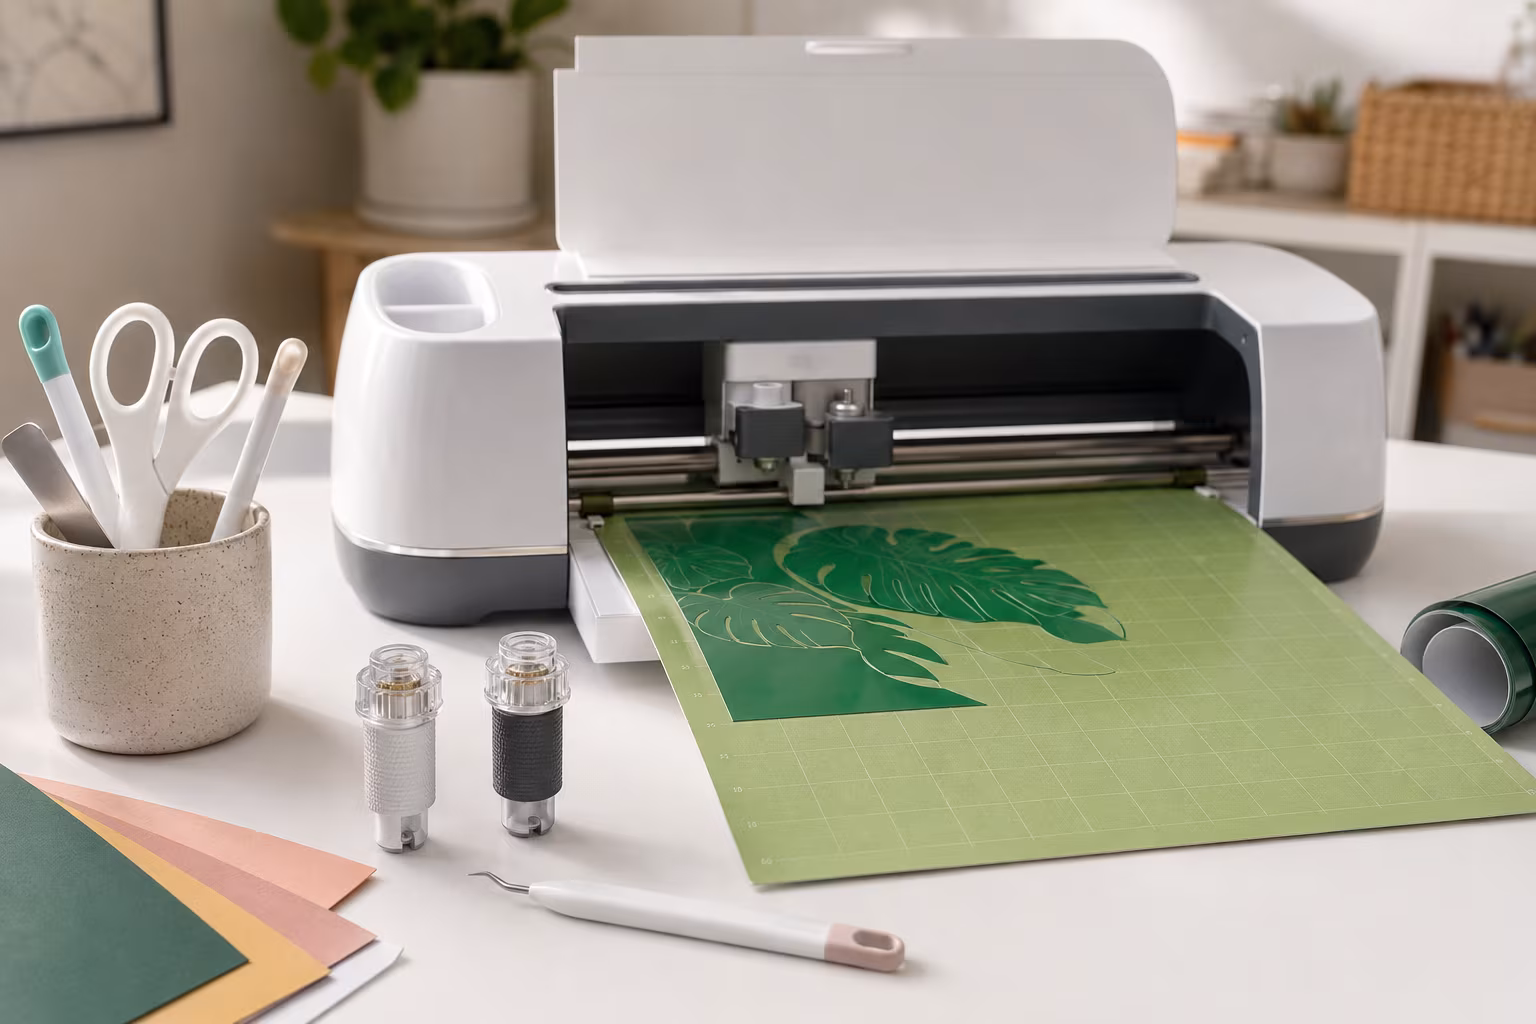
Beginner Cricut Blade Set: What You Actually Use Daily
The Cricut starter blade list is longer than most beginners need. The two or three blades that...
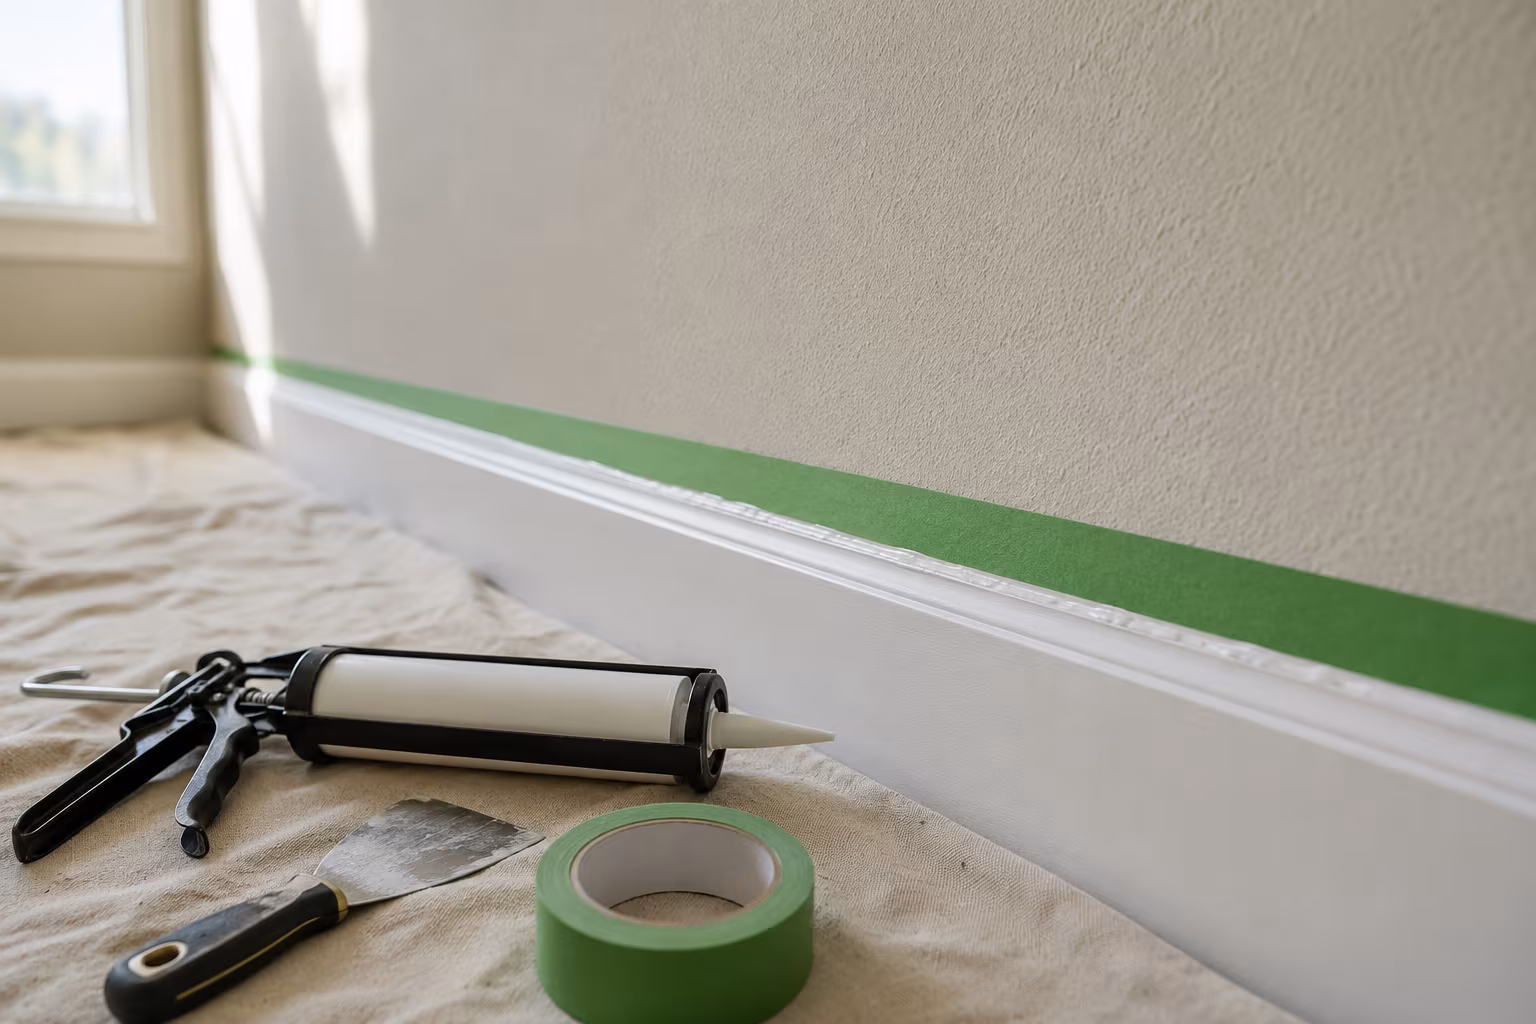
Painter's Tape for Crisp Lines on Textured Wall Surfaces
Standard blue tape bleeds on textured walls. The specialty tapes, caulk-edge-seal step, and...
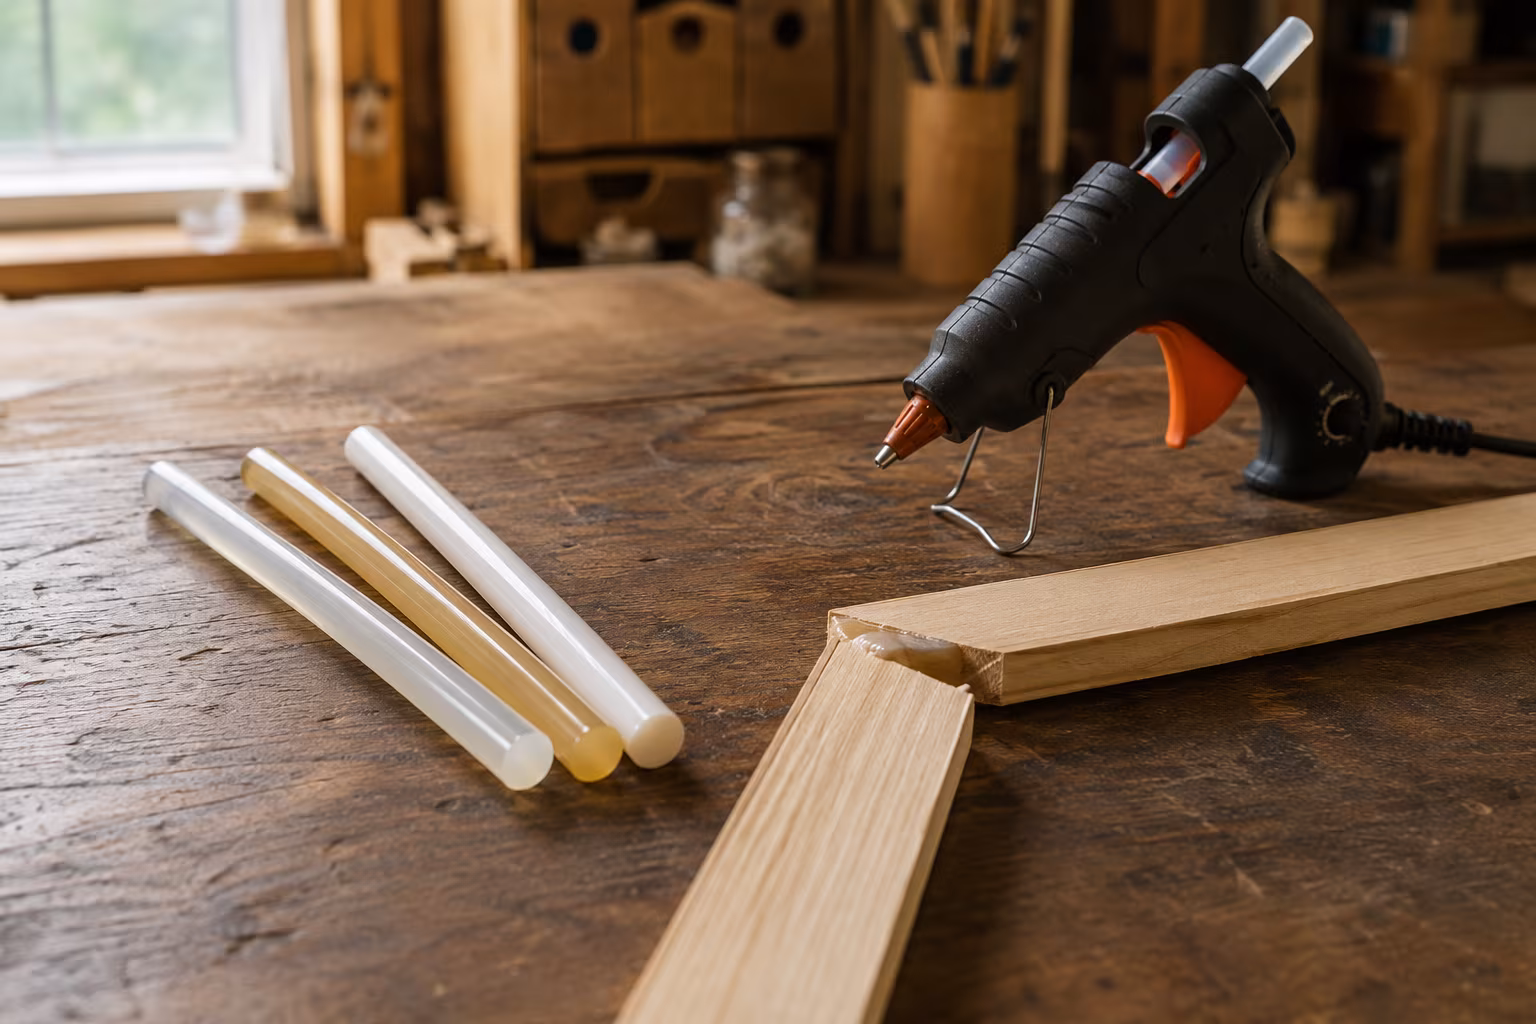
Hot Glue Sticks Compared: Low-Temp, High-Temp, Specialty
Low-temp glue sticks melt near 250°F, high-temp near 380°F. Compare stick types, specialty...

Sandpaper Grits Demystified: When to Stop Going Finer
Sand 80 to 120 to 180 for film finishes, 220 for oil, and stop there: finer burnishes wood and...