Why Japanese Woodworking Hand Tools Outperform Power Tools for Detail
For detailed work like dovetails, thin tenons, and fine veneer trimming, a Japanese hand saw or chisel often beats a router or Dremel. The reason is control: these tools cut on the pull stroke with a very thin blade, so they remove less material per pass and let you sneak up on a line in paper-thin increments. Power tools remove stock fast, but fast is the enemy of precision when the margin for error is a fraction of a millimeter.
What makes Japanese tools different
Most Western saws cut on the push stroke, applying force as the blade moves away from you. Japanese saws cut on the pull stroke. That single difference changes the mechanics. When you pull, the blade is in tension rather than compression, so it cannot buckle and does not need to be thick to stay straight.
A blade under tension can be much thinner. A typical Japanese saw cuts a kerf of around 0.3 mm, while many Western saws remove 0.7 mm or more. A thinner kerf means less friction, less effort, less sawdust, and less tear-out on delicate grain. The steel is often laminated too: a hard, high-carbon cutting edge fused to a softer, more flexible spine, so the tooth holds a keen edge while the body flexes without snapping.
The pull principle extends beyond saws. The Japanese hand plane, or kanna, is pulled toward the body rather than pushed, with the blade bedded at a precise angle to take shavings thin enough to read through. If you want the historical and technical background, the Wikipedia article on the Japanese saw and the entry on the kanna plane both cover the design in depth.
Why the thin kerf matters for detail
On a push saw, the blade compresses during the cut and needs mass to resist flexing, which makes fine adjustments clumsy. Pulling keeps the blade straight and lets you steer it with very little force. For joinery, that translates directly into cleaner shoulders and tighter fits, because you are shaving fibers rather than muscling through them.
Tooth geometry does the rest. Japanese saws use tooth patterns tuned to the pull stroke, frequently with a triple-bevel grind that slices rather than scrapes. Crosscut teeth sever fibers across the grain; rip teeth chisel along it. The result on softwoods and delicate stock is a smooth edge with minimal splintering, exactly what detail work demands.
Choosing your first saw
You do not need a wall of tools. Start with one good pull saw and learn its behavior before adding anything. A decent beginner saw runs about $30 to $60, a fraction of what a power tool costs, and it opens up the whole category. The three common blade styles below cover most home work.
| Saw | Design | Teeth | Best for |
|---|---|---|---|
| Ryoba | Double-edged, no back stiffener | Rip on one edge, crosscut on the other | Versatile general work; a strong first saw |
| Dozuki | Single edge with a stiffening spine | Very fine crosscut | Precise joinery: dovetails, tenons, shoulders |
| Kataba | Single edge, no spine | Rip or crosscut, one pattern | Deeper cuts where a spine would bottom out |
A Ryoba is the most flexible starting point because it carries both rip and crosscut teeth on one blade. A Dozuki, with its rigid spine and fine teeth, is the specialist for joinery once you know that is your focus. Whichever you buy, do not press down. Let the weight of the blade do the work on the pull; the cut happens with surprisingly little force when the tool is sharp.
Adding a plane and a couple of chisels
Once the saw feels natural, a small kit fills out the detail-work bench. A Japanese chisel, or nomi, is bedded and struck differently from Western chisels: the hoop-ringed handle takes light mallet taps, and the hollow-ground back registers flat on the wood for paring. One 12 mm and one 6 mm chisel cover most joinery cleanup.
The kanna plane is the other core tool, and it is set up by tapping the blade forward with a small hammer rather than turning an adjuster knob. Pulled toward you, a well-tuned kanna takes shavings a few thousandths of an inch thick, thin enough to be translucent, and leaves a surface that often needs no sanding at all. Setting one up takes patience, since the wooden body (the dai) has to be conditioned so only the right contact points touch the wood. A beginner set of saw, two chisels, and a basic block plane can be assembled for well under $150, far less than a comparable stack of power tools, and it handles the fine cuts those machines struggle with.
Learning to read the wood
Hand tools give feedback a motor drowns out. As you cut, listen and feel. A smooth, rhythmic whisper means the blade is tracking cleanly along the grain. A harsh scraping or binding sound means you are forcing it or drifting off the line.
The same applies to chisels. A properly sharpened chisel slides through oak with a clean slicing action; a dull one crushes fibers and groans. That feedback loop is what builds intuition, teaching you to correct your angle or pressure before you damage the workpiece rather than after.
Sharpening chisels and plane blades
Sharpening is the skill that separates frustration from satisfaction, and it is where most beginners stall. A dull tool tears wood, demands excess force, and is more likely to slip and cause injury. Many Japanese saws use impulse-hardened teeth that are not meant to be resharpened; you replace the blade instead. Chisels and plane irons, however, need regular honing.
Work through a progression of waterstones: a coarse stone around 220 grit to shape the edge, a medium 1,000 grit to refine it, and a fine 6,000 grit or higher to polish. Most Japanese chisels are ground to a bevel of roughly 25 to 30 degrees. The technique is to raise a burr along the full width of the edge on the coarse stone, then work up through the grits to remove it, finishing with the flat back of the blade pressed to the stone. Practice on cheap chisels first; expect several sessions before the edge is reliably sharp. Keep the waterstones flat by rubbing them together or against a dedicated flattening plate every few sessions, because a dished stone rounds the very edge you are trying to keep straight. When a freshly honed chisel passes cleanly through end grain, the effort makes sense.
Grip, stance, and technique
Body mechanics affect both accuracy and fatigue. Hold the saw handle with a relaxed but firm grip, and use your non-dominant hand or thumb to guide the blade when starting a cut. Stand with your feet about shoulder-width apart and balanced, and pull using your whole body in a fluid motion rather than yanking with your arm alone. Leaning slightly into the stroke lets your weight assist the pull and keeps the saw tracking true.
The hardest habit to break is the urge to push. Western muscle memory screams to apply force on the forward stroke, but pushing a Japanese saw binds the thin blade, roughens the cut, and dulls the teeth faster. Concentrate on the pull; the teeth are angled to cut only on that stroke. To start straight, make one or two very light passes to establish a shallow reference kerf on your line. Once that groove exists, the blade naturally follows it, and deeper cuts stay straight.
Maintenance and storage
These tools reward a little care. After each session, wipe the blade to remove sap and dust, then apply a light film of camellia oil, the traditional rust preventive, to bare steel. Store saws in their sheaths so the fine teeth are not chipped by knocking against other tools.
Chisels and plane irons should be stored so their edges never contact other metal. A simple canvas chisel roll or a dedicated rack protects the honed edges you worked to create. A well-kept tool cuts better and holds its edge far longer, which is a small time investment against the quality of the work.
Common hurdles for beginners
Expect a learning curve. Early dovetail cuts often wander past the line and look chewed rather than clean; that is normal and correctable. Three problems account for most of the early frustration.
The first is sharpening, which many people try to shortcut with a cheap honing guide and sandpaper and end up with duller tools than they started with. Proper waterstones and a weekend of deliberate practice on scrap fix it. The second is forcing the cut, a reflex carried over from Western saws that only binds the blade; relaxing the grip and trusting the pull solves it. The third is wandering cuts, cured by that shallow reference kerf before you commit to depth.
None of this means abandoning power tools. They remain faster for rough carpentry and heavy stock removal. But for the fine cuts that lift a project from acceptable to precise, a beginner Ryoba or Dozuki, a couple of chisels, and a set of waterstones give you control that a motor cannot match. If you are building toward furniture-scale projects, pairing hand-tool joinery with the machine work covered in local woodworking workshops is a practical way to grow the skill set. Start with one saw, keep it sharp, and let the pull stroke teach your hands the rest.
Related Posts
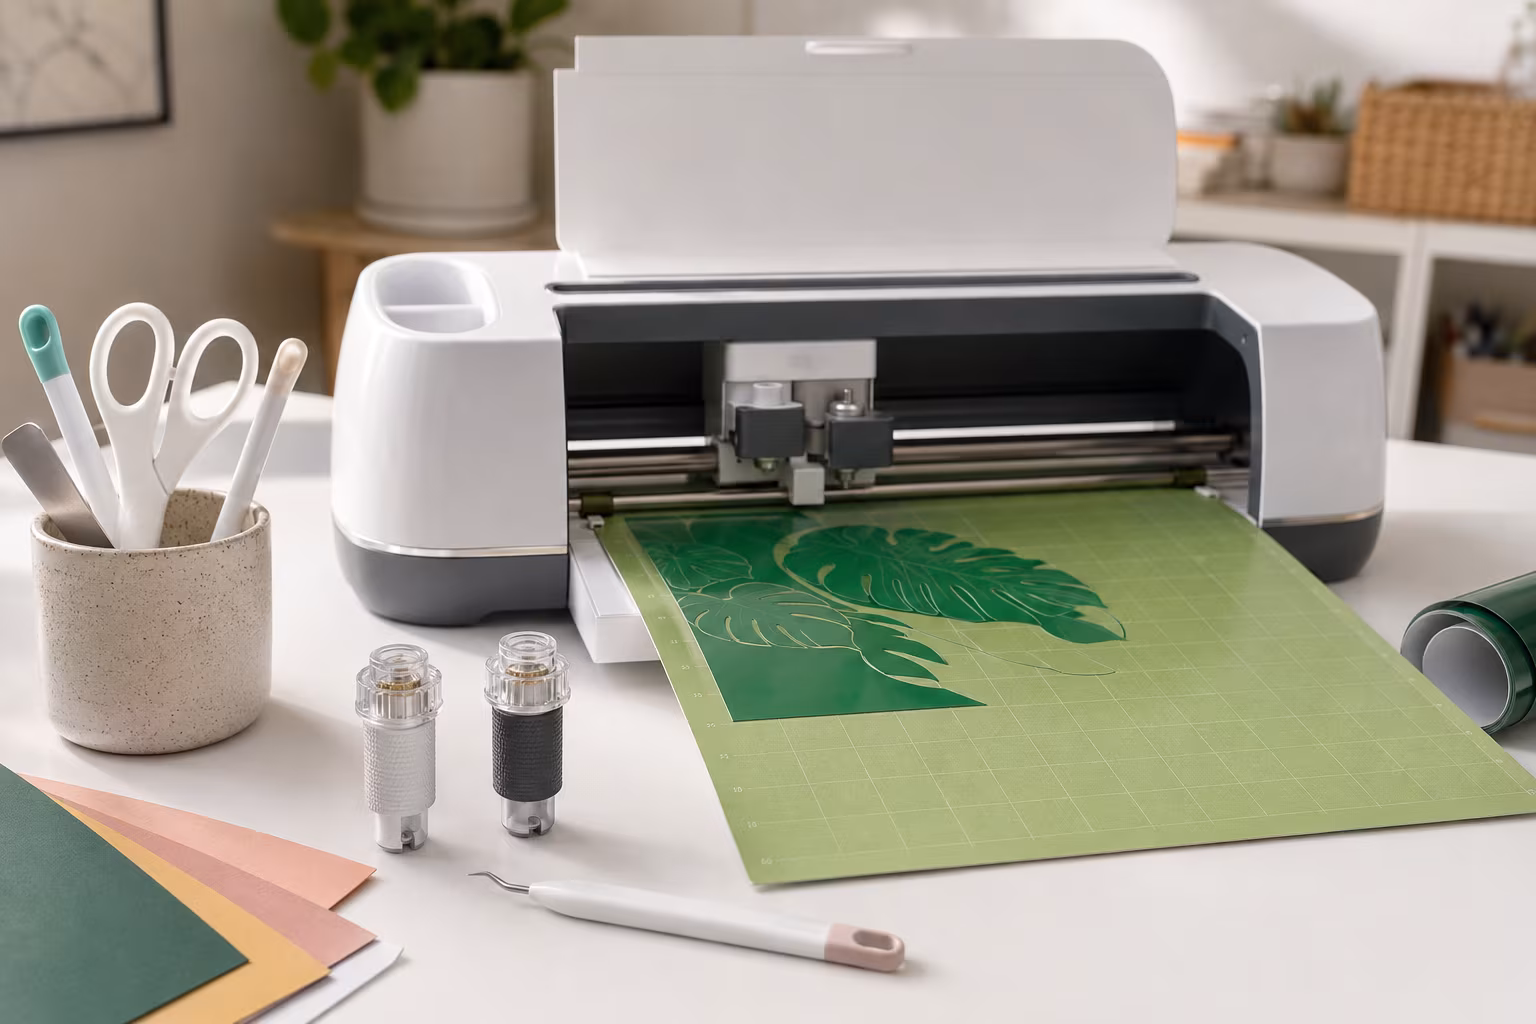
Beginner Cricut Blade Set: What You Actually Use Daily
The Cricut starter blade list is longer than most beginners need. The two or three blades that...
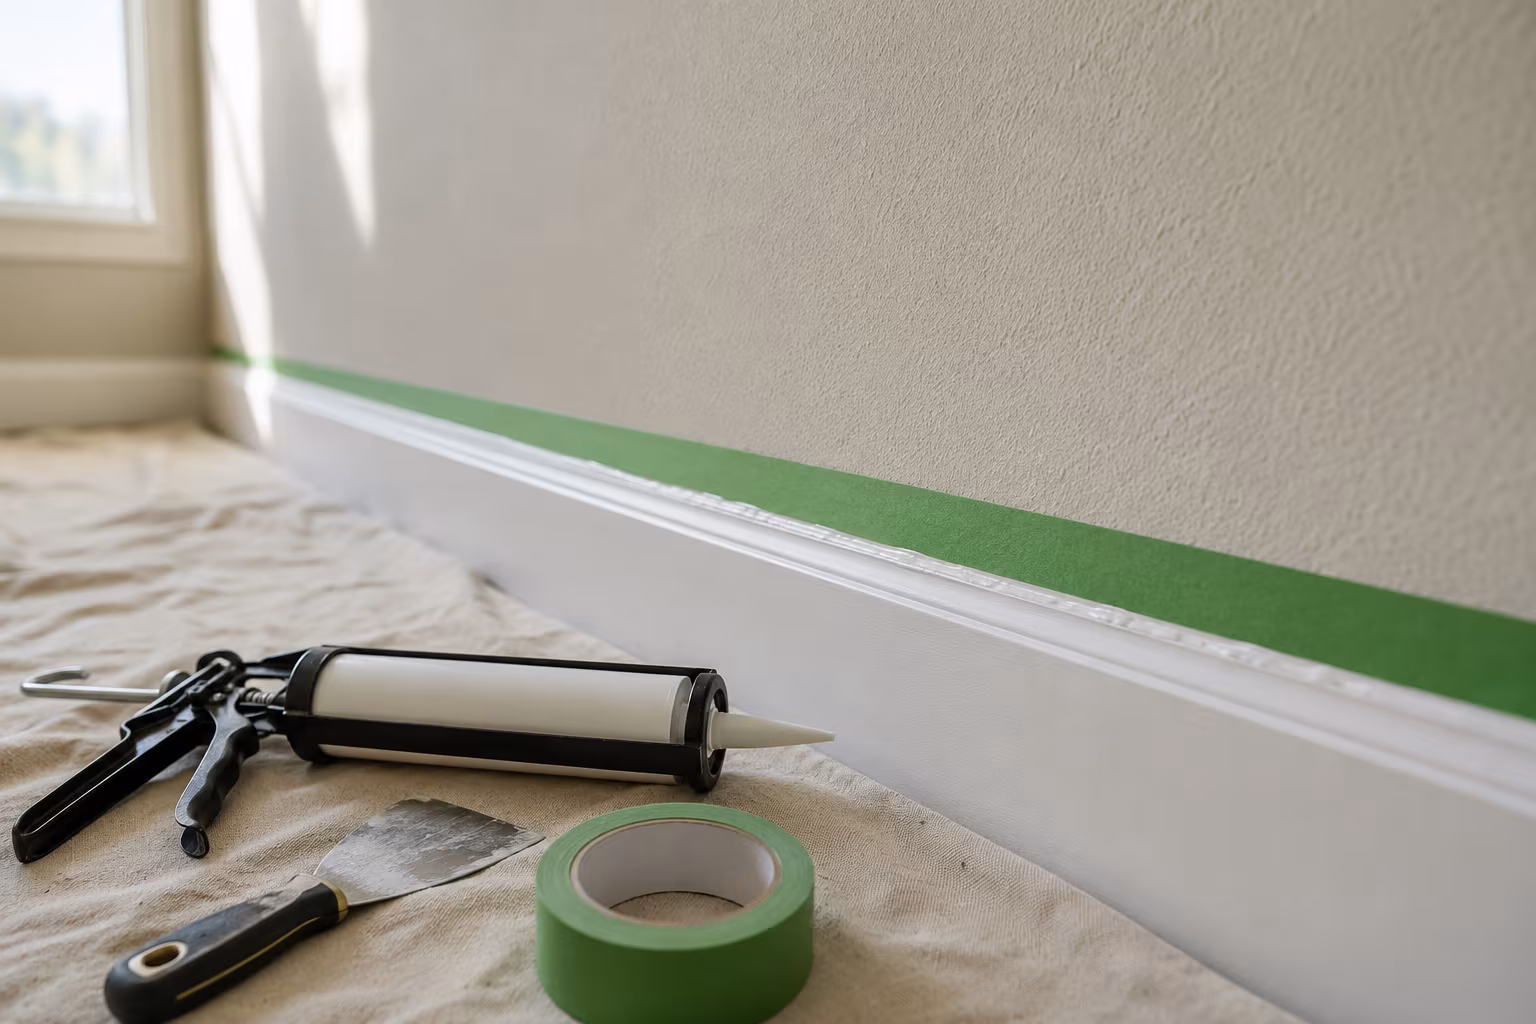
Painter's Tape for Crisp Lines on Textured Wall Surfaces
Standard blue tape bleeds on textured walls. The specialty tapes, caulk-edge-seal step, and...
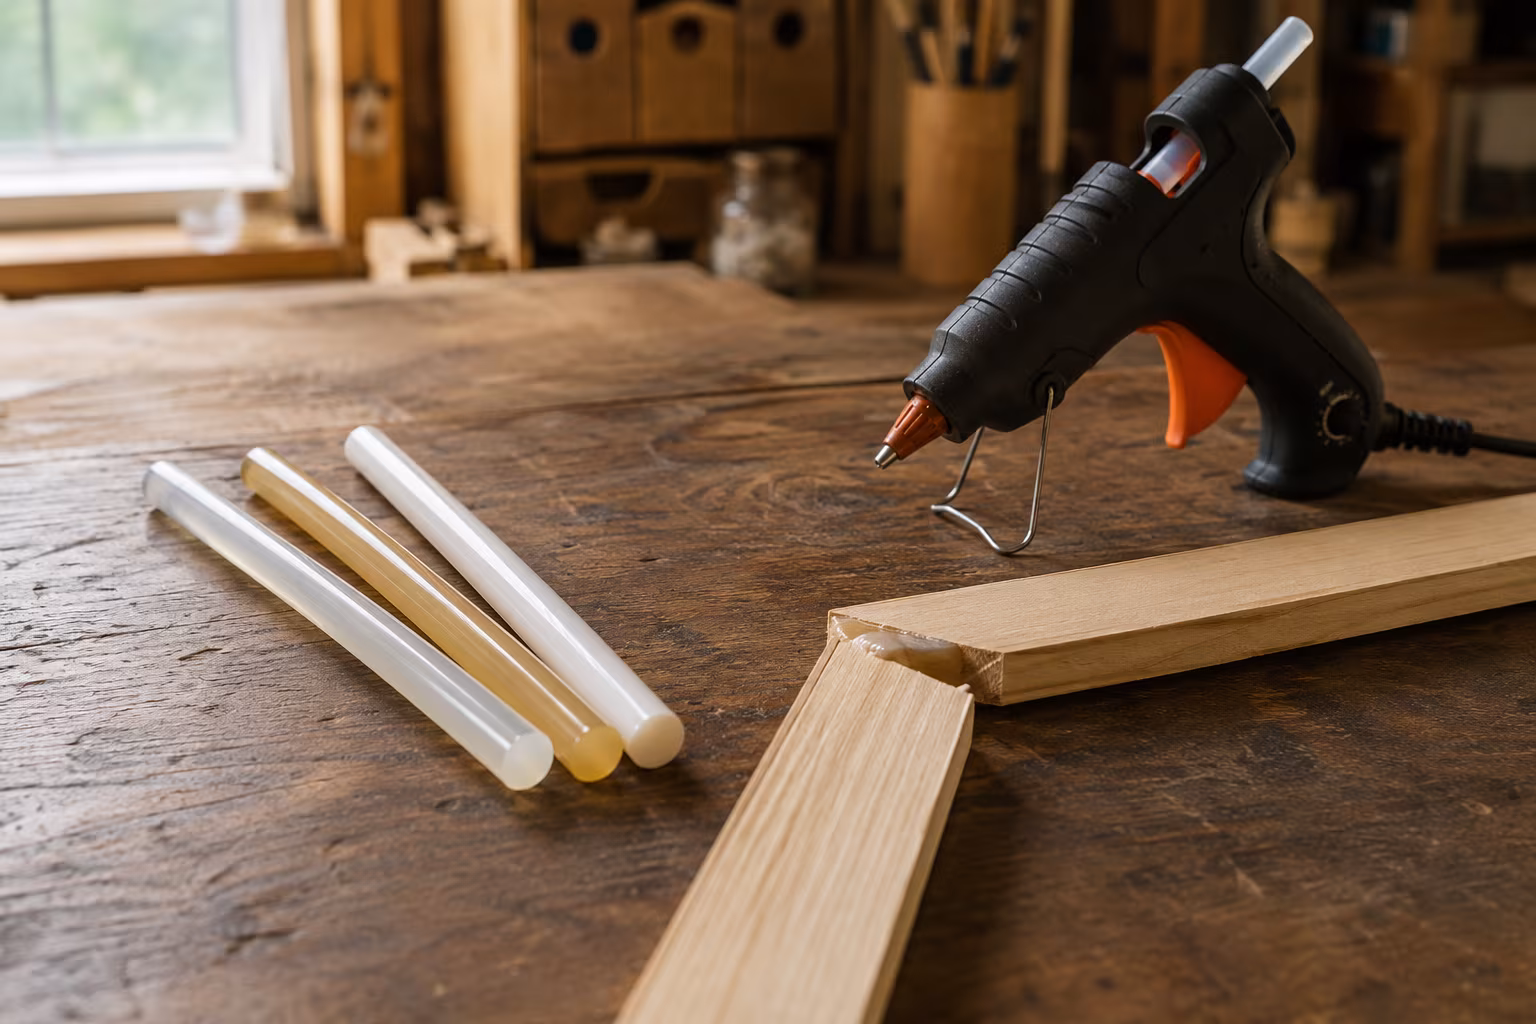
Hot Glue Sticks Compared: Low-Temp, High-Temp, Specialty
Low-temp glue sticks melt near 250°F, high-temp near 380°F. Compare stick types, specialty...

Sandpaper Grits Demystified: When to Stop Going Finer
Sand 80 to 120 to 180 for film finishes, 220 for oil, and stop there: finer burnishes wood and...