Why Matte Black Hardware Transforms Basic Furniture Instantly
Swapping the pulls and knobs on a dated dresser is the cheapest furniture update that reads as intentional. A full set of matte black knobs runs $12 to $25 at a home improvement store, and the job takes a screwdriver and about twenty minutes on a piece with existing holes. The dark, non-reflective finish reads as modern against oak, white, or painted surfaces, which is why it has stayed in circulation long after brushed nickel and shiny brass started to look dated.
Why matte black hardware changes the whole piece
Matte black absorbs light instead of bouncing it back, so the hardware looks solid and grounded rather than flashy. That flatness is what separates it from polished chrome, which picks up every reflection and can look cheap on a budget piece. Most matte black hardware gets its finish from powder coating, an electrostatically applied dry paint that is baked on for a durable, even surface. For a primer on how that process works, the Wikipedia article on powder coating finishes covers the basics.
The bigger effect is contrast. Black pulls against a light oak or white drawer front create a visual anchor, turning functional hardware into a design detail. On darker painted pieces, the same black reads as a subtle tone-on-tone accent instead of a hard line. Either way, the eye now has somewhere to land, and the piece looks styled rather than accidental.
Measure before you buy: hole spacing is everything
The single most common mistake is buying hardware that does not match your existing holes. For pulls, the critical measurement is center-to-center: the distance between the middle of one screw hole and the middle of the other. Measure it with a tape or ruler before you shop, because being off by even an eighth of an inch means drilling new holes. Knobs use a single screw hole, so any knob fits any single-hole drawer.
Standard center-to-center sizes are fairly consistent across brands, which makes matching easier once you know your number.
| Hardware type | Common center-to-center spacing | Best used on |
|---|---|---|
| Knob (single hole) | N/A — one screw | Cabinet doors, small drawers |
| Small bar pull | 3 in (76 mm) | Standard kitchen and dresser drawers |
| Medium bar pull | 96 mm or 128 mm | Wider drawers, base cabinets |
| Large bar pull | 160 mm or 192 mm | Deep drawers, pantry fronts |
| Cup / bin pull | 3 in (76 mm) | Farmhouse and Shaker-style drawers |
Home Depot and Lowe's stock basic matte black knobs and pulls in multi-packs, often ten knobs for under $20. Etsy and specialty hardware sites carry more distinctive shapes if you want something beyond the standard bar. If you are updating a piece you found secondhand, browsing local thrift stores and architectural salvage yards can turn up interesting pieces, though finding a full matching set in one finish is harder there.
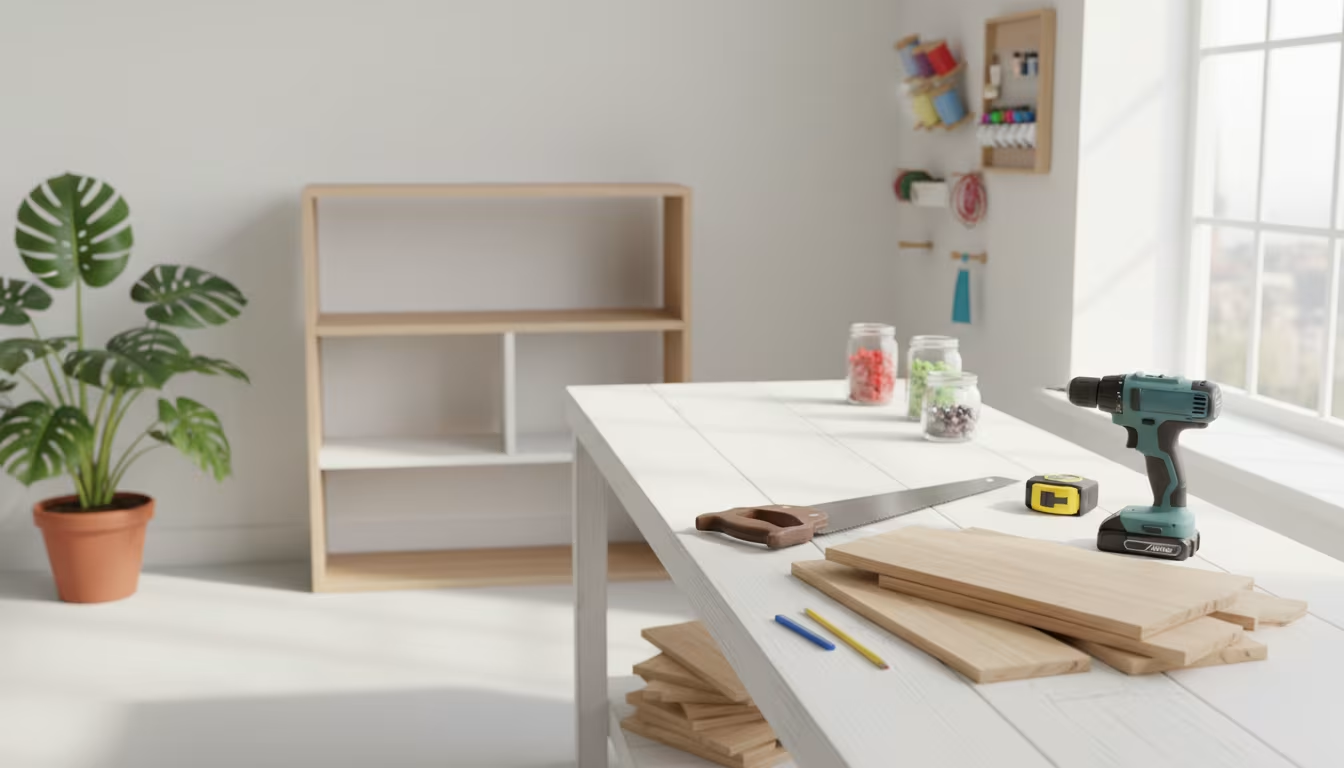
The swap, step by step
The tools are minimal: a Phillips or multi-bit screwdriver handles a straight swap. If you need to relocate hardware, add a drill, a bit sized to your screws, a tape measure, and a pencil.
- Remove the old hardware. Open the drawer or door and unscrew from the inside. Keep the old screws in a jar; new hardware sometimes ships with screws too long or too short for your drawer front.
- Wipe the surface. Clean the area under the old hardware with warm, soapy water to remove years of residue before the new piece goes on.
- Install the new piece. Line up the hardware from the outside, insert screws from the inside, and hand-tighten first to check that it sits straight. Finish with the screwdriver, snug but not cranked — overtightening strips the screw or crushes the wood.
- Handle mismatched holes. To fill an unused hole, pack it with wood filler, let it dry fully, sand it flush, and touch up with matching paint or a color-matched filler. To drill new holes, mark them using the hardware as a template, drill a pilot hole slightly narrower than the screw, and back the workpiece with scrap wood to prevent splintering on the visible face.
Mistakes worth avoiding
Beyond hole spacing, screw length trips people up. Screws that are too short will not catch; too long and they protrude inside the drawer and snag clothing. Check the thickness of your drawer front before buying, since "standard" length varies by manufacturer.
Old hardware can also leave a shadow or discoloration on the surface, especially on pieces that sat in sunlight for years. Matte black is sometimes wide enough to cover those marks, but not always. If the outline shows, that is the moment to consider repainting the whole piece — a fresh coat hides the shadow and makes the new hardware stand out more sharply.
Mixing shapes within one finish works well: black knobs on drawers paired with black bar pulls on doors reads as custom rather than mismatched, as long as the finish stays consistent. Buy a single knob first and hold it against the piece before committing to a full set — the cheapest way to know a look works is to test one before you spend on ten.
Related Posts
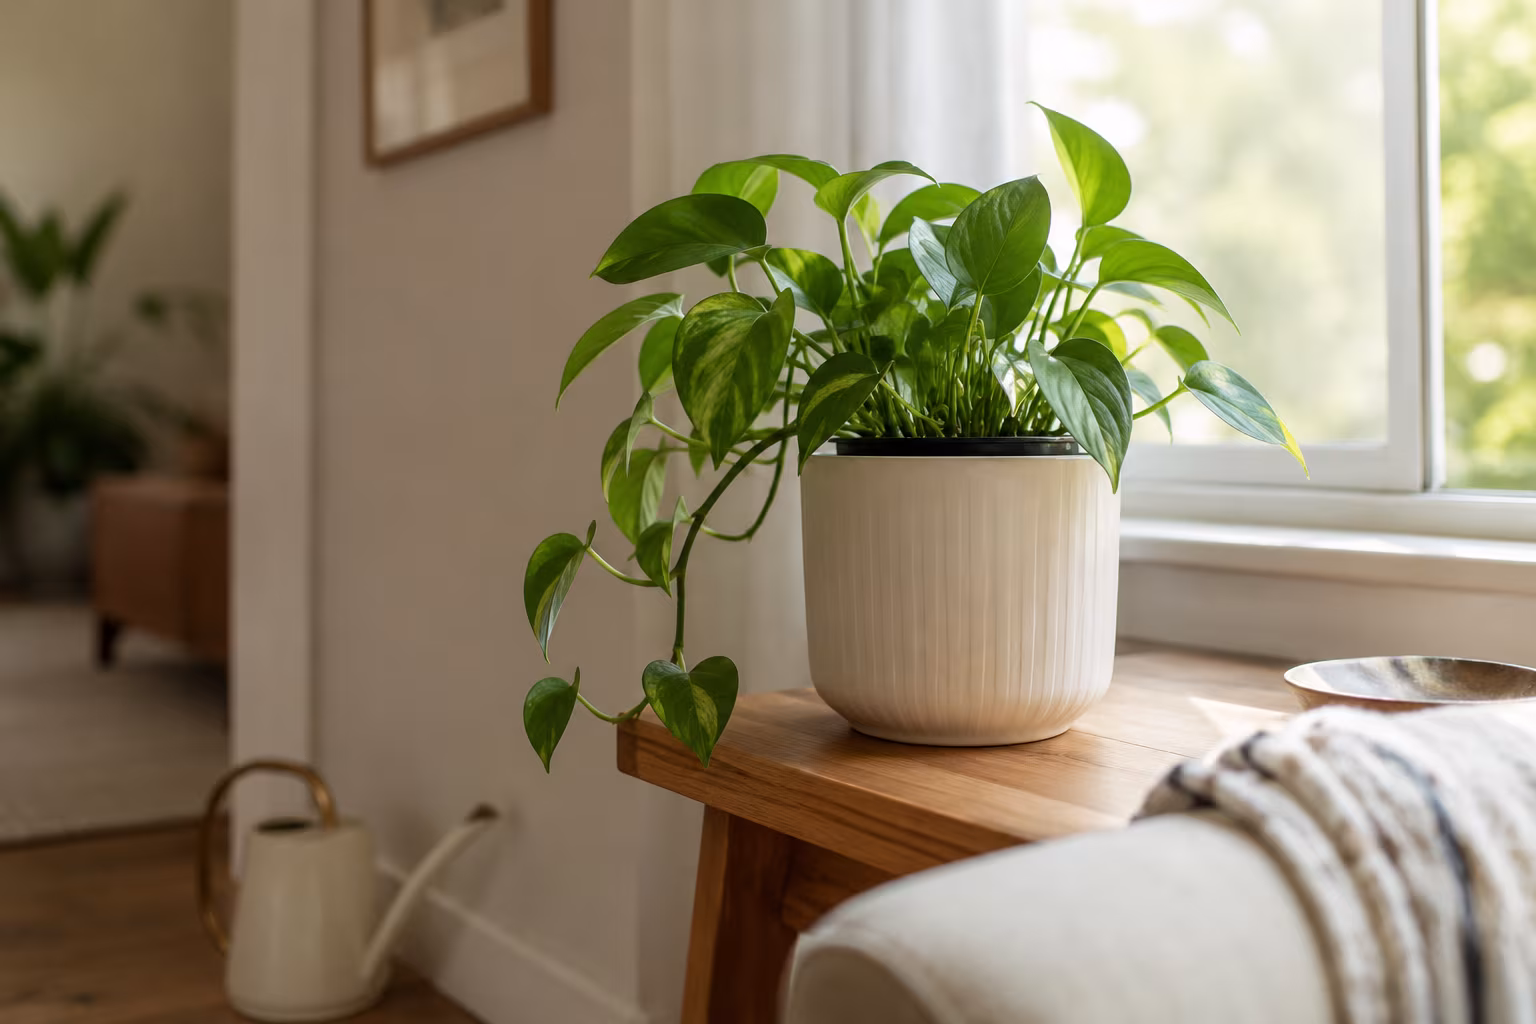
Indoor Plant Pot with No Drainage Hole: How to Make It Work
A no-drainage pot rots roots fast. Use the double-pot method, skip the gravel myth, pick...
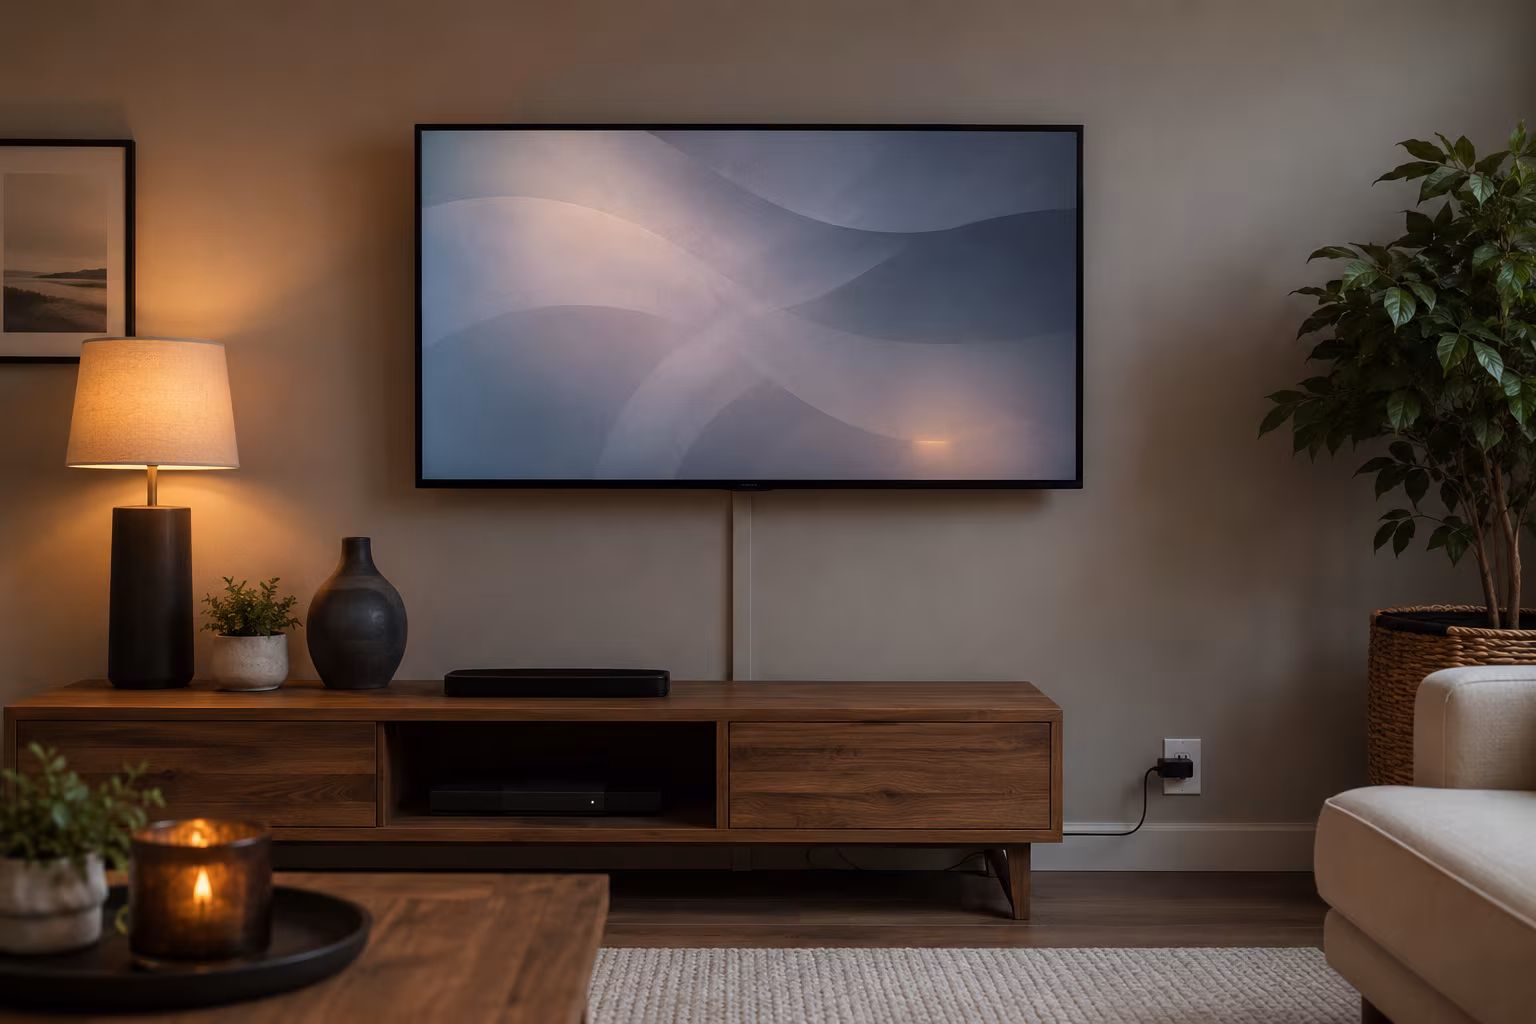
Hide TV Cable Clutter Renter-Safe Without Drilling
Hide a wall-mounted TV's cables without drilling: a paintable adhesive raceway to the outlet, a...
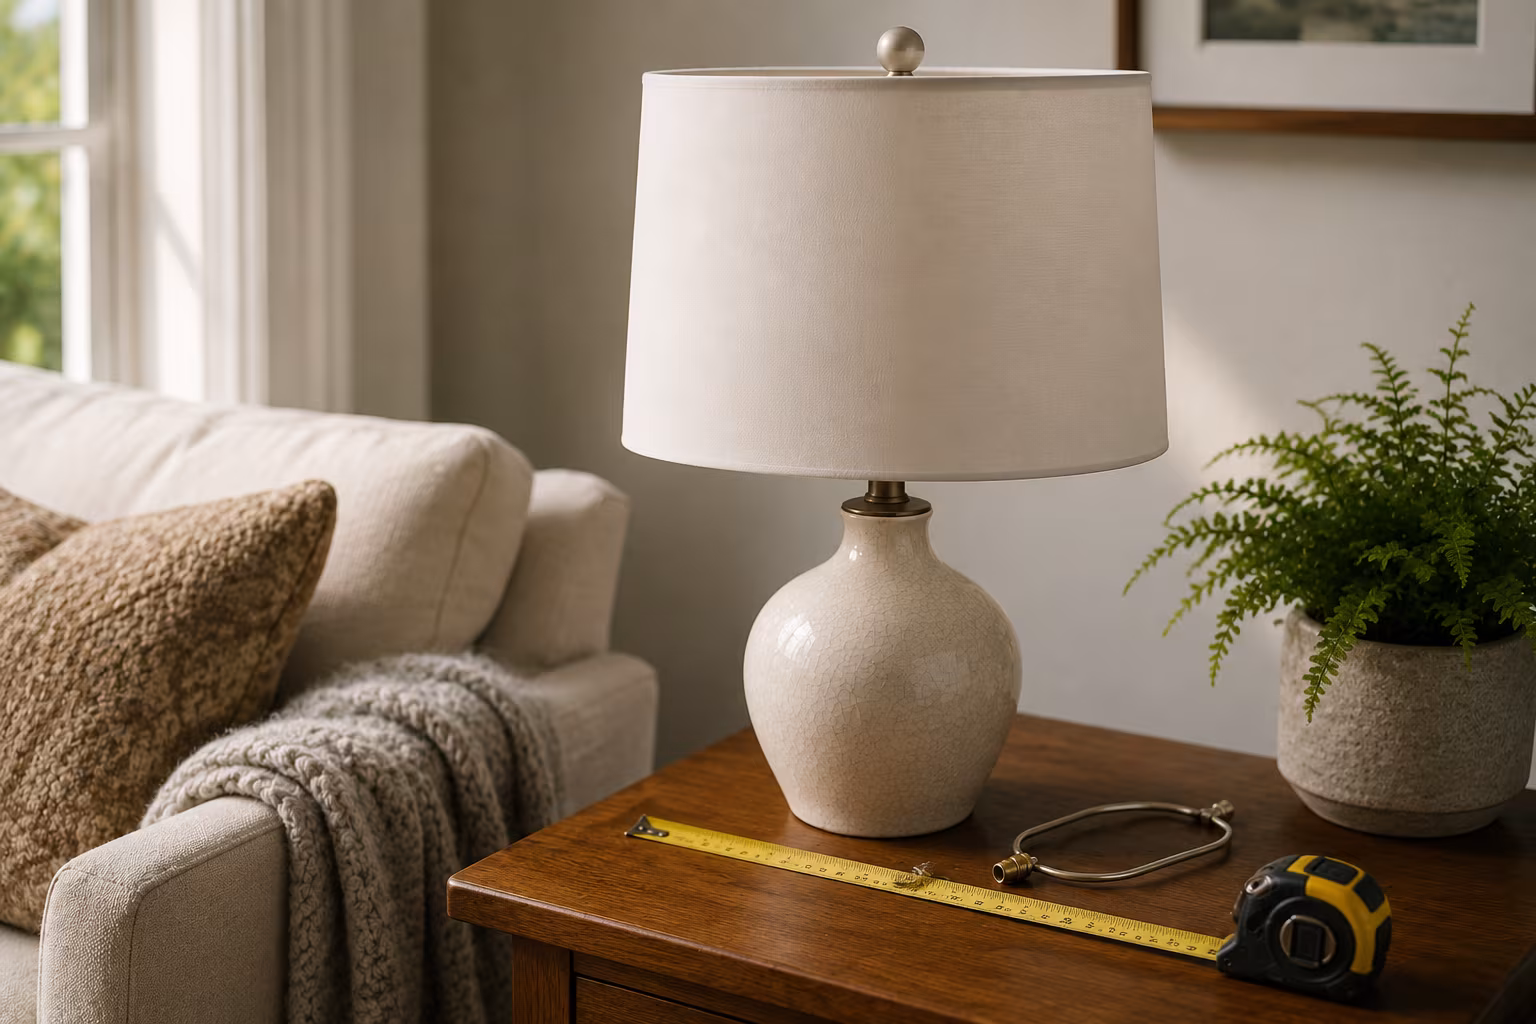
Lampshade Sizing: Harp, Bulb, and Drum Math Explained
Lampshade fit is three numbers: harp height near shade height, 3.5 inches of bulb clearance, and...
Color-Match Trim Paint to Existing Off-White Walls
Matching trim to aged off-white walls is about undertone, not lightness: cut a real chip, have...