Why Rain Barrels Connected to Downspouts Cut Water Bills Drastically
A rain barrel connected to a downspout captures roof runoff that would otherwise vanish into the storm drain and turns it into free water for the garden. The savings are real and easy to estimate: for every inch of rain that falls on a 1,000-square-foot roof, you can collect roughly 620 gallons. Over a summer of watering beds and washing the car, that can cut an outdoor water bill by $70 to $100. The setup costs $80 to $200 for the barrel and a weekend afternoon to install. This is a form of rainwater harvesting scaled down to a single household.
How the system works
A rain barrel is a container — usually 50 to 100 gallons of food-grade plastic, sometimes a repurposed whiskey barrel — placed under a downspout. Instead of letting roof water run straight down the pipe, you cut a section out of the downspout and install a diverter. The diverter routes part of the flow through a short hose into the barrel. Once the barrel fills, it automatically sends the excess back down the downspout, so there is no overflow pooling against the foundation once the system is set up correctly.
The main components are worth knowing before you buy:
- The barrel — your storage tank, ideally with a screened, tight-fitting lid to keep out debris and mosquitoes.
- The diverter — the fitting installed in the cut section of downspout that channels water to the barrel and returns the overflow.
- The spigot — a faucet near the bottom for filling watering cans or attaching a hose; brass lasts longer than plastic.
- The overflow port — an outlet near the top that directs excess water safely away from the house.
- A link kit — optional connectors and hose that join two or more barrels for extra capacity.
Pre-made kits usually include the spigot and overflow already installed, which removes most of the guesswork for a first build.
Choosing and placing the barrel
Start with a single 50- to 65-gallon barrel unless you have a large garden, in which case linking two barrels together roughly doubles capacity without much added footprint. Whatever you pick, confirm it has a tight lid or fine screen — standing water without a barrier becomes a mosquito nursery within days.
Placement is about function and safety more than looks. Put the barrel under an existing downspout and as close as possible to where you water, since gravity feed means the shorter the hose run, the better. Just as important, the base must be level and strong: a 50-gallon barrel of water weighs over 400 pounds. A few concrete pavers or a low wooden platform give a solid, level footing and add height for better spigot pressure. On a sloped yard, dig or build up the spot to get it flat — a wobbly base under 400 pounds is a genuine hazard. If you grow through the shoulder seasons, positioning the barrel near a cold frame or raised beds keeps the water where you use it most.
Installing the diverter and connections
Cutting the downspout is the step most people dread and the one that goes fine with the right tools. Hold the barrel in place and mark where its top aligns with the downspout; the diverter sits just above that line. Most diverters come with a template or measurements for how much to cut. Mark, double-check, then cut with metal snips or a hacksaw — wear gloves and eye protection, because cut metal edges are sharp. Plastic downspouts cut more easily but still warrant care.
Snap or screw the diverter into the cut, making sure it seats snugly, then attach the hose from the diverter to the barrel's inlet. If you are using a repurposed barrel without an inlet, drill one with a hole saw sized to the hose connector — measure twice, drill once, since an oversized hole means patching. Before the first real storm, run a garden hose down the gutter and watch the diverter fill the barrel; this catches drips and loose connections while they are still easy to fix.
Spigot, overflow, and staying leak-free
Most pre-made barrels ship with a spigot near the bottom; a DIY barrel needs one installed by drilling a hole, seating the spigot, and sealing it with washers and plumber's tape. Brass spigots hold up better and grip a hose thread more securely than plastic.
The overflow is the component people skip and regret. When a barrel fills during a heavy rain, excess water has to go somewhere, and without a managed overflow it runs straight to the foundation. Connect a hose to the overflow port near the top and direct it 6 to 10 feet away from the house, into a drainage area or garden bed. Alternatively, run the overflow of the first barrel into the inlet of a second — that both adds storage and avoids cutting a second downspout.
Maintenance and winterizing
Upkeep is minimal but not zero. Check the diverter screen and lid every few months, and after storms, for leaves and grit that can clog the flow. Once a year, drain and rinse the barrel to clear sediment and algae from the bottom — fall, after the growing season, is a natural time.
In any climate that freezes, winterizing is essential. Water expands as it freezes, and a full barrel of ice can crack the plastic or split a seam. Before the first hard freeze, drain the barrel completely, disconnect the diverter hose, and switch the diverter to its winter setting so water runs straight down the downspout. Store the barrel in a shed or garage, or turn it upside down outdoors so nothing collects inside. The whole task takes about 15 minutes and saves the cost of a replacement barrel each spring.
One safety note that is easy to overlook: roof-collected rainwater is not potable. It picks up bacteria, animal waste, and residues from roofing material, so keep it for gardening, cleaning, and washing — never for drinking. Local rules vary, too, so a quick check of your city or county water regulations before installing is worth the few minutes it takes; for regional gardening and water-use guidance, a university extension yard-and-garden resource is a reliable place to start.
Related Posts
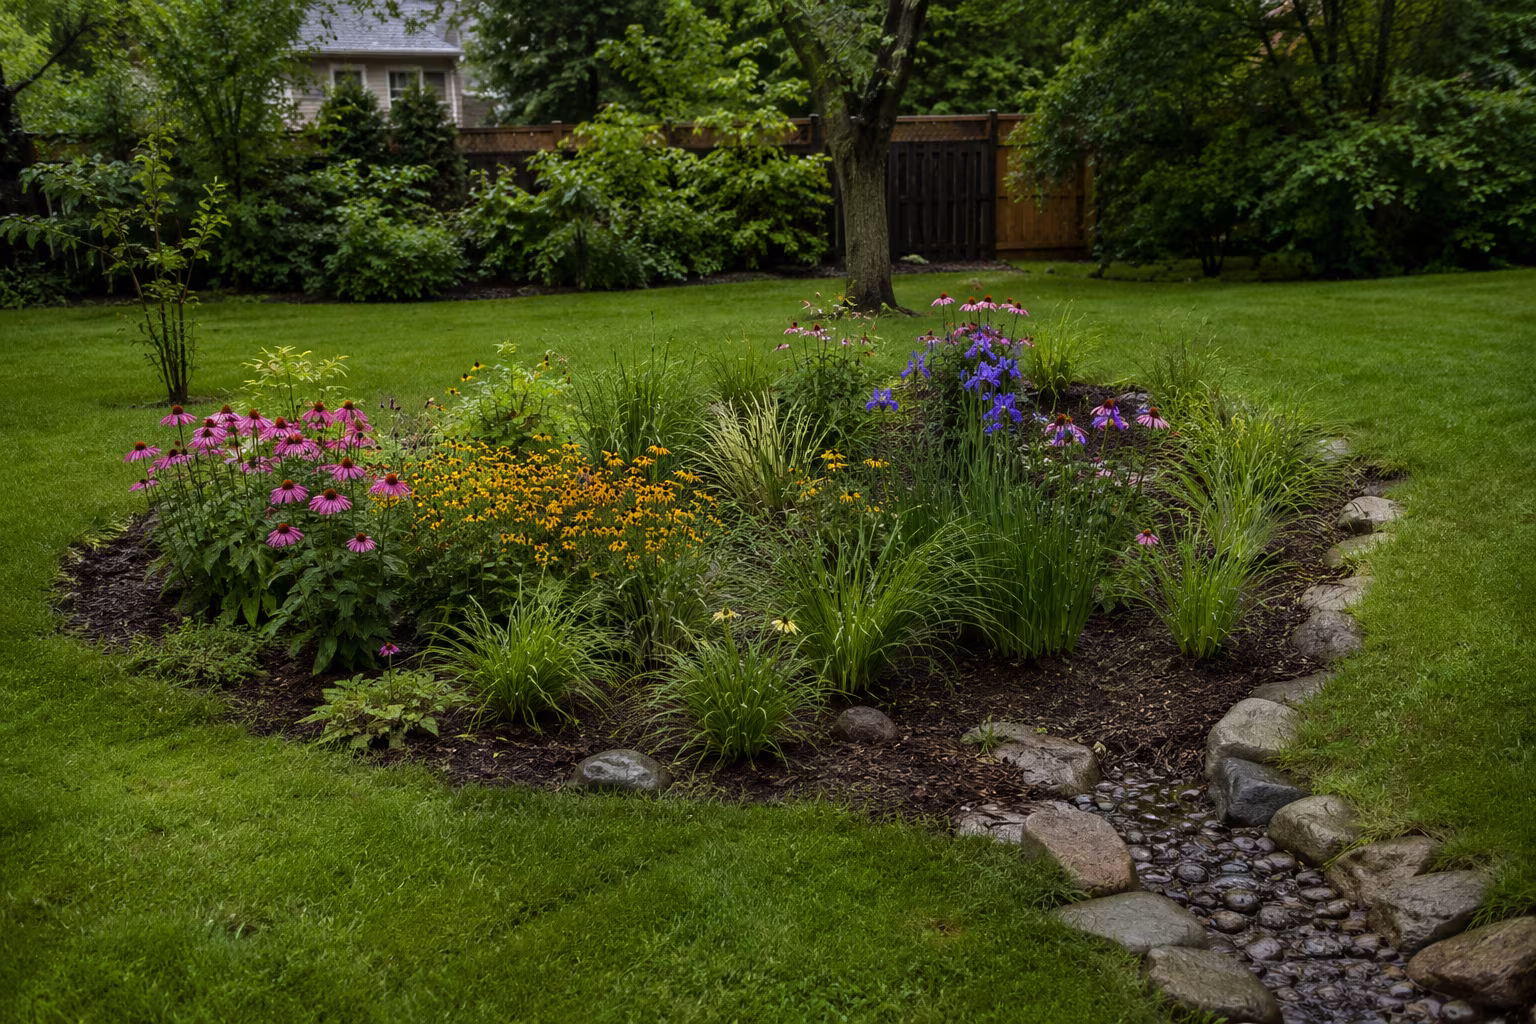
Building a Rain Garden That Actually Drains in Clay Soil
Rain gardens work in clay soil if you dig 12-18 inches deep, amend with coarse sand and compost...
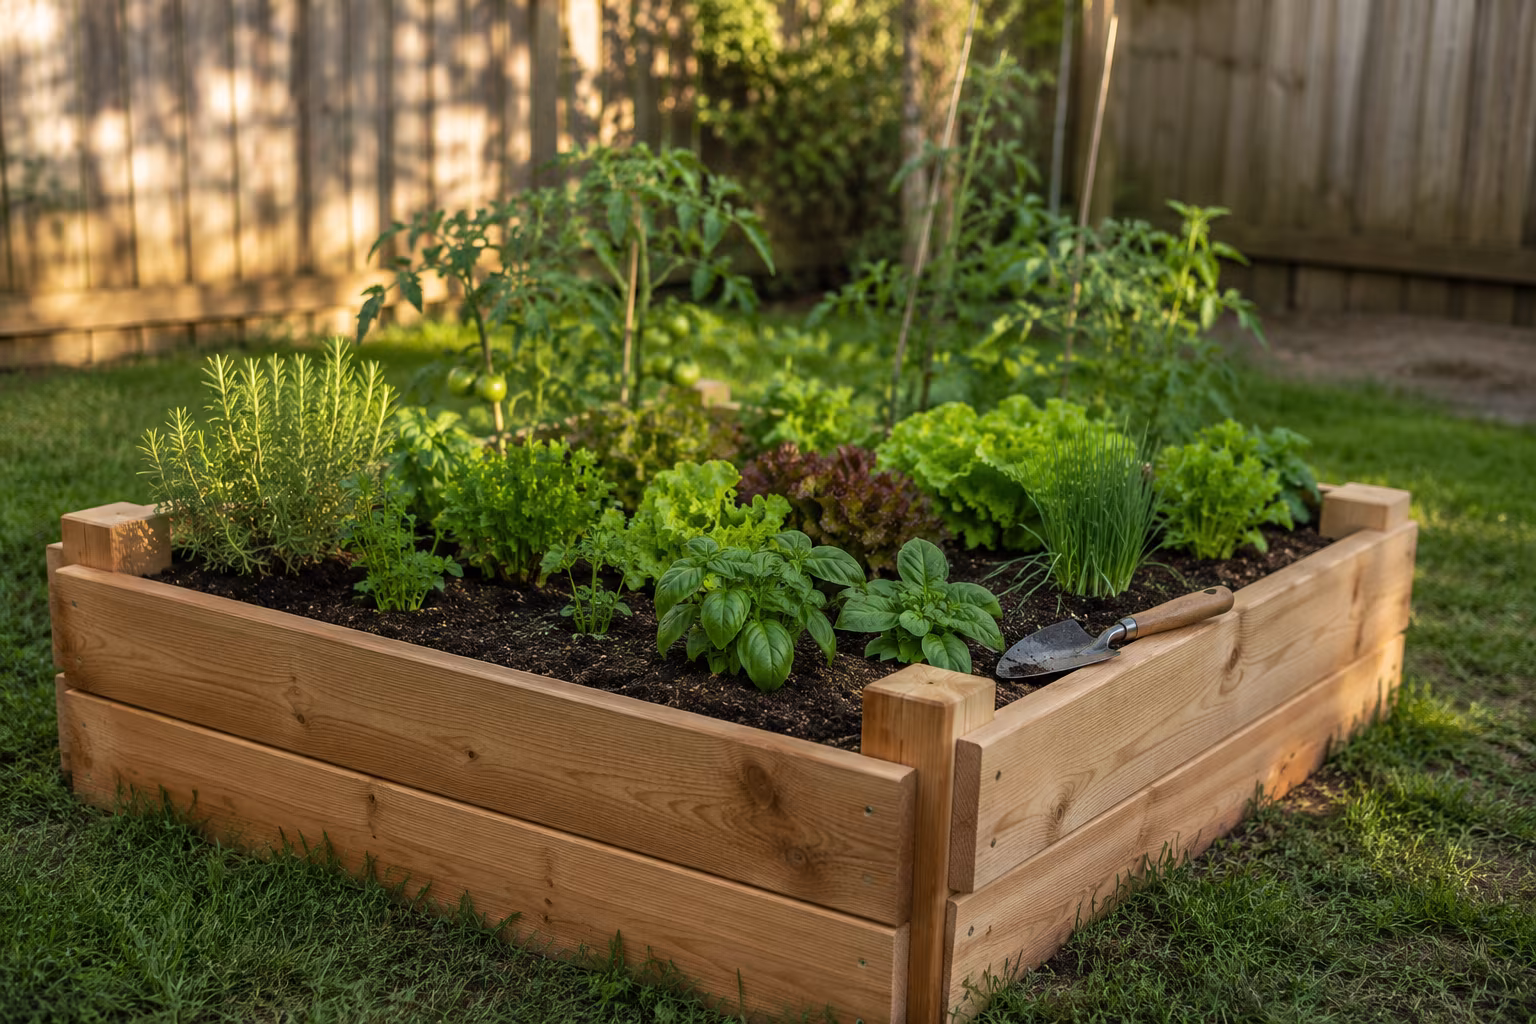
Pressure-Treated vs Cedar for a Small Raised Garden Bed
Cedar looks better and is organic-certified; modern pressure-treated lumber is cheaper, lasts...

Tarp Pitching for Side Wind: A Practical Field Guide
Pitching a tarp for side wind: lower the windward edge, why the plow point beats the A-frame...

The Complete Guide to Identifying and Removing Invasive Garden Plants
Identify English ivy, Japanese knotweed, garlic mustard, and thistles, then remove them for good...