How to Build a Rain Garden That Prevents Yard Flooding Naturally

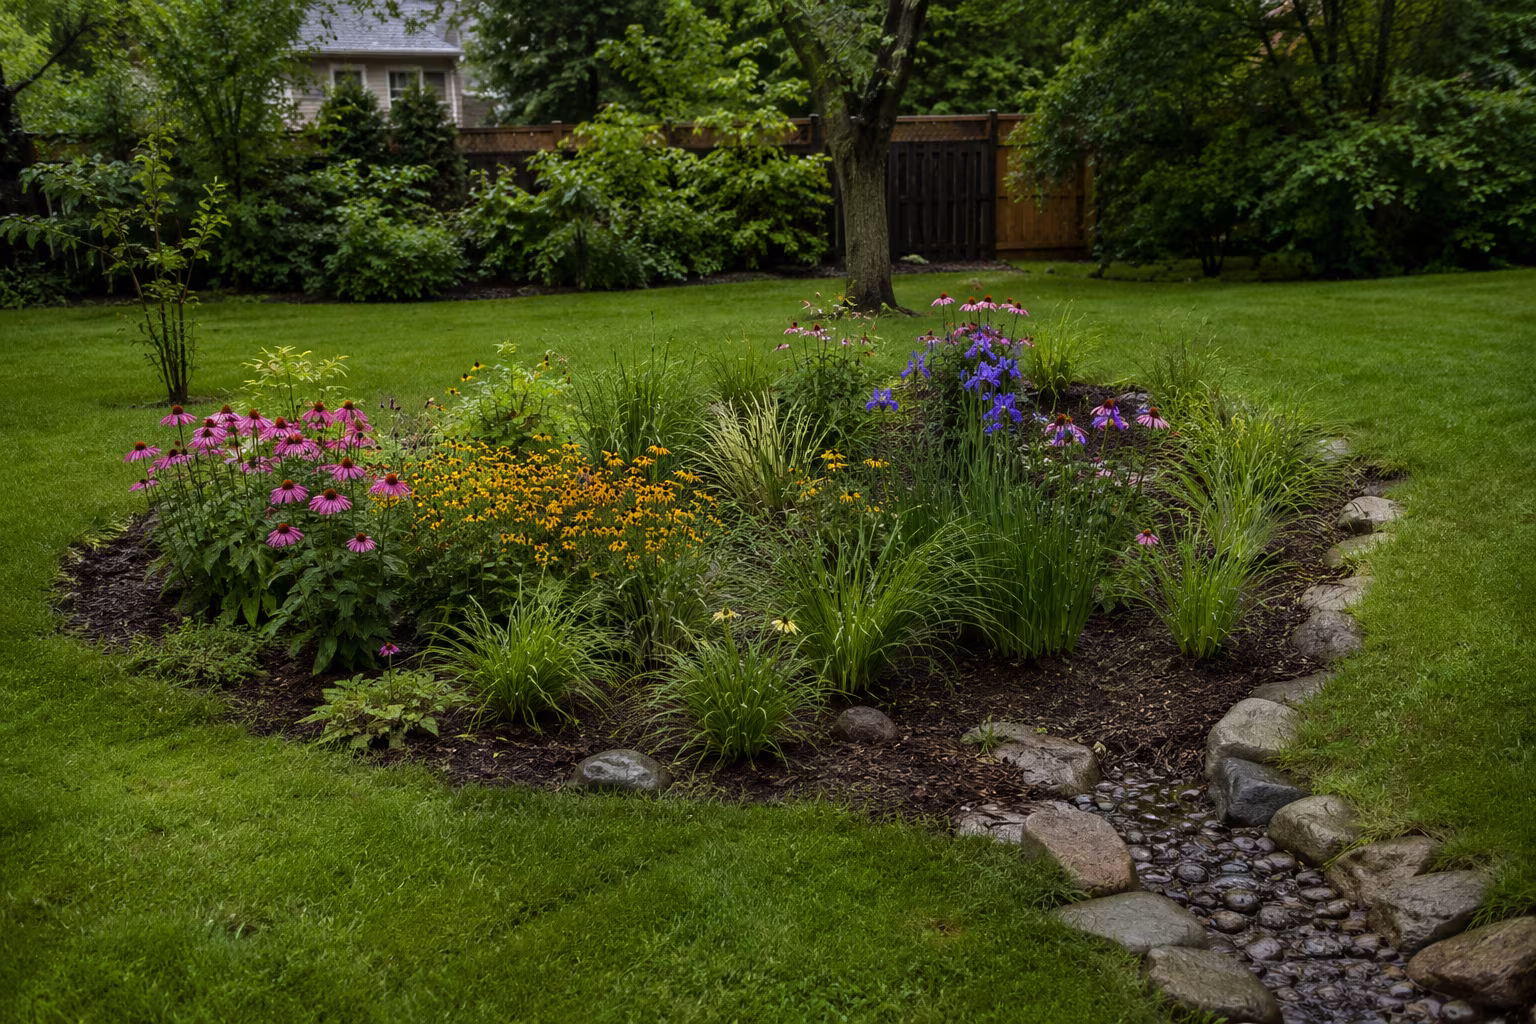
A rain garden is a shallow, planted depression that captures runoff from hard surfaces and lets it soak slowly into the ground instead of sheeting across your yard or rushing into a storm drain. Done right, it turns a soggy problem corner into a functional, low-maintenance landscape feature that also filters pollutants before they reach local waterways. It is one of the more forgiving drainage projects a homeowner can take on: no permits for a typical residential basin, no heavy machinery, and a material cost that often lands between $150 and $500 for an 80 to 100 square foot garden if you dig it yourself.
How a Rain Garden Actually Works
The garden is a basin, usually 6 to 12 inches deep and shaped like a kidney bean or oval, positioned to intercept water flowing from a roof, driveway, or downspout. Three things happen in that basin. First, the depression slows the rush, holding runoff momentarily so it does not overwhelm drains or carve erosion channels. Second, as water percolates through amended soil and plant roots, common pollutants such as lawn fertilizer, pesticide residue, and driveway oil get trapped before they move downstream. Third, the native plants that thrive in these conditions feed pollinators and birds.
The key detail: a rain garden is not a pond. A properly built one drains completely within 24 to 48 hours after a storm. If water lingers longer, the soil is too dense or the basin is too shallow, and it needs correcting. For a fuller technical background on siting and function, the overview of how rain gardens manage stormwater is a solid reference.
Finding the Right Spot
Placement is the single most important decision, so spend real time on it. Walk your yard during or right after a heavy rain and watch where water actually goes. The puddle that never drains, or the channel running off a downspout or driveway, marks your target. Flag those low points with spray paint, garden flags, or sticks and note how the water moves.
Then apply the setbacks. Keep the garden at least 10 feet from your house foundation so water soaks into the ground, not under your basement. Avoid placing it over a septic field, and stay clear of buried utilities. In the US, call 811 before digging so underground lines get marked for free; this is not optional when your shovel is going 12 inches deep.
Sizing the Basin
Undersizing is the most common planning error. Start by estimating the impervious area draining into the garden, meaning the section of roof, driveway, or patio whose runoff reaches your spot. If one downspout carries roughly a quarter of your roof, measure that quarter.
For average soil that is neither pure sand nor heavy clay, size the garden at about 15 to 20 percent of the impervious area it serves. So 500 square feet of roof draining to one point calls for a 75 to 100 square foot garden. Depth of 6 to 12 inches suits most residential sites. Heavy clay drains slowly, so compensate with a slightly deeper basin or a larger surface area. These are guidelines, not precision math, and a slightly smaller garden still beats no garden.
Digging the Basin
Outline the shape on the ground with a garden hose or spray paint, then excavate to your chosen depth. Cut the sides as gentle slopes rather than steep walls so water flows in easily and the edges look natural. Pile the excavated soil around the downhill perimeter to form a low berm, a raised lip that holds runoff in the basin until it soaks away. Think of it as a shallow dam.
When the hole is dug, level the bottom with a long board and a level so water spreads evenly instead of pooling in one corner. A flat base is what lets the whole basin do its job rather than just one low spot. Expect this to be the most physical part of the project; compacted or clay soil may need a pickaxe or mattock to break up.
Getting the Soil Mix Right
Soil is what separates a working rain garden from a mud pit. The mix needs to drain well while still holding enough moisture for plants. A reliable rain garden blend is roughly 50 to 60 percent sand, 20 to 30 percent topsoil, and about 20 percent compost. You can buy pre-mixed rain garden soil or blend your own.
Heavy clay is the common challenge. Dig out several inches of existing clay and replace it with the sand-heavy mix, since clay compacts and blocks infiltration. Fill the basin with amended soil to about 6 inches below the top of the berm, leaving that ponding depth for incoming water. Then test drainage before planting: fill the basin from a hose and confirm it empties within 24 to 48 hours. If it does not, amend the soil further or enlarge the basin. Compost improves both structure and filtration, and if you make your own, worm-based soil amendment works well here.
Choosing Plants by Zone
The best plants tolerate both extremes: standing water when the basin fills and dry spells between storms. Native plants are the strongest choice because they are already adapted to your regional climate and support local wildlife. Plan for three zones based on how wet each part stays.
- Wet zone (basin bottom): plants that handle constantly moist soil, such as sedges, rushes, and cardinal flower.
- Transition zone (slopes): species that like moist but not saturated soil, including coneflower, aster, and some ferns.
- Dry zone (outer edge and berm): more drought-tolerant plants that rarely see standing water.
Ask a local nursery which native species suit rain gardens in your area, and mix bloom times, heights, and textures so the garden holds interest across the seasons. Your regional extension service is the most reliable local source; many publish plant lists, and general guidance like this university extension yard and garden resource points you toward region-appropriate choices.
Mulch and the Water Inlet
Finish with a 2 to 3 inch layer of shredded hardwood mulch or wood chips over the planted area. Mulch suppresses weeds, conserves moisture, and moderates soil temperature while young plants establish. Avoid fine mulches that float away and keep it thin around plant crowns so it does not smother new growth.
Then connect the water source to the basin. A downspout may drop right at the edge, or you may need a short run of drainpipe or a shallow swale, a gently sloped channel, to guide runoff in without carving new erosion around the garden. Getting the inlet right is what keeps the whole system working the way you designed it.
Where runoff enters with real force, such as the base of a steep driveway or a downspout with a strong flow, set a small apron of river rock or a few flat stones at the inlet. The rocks break the energy of the incoming water so it spreads into the basin instead of digging a rut, and they give the mulch and young roots a chance to hold. A pop-up emitter on a buried downspout line does the same job less visibly if you prefer a cleaner look.
Cost, Timeline, and Troubleshooting
Budget depends almost entirely on how much you do yourself. Digging the basin by hand and buying only soil amendments and plants keeps an 80 square foot garden in the $150 to $300 range. Hiring out the excavation or buying all mature nursery plants and pre-mixed soil can push a comparable project to $500 or more. You can trim cost by reusing suitable native soil, scavenging rocks for the border, and buying smaller plants that fill in over a season or two.
On timeline, planning and site assessment span a few hours across a couple of days, ideally including one observation during actual rain. The digging, soil amendment, and planting for a 100 square foot basin realistically take one to two full weekends of work, longer if the soil is dense clay. Breaking it into stages, dig one weekend, amend and plant the next, keeps it manageable.
Two worries come up constantly. A properly built rain garden does not breed mosquitoes, because it drains within 24 to 48 hours and mosquitoes need standing water for 7 to 10 days to complete their cycle. And heavy clay is not a dealbreaker; it just means digging deeper, mixing in a higher share of coarse sand and compost, and possibly enlarging the surface area to offset slower percolation. If your test fill still holds water past two days, that is the fix.
Maintenance and Common Mistakes
Once established, a rain garden is close to self-sufficient, but the first year or two need attention. The most frequent mistake is underestimating weeds; young natives are easily outcompeted, so weed regularly until they fill in. The second is inadequate soil prep, which shows up as a basin that still holds water past 48 hours. Amending after planting is a nuisance, so it is worth confirming drainage before the plants go in.
Water new plants during dry spells in that first season while roots establish. After that, they should only need supplemental water in prolonged drought. Check the inlet periodically and clear any debris that could clog it, refresh the mulch every couple of years, and prune dead or overgrown growth to keep the basin healthy. A modest rain garden is worth building even if your yard floods only a little, since the same basin that clears a nuisance puddle also filters stormwater and supports pollinators. Start with one small basin at your worst drainage point, confirm it drains, and expand from there.
Related Posts
Building a Rain Garden That Actually Drains in Clay Soil
Rain gardens work in clay soil if you dig 12-18 inches deep, amend with coarse sand and compost...
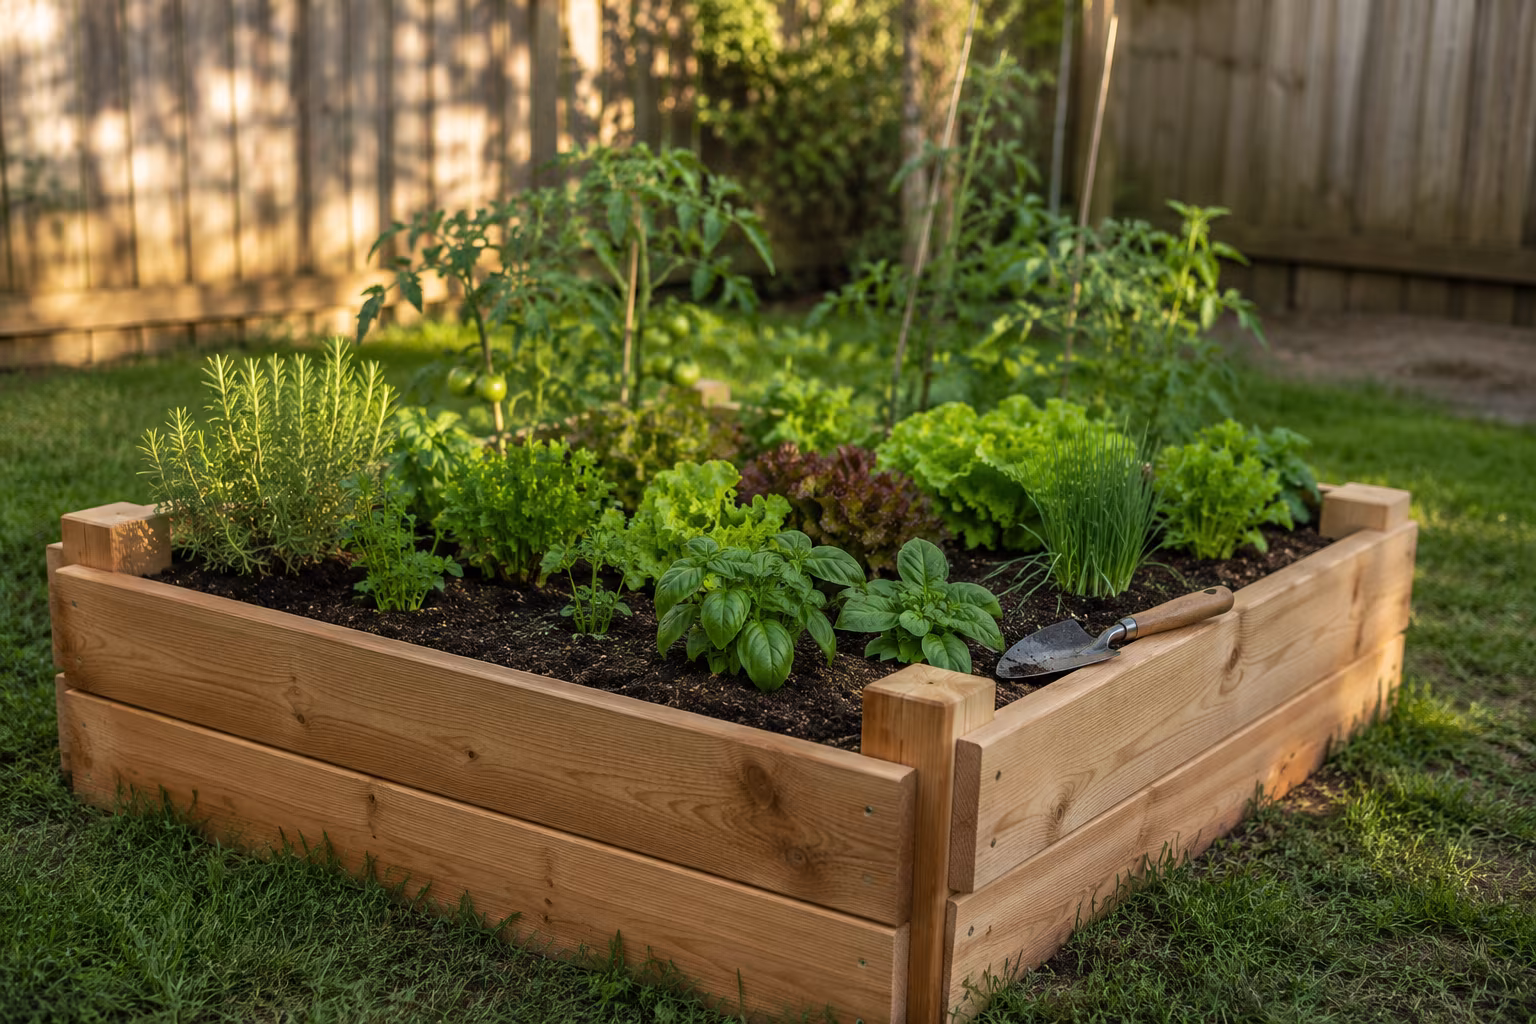
Pressure-Treated vs Cedar for a Small Raised Garden Bed
Cedar looks better and is organic-certified; modern pressure-treated lumber is cheaper, lasts...

Tarp Pitching for Side Wind: A Practical Field Guide
Pitching a tarp for side wind: lower the windward edge, why the plow point beats the A-frame...

The Complete Guide to Identifying and Removing Invasive Garden Plants
Identify English ivy, Japanese knotweed, garlic mustard, and thistles, then remove them for good...