
Upcycling Everyday Items into Miniature Creations

A bottle cap is about 1.2 inches across, a wine cork roughly 0.9 inches, a matchbox close to 2 inches long. Those dimensions happen to line up with common dollhouse furniture at 1:12 scale, which is why so much household waste can be rebuilt into convincing miniatures. Upcycling for miniatures keeps material out of the bin and out of your budget: the hobby runs almost entirely on objects you already own, plus glue, paint, and patience. This guide covers scales, materials, step-by-step builds, finishing techniques, and the mistakes that sink first attempts.
Understanding Miniature Scale
Before you glue anything, decide on a scale, because it determines whether a bottle cap reads as a side table or a dinner plate. Scale is written as a ratio: 1:12 means one inch on the model equals twelve inches in real life. Matching found objects to the right scale is what makes a scene look intentional rather than random.
| Scale | Also called | 1 ft equals | Typical use |
|---|---|---|---|
| 1:12 | Dollhouse / inch scale | 1 inch | Detailed room boxes, most kits |
| 1:24 | Half inch | 0.5 inch | Compact houses, small displays |
| 1:48 | Quarter inch | 0.25 inch | Tiny scenes, tight spaces |
| 1:6 | Playscale / fashion doll | 2 inches | Larger furniture, doll props |
For a first project, 1:12 is the most forgiving: parts are large enough to handle without tweezers, and reference measurements are easy to find. A standard 1:12 dining chair seat sits about 1.5 inches off the ground; keep numbers like that in front of you so proportions stay believable.
Everyday Items and What They Become
Once you start measuring household objects against a scale, their uses become obvious. The goal is to match an object's real size and shape to a piece of furniture at your chosen scale.
- Bottle caps to tabletops, plates, or wall clocks.
- Wine corks (sliced into discs) to stools and plant pots.
- Popsicle sticks to flooring, framing, and shelving.
- Matchboxes to working drawers and cabinets.
- Buttons to clocks, mirror frames, and wall accents.
- Broken jewelry to chandeliers, door handles, and hardware.
- Cardboard (from cereal boxes) to walls, floors, and room structure.
- Fabric scraps to curtains, rugs, and bedding.
The Tools You Actually Need
Miniature work needs precision more than expensive equipment. A short starter kit: a hot glue gun for structural joins, PVA craft glue for paper and fabric, a craft knife with fresh blades, fine scissors, a steel ruler, fine-tip tweezers, and 220-grit sandpaper for smoothing cork and wood. Acrylic paint and a set of small brushes (sizes 0 to 2) handle color. A cutting mat protects your surface and keeps knife cuts straight. A magnifying lamp helps once parts drop below half an inch.
Step-by-Step: Five Builds to Start
These five projects use different techniques, so working through all of them teaches the core skills: cutting, laminating, gluing on the level, and finishing.
1. Bottle Cap Table
Cut four toothpicks or matchsticks to an equal 1.5-inch length for legs, so the table sits at correct 1:12 height. Glue them inside the rim of an upturned metal bottle cap with hot glue, checking the top is level as it sets. Prime with a thin coat of acrylic, paint, then seal with matte varnish.
2. Matchbox Chest of Drawers
Stack three empty matchbox trays inside a sleeve glued into a column. Cover the outer sleeve with decorative paper or thin wood veneer. Glue a small bead to each drawer front as a handle. The drawers slide exactly as the original matchbox did.
3. Cork Stool
Slice a wine cork into 0.4-inch discs with a sharp craft knife (roll the knife rather than pressing straight down to avoid crushing the cork). Sand the cut faces flat, glue three toothpick legs underneath, and top with a circle of felt for a cushion.
4. Button Wall Clock
Choose a flat button roughly 0.6 inches across. Paint or ink tiny numerals around the rim, glue two slivers of toothpick as hands, and mount it to a wall with a dab of PVA.
5. Jewelry Chandelier
Take apart a broken earring or pendant for its chains and beads. Attach them to a small metal ring so they hang evenly, then suspend the ring from the ceiling of a dollhouse room with hot glue.
Building a Room Box to Hold It All
Individual pieces look better inside a setting, and a room box is the simplest home for them. A cardboard box from cereal or shipping stock becomes the shell. For a 1:12 room, a workable size is roughly 12 inches wide, 8 inches deep, and 8 inches tall, one open side facing you. Cut the walls from stiff corrugated or foam board and glue them square, checking corners with a ruler as they set.
Finish the interior before adding furniture, because you cannot easily reach the back walls later. Free paint-sample cards from a hardware store make instant wallpaper cut to size. For flooring, glue rows of coffee stirrers or thin popsicle sticks and stain them for a plank floor, or print a tile pattern to scale. Add a baseboard from a strip of cardstock to hide the join where wall meets floor, the same trick that makes full-size rooms look finished. Only once the shell is decorated do you place and glue the furniture, working from the back wall forward so nothing blocks your hand.
Painting and Realistic Finishes
Structure is only half the job; finishing is what sells the illusion of a real object shrunk down. Work in thin coats, two or three light passes beat one thick one that pools and hides detail.
- Dry brushing: load a nearly dry brush with a lighter shade and drag it across raised edges to catch highlights and imply wear.
- Wood grain: over a tan base, drag a darker brown with a stiff dry brush in one direction to fake plank grain.
- Faux marble: swirl white and gray while wet, then feather the line with a soft brush.
- Sealing: finish with matte varnish for wood and fabric, gloss for anything meant to look ceramic or metal.
Advanced Techniques
Once the basics feel routine, a few methods raise the realism sharply. Layering and texturing means building depth with stacked cardboard, embossed paper, or a skim of wood filler sanded smooth. Weathering uses a thin gray or brown wash (paint heavily diluted with water) brushed into corners and crevices, then wiped back, to age a surface convincingly. Working lights are the biggest upgrade: a strand of warm-white LED fairy lights (many run on a 3V coin battery) threaded behind a wall or under a lampshade of frosted bead gives a room real glow. Route the wire before you glue walls in place, because it is nearly impossible to hide afterward.
Where to Find More Materials
Your own recycling is the first source, but when you run dry, thrift stores and flea markets are the cheapest resupply. Broken costume jewelry, single earrings, old game pieces, and doll furniture missing parts sell for pocket change and break down into usable components. Learning to see potential this way is the heart of upcycling as a practice. Hardware store paint-sample cards double as free wallpaper, and the same eye that spots a cork as a stool will turn thrifted finds into a whole room. If you also build outdoor scenes, some of the same salvage logic carries into full-size garden projects.
Seasonal Displays From Scraps
Swapping small details lets one room box carry the year, and each season points to specific salvage. In spring, green-painted bottle caps become planters and short lengths of ribbon coil into tiny wreaths. Summer calls for toothpick-and-fabric beach umbrellas and cork-slice picnic stools. Autumn is the easiest to source outdoors: pressed dry leaves mounted on card make wall art, and torn brown-paper strips become rustic table runners. For winter, pull apart cotton balls into thin drifts of snow and repurpose glittery broken-jewelry stones as ornaments. Because these accents are small and glued lightly, you can rotate them without rebuilding the scene, which keeps a single display interesting for months and uses up the odd scraps too small for furniture.
Common Mistakes and How to Fix Them
A handful of errors account for most disappointing results, and each has a simple correction.
- Wrong scale: a chair that dwarfs the table. Fix by writing your scale's key measurements on a card and checking every part against it.
- Visible glue: hot glue strings and PVA dries shiny. Use the smallest dab that holds and wipe stray glue before it sets.
- Thick, streaky paint: caused by one heavy coat. Thin the acrylic slightly and build up layers.
- Crushed corks: pressing straight down with a dull blade. Use a fresh blade and a rolling cut.
- Fragile joins: paper furniture that flexes. Seal finished pieces with a coat of varnish or thin PVA to stiffen them.
Keep sharp tools and hot glue away from young children, and let anyone under supervision handle only the gluing and painting stages. A simple bottle-cap table takes 15 to 30 minutes; a lit, furnished room box can run several evenings. That range is the appeal, the same box of odds and ends supports a quick afternoon project or a build you return to for weeks, and every finished piece started as something you were about to throw away.
Related Posts

Toilet Seat Slow-Close Hinge Replacement
A broken slow-close hinge makes the toilet seat slam or fail to stay up. Replacement is a...

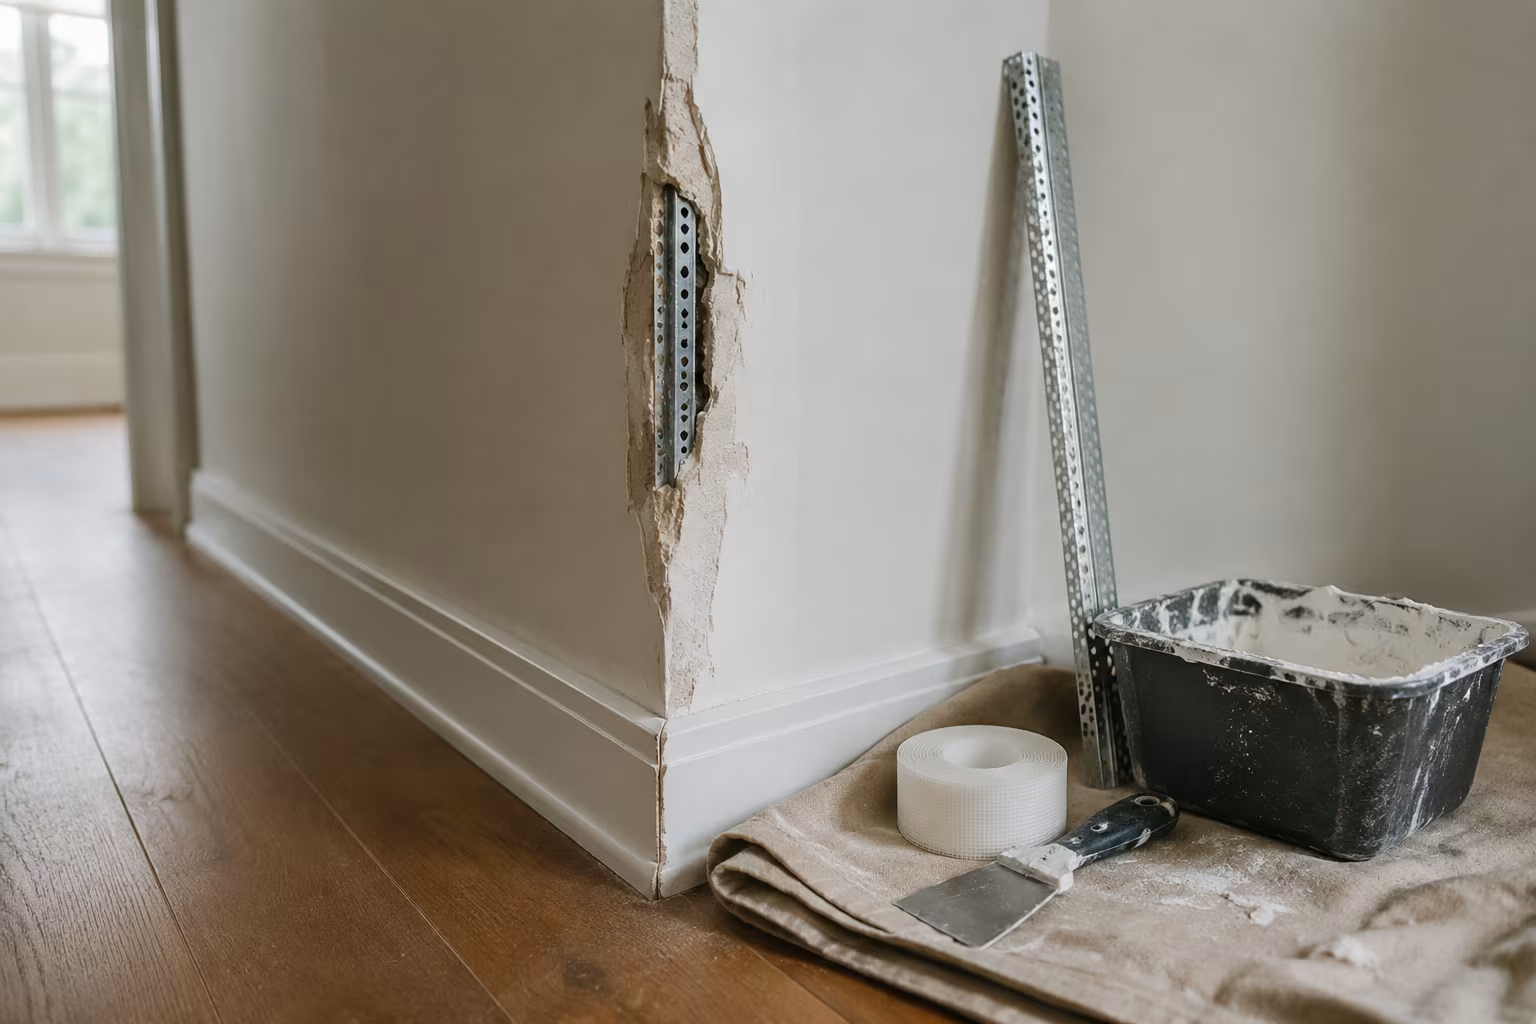
Drywall Corner Bead Replacement After Damage
Damaged drywall corners with dented or split corner bead show ugly visible damage. The...
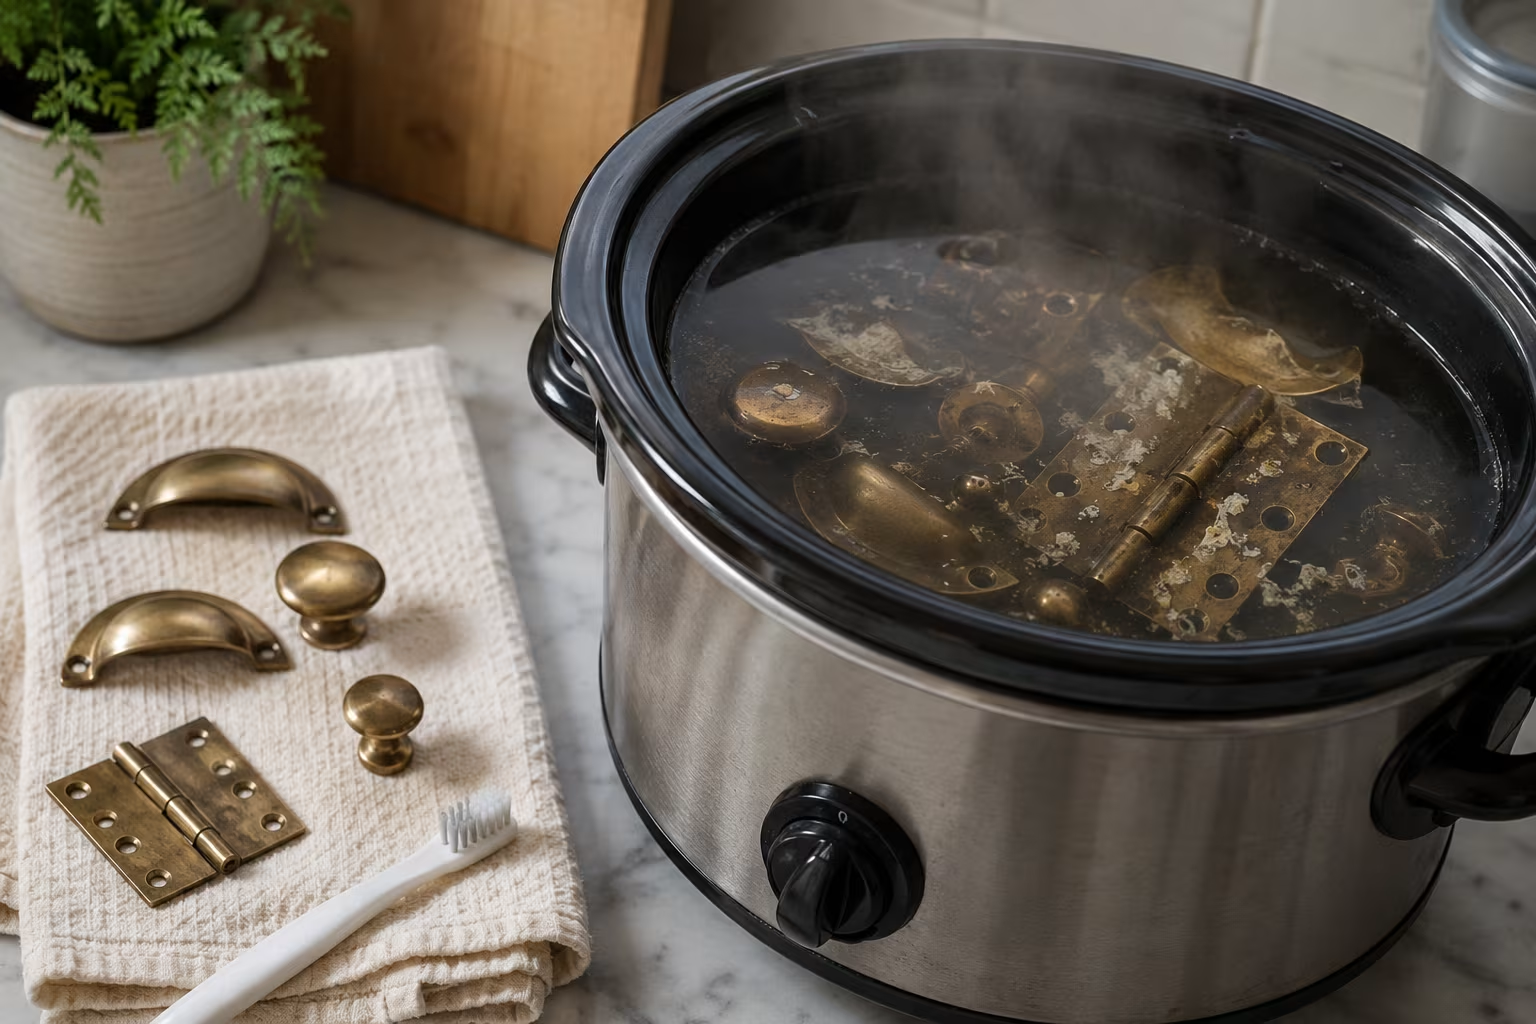
Strip Painted Brass Hardware Without Eating the Patina
The slow-cooker method strips paint from brass cleanly while keeping the aged surface intact....
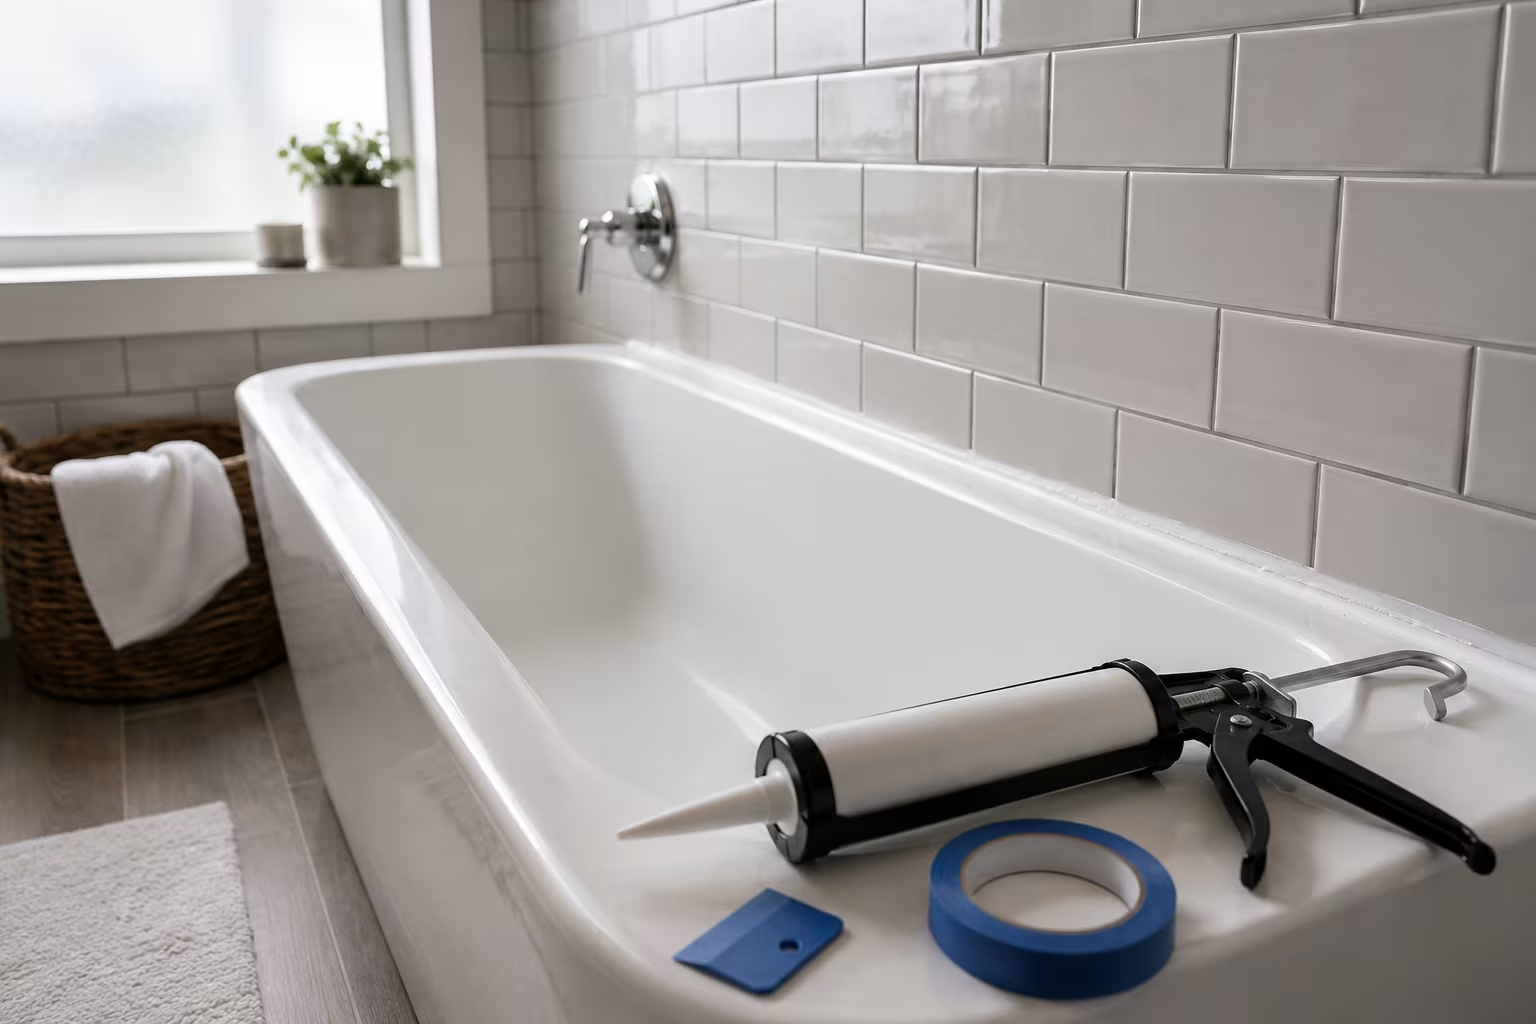
Bathtub Resealing: When Silicone Beats Caulk and Vice Versa
Reseal a bathtub right: 100% silicone at the flexing tub-to-tile joint, acrylic caulk only on...
Comments
No comments yet. Be the first to share your thoughts!