How to Choose a Dremel Rotary Tool for Crafting and Small Projects
A rotary tool handles the detail work that hand tools do slowly and roughly: sanding a tight curve, engraving glass, polishing a small casting, or cutting a clean edge on plastic. Dremel is the best-known brand, so the name gets used generically, but the choice comes down to a handful of features matched to what you actually make. A capable model runs about $40 to $100 — you do not need a professional-grade tool for craft-scale projects.
What a rotary tool does
A rotary tool is a compact handheld motor that spins interchangeable bits at high speed, typically anywhere from a few thousand up to about 35,000 RPM. Swapping the bit changes the job — the same tool sands, grinds, carves, engraves, polishes, cleans, and cuts. Because it is light and pen-like in the hand, it gives fine control on small work where a full-size power tool would be clumsy. The Dremel brand is essentially a small workshop's worth of specialized tools compressed into one body, which is why crafters, model builders, and jewelry makers rely on it.
Features that matter
A few specs separate a tool you will keep from one you will fight. In rough order of importance:
- Variable speed control is the one non-negotiable feature. Different materials demand different speeds, and a single-speed tool will melt soft plastic or barely touch metal.
- Comfort and grip: you hold this for long stretches on detail work. A slimmer body with a rubberized grip reduces hand fatigue and improves control, especially for smaller hands.
- Accessory compatibility: most rotary tools use standard shank sizes, so bits interchange across models and brands. Check what a kit includes before paying for extras separately.
- Power and RPM range: a mid-range spread of roughly 5,000 to 35,000 RPM covers nearly all craft work. Chasing the highest number is pointless for a hobbyist.
- Attachments: a flex shaft — a flexible extension with a pen-style handle — is the most useful add-on for fine engraving and carving. Cutting guides and sanding platforms exist too, but you can add them later.
Common bits and what they do
The tool is only as useful as the bits you pair with it, and a starter kit's variety matters more than its total count. The bits fall into a few families, each with a clear job:
- Sanding drums and bands: a rubber mandrel wrapped in an abrasive sleeve, for smoothing edges and shaping curves. Sleeves come in grits like 60, 120, and 240 — coarse to remove material, fine to finish. They are the most-used consumable and wear out fast.
- Grinding stones: shaped abrasive tips for carving and deburring harder materials. Silicon carbide (gray/green) suits ceramic, glass, and stone; aluminum oxide (usually pink or brown) suits metal. Using the wrong one just dulls the bit.
- Cut-off wheels: thin discs for slicing thin metal, plastic, and dowels. Fiberglass-reinforced wheels resist shattering better than the brittle basic ones; always run them at higher speed and never twist the tool mid-cut.
- Polishing wheels and points: felt or cloth tips used with a dab of polishing compound to bring up shine on metal and plastic. Keep a separate wheel per compound so grits do not cross-contaminate.
- Engraving and carving bits: pointed diamond or tungsten-carbide tips for lettering, detailing, and freehand carving in wood, glass, and stone.
- Wire brushes: brass or steel bristles for cleaning rust, tarnish, and residue off metal without removing base material.
Get comfortable identifying which is which before you start; most kits include a small chart, and matching bit to material is the single biggest factor in clean results.
Corded vs. cordless
Corded models give unlimited, consistent power and usually cost a little less, which suits a fixed bench with an outlet nearby and longer tasks that would drain a battery. The trade-off is a cord that can catch or limit reach. Cordless models buy freedom — working on the couch, in awkward spots, or outdoors — at the cost of a heavier body and finite run time, so they favor quick touch-ups over marathon sessions. Many makers keep a corded main tool and a small cordless one for fast jobs. Neither is wrong; it tracks your workspace and how you like to work.
Matching speed to material
Speed control only helps if you use it, and the right RPM depends on the material and the bit. These are practical starting ranges — always test on scrap first and adjust:
| Material / task | Suggested speed | Notes |
|---|---|---|
| Soft plastic, acrylic | 5,000–10,000 RPM | Low speed prevents melting and gumming |
| Softwood, balsa, cardboard | 10,000–20,000 RPM | Light touch avoids tear-out |
| Hardwood | 20,000–30,000 RPM | Let the bit cut; do not force it |
| Metal, ceramic (grind/cut) | 25,000–35,000 RPM | Higher speed for dense material |
| Polishing (any material) | 5,000–10,000 RPM | Low speed, very light pressure |
Too much speed on soft material melts or burns it; too little on hard material just dulls the bit. When in doubt, start low and work up.
Setting a budget
Prices run from about $40–$60 for entry-level corded models to several hundred for professional tools. For crafting and small projects, a mid-range model in the $50–$100 range hits the sweet spot: it includes variable speed, adequate power, and usually a starter kit of bits. More expensive tools add brushless motors and heavier-duty construction that a hobbyist rarely needs. A good starter kit is worth prioritizing — look for a useful variety of bit types (a few sanding bands, grinding stones, a cut-off wheel, a polishing bit, a small engraving cutter) rather than a headline "100+ accessories" count padded with duplicates. Also budget for consumables: sanding bands and polishing compounds wear out and add up over time. Sharing a bench at a community woodshop is another way to try tools before buying.
Technique and common mistakes
Most early frustration traces to a few habits. Wrong bit for the job: each bit is designed for a specific task and material — sanding with a cut-off wheel or polishing with a grinding stone works poorly and can damage the piece. Too much pressure: the tool's speed does the work, not your muscle; pushing hard bogs the motor, overheats the material, and makes the tool skip. Guide it, do not force it — let the bit remove material at its own rate and take multiple light passes instead of one heavy one. Skipping scrap practice: keep offcuts of wood, plastic, and cardboard to dial in speed and feel before touching the real piece; five minutes on scrap saves a ruined project. Dirty bits: sanding bands, brushes, and polishing wheels clog with residue and lose bite; a stiff brush or cleaning stick after use extends their life.
A few technique points speed up the learning curve. Secure the workpiece in a clamp or a bench vise so both hands are free to steady and guide the tool — chasing a loose part around the bench is how slips happen. Hold the tool like a pencil, braced against the work, and move it in the direction that pulls the bit away from you, not toward you. Change bits only after the motor has fully stopped, and seat each bit fully in the collet before tightening; a bit that sticks out too far wobbles and can snap. When a bit stops cutting well, looks dull, or starts to drag, replace it rather than pressing harder. These same light-touch, right-tool principles apply to related detail crafts like paper craft and jewelry making.
Safety basics
Eye protection is mandatory every single time — wood dust, plastic shavings, and metal fragments fly off at high speed, and a single splinter can cause permanent injury. Keep safety glasses next to the tool so grabbing them is automatic; if you wear prescription glasses, use over-glasses or prescription safety lenses. Add a dust mask for fine dust and a well-ventilated workspace for fumes. Ear protection helps on longer or noisier sessions. Fitted gloves offer some protection but loose ones can catch in the bit, so keep them snug or skip them. Start any new task at low speed with light pressure, and a rotary tool is entirely safe for beginners to learn on.
Related Posts
Beginner Cricut Blade Set: What You Actually Use Daily
The Cricut starter blade list is longer than most beginners need. The two or three blades that...
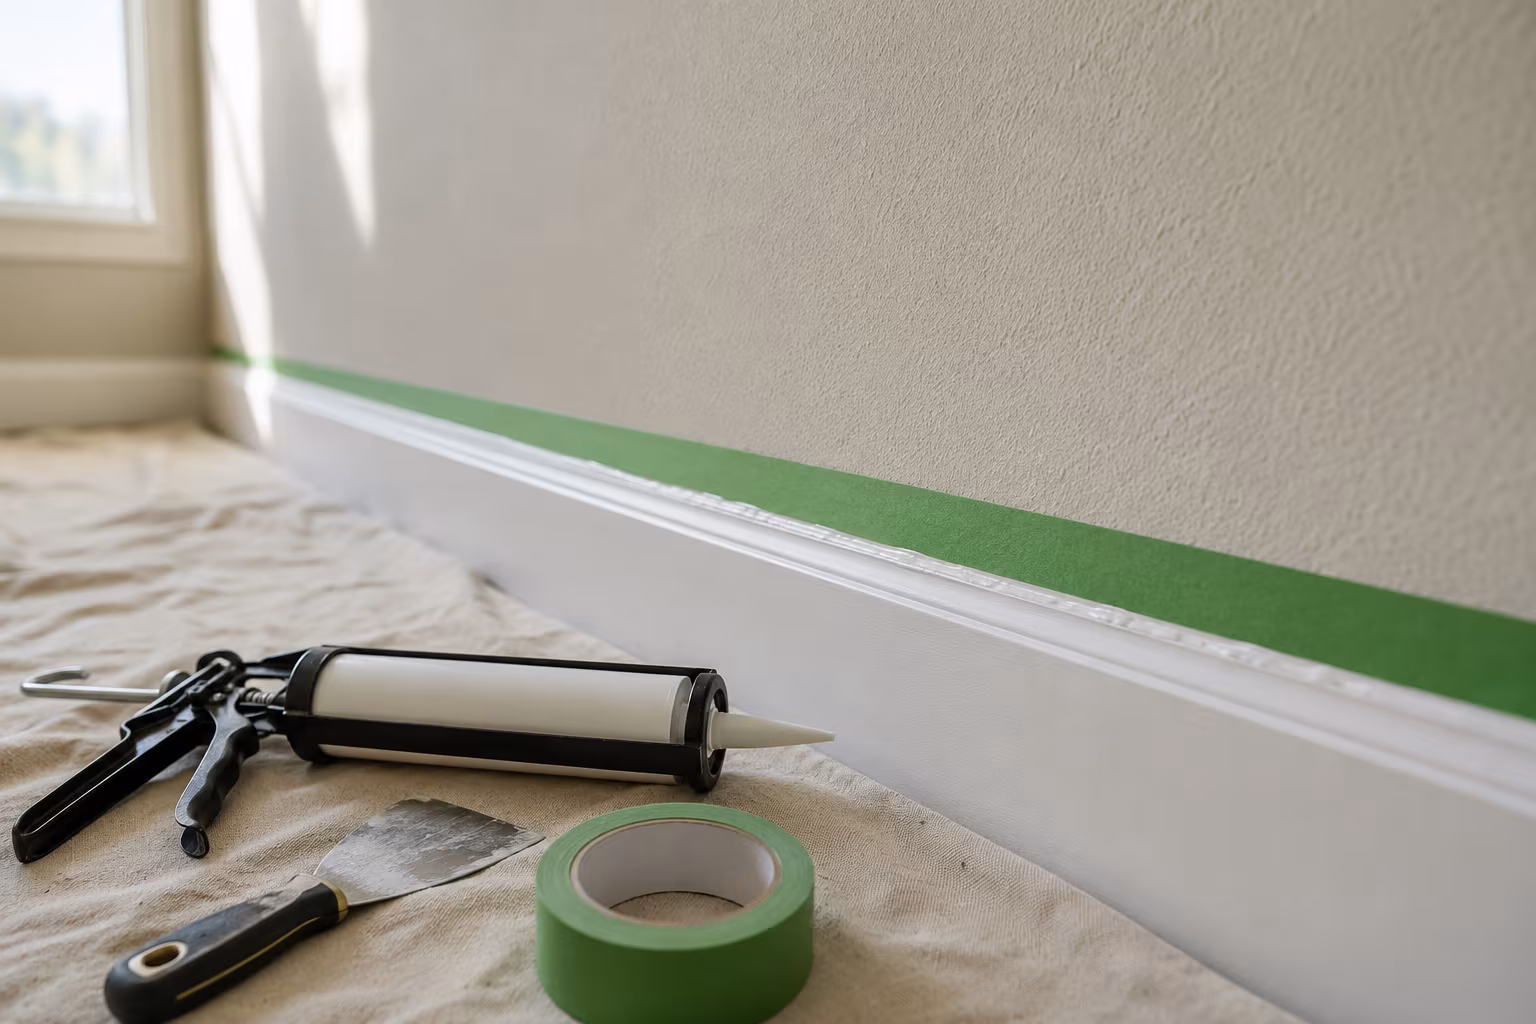
Painter's Tape for Crisp Lines on Textured Wall Surfaces
Standard blue tape bleeds on textured walls. The specialty tapes, caulk-edge-seal step, and...
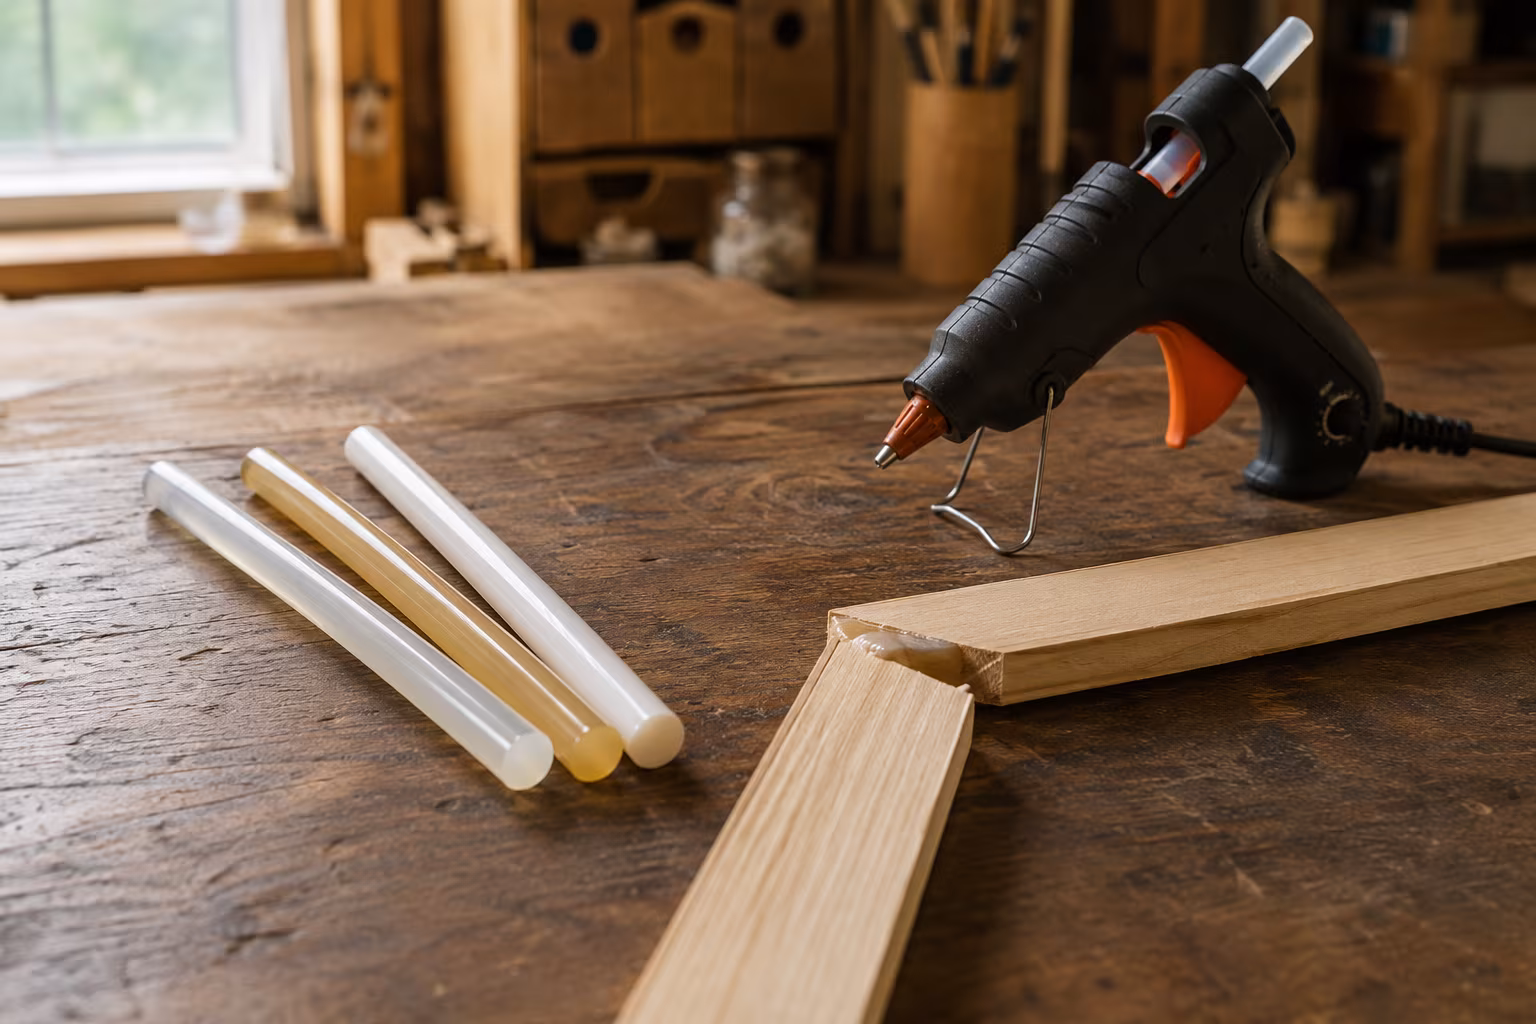
Hot Glue Sticks Compared: Low-Temp, High-Temp, Specialty
Low-temp glue sticks melt near 250°F, high-temp near 380°F. Compare stick types, specialty...

Sandpaper Grits Demystified: When to Stop Going Finer
Sand 80 to 120 to 180 for film finishes, 220 for oil, and stop there: finer burnishes wood and...