How to Create a Butterfly Waystation Garden with Native Plants
A butterfly garden that actually attracts butterflies is not just a bed of pretty flowers. It is a small, deliberate habitat that feeds caterpillars as well as adults, offers shelter and water, and leans on plants native to your region. The difference between a yard full of nectar blooms that butterflies drift past and a true waystation that they stay and breed in comes down to a handful of choices, and none of them require a big yard or budget. A patch the size of a picnic blanket can bring in real numbers.
Why a Waystation Matters
Pollinators are under pressure from habitat loss and pesticide use, and eastern monarch numbers have fallen dramatically since the 1990s. A waystation acts as a fuel stop for migrating butterflies crossing North America, providing the food, water, and shelter they need to complete the journey. Even a single urban lot, planted well, becomes a meaningful link in that network. The Xerces Society, a leading invertebrate conservation organization, tracks how these connected patches support pollinator recovery. Beyond the ecology, the payoff is watching a caterpillar strip a milkweed leaf, form a chrysalis, and emerge weeks later, which connects you to the process in a way reading about it never does.
What Makes a True Waystation
A waystation supports butterflies through every stage of life, not just the adult one. That means three things working together:
- Host plants for caterpillars. This is the non-negotiable part. Most caterpillars eat only one or a few specific plants; monarch caterpillars eat milkweed and nothing else. No milkweed, no monarch caterpillars.
- Nectar plants for adults. Adults need nectar to fly, mate, and lay eggs. Choose a variety that blooms across the season so there is food from spring through fall, favoring flat-topped clusters and large single blooms that give butterflies a place to land.
- Shelter and water. Dense foliage, tall grasses, or a small brush pile give butterflies cover from wind and predators, and a shallow water source keeps them hydrated and supplies minerals.
Native Plants Do the Real Work
Native plants are the single biggest factor. Butterflies and the plants they depend on co-evolved over thousands of years, so native species are recognized as food and carry the specific compounds caterpillars need. A non-native flower may offer nectar, but it often will not be used as a host, and imported nursery stock can carry pesticide residue that is toxic to insects. Natives are also adapted to your local climate and soil, which means far less watering, feeding, and fuss once they are established. What is native in Oregon is completely different from Florida or Texas, so generic wildflower mixes, which frequently contain non-native or invasive species, are the wrong starting point.
Milkweed deserves special mention because it is the sole host for monarchs, and even here the species matters. Common milkweed spreads aggressively by underground rhizomes and suits a large, informal bed, while swamp milkweed stays clumped and behaves better in a tidy border; butterfly weed is a compact, drought-tolerant option for containers and dry sites. Buy plants labeled as neonicotinoid-free, since that class of systemic insecticide persists in leaves and nectar for a full season and can kill the very caterpillars you are trying to raise. One caution worth heeding: avoid tropical milkweed in warm climates, where its year-round foliage disrupts monarch migration and spreads a parasite. When in doubt, ask the nursery which species is native to your zone.
Plan and Prepare the Site
Before buying a single plant, watch the space. Note how much sun it gets: full sun is 6 or more hours, partial sun is 3 to 6, and anything less is shade, and this dictates what will thrive. Check the soil texture too, whether it leans sandy, clay, or somewhere between. Then research what is genuinely native to your area. Your county extension office is the best free resource; university-run programs like the extension yard and garden guides publish region-specific host and nectar plant lists, and native plant societies and specialist nurseries can fill in the rest. For monarchs specifically, find out which milkweed species are native to your zone.
Site prep is where many first gardens fail. Clear existing weeds and grass by hand for small beds, or smother larger areas with sheet mulching, layering cardboard, compost, and mulch, rather than reaching for chemical herbicides that harm the insects you are trying to help. Most natives do not want rich soil, but working a couple of inches of compost in improves drainage and gives new roots a head start; heavy clay benefits from a little added grit.
Planting and Layout
Plant in spring after the last frost or in fall, both of which give roots time to establish before extreme heat or cold. Dig each hole about twice as wide as the root ball and just as deep, loosen any circling roots, set the plant, and backfill, patting gently to close large air pockets. Water thoroughly right after planting to settle the soil. Group plants of the same species in drifts of three or five rather than scattering singles, which looks more natural and makes it easier for butterflies to find their preferred flowers. Beyond milkweed, native nectar options include coneflower, aster, goldenrod, salvia, and coreopsis; aim for a mix that keeps something in bloom from spring through fall, with taller plants toward the back and shorter ones in front.
Water, Rocks, and Shelter
Butterflies do not drink from deep water; they prefer shallow, damp spots. A bird bath filled with sand or pebbles and kept moist works, as does a buried shallow dish of wet sand and flat stones, a puddling station where they absorb minerals. Flat rocks in sunny spots give them a place to bask and warm their wings before flight, and logs or a small brush pile provide shelter and overwintering sites for some species' eggs or chrysalides. One rule overrides everything here: no pesticides, including organic ones like neem oil or Bt, which kill caterpillars along with pests. Chewed milkweed leaves are a sign the waystation is working, not failing.
Ongoing Care
The first year is the most demanding, since new plants need consistent moisture to build strong roots; a simple finger test works, watering when the top inch or two of soil feels dry. After that, natives generally need supplemental water only during extended dry spells. Weeding matters most early on, roughly 15 to 20 minutes a week, until the plants fill in and start suppressing weeds themselves. Deadheading spent nectar blooms encourages more flowers and extends the food supply. A layer of mulch retains moisture and reduces both watering and weeding. Companion planting, discussed in more depth under chemical-free pest control, keeps problems down without sprays.
Common Mistakes
A few errors account for most disappointing waystations:
- Skipping native plants. Pretty non-natives from big-box stores may draw a passing adult, but caterpillars will not eat them and butterflies will not lay eggs there. Always confirm a plant is native to your specific region before buying.
- Using any pesticide. These chemicals are indiscriminate. Hand-pick pests or introduce beneficial insects like ladybugs instead.
- Impatience. Plants take a season or two to establish, and local butterfly populations need time to find you. Many gardeners do not see a first monarch caterpillar until year two.
- Nectar only. A garden with no host plants is a rest stop, not a waystation. Include milkweed and the host plants for your region's other species.
Start with one native milkweed and a single nectar plant like coneflower in a 3-by-5 patch or a few containers, keep it pesticide-free, and add from there. Even a balcony contributes to the connected habitat that pollinators depend on, and every small patch, linked to others across a neighborhood, widens the network they can survive on.
Related Posts
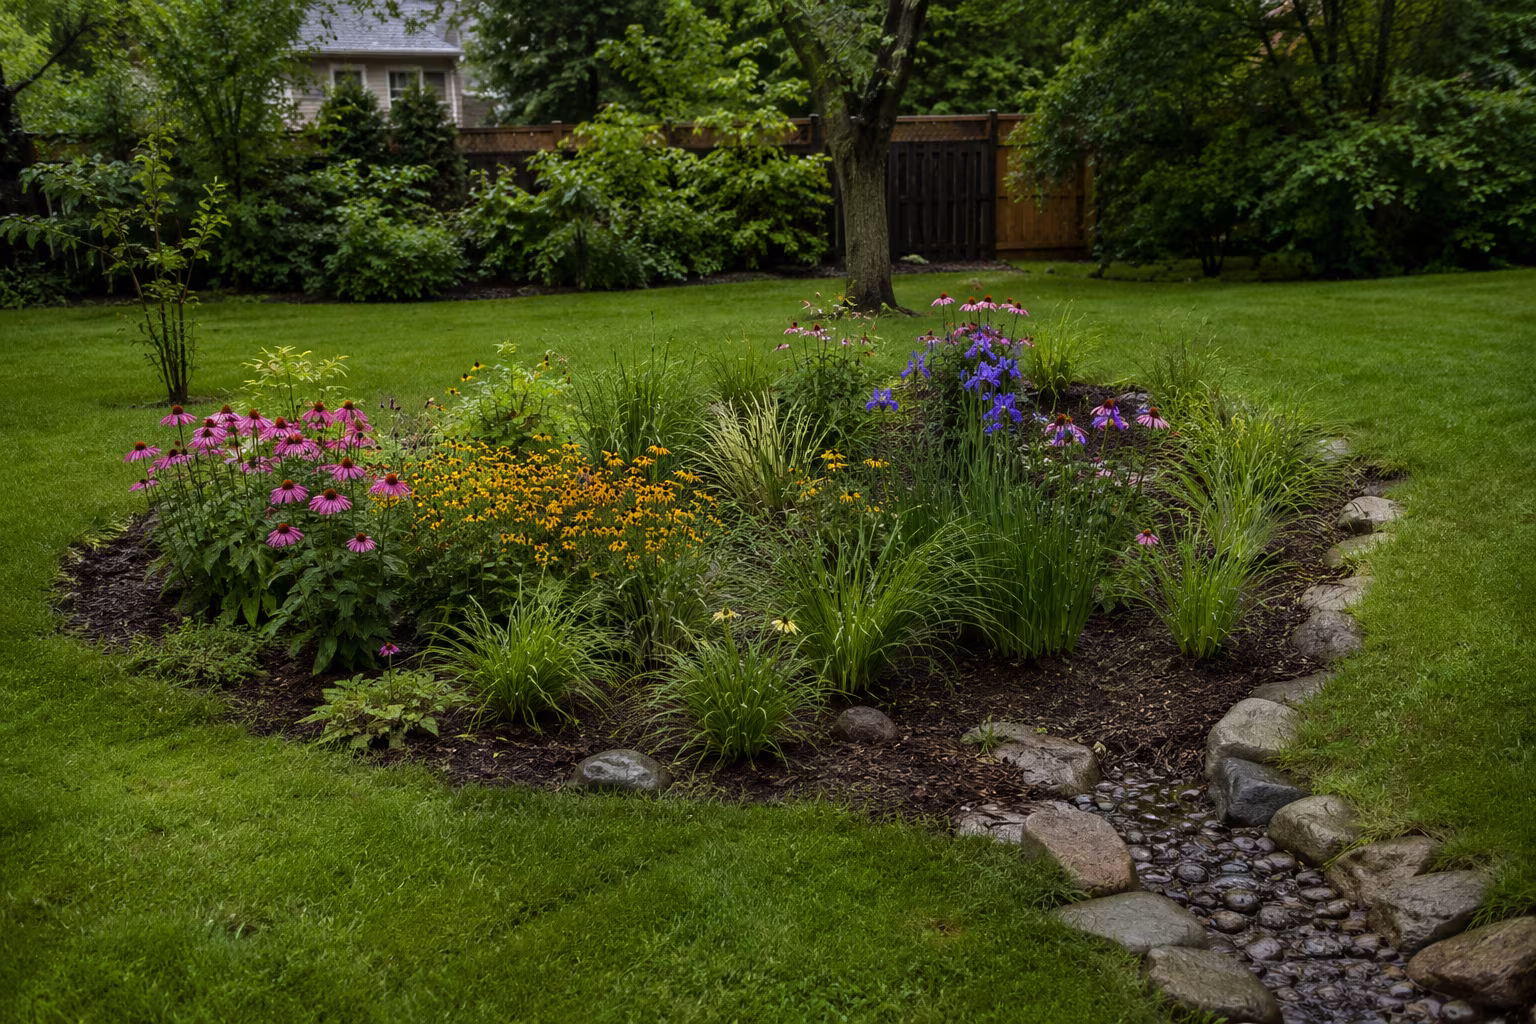
Building a Rain Garden That Actually Drains in Clay Soil
Rain gardens work in clay soil if you dig 12-18 inches deep, amend with coarse sand and compost...
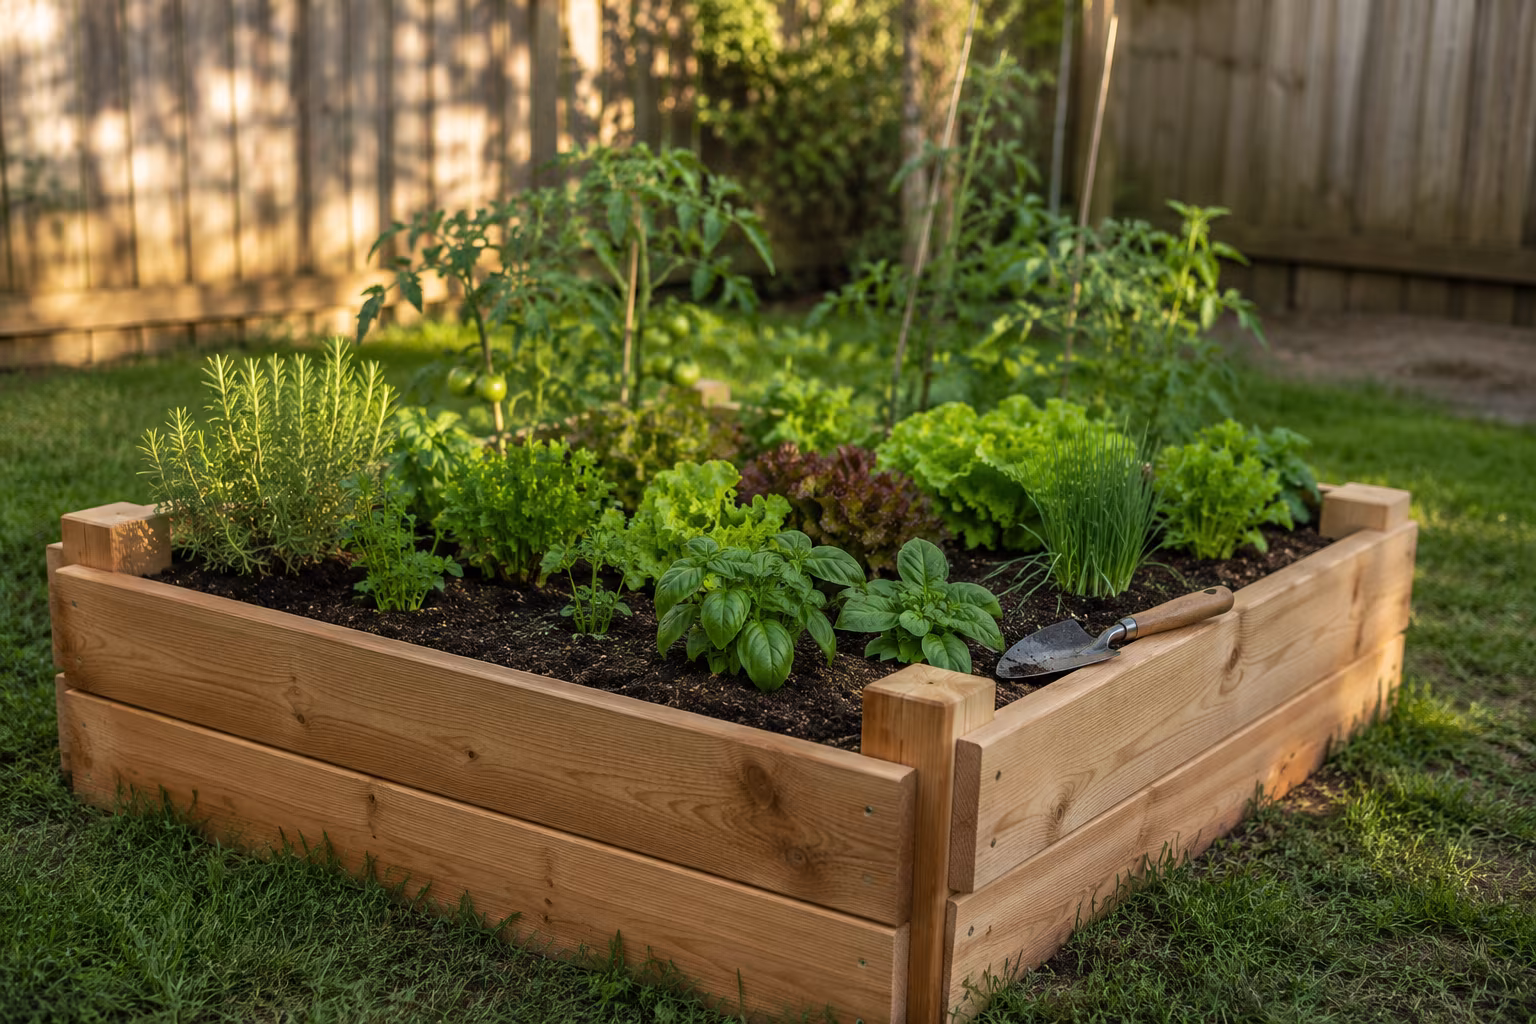
Pressure-Treated vs Cedar for a Small Raised Garden Bed
Cedar looks better and is organic-certified; modern pressure-treated lumber is cheaper, lasts...

Tarp Pitching for Side Wind: A Practical Field Guide
Pitching a tarp for side wind: lower the windward edge, why the plow point beats the A-frame...

The Complete Guide to Identifying and Removing Invasive Garden Plants
Identify English ivy, Japanese knotweed, garlic mustard, and thistles, then remove them for good...