How to Create a Japanese-Inspired Zen Garden in a Small Side Yard

A neglected side yard, the narrow strip most people use only as a path to the trash cans, is one of the easiest spaces to convert into a low-maintenance retreat. A Japanese-inspired dry garden needs no irrigation, no mowing, and no seasonal replanting. A 5x8-foot version can be built in a weekend for under $150, and once the gravel is raked into place the only upkeep is an occasional pass with a rake.
The style borrows from the Japanese rock garden tradition and pairs naturally with low-maintenance perennials if you want a touch of living green at the edges.
What a Dry Zen Garden Actually Is
A dry landscape garden, or karesansui, uses raked gravel, rock, and minimal planting to suggest a natural scene rather than reproduce one. The raked gravel stands in for water, so straight parallel lines read as still water and curved lines read as ripples or waves. Larger rocks stand in for mountains or islands. Nothing needs watering, which is what makes the form so practical for a small, overlooked space.
You need only a handful of core elements, and most can be sourced secondhand:
- Gravel: Fine crushed aggregate in the 1/4 to 3/8 inch range holds a raked pattern well. A light grey brightens a shaded strip. Buying in bulk from a landscaping supplier runs far cheaper than bagged gravel, often around $40 to $50 per cubic yard.
- Rocks: Three to five stones in graduated sizes make a stronger composition than a scattered dozen. River rock or fieldstone works; check a local riverbed or salvage yard before buying decorative stone.
- Edging: Brick pavers, landscape timber, or composite edging keeps the gravel contained. Salvaged brick often costs $10 to $20 for a small border.
- Landscape fabric: A woven weed barrier under the gravel is the single most important material for keeping the garden low-maintenance.
- A rake: A stiff hand rake or garden claw creates the patterns. A dedicated wooden Zen rake is optional.
Building the Garden Step by Step
Choose a flat spot with reasonable drainage. Clear it fully: pull weeds, dig out roots, and level the ground with a rake and shovel. A patch this size takes roughly 90 minutes to clear.
Set your edging next. Dig a shallow trench along the perimeter, seat the bricks or timber, and tap them level with a rubber mallet. Level edging is what makes the finished garden read as tidy rather than improvised.
Roll landscape fabric across the entire bed inside the edging, overlapping seams by about six inches and pinning it every two to three feet with landscape staples. This step takes half an hour and eliminates nearly all future weeding.
Spread the gravel over the fabric to an even depth of 2 to 3 inches, working from small piles outward so no fabric shows through. Then place your rocks. Odd numbers look more natural, so start with one larger stone and two smaller companions. Walk around the garden and view the arrangement from several angles before committing; nesting a few flat river rocks around the base of each boulder adds texture.
If you want greenery, keep it drought-tolerant and slow-growing: a patch of moss, a dwarf mugo pine, or a compact sedum. Cut a small X in the fabric, plant, then draw the fabric back and cover with gravel. Finish by smoothing the whole surface and raking your first pattern, straight lines beside the rocks for stillness or gentle curves for water.
Maintenance and Common Mistakes
Upkeep amounts to re-raking after rain or wind and plucking the rare weed that finds a seam. The most common failure is skipping ground prep and dumping gravel straight over living weeds; they push through within weeks, and you spend more time weeding than you saved. The weed barrier is not optional.
The second mistake is overcrowding. A dry garden depends on restraint, so a few deliberate elements with open gravel between them will always outperform a display packed with rocks, statues, and plants. Treat empty gravel the way you would negative space indoors: it gives the objects room to register.
Drainage matters too. If your spot collects standing water, add a two-inch layer of coarse sand or crushed rock beneath the fabric, or grade the ground slightly away from the house so the gravel does not turn mucky. Your first raked patterns will look uneven, and that is expected; the surface is meant to be smoothed and redrawn, so there is nothing permanent to get wrong.
Frequently Asked Questions
Gravel or sand? Gravel is the better outdoor choice. Traditional gardens use sand, but sand blows away in wind and compacts under rain. A small, uniform crushed aggregate rakes cleanly and holds its pattern.
How often should I rake? Only when the pattern needs refreshing, typically after weather. Some people rake daily as a meditative habit; there is no required schedule.
Will pets or kids ruin it? A curious dog may treat gravel as a digging spot and a child may treat it as a sandbox. A low border discourages entry, or you can simply fold re-raking into your routine.
What does it cost? A 5x8-foot bed runs roughly $80 for bulk gravel, $15 for salvaged edging, and $20 for fabric and staples. Sourcing rocks for free keeps the total under $150. University extension programs such as the yard and garden guides from the University of Minnesota Extension are a reliable place to check which drought-tolerant plants suit your region before you add greenery.
Start with the edge and a single bag of gravel if the full project feels like too much at once. Even a defined border with a smooth raked surface changes how that forgotten strip of ground feels to walk past.
Related Posts
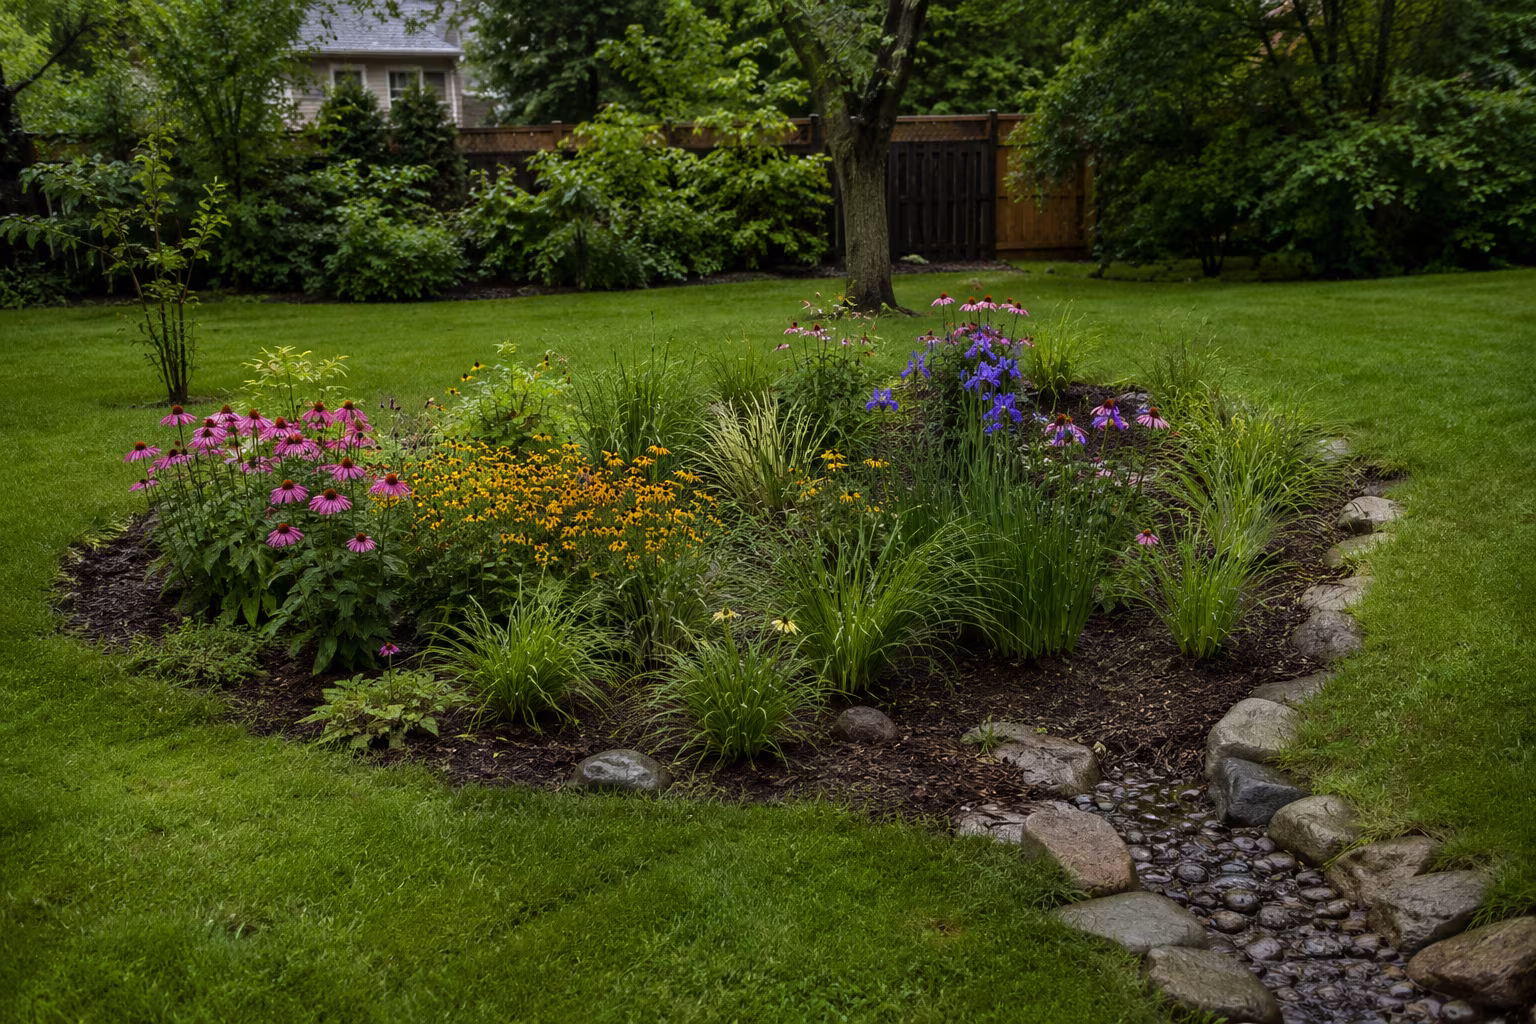
Building a Rain Garden That Actually Drains in Clay Soil
Rain gardens work in clay soil if you dig 12-18 inches deep, amend with coarse sand and compost...
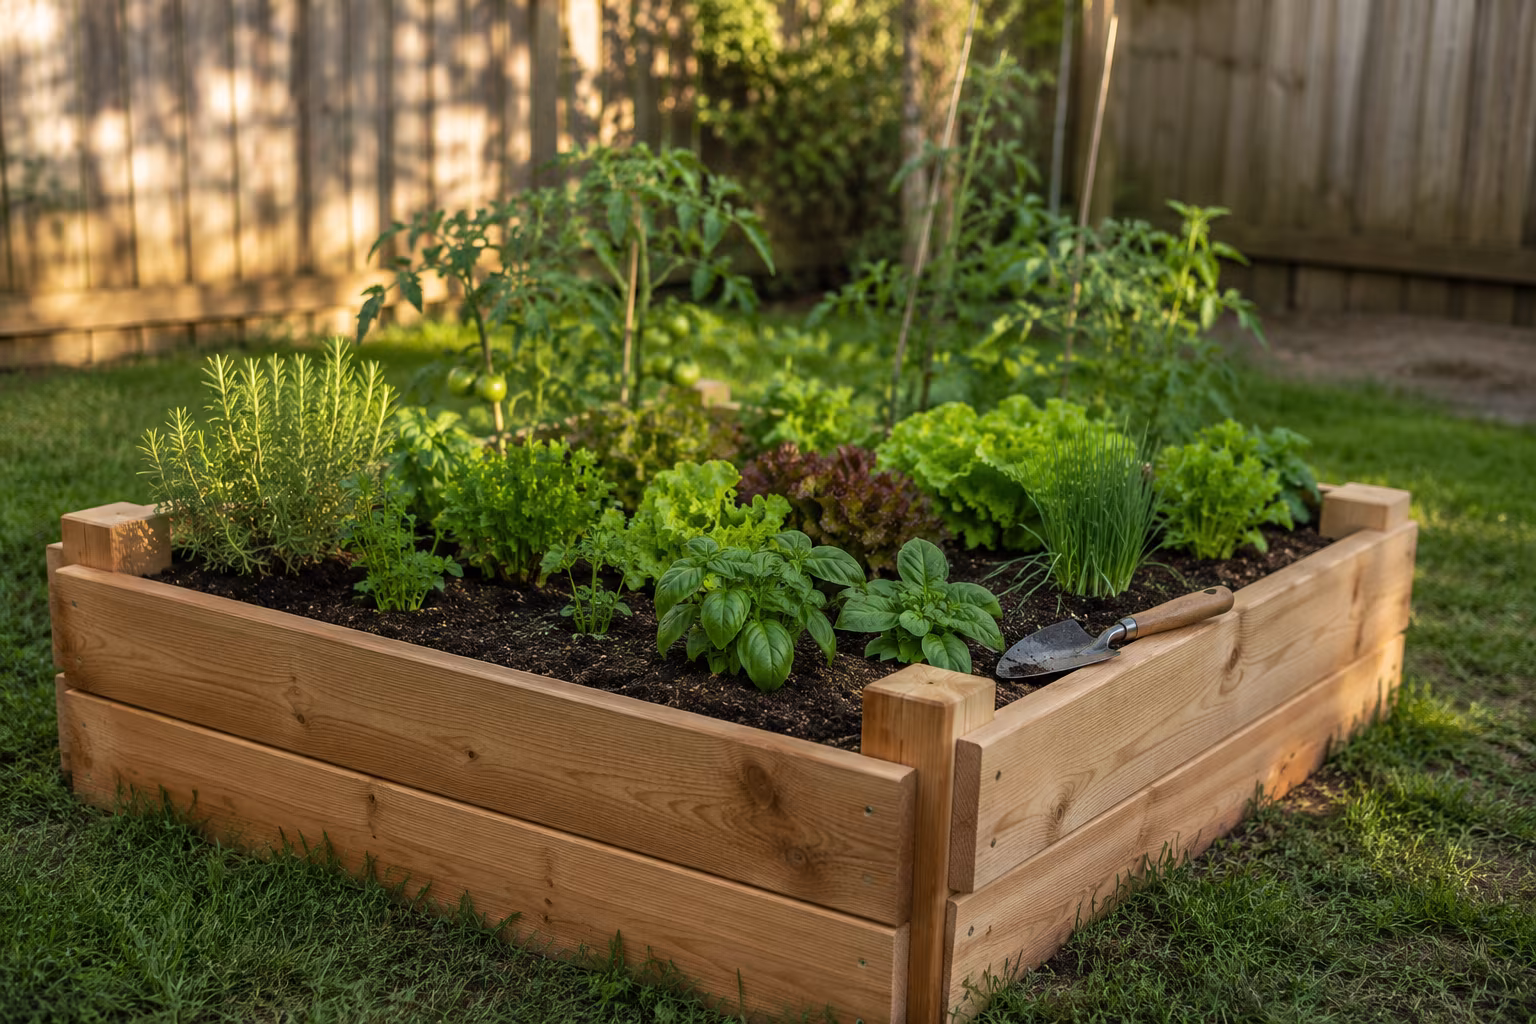
Pressure-Treated vs Cedar for a Small Raised Garden Bed
Cedar looks better and is organic-certified; modern pressure-treated lumber is cheaper, lasts...

Tarp Pitching for Side Wind: A Practical Field Guide
Pitching a tarp for side wind: lower the windward edge, why the plow point beats the A-frame...

The Complete Guide to Identifying and Removing Invasive Garden Plants
Identify English ivy, Japanese knotweed, garlic mustard, and thistles, then remove them for good...