How to Set Up a Screen Printing Station in Your Garage
A garage is a perfectly good place to start screen printing. The process is simple in principle — you push ink through a fine mesh screen, but only where an open stencil lets it pass — and a basic station costs under $100 in tools beyond the ink and screens. Custom shirts, tote bags, and art prints that would cost $20-25 to buy come out to a few dollars each in materials. What matters is setting up the space in zones and getting a few technique details right.
The Gear You Need
You do not need a press to begin. A screen, a squeegee, ink, a stencil method, and a way to cure the ink cover the essentials. Two decisions shape everything else: mesh count and ink type.
Screens are frames stretched with mesh, measured in threads per inch. Lower counts pass more ink for bold designs; higher counts hold finer detail. For a first setup, water-based ink beats plastisol — it cleans up with plain water, has minimal fumes, is forgiving of mistakes, and cures with a household iron or heat gun. Plastisol needs solvents and controlled heat curing that are harder to manage at home.
| Item | Starter choice | Why |
|---|---|---|
| Mesh count | 110 (bold), 160 (all-round), 200-230 (fine) | Higher count = finer detail, less ink |
| Squeegee | ~70 durometer, wider than the design | Medium hardness suits fabric printing |
| Ink | Water-based, start with black | Cleans with water, low fumes, forgiving |
| Stencil | Cut vinyl (beginner) or photo emulsion (detail) | Vinyl skips the darkroom step |
| Frame | Wood (budget) or aluminum (lasts) | Aluminum resists warping over time |
For stencils, cut vinyl is the easy entry point: cut the design from adhesive vinyl (by hand or with a cutting machine), stick it to the screen, and print. Photo emulsion coats the screen with a light-sensitive liquid, which you expose under UV light through a design on transparent film; the unexposed areas wash out to leave the stencil. Emulsion gives more detail but adds steps and a light-controlled space, so it is worth graduating to once the basics feel comfortable.
Setting Up Zones in the Garage
The space does not need to be spotless — it needs three defined zones, marked mentally or with tape: a printing zone, a drying zone, and a washout and cleanup zone. Keeping them separate prevents ink from ending up on a clean screen or on everything else in the garage.
The printing zone needs a flat, sturdy surface — an old workbench or a thrifted table works. Bolt a set of hinge clamps to it; they hold the screen in a fixed position so you can lift it, place the item, and lower it in exactly the same spot every time. Free-handing the screen works for a single one-color print but goes wrong fast on multi-color or repeated runs.
The washout zone is the most overlooked and the most important. Screen printing is messy, and you need somewhere to rinse ink and reclaim screens without clogging a household drain. A utility sink is ideal; a large plastic storage tub on sawhorses near a drain or an outdoor hose works just as well. Water-based ink rinses out with plain water and a scrub brush; emulsion needs a strong spray or pressure washer to reclaim. Contain the runoff and dispose of ink responsibly rather than sending globs down a storm drain. If you use emulsion, coat and dry screens under a dim yellow safe light, since any bright light exposes them prematurely; a shop light with a UV bulb, UV LED strips, or direct sun then exposes the design.
Printing, Curing, and Cleanup
Load the screen with enough ink to cover the design plus a little extra on each side. Pull the squeegee across in a firm, even stroke at about a 45-degree angle, with just enough pressure to clear the ink in one pass. Practice this on scrap fabric first — consistent pressure and angle are the whole game.
Curing is what makes the print permanent and washable, and skipping it is the classic beginner failure. The ink has to reach a specific temperature for a set time. For small runs, a heat gun works if you keep it moving to avoid scorching; for larger batches a flash dryer is faster. A household iron on high heat with no steam, pressed 2-3 minutes per side, cures water-based ink well when you are starting out. To check, do a stretch test: if the ink cracks when the fabric is stretched, it needs more curing.
Clean up immediately. Wet water-based ink rinses off in seconds, but dried ink is stubborn and can ruin a screen — a screen left inked overnight can take an hour of scrubbing and still stain the mesh. Rinse screens and tools the moment you finish a session.
Common Mistakes to Avoid
A handful of errors account for most ruined prints and wasted materials:
- Inconsistent squeegee pressure: too little leaves patchy prints; too much forces ink under the stencil for blurry edges. Aim for one firm, even pass.
- Skipping screen prep: dust or grease before coating emulsion causes pinholes and spots where it will not adhere. Degrease the screen so emulsion does not bead up like water on a waxed car.
- Over-inking: a huge glob makes a clean pull impossible and pushes ink under the stencil. Add more only if needed.
- Rushing the cure: under-cured ink washes out or fades in the first laundry cycle. Hit the right temperature and time.
- Starting too complex: a multi-color, fine-detail design out of the gate leads to misaligned layers. Begin with a simple one-color print and add complexity later.
- Skimping on core materials: cheap screens warp and low-quality ink covers poorly. A decent screen, squeegee, and ink make the whole learning curve smoother.
You can bolt down clamps, set up a washout tub, and organize supplies in an afternoon — figure 2-3 hours for a functional first station. Begin with a one-color design and water-based ink, master each step before adding layers, and refine the layout as you go. The first print will not be flawless, but the workflow comes quickly with practice, and the same setup grows into detailed screen printing on t-shirts and prints on totes, posters, and wood once the basics are solid.
Related Posts
Workbench Height Without Hurting Your Back After Two Hours
A workbench at the wrong height becomes painful before the project is done. The elbow rule...
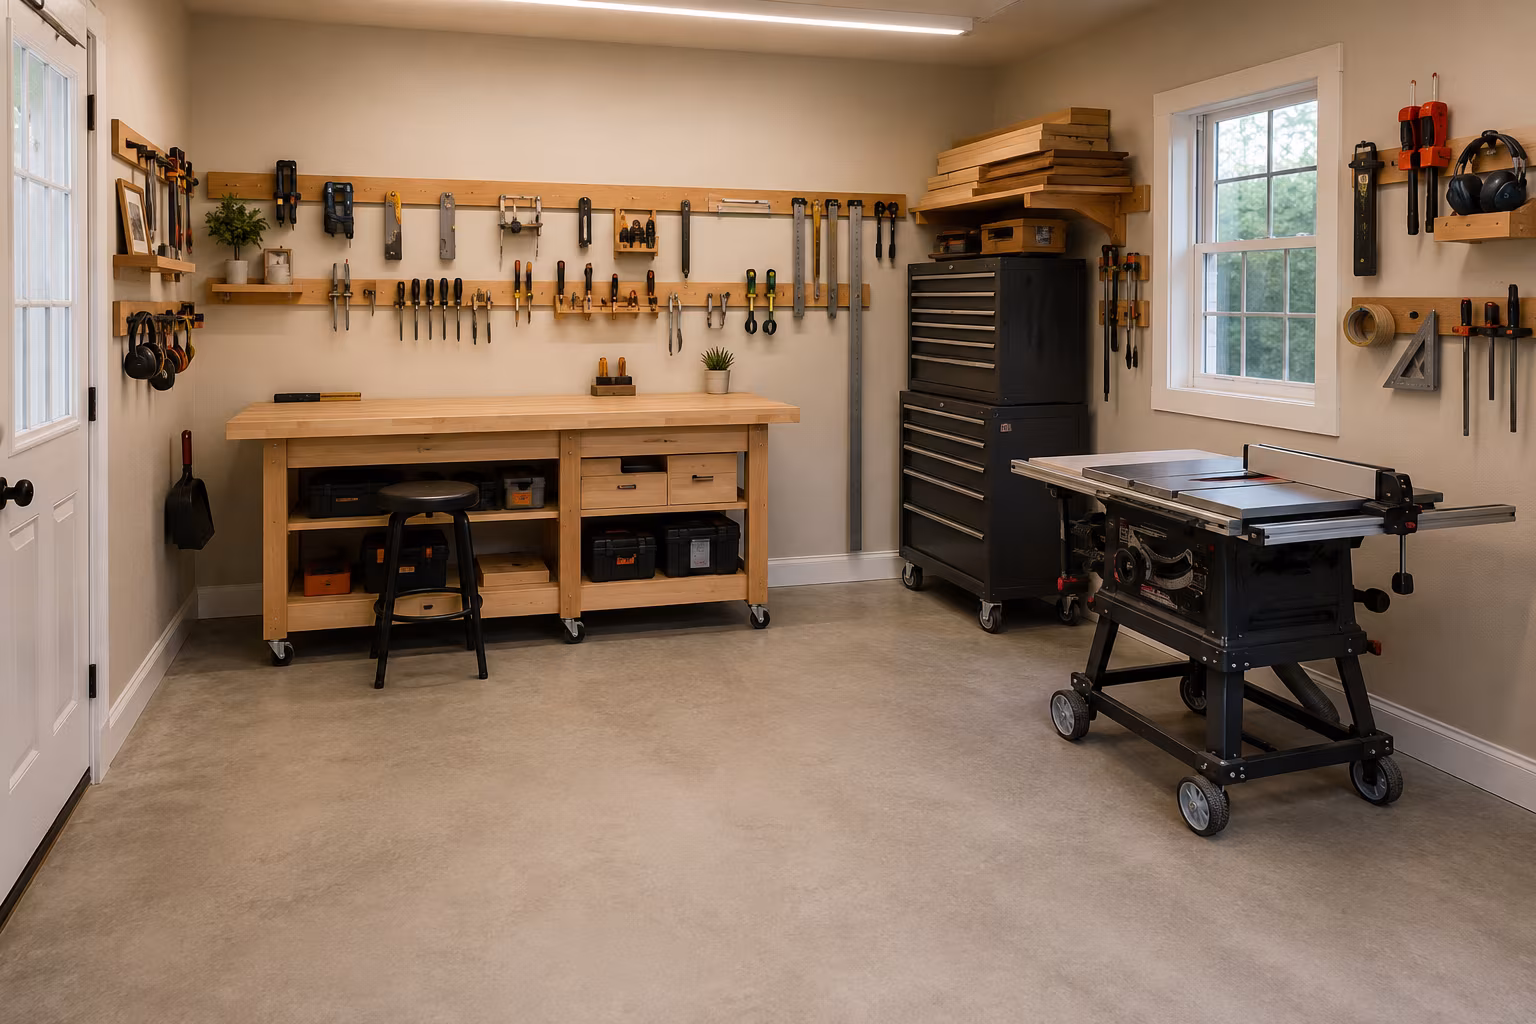
Single-Bay Garage Workshop Layout Without Losing the Car
Park the car and still keep a real workshop: mobile tools on locking casters, perimeter wall...

Pegboard vs French Cleat: The Honest Tool Wall Choice
Pegboard holds ~50 lb per sheet and rearranges instantly; French cleat holds 100+ lb per rail...

The Complete Guide to Starting a Fiber Arts Guild in Your Town
A practical plan to start a local fiber arts guild: finding founding members, picking a venue...