How to Stock a Beginner Leather Working Tool Kit Under Fifty Dollars
The published tool lists for leather crafting can make the hobby look expensive before you cut a single piece, with pricking irons alone running well into the hundreds. You do not need any of that to start. A functional beginner kit that covers cutting, marking, punching, and stitching comes together for under fifty dollars, and it is enough to make coasters, key fobs, cardholders, and a simple wallet.
Why Start Cheap
The real barrier to a new craft is rarely skill; it is the cost of entry. Spending a few hundred dollars on specialized gear before you know whether you enjoy working with leather is how projects stall out. A minimal kit lets you learn the core skills, decide if the craft is for you, and only then invest in premium tools like pricking irons or an edge beveller. Most of these starter tools also earn their keep elsewhere in the workshop, so nothing is wasted even if leatherwork does not stick.
The Essential Tools
Focus on versatile items that each handle a core task. The list below is a complete beginner kit; prices are typical U.S. craft-store ranges and will vary.
| Tool | Approx. cost | What it does |
|---|---|---|
| Utility or X-Acto knife + spare blades | $8-10 | Cuts leather; keep the blade sharp |
| Metal ruler | $3-5 | Straight, blade-safe cutting edge |
| Self-healing cutting mat (A4 / 9x12 in) | $10-15 | Protects surface and blade |
| Scratch awl | $3-5 | Marks lines and starts holes |
| Rotary punch (or individual 1-3 mm punches) | $15-25 | Clean holes for stitching and rivets |
| Small mallet (rubber or rawhide) | $5-8 | Drives punches and chisels |
| Leather needles + waxed thread (0.8-1 mm) | $5-10 | Hand-stitching seams |
| Binder clips or spring clamps | $0-5 | Hold glued pieces while they dry |
A metal ruler matters more than it sounds: a sharp knife will shave the edge off a plastic one and ruin your cut line. Leather needles have a blunt triangular point that slips through pre-punched holes instead of tearing the leather, so do not substitute sharp sewing needles.
Building the Kit Without Overspending
Start with the non-negotiables and add the rest as projects demand: a way to cut, a way to mark and punch, and a way to stitch. A first key fob needs little more than a knife, a ruler, an awl, needles, and thread. Thrift stores, flea markets, and garage sales are strong sources for the hard goods here, a sturdy metal ruler, a small mallet, a set of X-Acto knives, often for a couple of dollars; the same hunting instinct that works for sourcing decor at thrift stores applies to tools.
Online, buy individual tools with solid reviews rather than 100-piece bundles full of items you will never use, and be skeptical of prices that seem too low. Dedicated suppliers such as Tandy Leather stock inexpensive basics and scrap, and general craft stores like Michaels or Hobby Lobby carry small leather packs. Prioritize versatility: a good utility knife also handles paper crafts and boxes, and a metal ruler is useful in any project.
DIY Substitutions
Several tools have cheap stand-ins. For burnishing edges, a scrap of canvas or old denim rubbed with a little water or gum tragacanth works in place of a wooden slicker. For a pounding surface, a thick offcut of scrap wood, a granite tile sample, or even a heavy book protects your punches and mat. Instead of an edge-paint roller, a cotton swab or a folded leather scrap applies finish well enough for early projects. If a friend crafts, borrowing a specific punch size for one project beats buying a tool you will use once.
Your First Project: A Key Fob, Step by Step
A key fob uses every core skill without demanding much material, which makes it the ideal first build. Cut a strip of vegetable-tanned leather roughly 1 inch wide and 4 to 5 inches long with the knife run along the metal ruler, taking two or three light passes rather than forcing one deep cut. Fold the strip in half over a key ring to check the length, then unfold it and mark your stitch line about 1/8 inch in from each edge with the awl and ruler.
Along that marked line, punch evenly spaced holes, roughly 4 to 5 mm apart, using the smallest setting on the rotary punch or a single-size punch tapped with the mallet over your scrap-wood pounding surface. Thread a length of waxed thread about four times the seam length, put a needle on each end, and saddle stitch: pass both needles through the same hole from opposite sides, pull snug, and repeat. Saddle stitching this way leaves a seam that will not unravel if one stitch is cut, which is why it is the standard hand stitch in leatherwork.
Finish the cut edges by lightly sanding them even, dampening with a little water, and burnishing with canvas or denim until they darken and shine. Set the folded strip over the key ring, glue the two faces together with a thin layer of contact cement, clamp with binder clips until tacky, then stitch through your pre-punched holes. The whole project takes about an hour the first time and costs a couple of dollars in leather.
Rookie Mistakes to Dodge
A dull blade is the most common and the most dangerous: it forces you to push harder, which makes the knife slip, so change blades often since they are cheap. Punching directly on a hard bench or concrete dulls your tools fast, so always work over a mat or scrap wood. Skipping practice on scrap is another trap, because stitch tension takes a few minutes to dial in and different leathers behave differently. Over-gluing is easy too; leather cement goes a long way, and a thin even layer prevents the stiff, oozing mess that thick glue leaves behind. Practice all of this on cheap vegetable-tanned scraps before cutting into anything you care about.
Frequently Asked Questions
What leather should I buy first?
Vegetable-tanned scrap or remnant bags, often sold by the pound at leather suppliers and craft stores, are sturdy, easy to cut, and cheap enough to practice on freely.
Do I need special glue?
Yes. Use a contact cement made for leather (Barge or a water-based leather glue) rather than craft or super glue. A small bottle costs under $10 and lasts a long time because you use so little.
Can I really make something decent with just these tools?
Yes, provided you pick simple patterns. Key fobs, cardholders, small pouches, coasters, and a basic wallet all rely on clean cuts and even stitching rather than specialized shaping tools.
How long does a small project take?
Expect one to three hours for a first key fob or cardholder while you learn, dropping to 30 to 45 minutes once the steps are familiar. Working slowly is what produces clean cuts and even stitches.
Where can I find inexpensive leather?
Check dedicated suppliers for scrap or remnant bundles, and look at Etsy sellers offering "remnant boxes." Local craft chains sometimes stock small leather packs, and asking a leatherworker for offcuts can turn up usable pieces for free.
Is leatherworking messy?
Not especially. You will get fine leather dust from sanding edges and the occasional smear of glue, both easily handled by a cutting mat and a quick wipe-down. Laying an old towel over the workspace keeps cleanup to a minute.
What if my first project looks rough?
That is normal and expected; uneven stitches and a slightly lumpy fold are how everyone starts. Keep it as a reference point, note what went wrong, and the second attempt will be visibly better. Grab some scrap and start.
Related Posts
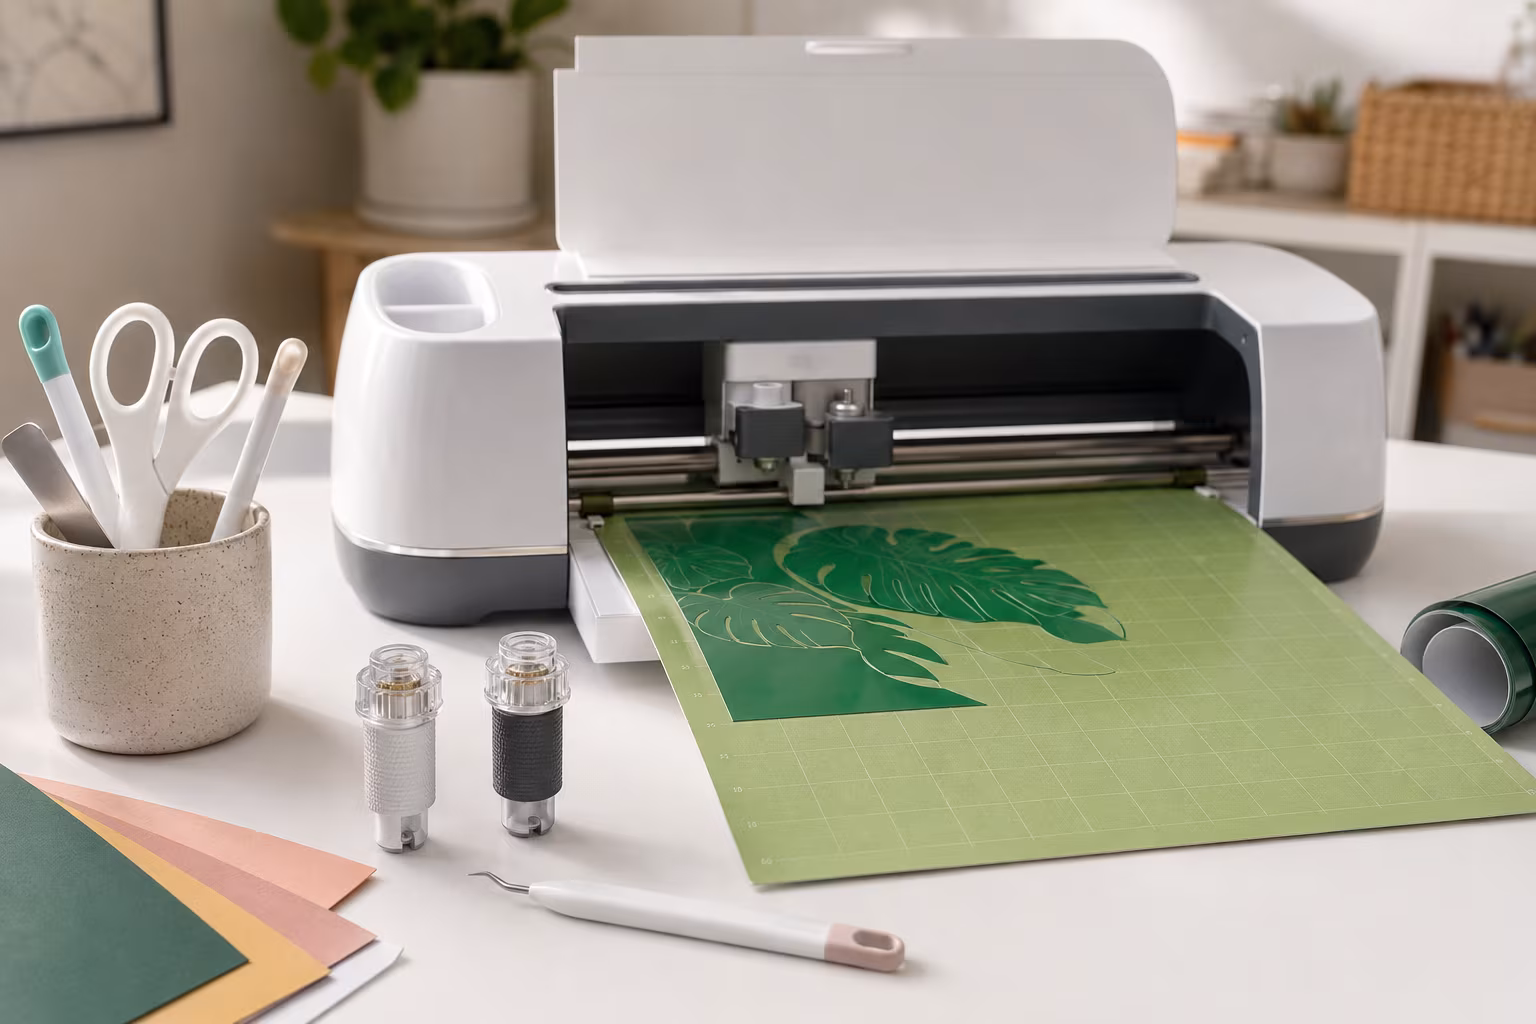
Beginner Cricut Blade Set: What You Actually Use Daily
The Cricut starter blade list is longer than most beginners need. The two or three blades that...
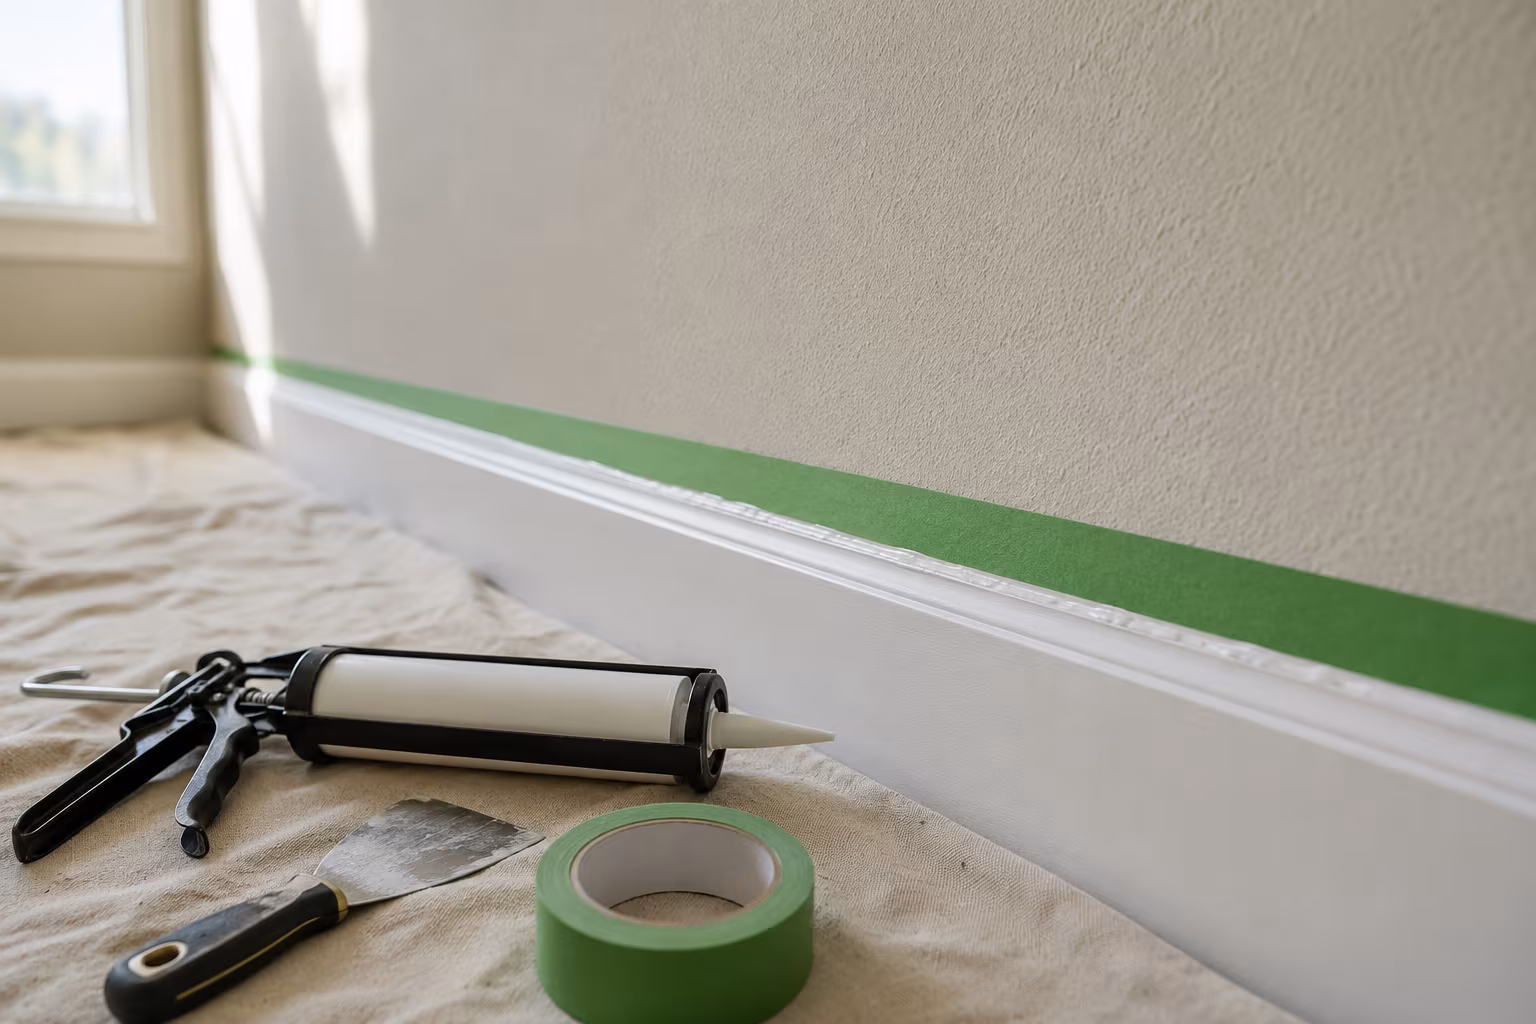
Painter's Tape for Crisp Lines on Textured Wall Surfaces
Standard blue tape bleeds on textured walls. The specialty tapes, caulk-edge-seal step, and...
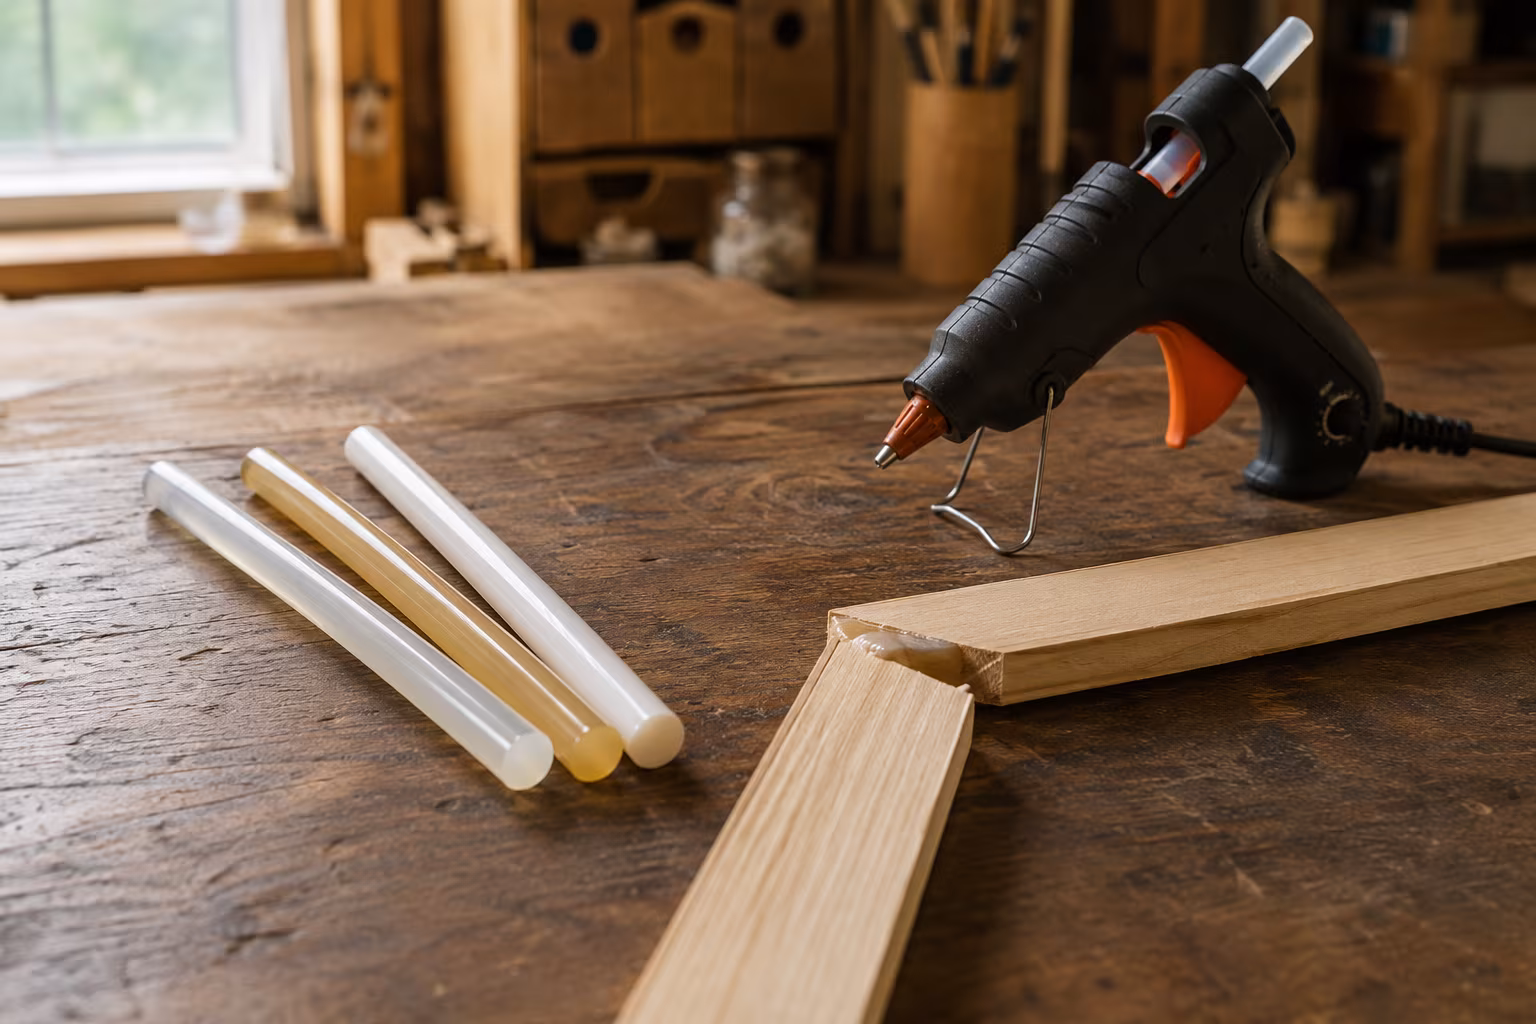
Hot Glue Sticks Compared: Low-Temp, High-Temp, Specialty
Low-temp glue sticks melt near 250°F, high-temp near 380°F. Compare stick types, specialty...

Sandpaper Grits Demystified: When to Stop Going Finer
Sand 80 to 120 to 180 for film finishes, 220 for oil, and stop there: finer burnishes wood and...