
The Best Budget Sewing Machines for Beginners Who Want Quality
A first sewing machine does not need to be expensive to be reliable. A quality beginner machine typically falls in the $100 to $250 range, and machines in the upper half of that band usually buy better build quality that lasts for years. The features that actually matter for a beginner are few, and most of the stitch counts and computerized functions advertised on the box are irrelevant to your first several projects. The history and mechanics of the sewing machine are worth a skim, but the buying decision comes down to a short checklist.
Mechanical vs. Computerized: The First Choice
Mechanical machines use physical dials and levers to select stitches and adjust tension. Computerized machines add a digital screen, buttons, and features like automatic tension or programmable stitches. For a beginner on a budget, a mechanical machine is usually the better pick: it is more robust, easier to repair, has no software to glitch, and keeps your attention on learning to sew rather than navigating menus.
| Factor | Mechanical | Computerized |
|---|---|---|
| Typical beginner price | $100 to $200 | $180 to $250+ |
| Controls | Dials and levers | Screen and buttons |
| Repairability | Simple, mechanic-friendly | Needs service for board faults |
| Failure points | Wear parts only | Electronics and firmware |
| Best for | Learning fundamentals, repairs | Frequent decorative stitching |
The Stitches That Actually Matter
Machines advertise 50, 100, or 200 stitch types, but around 90 percent of beginner and intermediate sewing uses two: a straight stitch for seams and topstitching, and a zigzag stitch for finishing raw edges and sewing knit fabrics. Beyond those, a buttonhole stitch is genuinely useful for garments and bag closures, and a stretch stitch helps if you plan to work with knits early on. Decorative stitches rarely get used and should not drive the purchase.
More important than the number of stitches is adjustable stitch length and width. Stitch length controls how far the fabric feeds between needle drops, usually from about 0 to 5 millimeters; a longer 3 to 4 millimeter stitch suits basting and topstitching, while a shorter 2 to 2.5 millimeter stitch is the everyday default for seams. Stitch width sets how far a zigzag swings side to side. A machine that lets you dial both independently, plus a four-step or one-step buttonhole, covers nearly every garment and home project without any decorative pattern at all.
Features That Save Beginners Headaches
Two features remove the most common frustrations. An automatic needle threader saves your eyes and patience, and a top drop-in bobbin with a clear cover lets you see the thread level and load it far more easily than a front-loading case. Clear, intuitive stitch-selection dials and simple tension adjustment matter just as much, because guessing at settings is where beginners lose momentum. If you also want to organize your sewing corner, some inexpensive budget-friendly storage supplies keep bobbins and feet within reach.
Speed control is the other feature beginners underrate. A smooth foot pedal that lets you creep slowly around curves and corners is invaluable, and some machines add a speed slider that caps the maximum speed, which is ideal while you are still learning to guide fabric. You do not need a high-powered motor, but the machine should push through several layers of denim or canvas without stalling, so a strong presser-foot lift and enough torque for thick seams matter if bags or hemmed jeans are on your list. An adjustable presser-foot pressure and a free arm, which is a removable section that exposes a narrow platform for sewing cuffs and sleeves in the round, are two more small features that quietly make everyday sewing easier.
Build Quality and What Comes in the Box
The internal frame drives durability. Many budget machines use plastic internal frames; a metal internal frame is more stable, vibrates less, and lasts longer, which also means more consistent stitches during longer sessions. Weight is a rough proxy, since heavier machines often signal a sturdier build.
Each presser foot has a job: the general-purpose foot handles straight and zigzag stitching, the zipper foot lets the needle run close to a zipper coil or piping, and the buttonhole foot sizes a buttonhole to the button you drop into it. A walking foot, sometimes included, feeds top and bottom layers evenly and is worth having for quilting or slippery fabrics. Needles are sized by number: a 70/10 suits lightweight fabrics, an 80/12 is the general default, and a 90/14 or 100/16 handles denim and canvas, so keeping a small assortment on hand prevents most skipped-stitch problems.
Check the included accessories, since they add real value. At a minimum you want a general-purpose foot, a zipper foot, and a buttonhole foot, plus spare bobbins, a pack of needles, a seam ripper, and a dust cover. Match the needle to the fabric: universal for most wovens, ballpoint for knits, and a heavier denim needle for thick layers, and change it every 8 to 10 hours of sewing or when it dulls. A capable machine can handle garments, home decor, quilting, and repairs; the main limit is very heavy stacks like upholstery leather. For those thicker jobs, look for a machine rated to sew multiple denim layers and one that lets you drop the feed dogs, which frees you to sew buttons and do free-motion quilting once your skills grow. Spending on a machine is an investment worth making once rather than replacing a flimsy unit twice.
A Simple Buying Checklist
Work through six steps before you buy. First, set a firm budget in the $100 to $250 range. Second, name your main projects, since heavy denim and bag-making reward motor power and a strong presser-foot lift, while delicate garments reward smooth feeding and precise stitching. Third, read beginner reviews rather than star averages, filtering for verified purchases and watching for repeated complaints about jamming, skipped stitches, or broken parts. Fourth, handle the machine in person if a dealer is nearby to judge how the dials and foot pedal feel. Fifth, confirm the manual and tutorials are available online, since accessible support saves hours. Sixth, check the warranty, typically one to five years on mechanical parts, and the retailer's return policy. Fabric itself can stay cheap: remnant bins, sales, and upcycled sheets or curtains from local thrift stores supply practice material for a few dollars.
Common Beginner Mistakes
The manual is the first thing most people skip and the first thing that causes trouble; the threading diagrams alone prevent tangles and broken needles. Cheap or old thread and the wrong needle produce ugly stitches and jams, so fresh needles and decent thread are non-negotiable. Chasing decorative stitches before mastering straight lines and corners leads to overwhelm, so stay on the two core stitches until they feel automatic. Lint builds up in the bobbin area and under the feed dogs, causing tension problems, so brush it out every few hours with the small brush included. If stitches loop on the top or underside, the cause is usually incorrect threading rather than the tension dial: re-thread with the presser foot up so the thread seats in the tension discs, then make small dial adjustments only if the problem persists. A wonky first zipper pouch is normal; each finished piece teaches more than it costs.
Related Posts
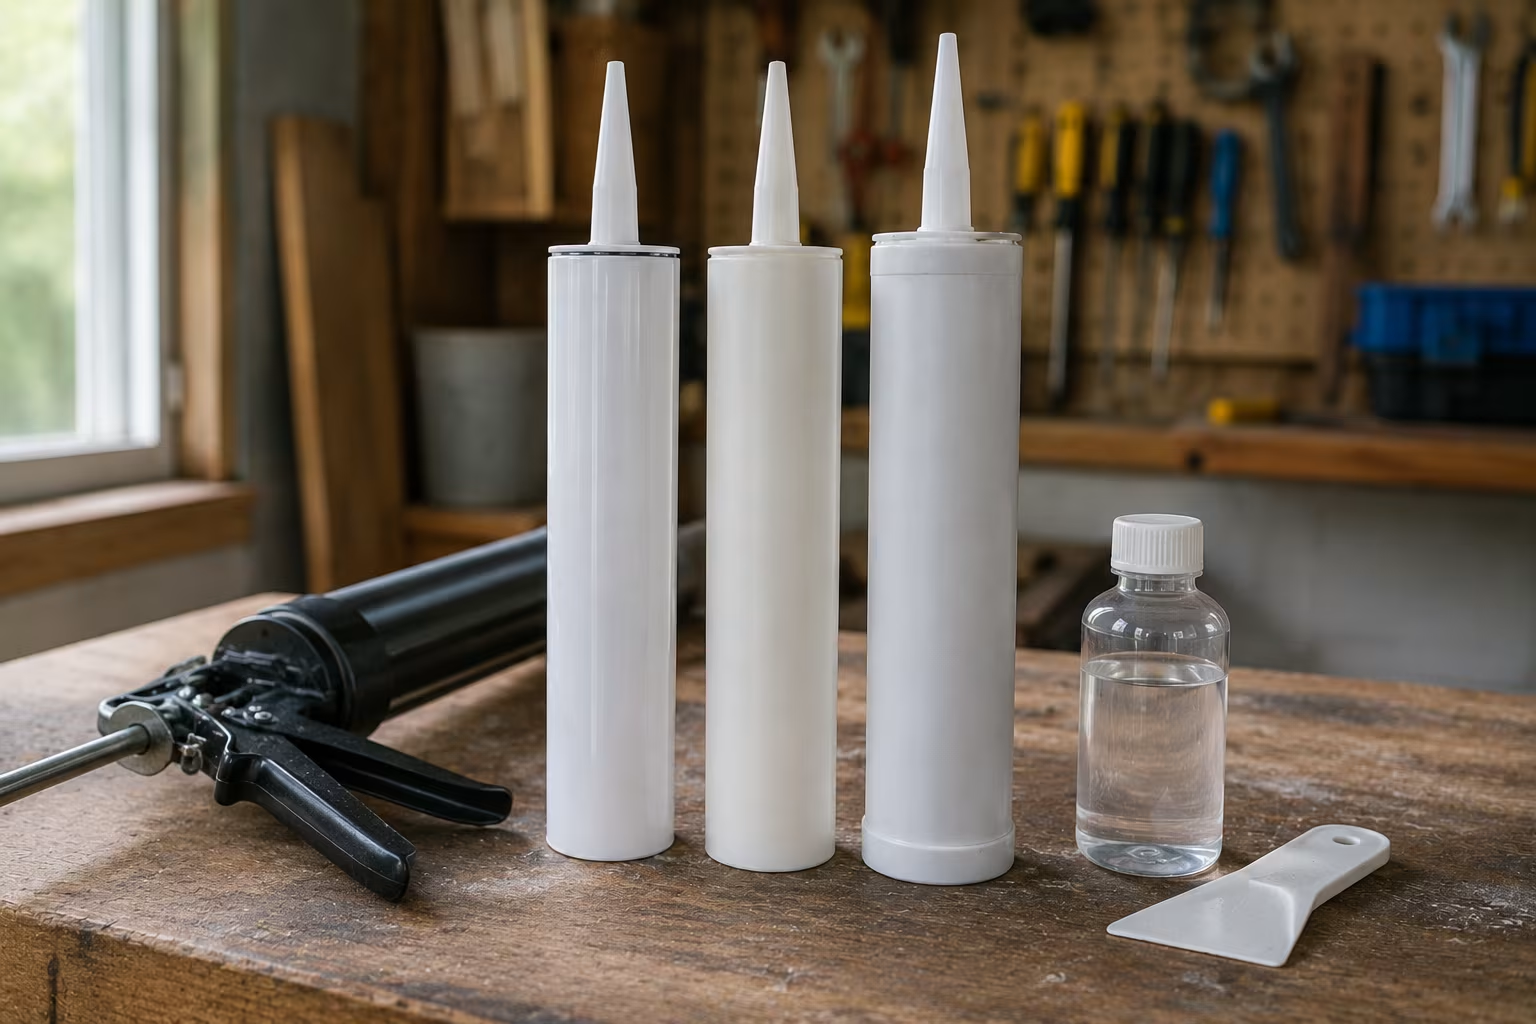
Caulk Types Compared: Silicone vs Latex vs Hybrid
Caulk choice depends on the joint's water exposure, movement, paintability, and life expectancy....

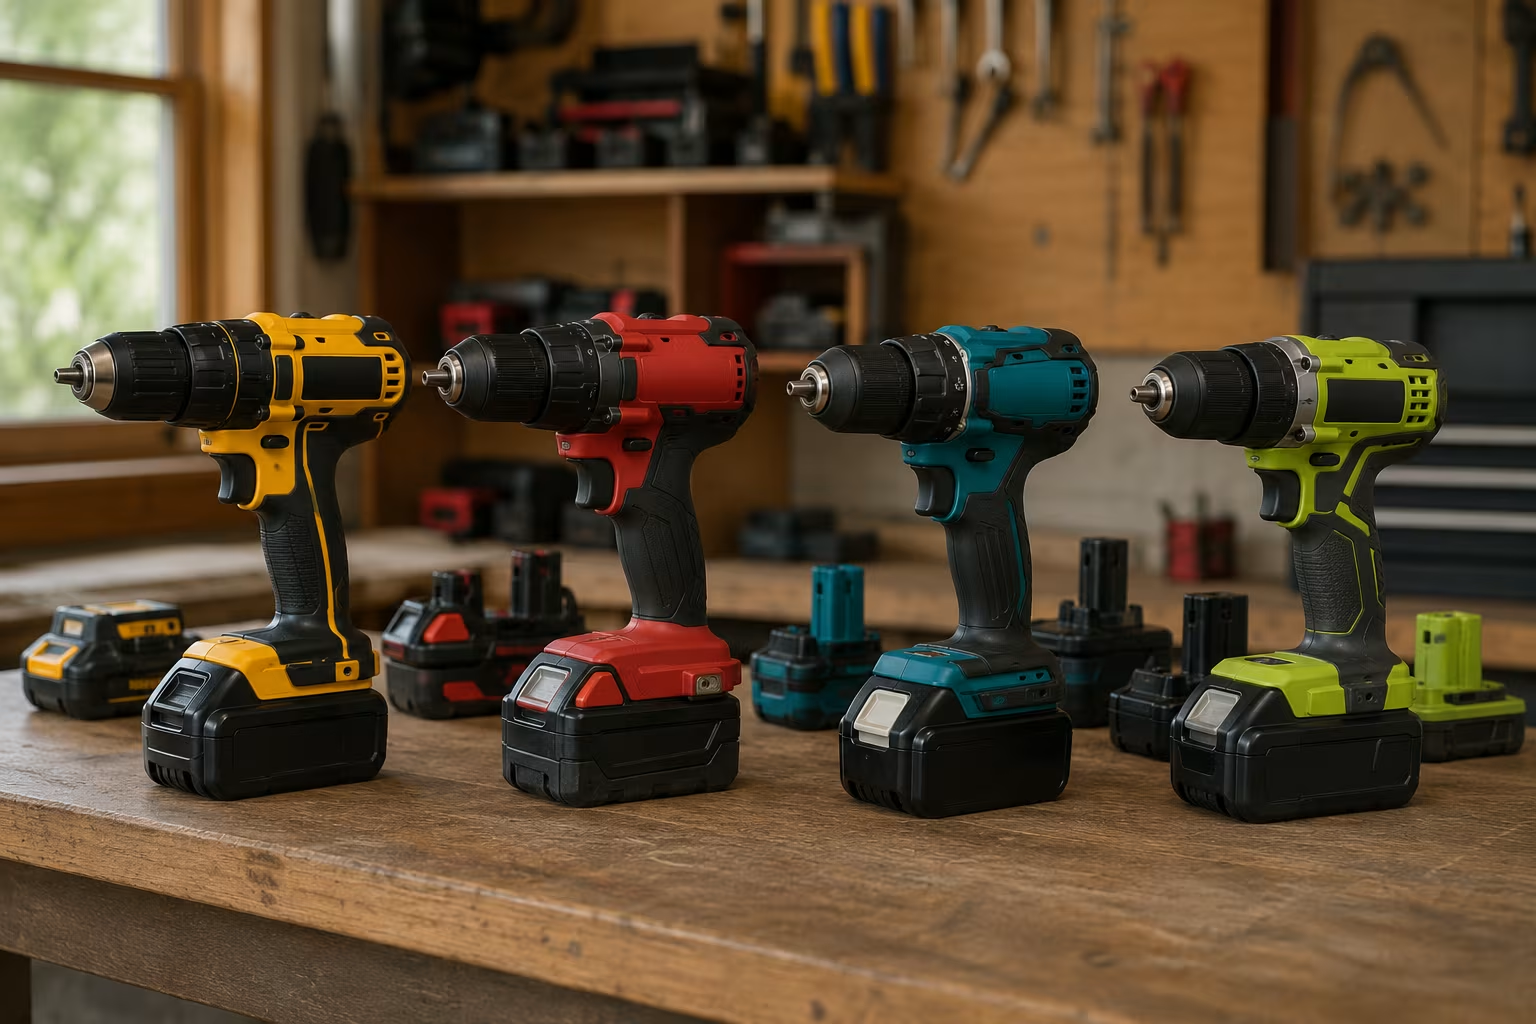
Cordless Battery Platform Lock-In: How to Pick a Brand
Every cordless brand wants you locked in. The lock-in is real and one-direction. The brand...
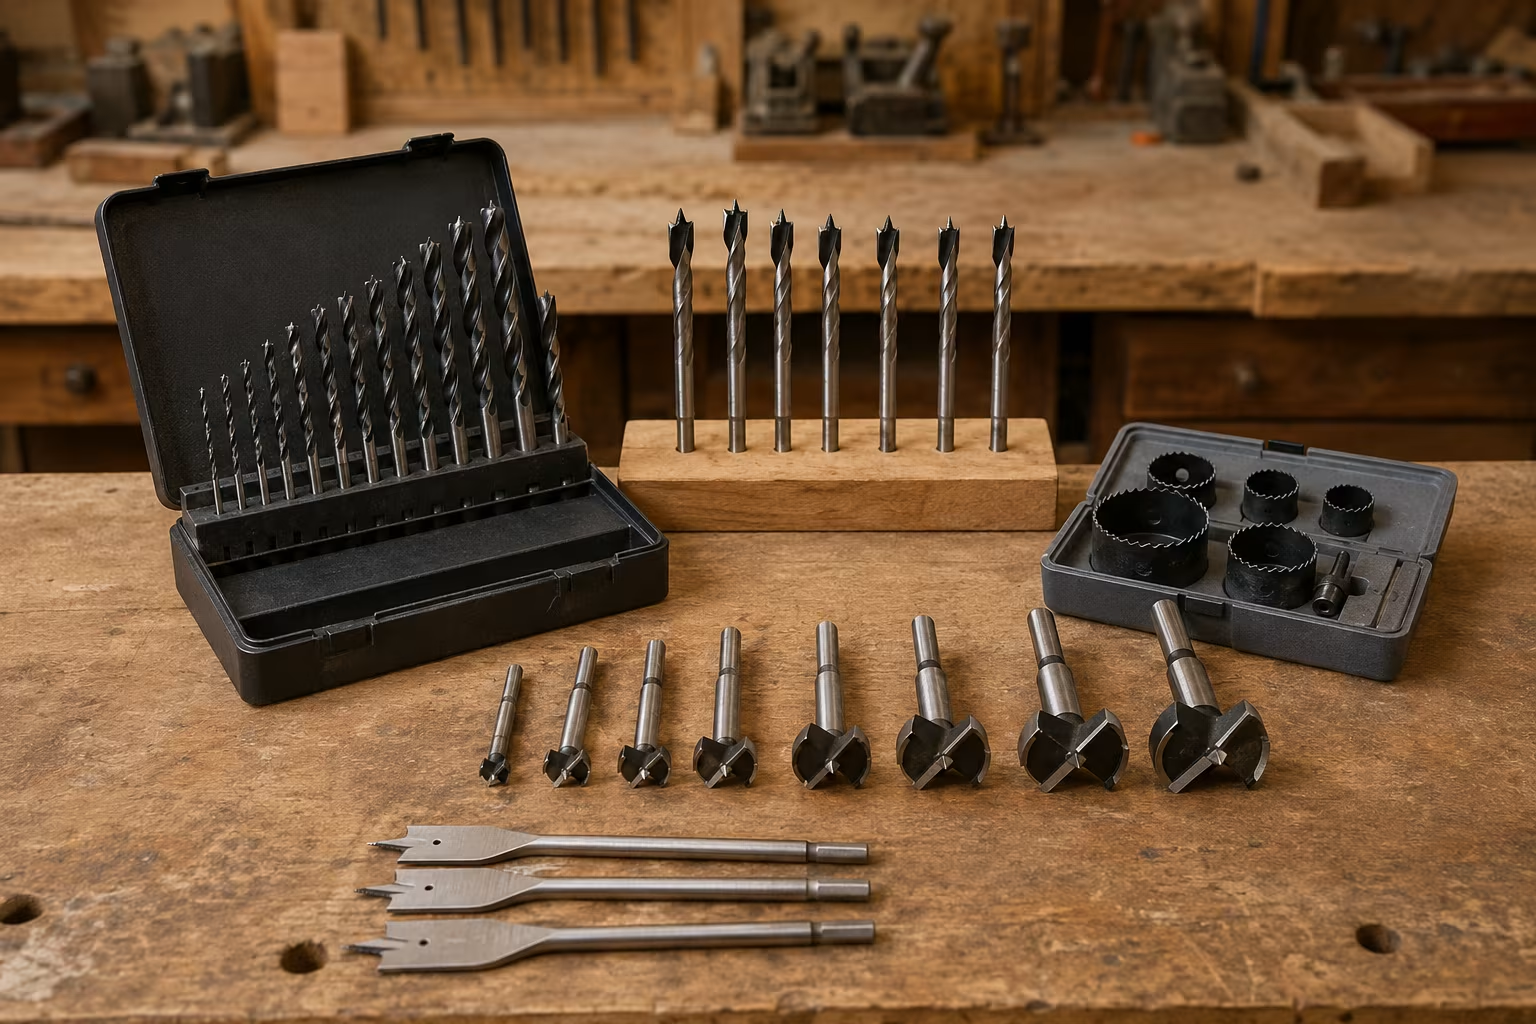
Drill Bit Sets: Twist, Brad-Point, and Forstner Real-Use Map
Most home shops own three drill bits they actually use and twenty they bought once and forgot....
Beginner Cricut Blade Set: What You Actually Use Daily
The Cricut starter blade list is longer than most beginners need. The two or three blades that...
Comments
No comments yet. Be the first to share your thoughts!