The Best Heat Guns for Embossing, Resin, and Shrink Wrap Projects

The Best Heat Guns for Embossing, Resin, and Shrink Wrap Projects
Hey there, fellow makers! 👋 You know that feeling when you're almost done with a project, you've poured your heart into it, and then something just... doesn't quite look right? Maybe your embossing powder is lumpy, your resin is full of tiny bubbles, or your shrink wrap looks more like a saggy bag than a professionalprofessional finish.
I’ve definitely been there. For years, I struggled with these exact things, thinking I just wasn't "good enough" at these crafts. But then I discovered the secret weapon many crafters swear by: a good heat gun. It really can make a huge difference.
Today, we’re going to talk all about heat guns. I'll share why they're such a game-changer, how to pick the right one for your projects, and walk you through how to use them for perfect embossing, bubble-free resin, and smooth shrink wrap. Let's get those projects looking amazing!
Why This Actually Matters
Okay, so why bother with another tool? Well, let’s be real for a second. We spend our precious time and hard-earned money on supplies for our hobbies, right?
There's nothing more frustrating than seeing a project fall short because of a preventable issue. Imagine making a gorgeous set of resin coasters, only for them to cure with a million tiny air bubbles trapped inside. Or sending out handmade cards with scorched, uneven embossing.
I remember one time, I was making custom tags for some gifts, and I tried to use my hair dryer for the shrink wrap. Spoiler alert: it didn't work. The plastic just kind of... melted in weird spots and never really shrunk. It looked terrible, and I wasted a whole sheet of shrink film.
A heat gun isn't just "another gadget." It's a tool that takes your projects from "handmade" to "professionally finished." It saves you time, frustration, and keeps those expensive materials from going to waste. Trust me, once you try it, you'll wonder how you ever crafted without one.
The Basics: What Even Is a Heat Gun?
So, what exactly is a heat gun? Think of it like a souped-up hair dryer, but with way more oomph. It's designed to emit a concentrated stream of hot air, much hotter than your typical hair dryer, and often with more precise control.
It’s an essential tool for so many different DIY tasks, not just crafts. Folks use them for stripping paint, thawing pipes, even bending PVC. But for us makers, it’s all about heat-activated magic!
Craft Vs. Industrial Heat Guns: Picking Your Power
When you start looking, you'll see a couple of main types of heat guns. There are craft-specific heat guns and then there are the bigger, more industrial ones. Knowing the difference is pretty important.
Craft Heat Guns: These are usually smaller, lighter, and designed with crafters in mind. They typically have lower temperature settings, often just a low and high. This makes them perfect for delicate materials where you don't want to accidentally scorch or melt everything.
They usually have a narrower nozzle for more focused heat, which is awesome for detailed work. I love mine for embossing, it just feels so much more controlled than trying to wield a bigger tool.
Industrial Heat Guns: These are the heavy-duty beasts. They get much, much hotter – sometimes up to 1200°F or more – and usually have multiple temperature settings, often variable. They also tend to have stronger airflow.
You’d use these for things like stripping paint, bending plastics, or thawing frozen pipes. While they can be used for some crafting tasks (like heavy-duty shrink wrapping), you have to be super careful because they can easily damage delicate materials.
For most of the projects we're talking about today, a dedicated craft heat gun is going to be your best friend. It gives you the control and gentle heat you need without the risk of overdoing it.
Key Features to Look for
When you’re eyeing a heat gun, here are a few things that really matter for us crafters:
- Temperature Settings: A low and high setting is usually plenty for most craft projects. Some craft guns even have a single, perfect temperature for embossing. More advanced ones might offer variable temperature control, which is great for experimenting.
- Airflow Control: This is a big one. You don't want a hurricane blowing your embossing powder everywhere! A gentle, focused airflow is ideal. Some guns have a fan speed switch, which is a nice bonus.
- Nozzle Type: Most craft heat guns come with a relatively narrow, pointed nozzle. This helps direct the heat exactly where you need it. Some industrial ones come with different attachments, but for our purposes, a standard craft nozzle works best.
- Integrated Stand: Oh, this is a lifesaver! Many craft heat guns have a small kickstand or a flat base that lets you set the gun down pointing upwards. This is so handy for hands-free curing of resin or pre-heating a surface.
- Safety Features: Look for things like a cool-down mode or automatic overheat protection. You want your tool to last and to be safe to use.
I started with a super basic craft heat gun I found on sale for about $20, and it worked wonders for years. You don't need to break the bank to get started.
How to Actually do It: Project-specific Guide
Alright, let’s get into the fun stuff! A single heat gun can really step up your game in multiple different crafts. Here’s how you can actually use it for embossing, resin, and shrink wrap projects.
Embossing Magic: Getting That Raised Look
Embossing powder is such a cool way to add texture and shine to paper crafts. But getting that smooth, raised finish can sometimes be tricky. A heat gun is key here.
Step 1: Prep Your Surface and Powder.
First, stamp your image onto paper or cardstock using a slow-drying pigment ink. You want an ink that stays wet long enough for the powder to stick. I usually use VersaMark ink for this.
Then, generously sprinkle your embossing powder over the wet ink. Make sure to cover the entire stamped image. Tap off the excess powder, funneling it back into its jar to save it for next time.
Step 2: Apply the Heat (Distance, Motion).
Now, grab your heat gun. Hold it about 2-4 inches above your powdered image. Don't hold it still! You need to keep the gun moving in small, circular motions over the powder.
You'll actually see the powder change right before your eyes – it'll go from a dull, grainy texture to a smooth, shiny, raised finish. It’s like magic! Once you see that transformation, move on to the next section.
Step 3: Troubleshooting for a Perfect Finish.
If you hold the heat gun too close or too long in one spot, you can scorch the paper or over-melt the powder, making it look dull. If your paper starts to warp, you're probably overheating it.
A trick I learned is to heat the paper from underneath for a few seconds first. This helps warm the paper and can reduce warping. Then, flip it over and heat the powder from the top. Always move the gun!
Resin Perfection: Bye-bye Bubbles!
Resin art is so gorgeous, but those pesky bubbles can ruin an otherwise perfect piece. A heat gun is incredibly effective at getting rid of them.
Step 1: Mix Your Resin Thoroughly.
Before you even think about the heat gun, make sure you’re mixing your resin properly. Follow the manufacturer’s instructions to a T. Mix slowly to avoid incorporating too many bubbles from the start. Scrape the sides and bottom of your mixing container.
Once mixed, let your resin sit for a few minutes. This allows some of the initial bubbles to rise to the surface naturally. Patience is a virtue here, I promise.
Step 2: Pour and Wait.
Carefully pour your mixed resin into your mold or onto your project surface. Pour slowly and steadily to minimize creating new bubbles. Once it’s poured, just let it sit for another 5-10 minutes.
You’ll often see a bunch of small bubbles start to rise to the surface during this time. This is exactly what we want – they're easier to pop when they’re at the top.
Step 3: Heat Application (Quick Passes, Distance, Pop Bubbles).
Now it’s heat gun time! Hold your heat gun a few inches above the surface of the resin. Keep it moving constantly and quickly across the entire surface. You don’t want to hold it in one spot for more than a second or two.
As you pass the heat gun over the resin, you’ll see the bubbles literally disappear. It’s super satisfying to watch them pop and vanish! This works because the heat thins the resin, allowing the trapped air to escape more easily.
Step 4: Post-Heat Checks.
After your initial pass, let the resin sit for another 5-10 minutes. Sometimes, more bubbles will rise up after the first round of heat. Do a second quick pass with your heat gun if needed. Don't overdo it with the heat; too much can lead to scorching or uneven curing.
Also, remember to work in a well-ventilated area when using resin and a heat gun. The fumes can be strong, and you want to be safe.
Shrink Wrap Success: Professional Packaging at Home
Using shrink wrap for packaging your handmade items can make them look so professional. It's also great for protecting items from dust and moisture. A heat gun makes the process incredibly easy.
Step 1: Choose the Right Shrink Wrap.
First, make sure you're using actual shrink wrap or shrink film, not just regular plastic wrap. Shrink wrap is designed to contract tightly when exposed to heat. There are different types, like PVC or polyolefin, but for home crafting, any craft-store shrink film will likely work.
Make sure it’s large enough to completely cover your item with some overlap for sealing.
Step 2: Position Your Item.
Place your item inside the shrink wrap. Cut away any major excess, but leave enough material so you can seal it securely around the item. You'll want to create a loose "pouch" around whatever you're wrapping.
Try to get the wrap as snug as possible without ripping it. The less excess you have, the cleaner the final look.
Step 3: Initial Seal (if applicable).
If you're using a heat sealer (a separate tool that seals plastic with heat), seal any open edges first to create a bag around your item. If not, you can carefully fold and tape the edges, or just make sure there’s enough overlap to shrink it tightly.
For most home crafters, simply folding the edges and then shrinking works just fine. The heat will fuse the layers together as it shrinks.
Step 4: Shrinking Technique (Even Passes, Corners).
Hold your heat gun about 3-6 inches away from the surface of the shrink wrap. Begin moving the gun in a steady, sweeping motion across the surface of the plastic. You’ll see the plastic start to wrinkle and then tighten up.
Work your way around the item, trying to apply heat evenly. Pay extra attention to corners and edges, as these often need a bit more heat to shrink completely and look neat. Keep the gun moving to avoid melting or burning the plastic.
Step 5: Sealing Edges (Optional, but Recommended).
As the plastic shrinks, the overlapping edges will often fuse together if you apply enough heat. Once the entire item is tightly wrapped, you can carefully go over the edges one last time to ensure they're sealed and smooth.
If you have any small "tails" or excess bits, you can sometimes trim them carefully with scissors after the shrink wrap has cooled and set. It takes a little practice, but soon you'll be making perfectly packaged items!
Making It Stick / Common Mistakes & Safety
Using a heat gun isn't super complicated, but there are definitely a few things that can trip you up. Learning from my mistakes (and others!) can save you a lot of headache.
Common Mistakes to Avoid
- Holding the Gun Too Close or Too Still: This is probably the number one mistake. It leads to scorched paper, burned resin, melted plastic, or warped materials. Always keep that heat gun moving!
- Using the Wrong Heat Gun: Trying to emboss with an industrial heat gun set to 800°F is just asking for trouble. Conversely, a craft heat gun might not be powerful enough for heavy-duty shrink wrap or some resin projects. Match the tool to the task.
- Ignoring Airflow: For embossing, too strong an airflow will blow your delicate powder everywhere before it even gets a chance to melt. Look for a gun with gentle airflow for paper crafts.
- Not Prepping Properly: For resin, skipping the proper mixing or waiting for bubbles to rise can make the heat gun's job much harder. For embossing, using the wrong ink means the powder won't stick.
- Impatience: We all want quick results, but rushing with a heat gun can lead to uneven finishes. Take your time, make slow, steady passes, and watch the material transform.
A heat gun isn't a magic wand, but it sure feels like one when you nail that perfect finish. It's about technique, not just power.
Safety First, Always!
Heat guns get really, really hot. Seriously. So, it's super important to keep safety in mind while you're using one.
- Ventilation is Key: Especially when working with resin, but really for any project, make sure you're in a well-ventilated area. Open a window, turn on a fan. You don't want to breathe in fumes or burnt material odors.
- Heat-Resistant Surface: Always place your project on a heat-resistant mat or surface. I use a silicone mat or a ceramic tile. Never directly on your nice wooden table! The heat can go right through your paper or resin mold.
- Watch Your Hands (and Everything Else): The nozzle of a heat gun gets extremely hot, even after you turn it off. Don't touch it until it's completely cooled down. Also, be mindful of where you're pointing it. Your hair, clothing, or other flammable objects are not what you want to heat up.
- Gloves and Eye Protection: For resin projects, you should already be wearing gloves and eye protection. These are good habits to maintain even when just using the heat gun.
- Unplug When Done: Once you're finished and the gun has cooled, unplug it. It’s a simple step that prevents accidental activation.
Think of your heat gun like a mini-torch. Treat it with respect, and you'll avoid any accidents.
Frequently Asked Questions
Can I Just Use a Hair Dryer Instead of a Heat Gun?
Not really, no. A hair dryer simply doesn't get hot enough, and the airflow is usually too strong and diffuse. You won't get the proper melting for embossing powder, the bubbles won't pop effectively in resin, and shrink wrap definitely won't shrink properly. It's a different tool for a different job.
What's the Best Temperature for These Projects?
For most craft heat guns, the "low" setting is perfect for embossing (around 200-300°F) and popping bubbles in resin. For shrink wrap, you might need the "high" setting, usually in the 350-500°F range, but always start lower and increase if needed. If your gun only has one setting, it's usually optimized for these tasks.
My Project Warped/burned/melted, What did I do Wrong?
You probably held the heat gun too close or kept it in one spot for too long. Remember to keep the gun moving constantly and maintain a distance of at least 2-4 inches. Some materials are just more sensitive to heat, so start with quicker passes until you get a feel for it.
How do I Clean My Heat Gun?
Generally, you don't need to do much internal cleaning. Just make sure the air intake vents stay clear of dust and debris, as this can affect performance and cause overheating. Wipe down the exterior with a damp cloth if it gets dirty, but always make sure it's unplugged and cool first.
Are Heat Guns Noisy?
Yes, they can be! Most craft heat guns are about as loud as a powerful hair dryer, maybe a little louder. If you're doing long sessions, consider wearing ear protection, especially if you're sensitive to noise. It's not usually an issue for short bursts though.
Is a Heat Gun Safe to Use Indoors?
For craft purposes, yes, with proper ventilation. Make sure you have a window open or a fan running. The main concerns indoors are fumes from materials like resin, and of course, avoiding accidental contact with flammable surfaces. Always use a heat-resistant mat.
The Bottom Line
A heat gun might seem like a niche tool, but for anyone serious about embossing, resin, or shrink wrap projects, it's really a must-have. It takes away so much of the frustration and elevates your finished pieces to a whole new level of professional polish.
Don't be intimidated by another new tool. Pick up an inexpensive craft heat gun, practice on some scraps, and you'll quickly get the hang of it. You'll be amazed at the difference it makes in your crafting. Go make something awesome!
Related Posts

Sandpaper Grits Demystified: When to Stop Going Finer
The grit progression that actually matters, where to start, where to stop, and why finer is often...
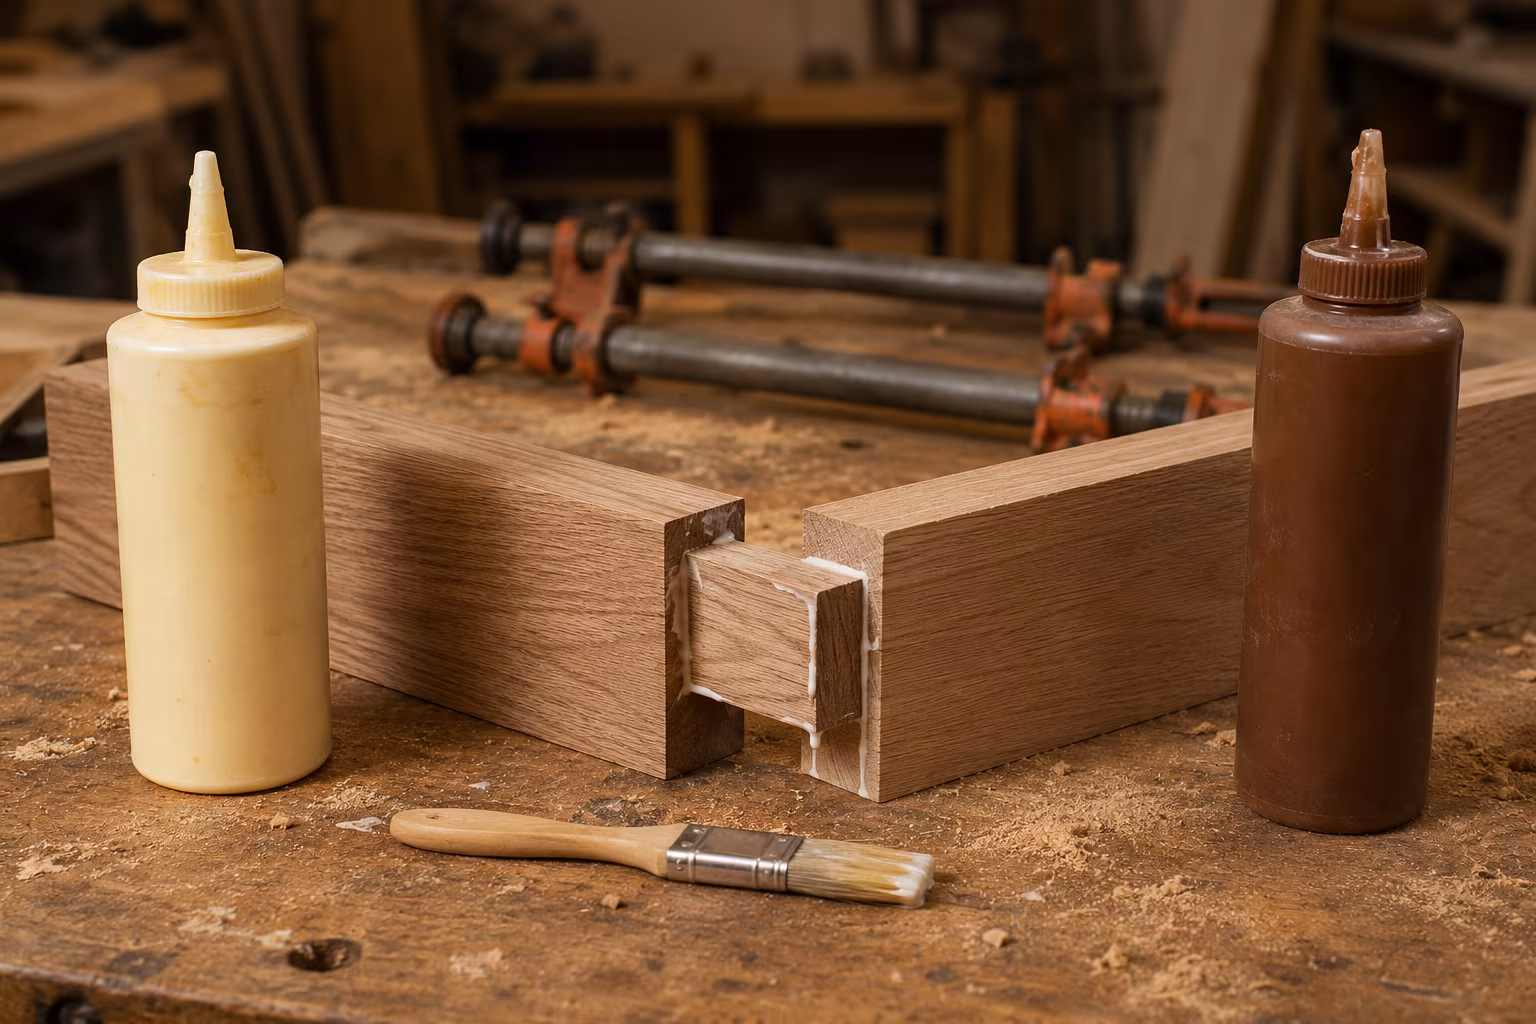
PVA vs Polyurethane Wood Glue for Indoor Furniture
Which wood glue wins indoors: a clear-eyed look at joint strength, open time, gap-filling claims,...
Why Beeswax and Mineral Oil Are the Safest Wood Finishes for Food
Wondering how to protect your wooden kitchenware without harsh chemicals? Beeswax and mineral oil...
Why Brad Nailers Are the Most Versatile Power Tool for Craft Rooms
Think power tools are just for big woodworking projects? Think again! A brad nailer might just be...