The Complete Guide to Buying Epoxy Resin That Won't Yellow Over Time
A crystal-clear resin pour that turns amber a few months later is one of the most common disappointments in resin work, and it is largely preventable. Yellowing comes from predictable chemistry and cheap ingredients, not bad luck. Choosing a genuinely UV-stable resin, reading the label correctly, and controlling your mixing, curing, and storage keeps coasters, boards, and art pieces clear for years. Here is how the process works and how to buy for longevity.
Why resin yellows in the first place
Two forces drive most discoloration: ultraviolet light and oxidation. Cured resin is a polymer, and it keeps reacting with its surroundings. When UV light from the sun, or even some indoor lighting, hits it, it breaks down the polymer chains in a process called photodegradation, and that structural change shows up as a yellow or amber tint. Oxidation is slower but works the same way, as oxygen in the air gradually degrades the surface over time.
Ingredients decide how fast this happens. Cheaper resins use less-refined chemicals and skip the anti-yellowing additives, so they break down faster under both UV and oxygen. Premium resins spend money on stable base chemistry and UV inhibitors, which is why price often tracks longevity here in the way generic paint tracks against a premium brand.
Resin types and their yellowing tendencies
"Resin" covers several chemistries, and they are not equally stable. Knowing which you are buying steers the whole project.
| Resin type | Yellowing tendency | Typical use |
|---|---|---|
| Epoxy resin | Varies widely; UV-inhibited versions stay clearest | Coasters, boards, jewelry, art, coatings |
| UV resin | Cures fast under a lamp but many types yellow readily with prolonged natural UV | Small pieces, quick jewelry, thin layers |
| Polyester resin | High; yellows quickly and strongly, plus strong odor and brittleness | Fiberglass and industrial work, rarely clear craft |
For most makers the choice is epoxy, and within epoxy the goal is a formula built with robust UV inhibitors and stable ingredients. Standard epoxy with no UV language will still yellow with sun exposure, so the words on the label matter more than the resin category alone.
Reading the label like a detective
Before buying, spend a few minutes on reviews. Search terms like "epoxy resin no yellowing" or "UV stable resin for art" and watch for brands that repeatedly earn praise for long-term clarity rather than just easy pouring. Then scrutinize the product description itself. Look for explicit phrases: "UV stable," "non-yellowing," "UV resistant," or "contains UV inhibitors." A resin that never mentions UV performance is a red flag for anything meant to stay clear. Terms like "low VOC" and "low odor" don't relate to yellowing directly, but they usually signal a more refined, more stable formulation. Check the liquid clarity too. Both components should look water-clear in the bottle; any amber tint before mixing only amplifies after curing. A lower-viscosity (thinner) resin often points to a purer formula and has the bonus of releasing bubbles more easily.
Match the resin to where the piece will live
Exposure should drive how much UV protection you pay for. A cutting board that stays indoors and out of direct light is forgiving; an outdoor patio table or a piece that sits in a sunny window is not. For anything outdoors or near strong sun, buy the strongest UV-stable formula you can find. For low-light indoor pieces you have a little more room, but a UV-stable resin is still the safer default. This is a poor place to economize. Buying the cheapest gallon on the shelf is a false saving; resin that yellows within three months wastes both the material and the hours of work poured into it. Treat the extra few dollars as an investment in pieces that survive.
Mix and cure it correctly
Even the best resin fails if you mix or cure it carelessly. On mixing, follow the manufacturer's ratio exactly. Some brands are 1:1 by volume and others 2:1, and guessing between them guarantees trouble. Use a kitchen scale for accuracy rather than eyeballing cups, since inconsistent ratios cause soft spots, cloudiness, and accelerated yellowing. Stir slowly but thoroughly for the recommended time, usually 3 to 5 minutes, scraping the sides and bottom of the cup so no unmixed resin remains. Whipping it fast only beats in bubbles. A common practice is to mix in a second clean cup for the last minute, so any unmixed resin clinging to the first cup never reaches the pour.
Curing conditions matter just as much. Most resins want a steady room temperature, typically 70 to 75°F (21 to 24°C). Too cold and it may not cure fully; too hot and it can cure too fast and stress. Keep curing pieces out of direct sunlight during that first cure, because intense UV while the resin is still setting can cause immediate problems and set up future yellowing even in an otherwise UV-stable product. As a general chemistry point, epoxy is a thermosetting polymer, which is why an off ratio or the wrong temperature permanently affects how it hardens.
Store unused resin properly
Resin components degrade in the bottle, so storage is part of preventing yellowing. Keep both parts in a cool, dark place, tightly capped, away from direct sun and temperature swings. Light and heat are the main culprits, and a hardener left near a warm window will turn visibly more amber within weeks, before you ever pour it. Sealed caps also limit air exposure and the oxidation that follows. Storing resin badly means pouring pre-yellowed material into an otherwise careful project.
Common mistakes to avoid
- Ignoring your resin's own instructions. Every brand differs; a ratio or cure time that works for one ruins another. Read the specific sheet.
- Adding "extra hardener" to speed curing. Off ratios never cure faster; they leave a sticky, uncured mess or a brittle piece that yellows rapidly.
- Assuming indoor means safe. Window sunlight and some fluorescent lights carry UV, and prolonged exposure still discolors resin over time.
- Using incompatible colorants. Non-resin dyes and cheap pigments can destabilize the mix and add their own discoloration. Use resin-specific colorants and test any new additive in a small batch first.
Frequently asked questions
Why does my resin yellow even when it says "UV resistant"?
"UV resistant" is not "UV proof." It slows yellowing rather than preventing it, and intense or prolonged sun, especially outdoors, still breaks down UV inhibitors eventually. Incorrect mixing or curing can also override the protection, so check your ratios.
Are all "UV resistant" resins truly non-yellowing?
No. Protection is a spectrum that depends on the quality and concentration of the additives. Some brands hold up far better than others, which is why reviews focused on long-term clarity beat front-of-bottle marketing.
Can I fix yellowed resin?
Reversing it is essentially impossible once the chemical change has happened. A thin topcoat of a truly UV-stable resin can mask minor yellowing temporarily, but the underlying tint remains and can keep progressing.
How should I store resin to prevent pre-yellowing?
Cap it tightly and keep it in a cool, dark cupboard or drawer, away from windows and temperature swings like a garage attic. Heat and light are the biggest causes of yellowing in the bottle.
Is expensive resin always better?
Higher-priced resins usually deliver better UV stability because they use better ingredients, but price alone is not proof. Confirm that UV stability is explicitly listed as a feature and backed by reviews.
For your next pour, buy an epoxy that names UV inhibitors on the label, weigh both parts on a scale to the exact ratio, mix slowly for the full time, and cure at 70 to 75°F out of direct sun. Store the leftovers capped in a dark cupboard. Those habits, more than any single product, are what keep a piece clear, and the same attention to hardware and detail is what makes a finished project, like matte black hardware on furniture, look intentional rather than improvised.
Related Posts
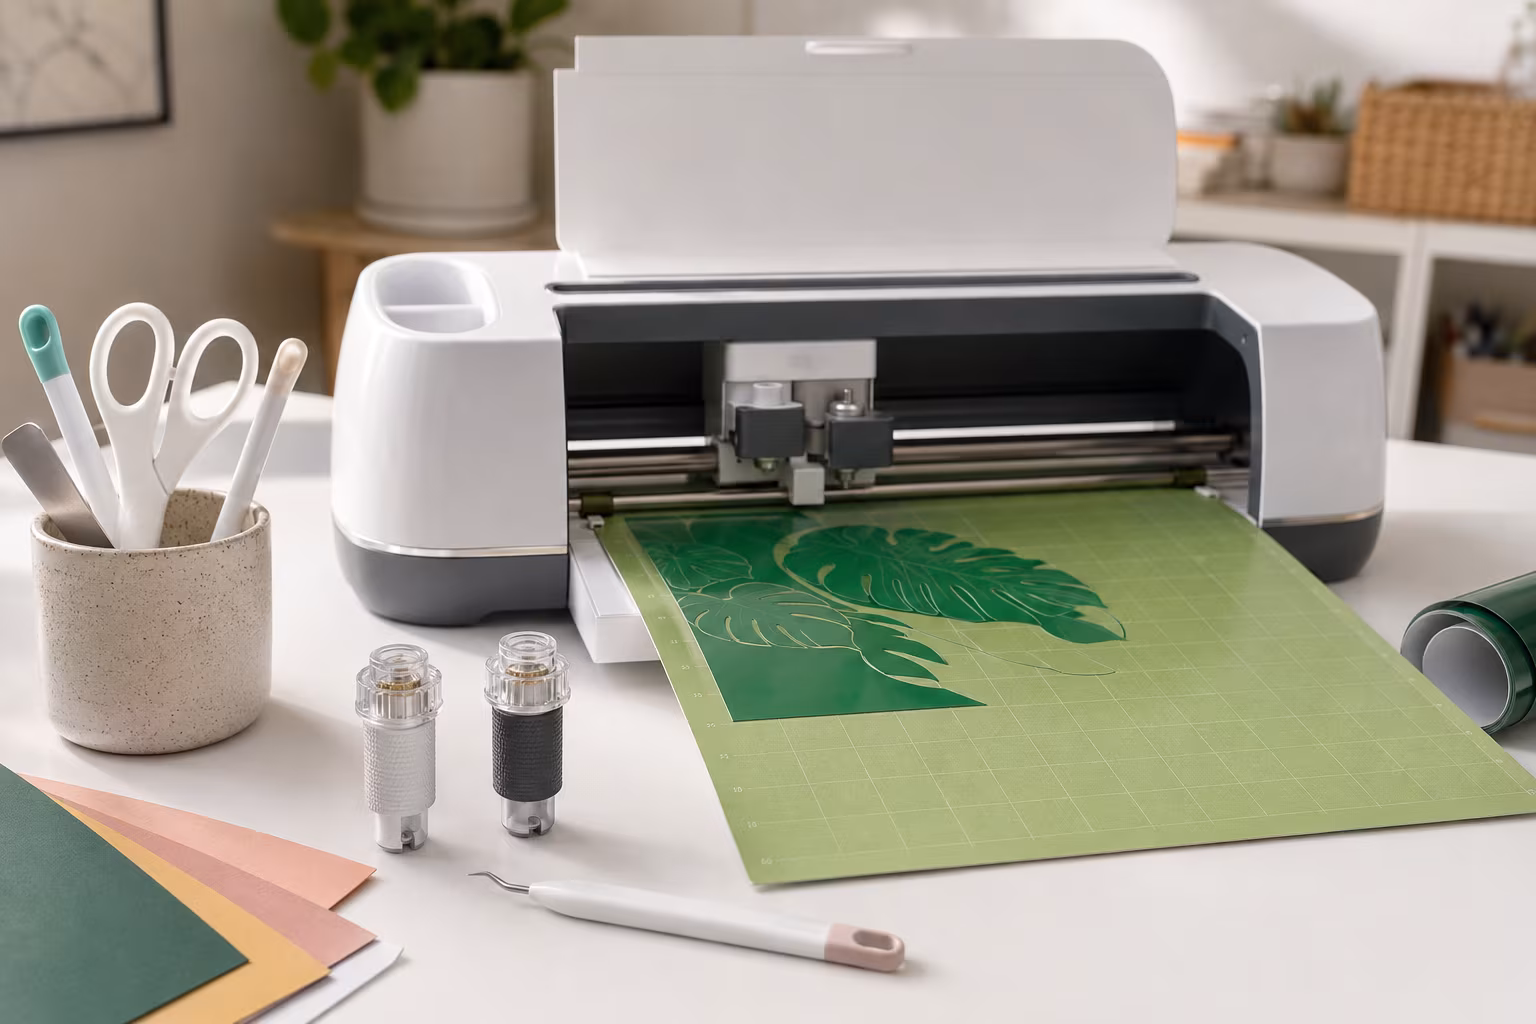
Beginner Cricut Blade Set: What You Actually Use Daily
The Cricut starter blade list is longer than most beginners need. The two or three blades that...
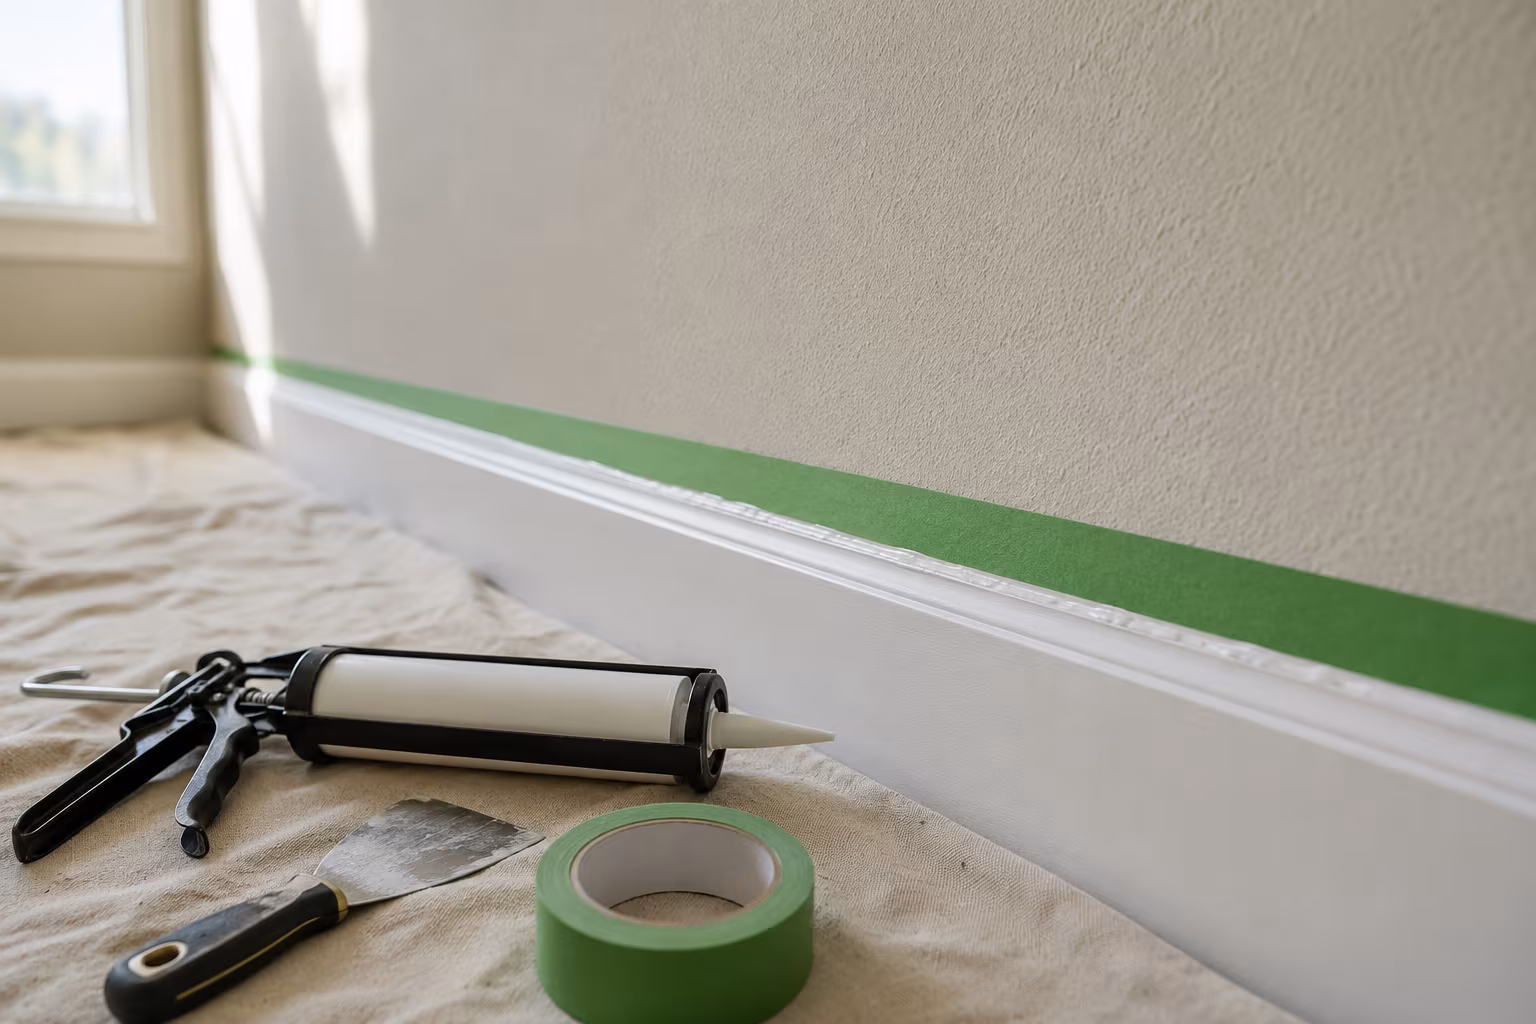
Painter's Tape for Crisp Lines on Textured Wall Surfaces
Standard blue tape bleeds on textured walls. The specialty tapes, caulk-edge-seal step, and...
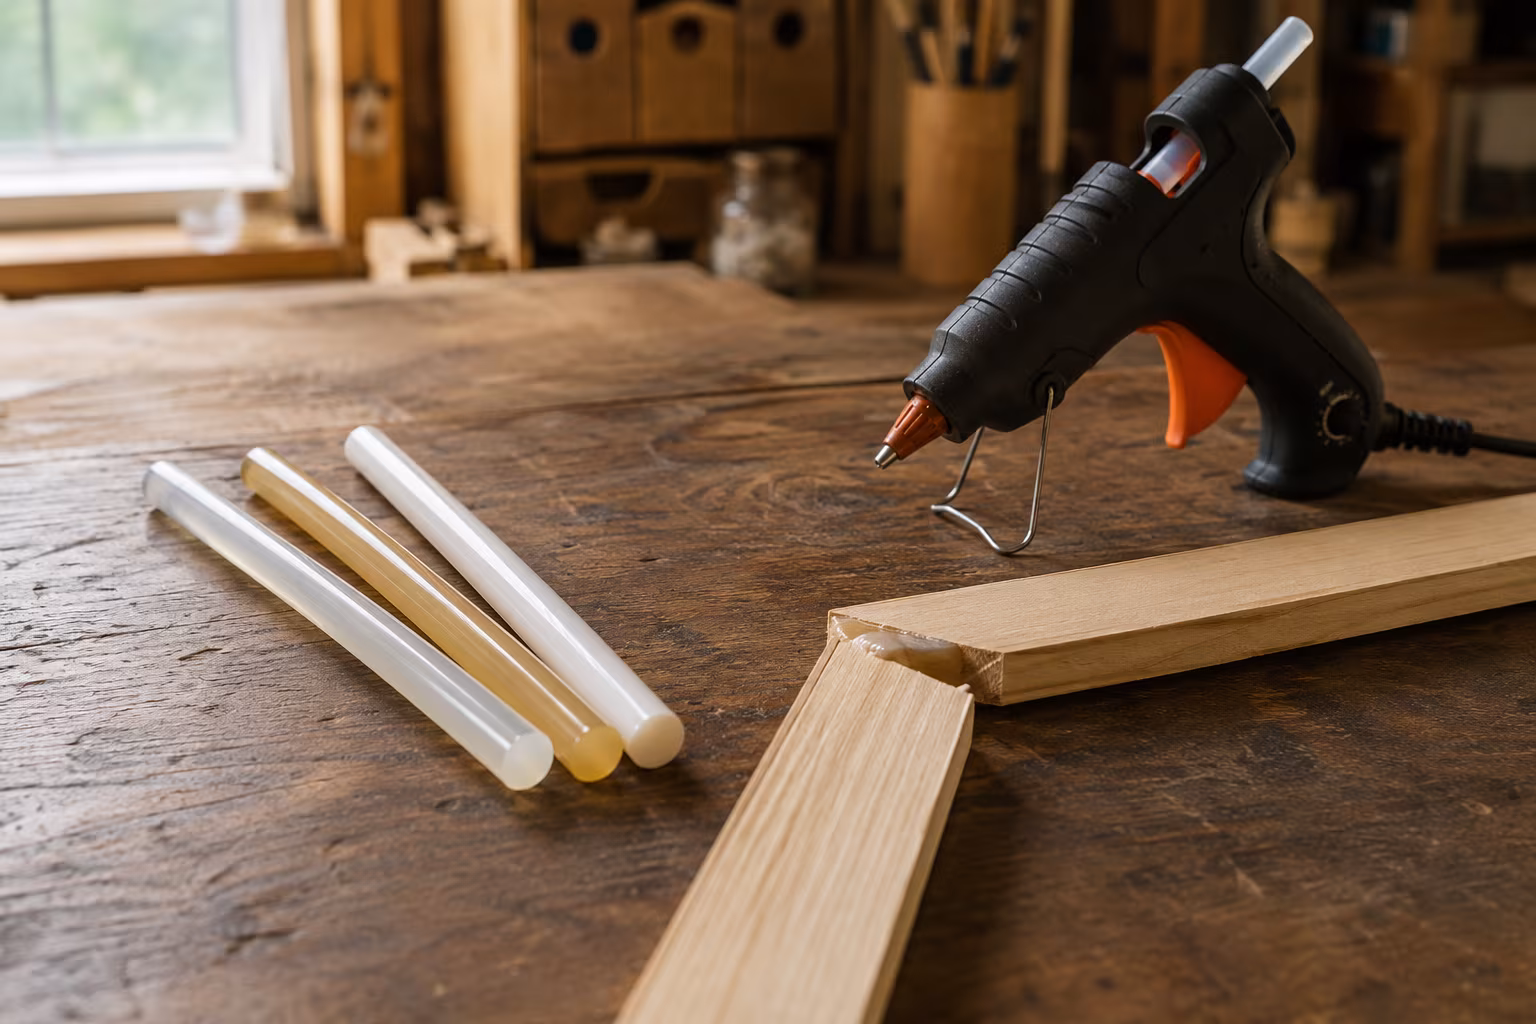
Hot Glue Sticks Compared: Low-Temp, High-Temp, Specialty
Low-temp glue sticks melt near 250°F, high-temp near 380°F. Compare stick types, specialty...

Sandpaper Grits Demystified: When to Stop Going Finer
Sand 80 to 120 to 180 for film finishes, 220 for oil, and stop there: finer burnishes wood and...