The Complete Guide to Growing Vegetables in Five-Gallon Buckets
A five-gallon bucket turns a concrete patio, a small balcony, or a sunny garage doorway into growing space for real vegetables. Each bucket gives one plant its own controlled pocket of soil, water, and nutrients, which makes watering, feeding, and pest management simpler than a shared bed. The buckets are cheap or free, and they move to chase the sun.
Choosing and prepping the buckets
Bucket selection is the decision that matters most, because it affects both safety and plant health.
- Food-grade only. Check the base for a recycling "2" or "HDPE" stamp and, ideally, a food-grade mark. Bakeries, delis, and restaurants often give away clean ones that held frosting, glaze, or pickles.
- Lighter colors. White and pale buckets reflect heat and keep roots from cooking in direct sun. If you only have dark ones, paint them a light color or wrap them in burlap.
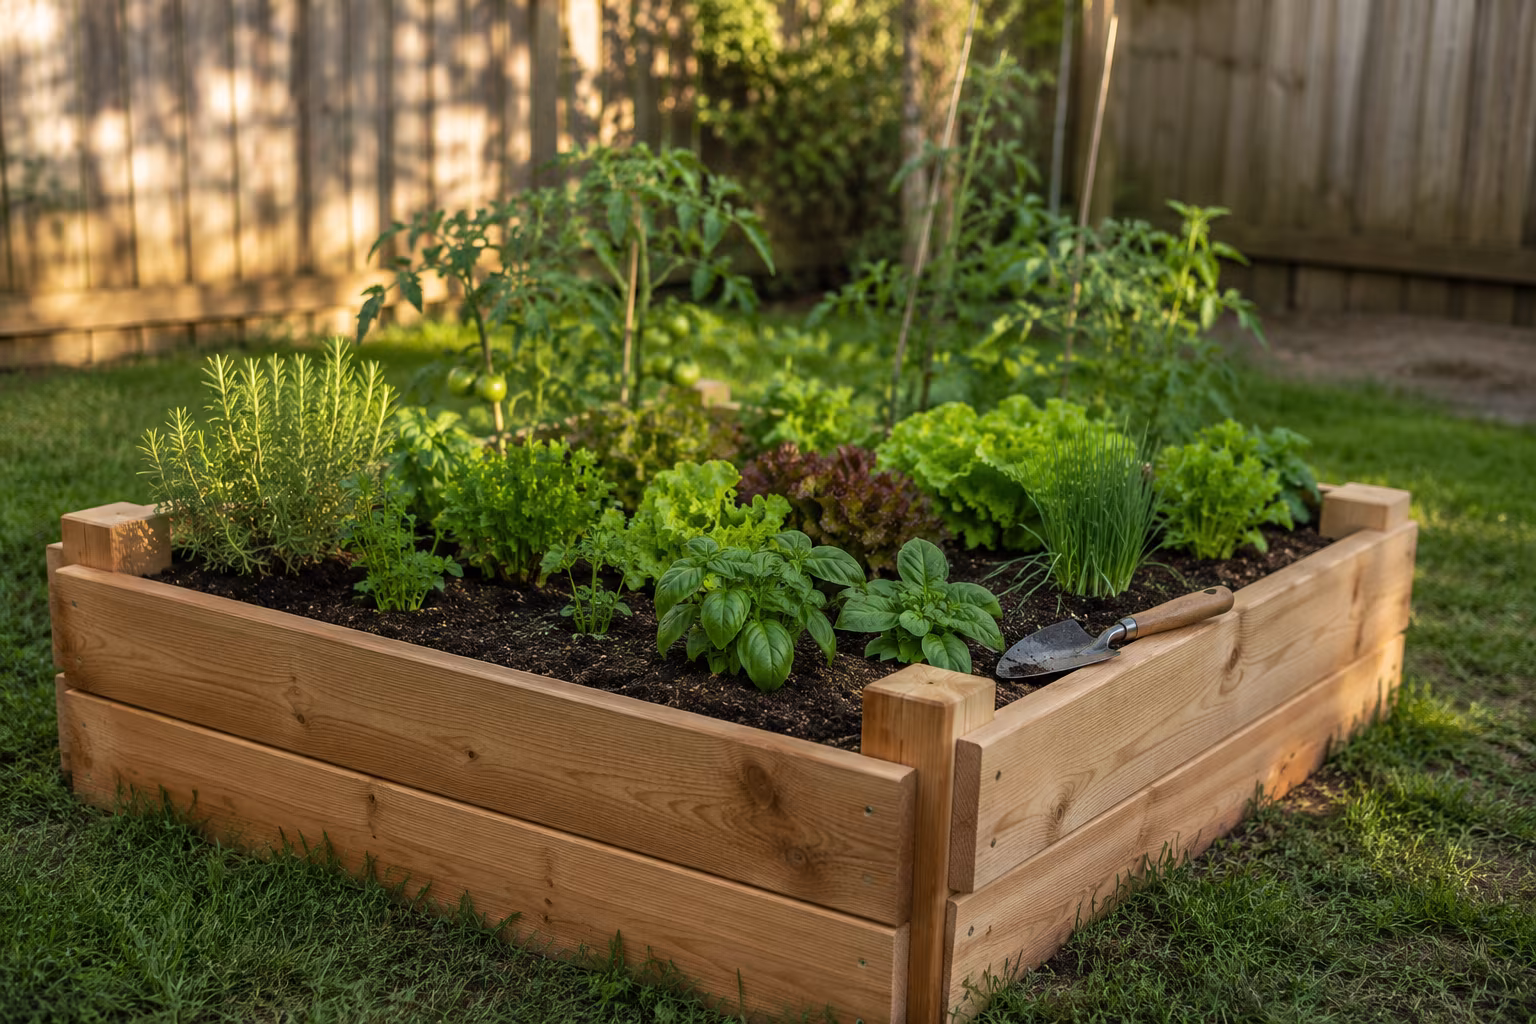
- Five gallons is the sweet spot. That holds about 0.67 cubic feet of soil, enough root room for tomatoes, peppers, and cucumbers. Herbs and lettuce can go in smaller containers.
Before planting, scrub used buckets with hot soapy water and rinse with a diluted bleach solution (1 part bleach to 9 parts water), then rinse thoroughly again. Drainage is the step beginners skip and regret: drill 6 to 8 holes, each 1/2 to 3/4 inch across, evenly spaced around the bottom edge. Too few holes leaves roots sitting in stagnant water, which causes root rot. Elevate the buckets on pot feet or bricks so the holes never seal against the ground.
Getting the potting mix right
The most common failure is scooping yard soil into the bucket. Garden soil is too dense for containers, drains poorly, and suffocates roots. Use a quality potting mix instead. Good mixes are light and drain freely, built from peat moss or coco coir plus perlite and vermiculite. Perlite (the white foam-like beads) adds air; vermiculite (golden flakes) holds moisture while still draining. If a mix feels heavy, lighten it yourself at roughly 3 parts potting mix to 1 part perlite or vermiculite. Most mixes are pre-fertilized for only a few weeks, so plan to feed after that, since nutrients leach out of containers faster than out of ground beds. When you fill, scoop gently and leave 2 to 3 inches of headroom below the rim so water doesn't spill over; a few taps on the ground settle it without packing it down.
What to grow in a bucket
Compact and bush varieties thrive; sprawling vining types take over. Reliable choices include:
- Tomatoes: choose bush or determinate varieties. Avoid indeterminate vining types unless you want a large plant and heavy staking.
- Peppers: both sweet and hot peppers do well and like steady warmth and moisture.
- Herbs: basil, cilantro, parsley, chives, and rosemary. Mint spreads even in a bucket, so keep it on its own.
- Leafy greens: lettuce, spinach, kale, and chard, harvested outer-leaves-first for repeat cropping.
- Bush beans: 3 to 4 seeds per bucket; they don't vine like pole beans.
- Cucumbers and eggplant: look for bush or container varieties, and give cucumbers a small cage or trellis.
- Small root crops: radishes work well, and shorter carrot varieties can succeed in consistently loose soil.
Plant seeds at a depth about twice their width, following the packet for spacing. Put one large plant per bucket (tomato, pepper, eggplant) or 2 to 3 small plants like lettuce or herbs. Set transplants at the same depth they grew in their nursery pots, or slightly deeper for tomatoes, which root along a buried stem. Water thoroughly right after planting to settle the soil.
Watering and feeding
Watering is the most important habit and the easiest to get wrong. Buckets dry out faster than ground beds, and both over- and underwatering cause wilting. Skip fixed schedules and read the soil: push a finger about 2 inches deep, and water only if it feels dry. When you water, water deeply until it runs from the drainage holes, which pushes roots to grow down rather than staying shallow. A "lift test," noting the weight of a bucket before and after watering, quickly trains your judgment.
Feeding matters because confined roots exhaust the mix quickly. Start fertilizing about 3 to 4 weeks after planting and continue every 1 to 2 weeks with a diluted all-purpose liquid fertilizer. For fruiting plants, shift toward higher phosphorus and potassium once they flower. Feed lightly and often rather than heavily and rarely, since over-fertilizing burns plants. As they grow, cage or stake top-heavy tomatoes and peppers, and check under leaves for pests every day or two; a strong water spray knocks off aphids, and insecticidal soap handles stubborn infestations.
Common mistakes and the fixes
- Poor drainage. Yellowing, wilting leaves over soggy soil means too few holes. Drill the full 6 to 8 half-inch holes before planting; if needed later, lift the plant, add holes, and replant.
- Watering wrong. Wilting with wet soil signals overwatering or drainage problems; wilting with bone-dry soil needs a deep drink. The finger test settles it.
- Overcrowding. One large plant per bucket. Cramming causes competition, small yields, and disease. Thin weak seedlings rather than leaving them all.
- Not feeding. Stunted, pale plants that won't fruit are usually hungry; start the feeding schedule above.
- Too little sun. Most vegetables need 6 to 8 hours of direct light. Move buckets to the brightest spot, and if you only get a few hours, stick to leafy greens and herbs.
Frequently asked questions
Can I use any five-gallon bucket?
No. Use food-grade HDPE buckets (recycling code 2) to avoid chemical leaching. Bakeries, delis, and restaurants often give them away.
How many drainage holes, and how big?
Drill 6 to 8 holes, each 1/2 to 3/4 inch across, spaced around the bottom edge, so water never pools.
Do I need rocks at the bottom for drainage?
No. Rocks create a "perched water table" that traps water above the layer and reduces usable soil. Good drainage holes are all you need.
Can I reuse the soil next year?
Not straight, for the same heavy feeders like tomatoes. Nutrients deplete and pathogens build up. Refresh old mix with fresh compost and new potting mix, or use it for herbs or flowers.
Any budget-friendly ways to get supplies?
Beyond free buckets, try seed swaps, homemade compost, and end-of-season sales on mix and fertilizer. A university extension yard and garden program is a reliable free source of regional planting guidance, and repurposed food-safe containers from thrift stores can stand in for bought pots.
Start with two or three food-grade buckets, drill the drainage holes, fill with a light potting mix, and plant one bush tomato and a bucket of herbs in your sunniest spot. Once you can read the finger test and keep a feeding rhythm, add buckets, and a cold frame later to stretch the growing season, using the same low-cost, budget-friendly approach.
Related Posts
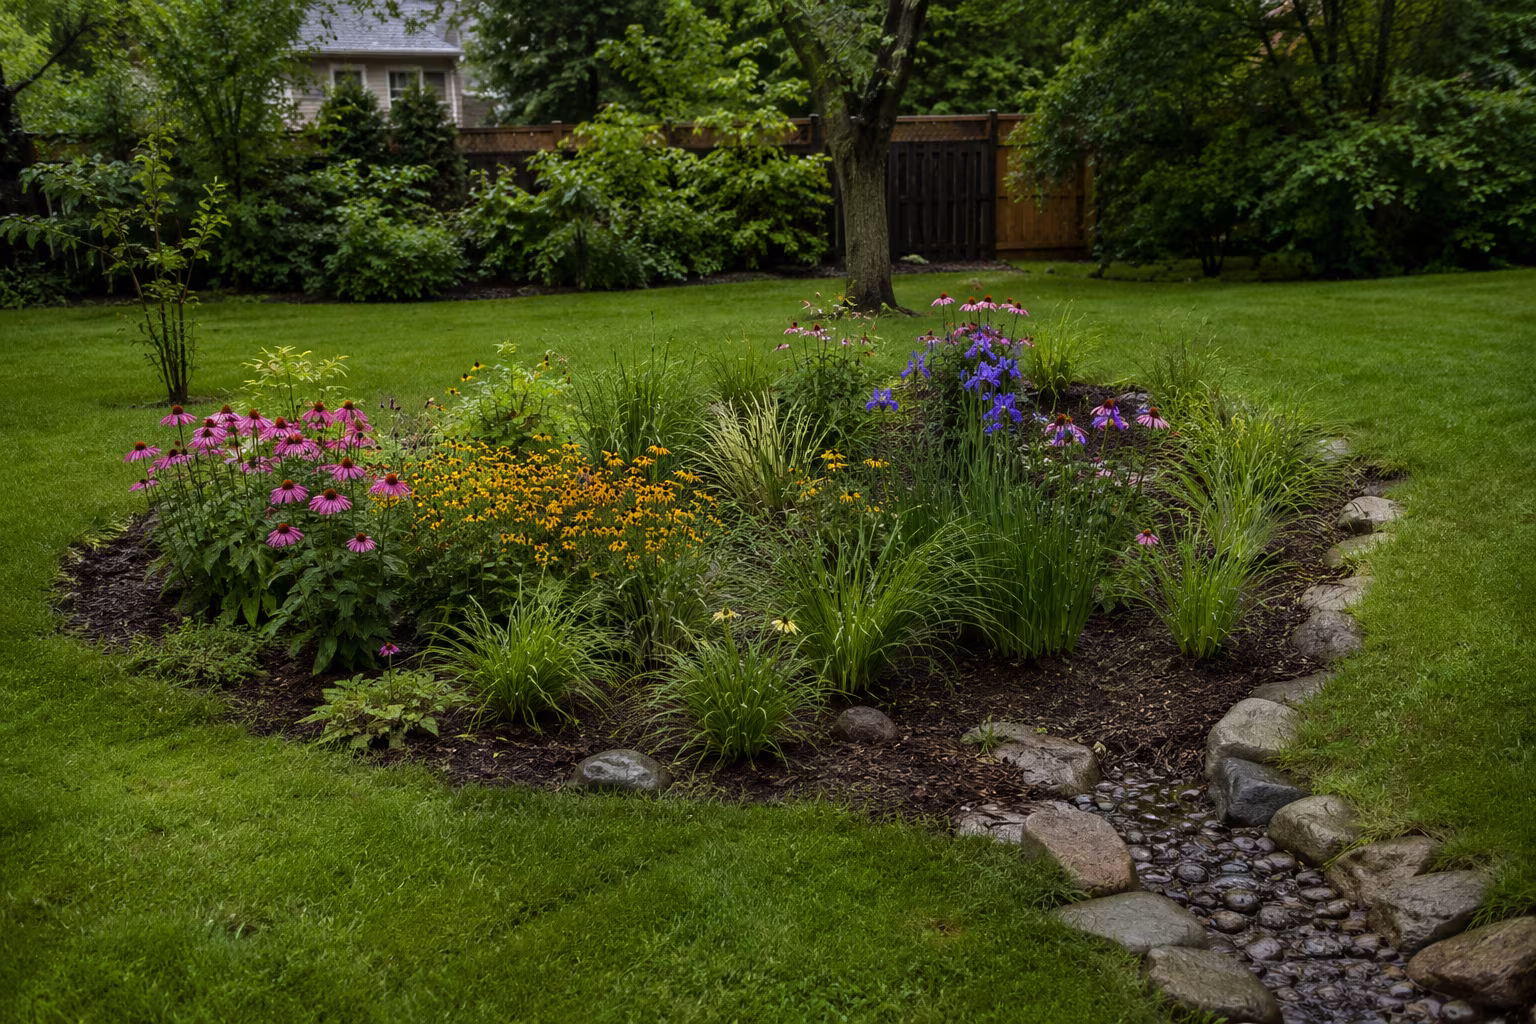
Building a Rain Garden That Actually Drains in Clay Soil
Rain gardens work in clay soil if you dig 12-18 inches deep, amend with coarse sand and compost...
Pressure-Treated vs Cedar for a Small Raised Garden Bed
Cedar looks better and is organic-certified; modern pressure-treated lumber is cheaper, lasts...

Tarp Pitching for Side Wind: A Practical Field Guide
Pitching a tarp for side wind: lower the windward edge, why the plow point beats the A-frame...

The Complete Guide to Identifying and Removing Invasive Garden Plants
Identify English ivy, Japanese knotweed, garlic mustard, and thistles, then remove them for good...