Why Drip Irrigation Systems Pay for Themselves in One Summer
Hand-watering a summer garden wastes two things at once: your evenings and a large share of the water itself, which evaporates or runs off before it reaches the roots. Drip irrigation delivers water slowly and directly to the base of each plant, and a basic DIY system commonly cuts garden water use by 30–50% compared with sprinklers. That saving, plus a $20 timer that removes the daily chore entirely, is why a drip system typically pays for itself within a single growing season. Here is how it works and how to build one in an afternoon.
Why Drip Saves Water and Money
Overhead sprinklers lose a significant amount of water to wind and evaporation before it lands, and they wet leaves as much as soil, which invites mildew. Hand-watering is uneven and produces runoff. Drip puts water at the root zone at a slow rate the soil can absorb, so almost every drop counts. University extension programs — a reliable, non-commercial source for regional watering guidance is the university extension yard and garden resources — consistently point to drip as the most efficient method for beds and containers. Beyond the bill, plants get consistent moisture exactly where they need it, which means steadier growth and fewer problems from soggy foliage.
How Drip Irrigation Works
The system is a low-pressure network: water travels from the faucet through a main line, and small drip irrigation emitters meter it out drop by drop at each plant. Instead of broadcasting water across an area, the tubing routes it precisely to the spots you choose. Because it runs at reduced pressure and low flow, it can water a whole bed over 30–60 minutes without pooling or eroding soil. That precision is the entire point — the plants that need water get it, the bare paths between them do not.
The Components You Need
None of the parts require any plumbing knowledge, and most come bundled in starter kits:
- Pressure regulator. Connects first at the faucet and drops household pressure to a drip-safe level, usually around 25 PSI. Skip it and the tubing can burst.
- Filter. Sits just after the regulator and traps sediment that would otherwise clog the tiny emitter openings — a cheap part that prevents most failures.
- Main supply tubing. The thick black poly line, typically 1/2-inch or 3/4-inch, that carries water from the faucet to the garden.
- Drip emitters. The devices that release water, rated by flow such as 0.5 or 1 gallon per hour, inserted into the main line or onto feeder lines.
- Micro tubing. Thin, flexible 1/4-inch line that branches off the main to reach individual containers or plants set back from the main run.
- Fittings and connectors. Elbows, tees, couplers, and end caps that turn corners, split lines, and close them off.
- Hole punch tool. Makes clean, leak-tight holes in the main tubing for emitters and micro tubing.
- Timer (optional). A battery-operated unit that screws onto the faucet ahead of the regulator and runs the system on a schedule; a basic one costs about $20.
Setting Up the System
Plan on an hour or two for a small-to-medium garden. The order of assembly matters.
- Map the garden. Sketch your beds, containers, and the faucet location on paper, and mark where main lines will run and where each plant needs an emitter. This step prevents most mid-build shortages.
- Gather supplies to match the map. A starter kit covers the regulator, filter, main tubing, and basic fittings; add emitters, micro tubing, and a punch based on your plant count. Buying tubing in a large roll is cheaper than short lengths.
- Connect the water source. Screw the timer onto the faucet first, then the pressure regulator, then the filter — in that sequence. Keep every connection hand-tight to avoid leaks.
- Lay the main tubing. Run the 1/2-inch or 3/4-inch poly line along bed edges or center paths, close to the plants. Letting it sit in the sun for a few minutes softens it and makes it far easier to work with.
- Cut and connect. Use a sharp utility knife or tubing cutter to cut the line at corners and branches, and push fittings firmly into the ends. Warming a stubborn tube end in hot water makes the fitting seat more easily.
- Insert emitters and micro tubing. Punch holes in the main line beside each plant. Insert emitters directly for plants along the line, or add a barb and run 1/4-inch micro tubing to containers and outlying plants, capping each feeder with a staked emitter.
- Cap and secure. Close the open ends of the main line so water does not pour out, then pin the tubing down with plastic stakes or metal garden staples so it stays put and out of the way.
- Test and adjust. Turn the water on slowly and watch for leaks, which usually mean a fitting needs to be pushed in further. Confirm every emitter drips, and reposition any that miss a plant or leave a dry spot.
Common Mistakes to Avoid
A few errors account for most first-season frustration. Leaving out the pressure regulator is the worst — full household pressure blows connections apart on the first run. Skipping the planning sketch leads to running short on fittings or tubing halfway through. Using too few stakes lets wind, pets, or shifting soil drag the tubing loose and disconnect emitters, which is far more annoying to fix once beds are planted. And neglecting the filter causes clogged emitters, especially with hard or well water; rinse it periodically. If a single emitter does clog, clear it with a thin wire or swap it out — the modular design makes replacement trivial.
Scheduling and Run Times
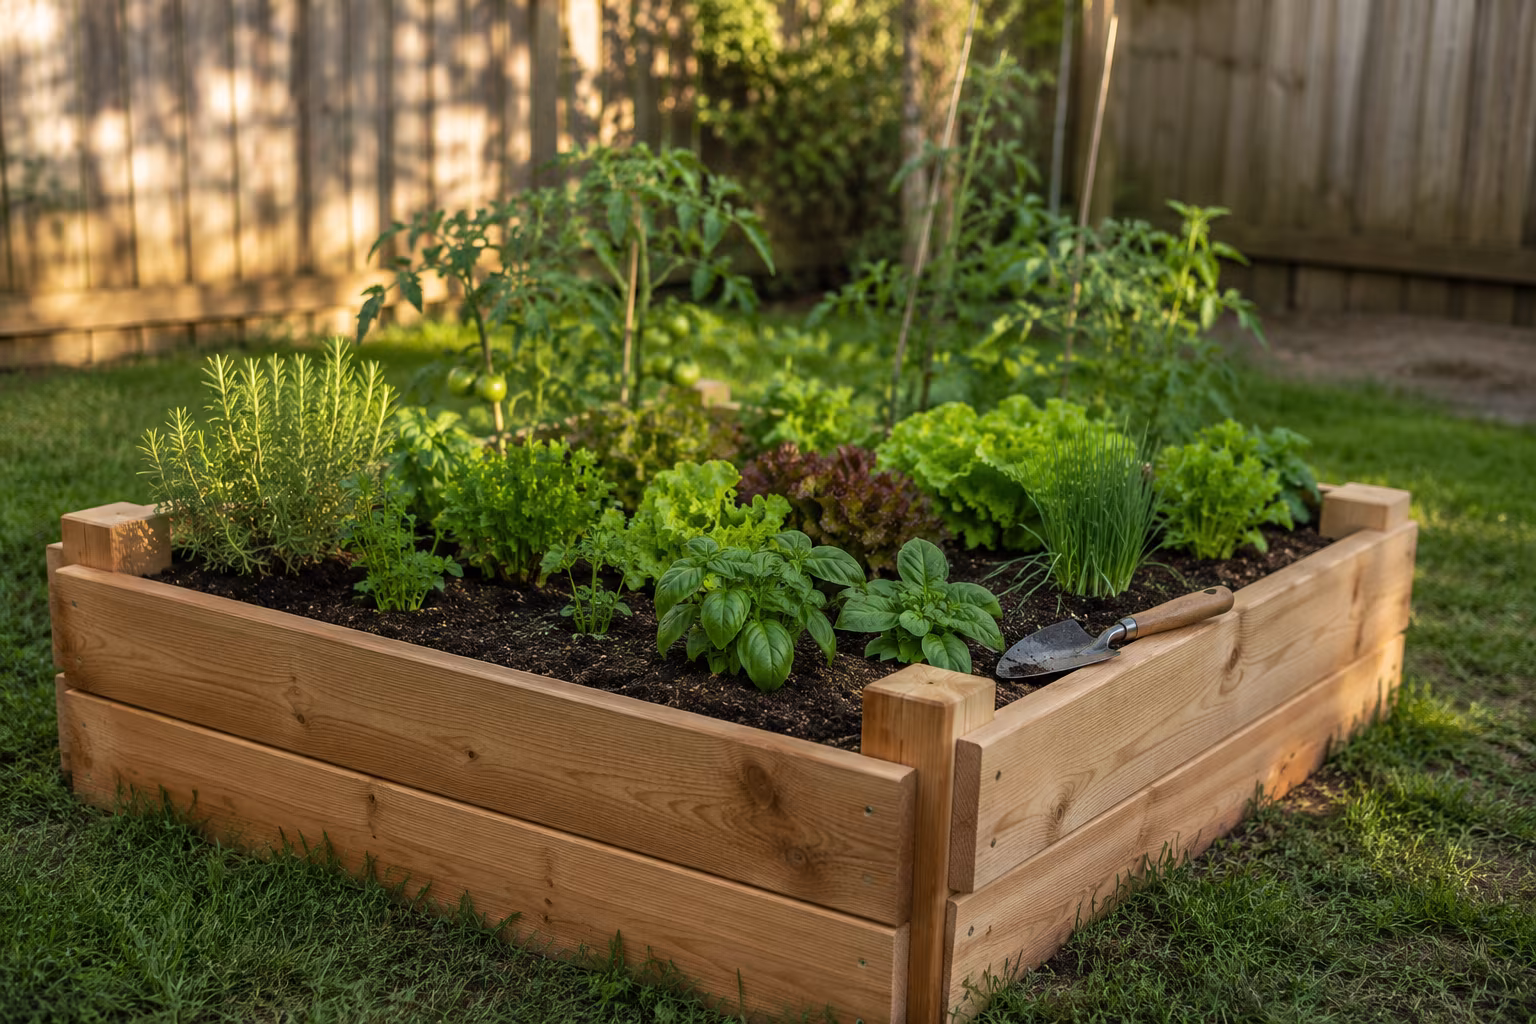
The efficiency only pays off if the timer runs long enough to wet the root zone and infrequently enough to let the soil breathe. A useful starting point for raised beds with 1-GPH emitters is 30–45 minutes, three times a week in mild weather, stretching to daily during a heat wave. Water at dawn rather than midday so less evaporates and foliage dries as the sun rises. After the first few runs, dig down two or three inches next to a plant an hour after watering: if the soil is damp that deep, the timing is right; if it is dry, add ten minutes or a second cycle. Containers dry out faster than beds and often need a daily run in summer. Sandy soil drains quickly and wants shorter, more frequent cycles, while clay holds water and does better with longer, less frequent ones. Adjust as the season shifts — the same schedule that suits June is usually too much by October.
Maintenance is minimal but not zero. Flush the main line once a month by removing an end cap and letting water run through to clear grit, and rinse the filter on the same schedule, more often with hard or well water. At the end of the season in freezing climates, drain the lines and bring the timer, regulator, and filter indoors so they do not crack over winter.
Cost and Payback
A starter kit for a few raised beds runs roughly $50–$100, with a timer adding about $20–$30. Setting up a 10×10-foot bed from planning through testing takes about 2–3 hours the first time and far less on any expansion, since the system is fully modular — you add main line, branch more micro tubing, or drop in emitters as the garden grows. Against a summer of reduced water bills and the hours no longer spent holding a hose, the initial outlay is recovered quickly, usually before the season ends. Even a handful of patio containers benefits, since automated drip means the pots survive a weekend away without a wilted return.
Start with one bed or a cluster of containers rather than the whole yard. Lay the main line, punch in a few 1-GPH emitters, add a $20 timer set to run at dawn, and you have consistent root-zone watering that frees your evenings and trims the August bill — the same modular parts extend to the rest of the garden, or pair naturally with a rain barrel setup, whenever you are ready to expand.
Related Posts
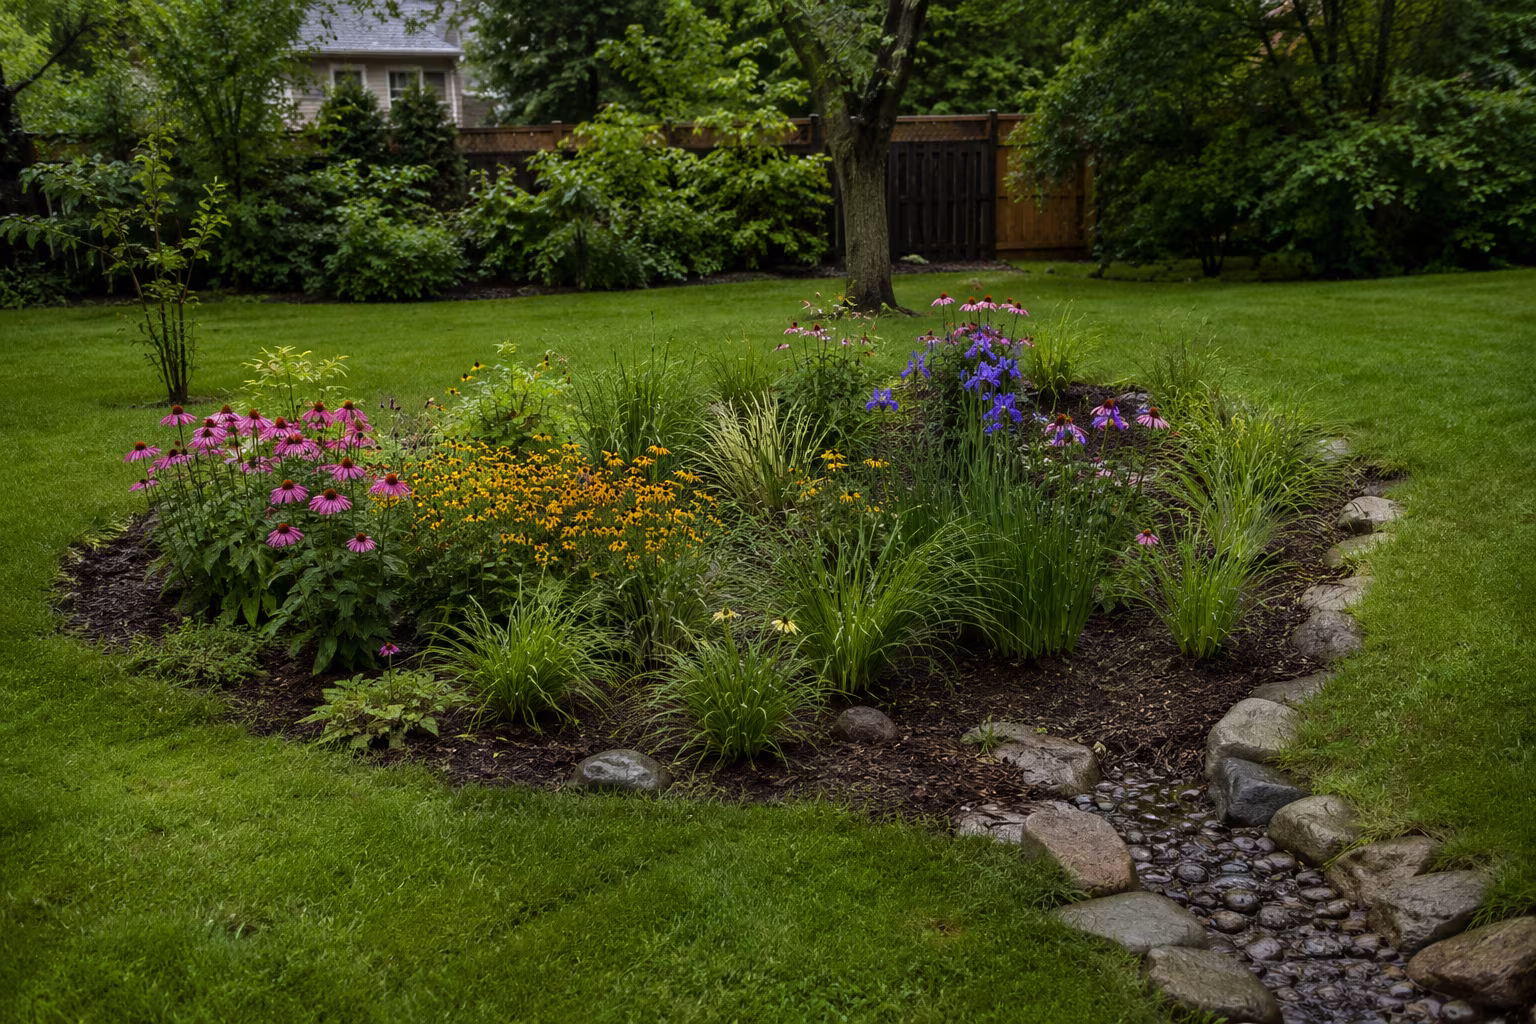
Building a Rain Garden That Actually Drains in Clay Soil
Rain gardens work in clay soil if you dig 12-18 inches deep, amend with coarse sand and compost...
Pressure-Treated vs Cedar for a Small Raised Garden Bed
Cedar looks better and is organic-certified; modern pressure-treated lumber is cheaper, lasts...

Tarp Pitching for Side Wind: A Practical Field Guide
Pitching a tarp for side wind: lower the windward edge, why the plow point beats the A-frame...

The Complete Guide to Identifying and Removing Invasive Garden Plants
Identify English ivy, Japanese knotweed, garlic mustard, and thistles, then remove them for good...