Why Micron Pens Are the Gold Standard for Illustration and Journaling
The reason illustrators and journalers reach for Sakura Pigma Micron pens comes down to two things: the ink and the nib. A cheap ballpoint or gel pen skips, smudges under a resting palm, and dissolves the moment a watercolor wash touches it. Microns are built to avoid all three, which is why they end up in most serious sketch kits and bullet journal setups.
What Makes Micron Ink Different
Micron pens use archival-quality, pigment-based ink. That distinction matters. Dye-based inks, common in ordinary fineliners, are dissolved colorants that break down and fade with light exposure over time. Pigment ink is made of tiny solid particles suspended in the fluid, which resist light and environmental wear far better — the reason it is trusted for artwork meant to last.
Once dry, the ink is waterproof and chemical resistant. You can ink a detailed illustration, wait a minute, and then lay watercolor, alcohol markers, or colored pencil straight over the lines without a single smudge or bleed. That single property is what makes Microns the standard for mixed-media work, where line and color are built in layers.
The ink is also acid-free and rated archival, meaning it will not yellow the paper or fade the way ordinary school-grade ink does over years of light exposure. That is the practical reason artists trust it for pieces meant to be framed, sold, or kept in a sketchbook long term rather than pinned up for a season. The line stays as black and crisp as the day it was drawn, which matters as much for a filled bullet journal as for a finished illustration.
Understanding Micron Pen Sizes
The numbers printed on the barrel — 005, 01, 05, and so on — refer to the tip width. Smaller numbers mean finer tips and more delicate lines. A basic set usually spans 005, 01, 03, 05, and 08, which covers most of what a single drawing or journal page needs.
| Size | Tip width | Best for |
|---|---|---|
| 003 | 0.15 mm | Finest details, stippling, tiny lettering |
| 005 | 0.20 mm | Fine detail, texture, cross-hatching |
| 01 | 0.25 mm | General outlining, journal writing |
| 03 | 0.35 mm | Definition, small illustrations |
| 05 | 0.45 mm | Bold outlines, titles, larger lettering |
| 08 | 0.50 mm | Heavy outlines, filling small areas |
| PN | Plastic nib | Durable everyday writing, variable line |
| Brush (BR) | Flexible tip | Calligraphy, varied line weight |
There is no need to buy every size at once. A three-pen starter set with a 005, an 01, and an 05 gives you fine, mid, and bold weights, which is enough to learn which sizes suit your hand. Basic starter packs typically run around ten dollars.
Using Microns for Journaling and Illustration
Before starting a real project, spend a few minutes on scrap paper drawing lines, circles, and squiggles with each pen to feel the difference between a whisper-thin 005 and a substantial 05. Microns work best with a light touch; the ink flows on its own, and pressing hard bends or frays the fine nibs.
For journaling, use a fine 005 or 01 for daily entries so the writing stays neat, then switch to an 03 or 05 for titles, headers, and borders. That contrast in line weight builds visual hierarchy and makes a page easy to scan. The same fine tips handle small decorative work — icons, dot borders, geometric patterns.
For illustration, sketch lightly in pencil first, then ink over the lines, using a heavier tip like an 05 for outer contours and an 01 for interior detail. That variation in line weight is what gives a drawing depth. Shading comes from technique rather than tone: stippling with dots, cross-hatching with intersecting lines, or parallel hatching, all of which the fine tips handle cleanly.
The waterproof ink is what makes layering safe. After inking, let the line art dry a minute or two, then add watercolor, markers, or colored pencil over the top. The lines hold, giving a stable foundation for color — the confidence to lay a wash without ruining the drawing underneath is the main reason artists commit to these pens.
To make a pen last, cap it securely after every use, store it with the cap facing down so ink stays at the nib, and avoid dropping it on the tip. If a pen skips, a few seconds of scribbling on scrap paper usually restarts the flow.
Common Mistakes
Pressing too hard. The 003 and 005 nibs are delicate; heavy pressure frays them, producing inconsistent lines and a short lifespan. Let the pen glide with light, even pressure.
Not letting ink dry. Micron ink dries fast but not instantly, especially on less absorbent paper. Brushing a hand or a wet medium over a fresh line smears it. Give it a minute or two to set.
Using only one size. Sticking to a single tip flattens your work. Building in two or three weights adds the depth that separates a finished piece from a flat sketch.
"The only way to get good at using a tool is to actually use it, not just admire it."
Frequently Asked Questions
Are Micron pens really waterproof?
Once fully dry, yes. The lines hold under watercolor washes, alcohol markers, and accidental spills, which is one of their main selling points for mixed media.
How long do they last?
It depends on use and tip size — finer tips empty faster because they suit ink-heavy detail work. A regularly used pen lasts anywhere from a few months to over a year for casual use.
Can I refill them?
No, Microns are not refillable. When the ink runs out you replace the pen, a trade-off most crafters accept for the consistent, archival quality.
What paper works best?
Smooth, slightly heavier paper gives the cleanest lines — bristol board, hot-press watercolor paper, or a good sketchbook around 80gsm or higher. Very textured or thin papers cause feathering with the finest tips.
To start, pick a small pack with a 005, an 01, and an 05, then doodle, outline a simple drawing, and practice a few shading techniques on scrap before committing to a real page. The pens reward use, not admiration, and their value shows the first time a watercolor wash rolls over your line work and the lines stay exactly where you drew them.
Related Posts
Beginner Cricut Blade Set: What You Actually Use Daily
The Cricut starter blade list is longer than most beginners need. The two or three blades that...
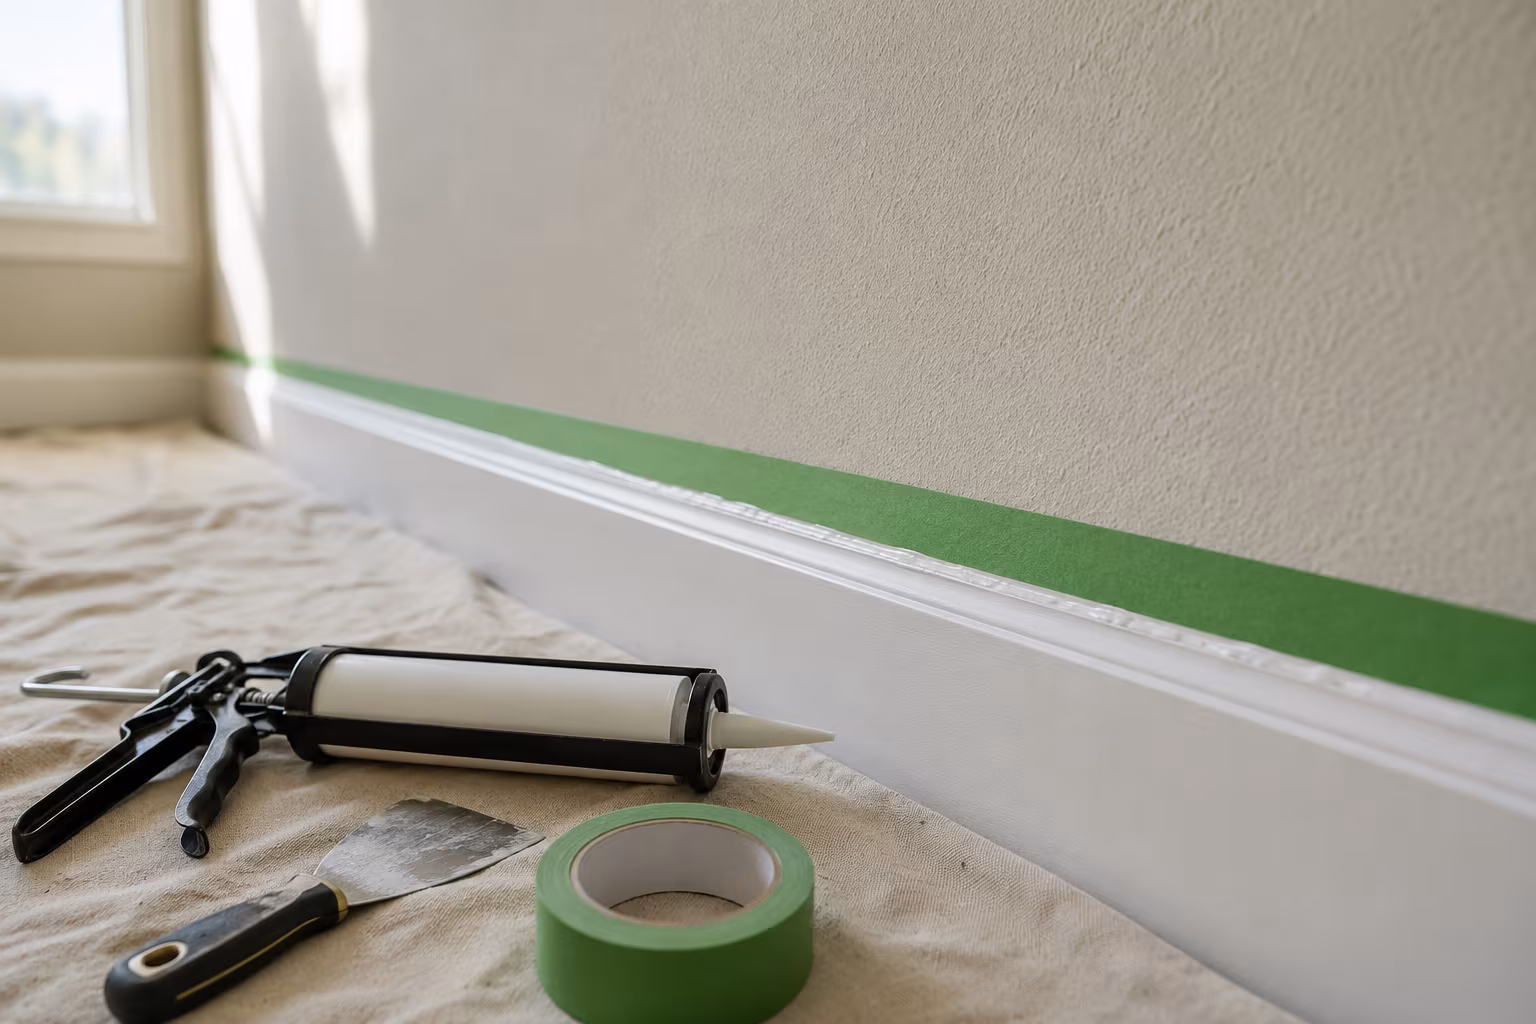
Painter's Tape for Crisp Lines on Textured Wall Surfaces
Standard blue tape bleeds on textured walls. The specialty tapes, caulk-edge-seal step, and...
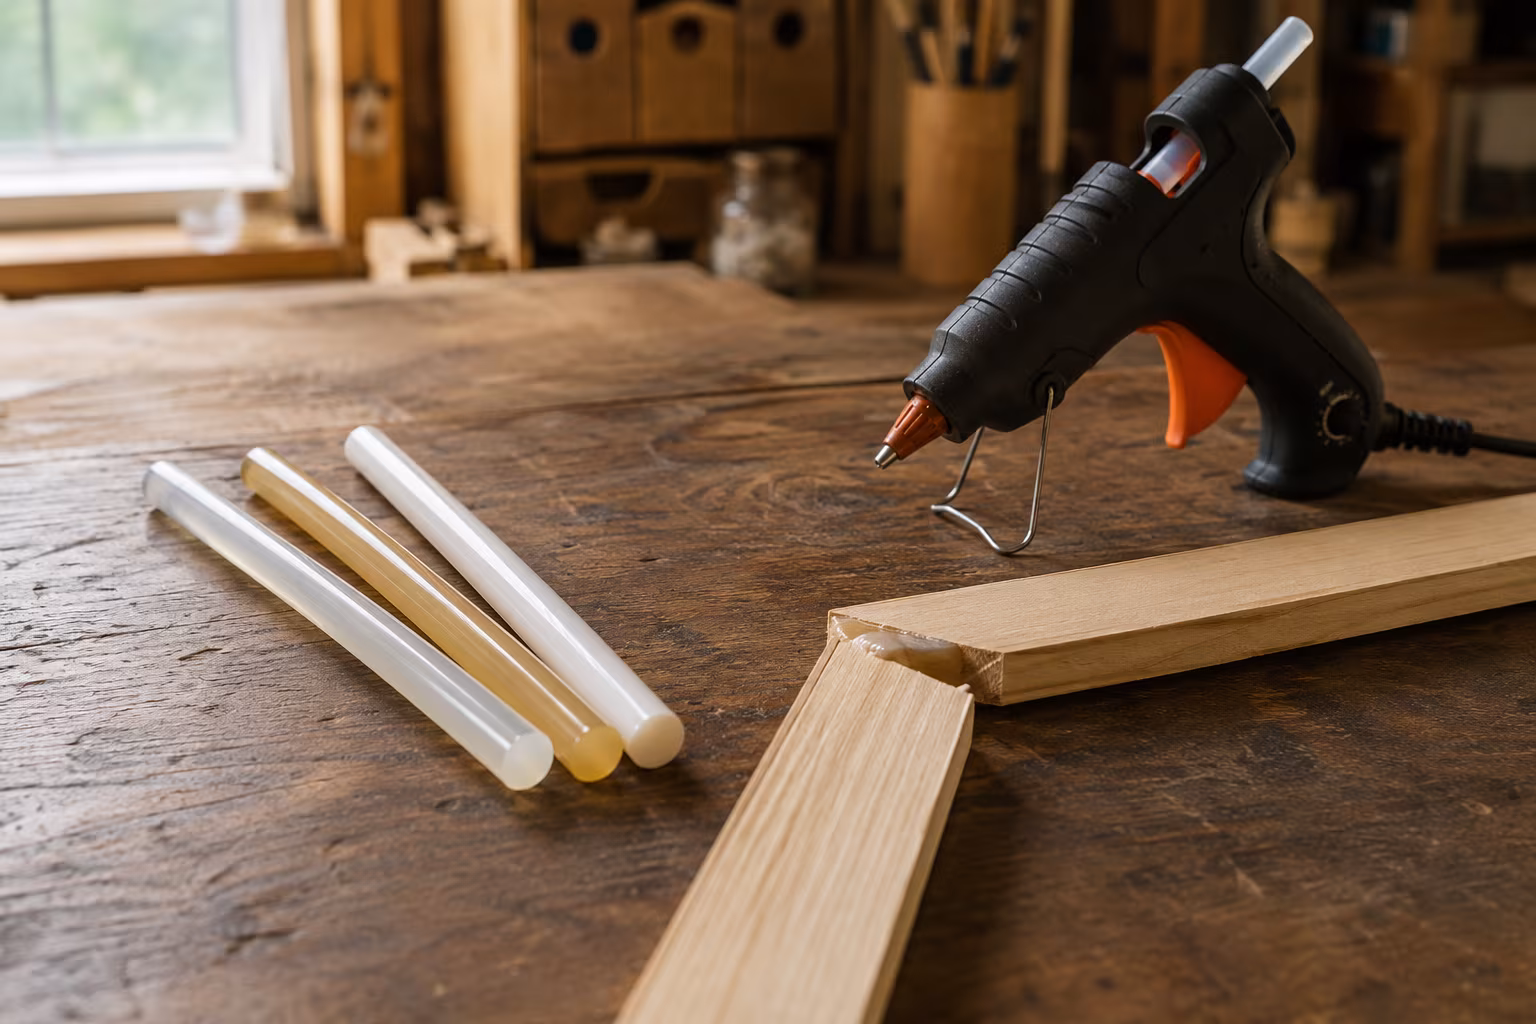
Hot Glue Sticks Compared: Low-Temp, High-Temp, Specialty
Low-temp glue sticks melt near 250°F, high-temp near 380°F. Compare stick types, specialty...

Sandpaper Grits Demystified: When to Stop Going Finer
Sand 80 to 120 to 180 for film finishes, 220 for oil, and stop there: finer burnishes wood and...