Why No-Mow Ground Covers Save Time and Water in Every Climate

A traditional lawn is one of the most demanding features in a yard: it wants weekly mowing through the growing season, regular watering, edging, and fertilizer. No-mow ground covers replace that turf with low, spreading plants that knit together into a living carpet and stay tidy on their own. The result is less equipment, far less irrigation, and a planting that suits almost any climate once you match the species to your conditions.
What You Gain by Replacing Turf
The practical payoff shows up in three places. Water is the biggest: many ground covers such as creeping thyme, sedum, and drought-tolerant clovers need a fraction of the water grass demands once their roots are established, which matters most through dry mid-summer stretches. Time is the second: no mowing, no bagging clippings, and no edging every week. The third is soil stability. The dense root mats hold soil on slopes and in runoff-prone areas where grass tends to wash out.
There are quieter benefits too. Flowering covers like clover and creeping thyme draw bees and other pollinators, so the planting becomes a small habitat instead of a monoculture. Many covers also thrive in problem spots where turf never took hold, such as dry shade under mature trees. For general lawn and garden guidance by region, university extension services like University of Minnesota Extension publish plant lists tuned to local conditions.
Choosing the Right Ground Cover
Selection comes down to four questions: How much sun does the area get? What is the soil like (sandy, clay, or loam)? Do you want flowers or plain foliage? And will people walk on it? Match the plant to the honest answer rather than the look you want.
For full sun and dry soil, microclover, creeping thyme, and sedum are reliable and handle foot traffic reasonably well. For shade and consistent moisture, Irish or Scotch moss and Vinca minor perform better. Native species are usually the most resilient choice because they are already adapted to your rainfall and temperature swings, so ask a local nursery which ones spread well in your area. If you want a companion planting for beds nearby, pairing a cover with low-maintenance perennials keeps the whole yard on the same watering schedule. Start with a test patch of about 10x10 feet so a mistake stays small.
Converting the Lawn, Step by Step
The old grass has to go completely, because even a few surviving roots will push up through the new cover and take over. There are three common ways to clear it. Hand-digging with a shovel and mattock is thorough but slow; a 100-square-foot patch of compacted soil can take a full weekend. Renting a sod cutter (roughly $70 to $100 per day) is faster for larger areas. Sheet mulching is the least strenuous: lay overlapping cardboard over the grass, top it with several inches of compost and straw, and let it smother the turf over a few months while it enriches the soil.
Once the grass is gone, spread two to three inches of quality compost and work it into the top few inches of soil. This improves drainage in clay and helps sandy soil hold moisture. A cheap soil-test kit will tell you whether pH needs adjusting for your chosen plant. Then plant: plugs and flats are easiest for beginners, spaced according to the plant tag. It will look sparse at first, but most covers fill in within a season. Seeds are cheaper (a 500-square-foot area of clover runs around $50 in seed) but slower to establish. Water in well right after planting.
The first three to four weeks are the critical window. Keep the soil consistently moist, watering deeply every day or two depending on weather, and hand-pull any weeds while the new plants are still small enough to be outcompeted. After that month, taper the watering off. Long-term care is minimal: a monthly walk-through to pull stray weeds, an optional light trim once or twice a year on vigorous growers like clover, and a thin top-dressing of compost each spring.
Common Mistakes to Avoid
Most failures trace back to a handful of errors. Not removing all the old grass is the biggest, because aggressive turf roots regrow straight through the cover and leave a patchy mess. Wrong plant for the site is next: a sun-loving thyme planted in deep shade grows leggy and weak. Planting too sparsely to save money gives weeds a long head start before the cover closes ranks, so err toward denser spacing. Overwatering after establishment invites root rot, while underwatering in that first month kills young roots outright. Finally, impatience: covers spread on their own schedule, and a patch that looks thin in spring is usually lush by late summer.
Feeding is rarely needed. Over-fertilizing pushes soft growth and reduces drought tolerance, so most gardeners skip it entirely and rely on that annual compost top-dressing as a light soil amendment instead. Converting even a single 10x10 section this season gives you a working model to judge before you commit the rest of the yard, and it turns a weekly chore into a planting that mostly takes care of itself.
Related Posts
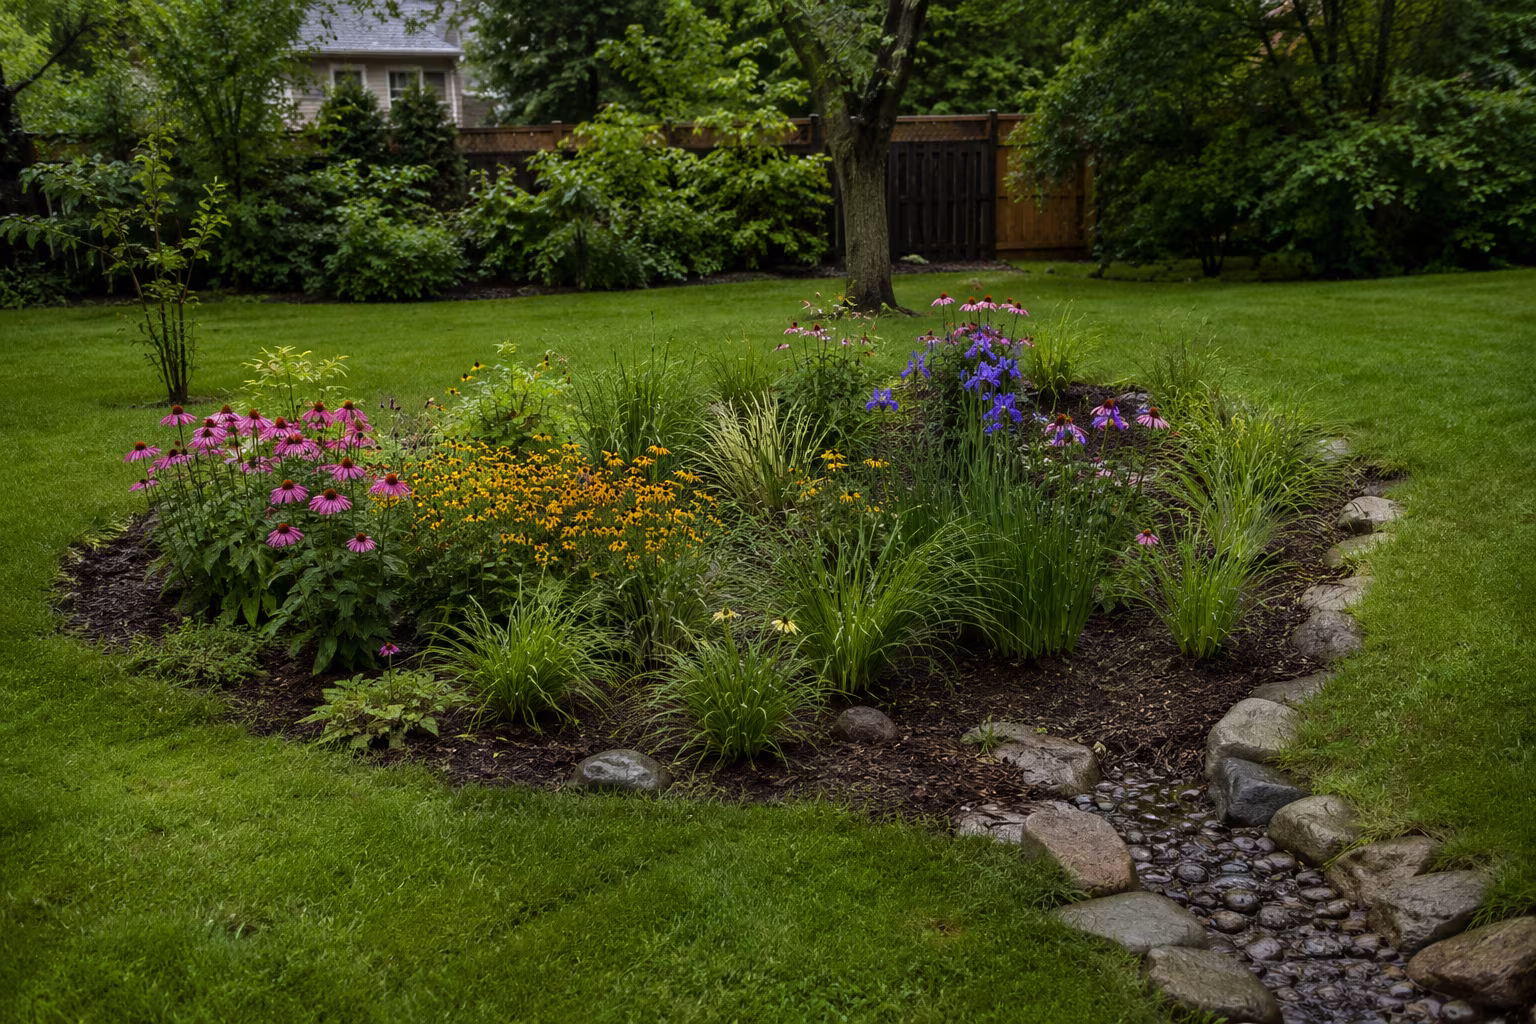
Building a Rain Garden That Actually Drains in Clay Soil
Rain gardens work in clay soil if you dig 12-18 inches deep, amend with coarse sand and compost...
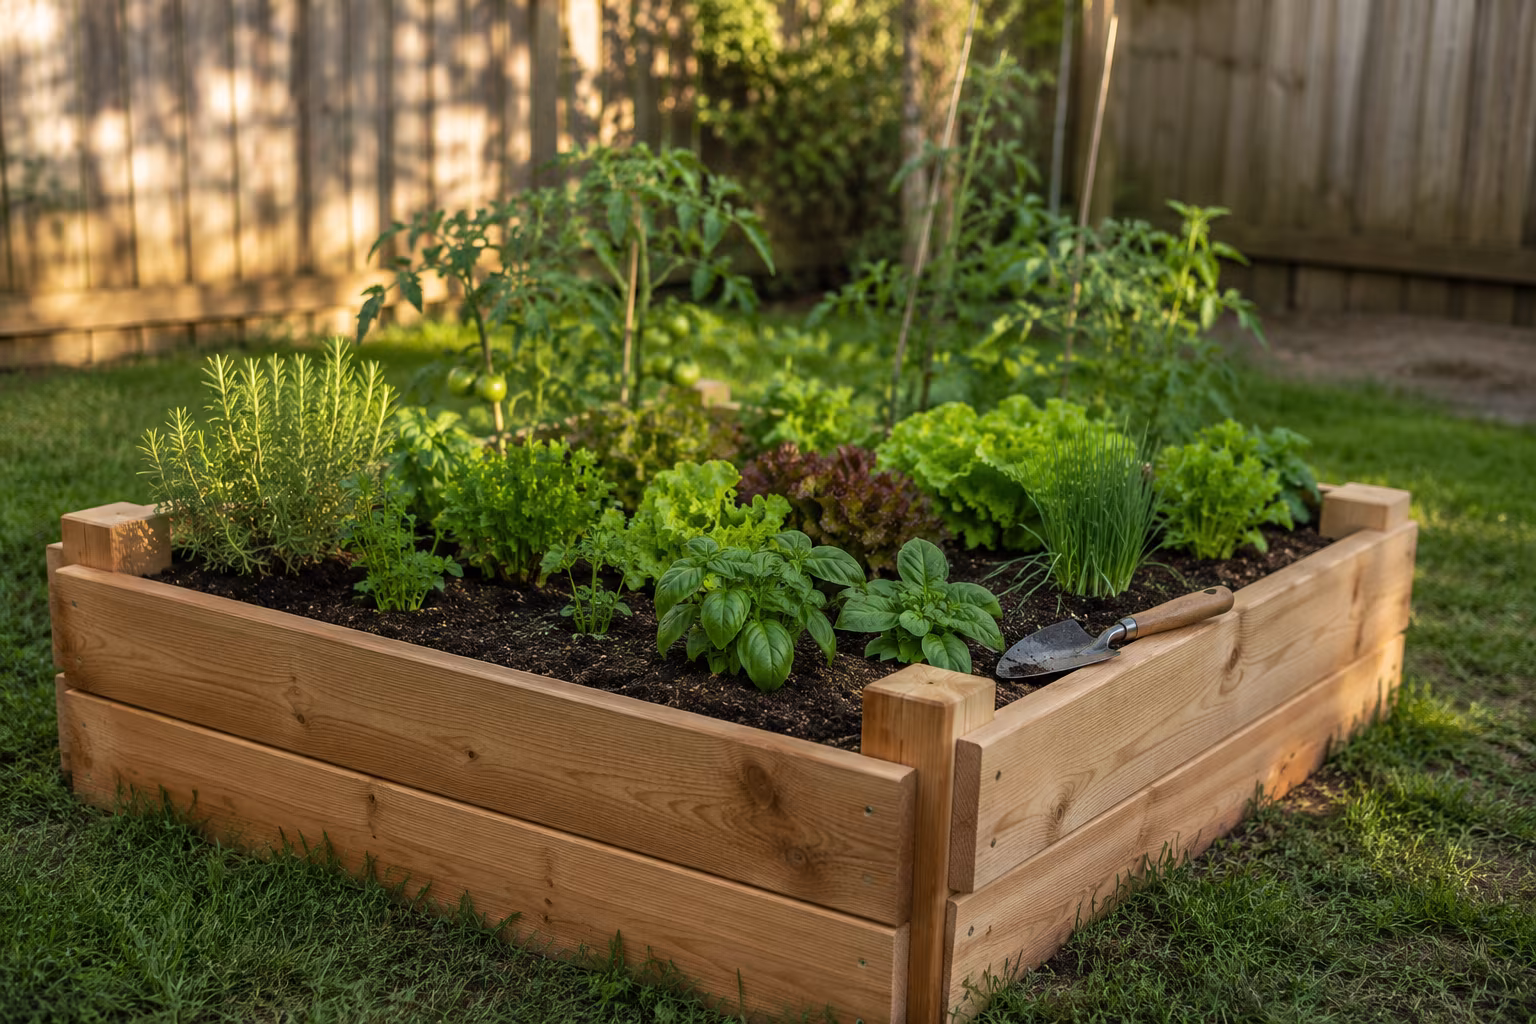
Pressure-Treated vs Cedar for a Small Raised Garden Bed
Cedar looks better and is organic-certified; modern pressure-treated lumber is cheaper, lasts...

Tarp Pitching for Side Wind: A Practical Field Guide
Pitching a tarp for side wind: lower the windward edge, why the plow point beats the A-frame...

The Complete Guide to Identifying and Removing Invasive Garden Plants
Identify English ivy, Japanese knotweed, garlic mustard, and thistles, then remove them for good...