Why Rotary Cutters Changed Quilting More Than Any Other Tool

The rotary cutter is a rolling circular blade mounted in a handle, used with a self-healing mat and a thick acrylic ruler to slice fabric into strips and shapes. Olfa introduced the first version for garment and craft use in 1979, and within a decade it had reshaped how quilts get made. Before it, cutting the pieces for a quilt top was the slowest, most error-prone stage of the whole process. After it, cutting became fast and repeatable enough that entirely new construction methods became practical.
This is a look at what the tool actually changed, how to set one up correctly, the cutting technique that keeps your fingers safe, and the mistakes that dull blades and waste fabric.
What Cutting Looked Like Before Rotary Cutters
Traditional fabric shears cut well for curves, garments, and small intricate shapes, and quilters still keep a sharp pair for clipping threads and trimming seam allowances. But for long straight strips and dozens of identical squares, scissors have real limits. The old workflow was: lay the fabric flat, mark every cut line with chalk or a fabric pencil against a ruler, pin the layers so they would not shift, then snip slowly along each marked line.
Two problems came out of that. First, scissors distort fabric as they cut. The blades pull and lift the cloth, and woven cotton stretches on the bias, so a line that measured straight while marked came out wavy once cut. Squares that were not truly square then refused to line up when pieced. Second, cutting through layers with shears for an hour or more causes real hand fatigue. The repeated squeezing motion strains the thumb and wrist, which is why quilters with arthritis often found the marking-and-cutting stage the hardest part of the craft.
How a Rotary Cutter Works
A rotary cutter is a handle holding a circular steel blade, usually with a spring-loaded or manual guard that covers the edge when it is not in use. You push it away from your body along the edge of an acrylic ruler, and the wheel rolls through the cloth the way a pizza cutter rolls through dough. Because the blade rolls rather than chops, it barely disturbs the fabric underneath, and it can cut cleanly through four to eight layers of quilting cotton in a single pass.
The tool never works alone. It needs a self-healing mat underneath, which protects both the blade and the table, and a thick clear ruler on top to guide the blade and hold the fabric in place. That three-part system is what removes the need to mark individual lines. You measure once against the ruler grid and cut, rather than marking, pinning, and snipping.
Speed: Hours Down to Minutes
Folding fabric into two or four layers means every pass cuts multiple identical strips at once. A set of strips for a lap-size throw that took most of an afternoon to mark and scissor-cut now takes roughly 20 to 30 minutes. That single change enabled strip piecing: you sew long strips together into a striped panel, then sub-cut that panel crosswise into ready-made pieced units. Whole families of patterns, from rail fence to log cabin variations, depend on cutting that is fast and accurate enough to make sub-cutting worthwhile. Chain-cutting identical squares for a simple patchwork used to be a chore; now it is a warm-up.
Precision and Why It Compounds
Quilting is geometry. A standard quilt uses a 1/4-inch seam allowance, and a block that finishes even 1/8 inch off will refuse to match its neighbors. That small error accumulates across a row and shows up as a wavy quilt top that will not lie flat. Guided by a rigid ruler, a rotary cutter produces a crisp straight edge every time, so seam allowances stay consistent, points meet, and blocks come out the size the pattern intended.
Accurate cuts pay off in three concrete ways: less recutting and therefore less wasted yardage, seams that match without stretching or forcing pieces to fit, and a flatter finished top that is easier to baste and quilt.
Choosing Your Cutter and Setup
You do not need much to start, but the three core pieces work as a set. Match the blade size to the work, choose a mat large enough for folded yardage, and buy a ruler long enough to cut a full width of fabric.
| Blade size | Best for | Typical layers |
|---|---|---|
| 28 mm | Curves, appliqué, small intricate pieces | 1–2 |
| 45 mm | General quilting: strips, squares, most piecing | 2–4 |
| 60 mm | Heavy fabric, long cuts, thick layer stacks | 6–8 |
If you buy one cutter, make it a 45 mm; it handles the large majority of quilting tasks. Pair it with a self-healing mat printed with a grid. A 24 x 36-inch mat is the practical starting size, big enough to cut yardage folded in half without dominating a work table. For the ruler, a 6 x 24-inch acrylic ruler with clear grid lines and marked 30-, 45-, and 60-degree angles is the standard all-rounder; add a 6.5-inch square later for squaring up blocks. Look for a cutter with a guard that retracts easily, and keep spare blades on hand since they are consumable. The general history and design of the rotary cutter traces the tool back to its garment-industry origins.
Preparing and Cutting Fabric
Prep first. Pre-wash cotton to preshrink it and remove excess dye, then press it flat, because any wrinkle throws off the measurement. To square up, fold the fabric selvage to selvage, lay the fold along one grid line on the mat, and trim one edge perpendicular to the fold to create a clean reference edge. Every later measurement starts from that edge.
The cut itself follows a fixed sequence:
- Position the ruler. Align the desired measurement line on the ruler with your clean fabric edge. For a 2.5-inch strip, set the 2.5-inch line on the fabric edge. Press down firmly with your non-cutting hand so the ruler cannot slip.
- Set the blade. Retract the guard, hold the cutter so the blade rides flat against the ruler edge, and start at the far end of the ruler, away from your body.
- Cut in one stroke. Roll the cutter away from your body with firm, steady pressure. Do not saw back and forth; aim for a single continuous pass that goes through all layers.
- Close it immediately. The instant you lift the cutter off the mat, retract the guard. Make it automatic, every single time.
Common Mistakes and Fixes
- Dull blade. If cuts fray, skip, or need hard pressure, the blade is done. Fighting a dull blade is both frustrating and more dangerous, because the extra force makes slips likely. Swap it early.
- Too little pressure. A skipping blade that leaves partially cut layers usually means light or uneven pressure. Lean your weight into the cut and keep the grip firm but relaxed enough to roll smoothly. Test on scrap to calibrate.
- Cutting toward yourself. Always cut away from your torso so a slip carries the blade away from your hands. Arrange the mat and fabric so your cutting arm moves outward.
- Skipping the mat or ruler. The mat and ruler are not optional accessories; freehand cutting dulls blades fast, wanders off line, and gouges furniture.
- Leaving the blade open. An exposed blade left on the table is how people, pets, and children get hurt. Retracting the guard on every lift prevents nearly all of it.
Blade and Mat Care
Blades are consumables rather than permanent parts. A large quilt might run through two or three; occasional use might get months from one. Reserve fabric blades for fabric only, since paper, cardboard, and felt dull an edge quickly, and keep an older cutter for paper crafts. Self-healing mats close up shallow cuts on their own, but deep gouges and repeatedly cutting the same groove will still wear them out, so vary your cutting paths and rotate the mat to spread the wear.
Frequently Asked Questions
Which brand should I buy?
Olfa and Fiskars are the two most widely used, and both make reliable cutters that last for years. An Olfa 45 mm is a common default for a first cutter. Either brand at the mid size is a safe choice.
How often should I change the blade?
Change it when you notice skipping, fraying, or the need to press much harder than usual to get a clean cut. Frequency depends entirely on how much and what you cut.
Can I cut paper with it?
You can, but paper and cardboard dull a blade far faster than cloth. Keep a separate older cutter for paper so your fabric blade stays sharp.
Are the mats truly self-healing?
Mostly. The surface closes shallow cuts, but deep gouges and repeated cuts in one line still wear it down over time. Rotate the mat and vary your paths to extend its life.
Is a rotary cutter safe for a beginner?
It demands respect like any sharp tool, but the rules are simple: cut away from your body, keep fingers clear of the blade path, and retract the guard whenever you stop. Followed consistently, it is safer than wrestling long cuts with scissors.
If precise cutting is what has kept you from trying quilting, a basic setup of a 45 mm cutter, a 24 x 36-inch self-healing mat, and a 6 x 24-inch acrylic ruler removes most of that barrier for well under the cost of a decent sewing machine. Prep your fabric, square one edge, and cut your first strips away from your body in single clean strokes; within a few cuts the motion becomes routine.
Related Posts
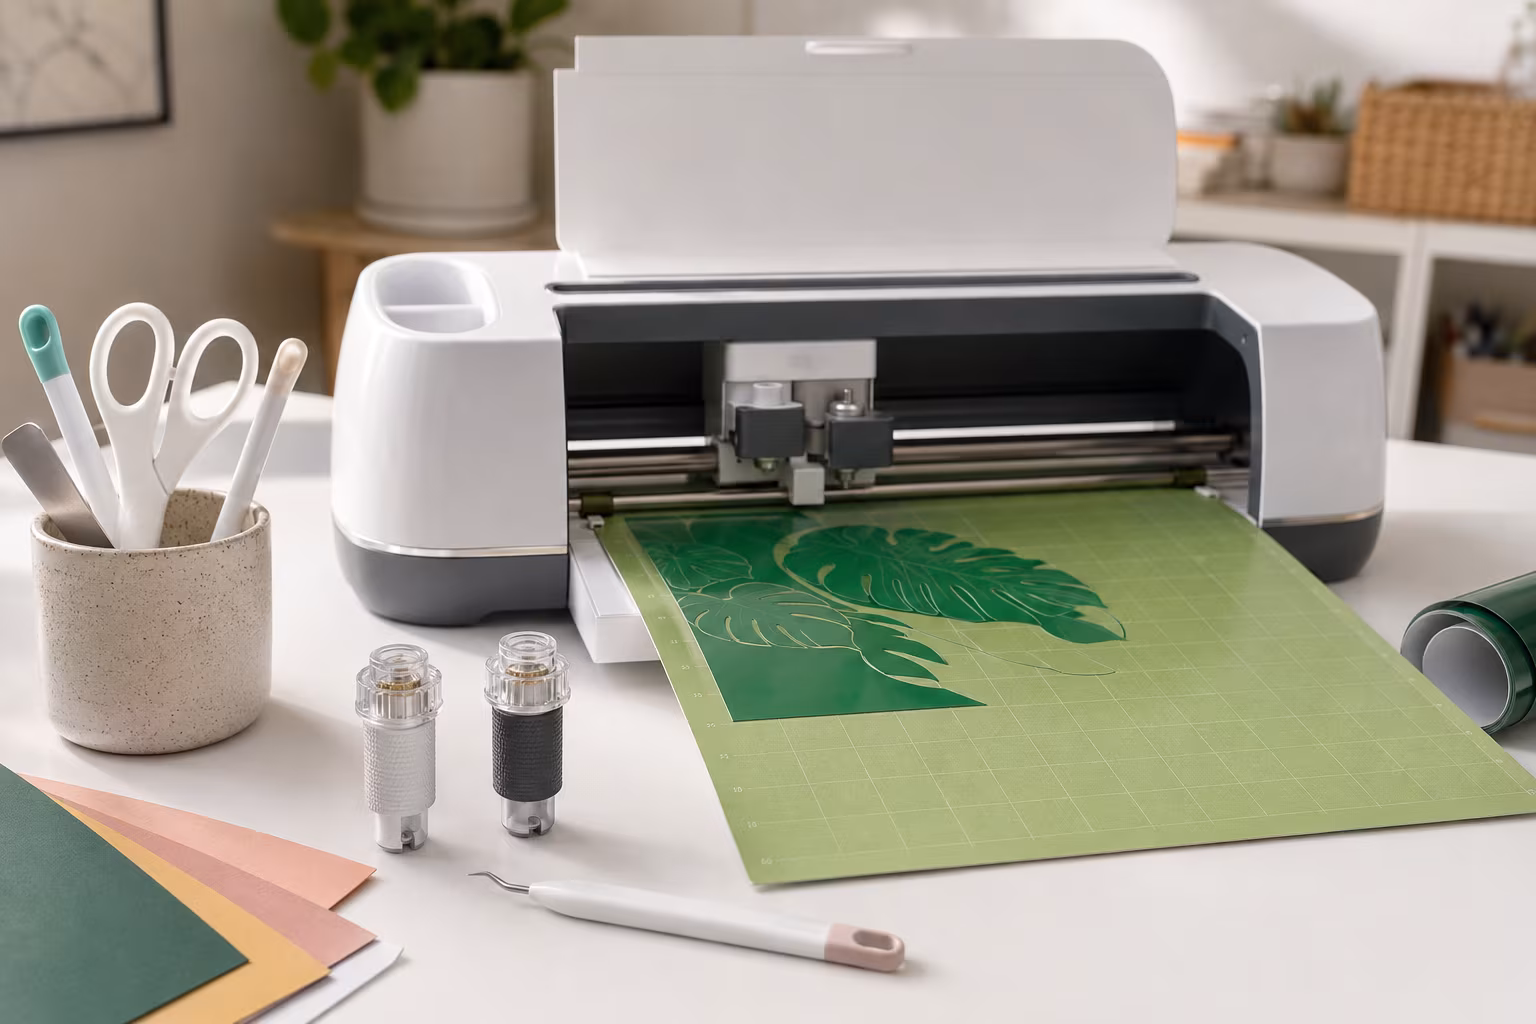
Beginner Cricut Blade Set: What You Actually Use Daily
The Cricut starter blade list is longer than most beginners need. The two or three blades that...
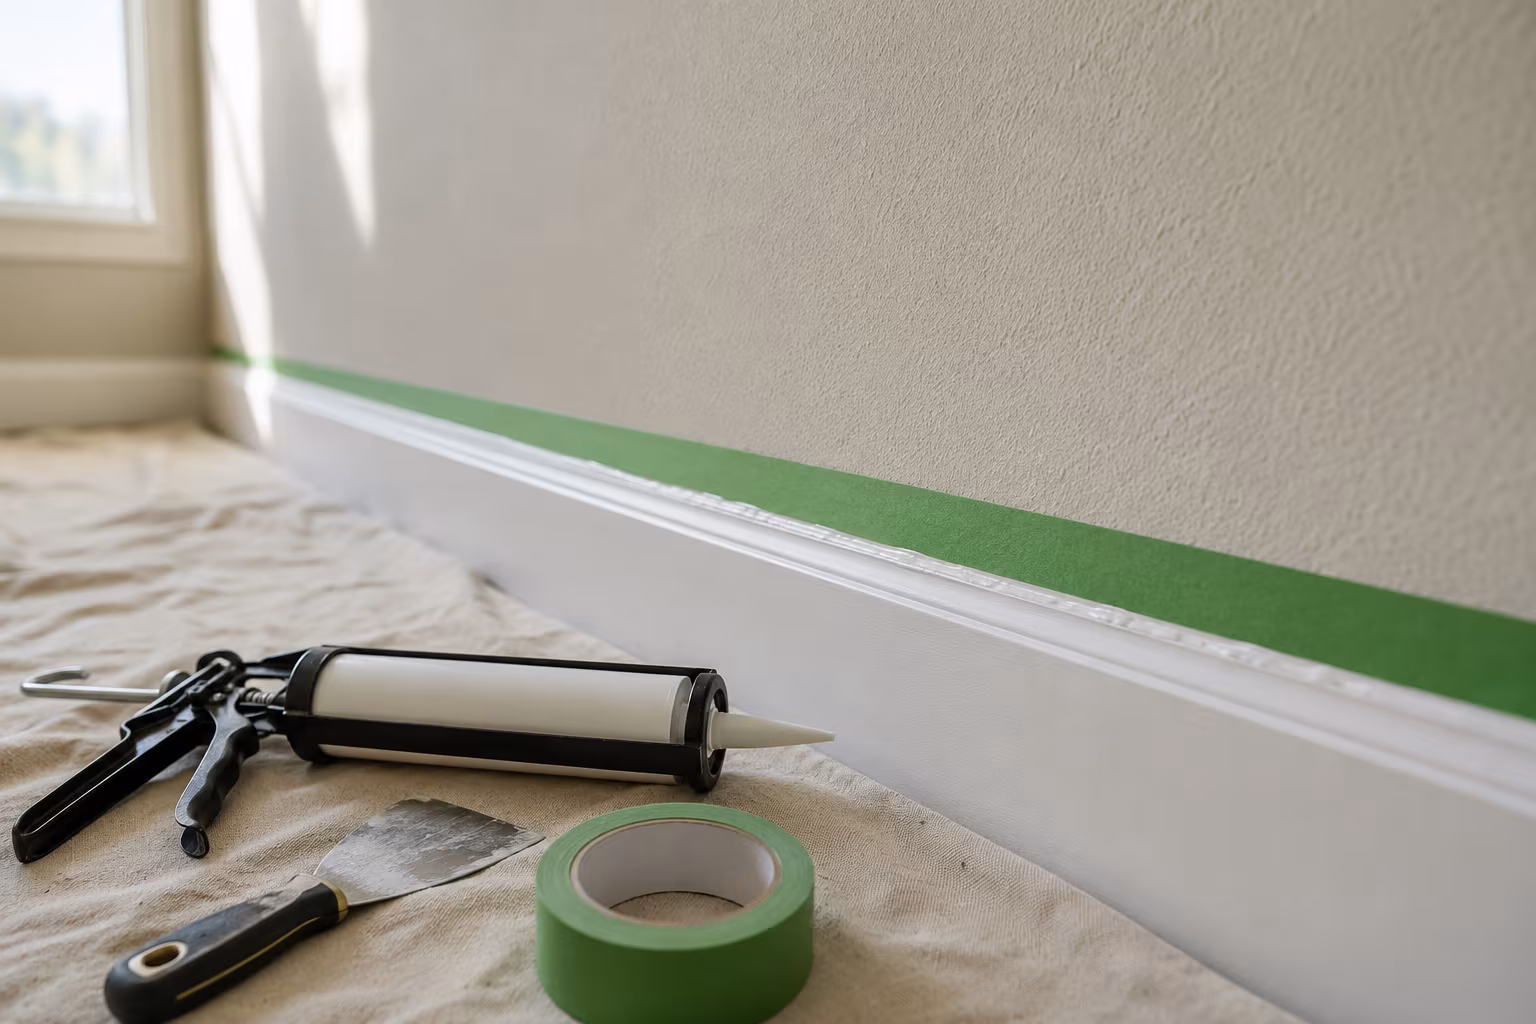
Painter's Tape for Crisp Lines on Textured Wall Surfaces
Standard blue tape bleeds on textured walls. The specialty tapes, caulk-edge-seal step, and...
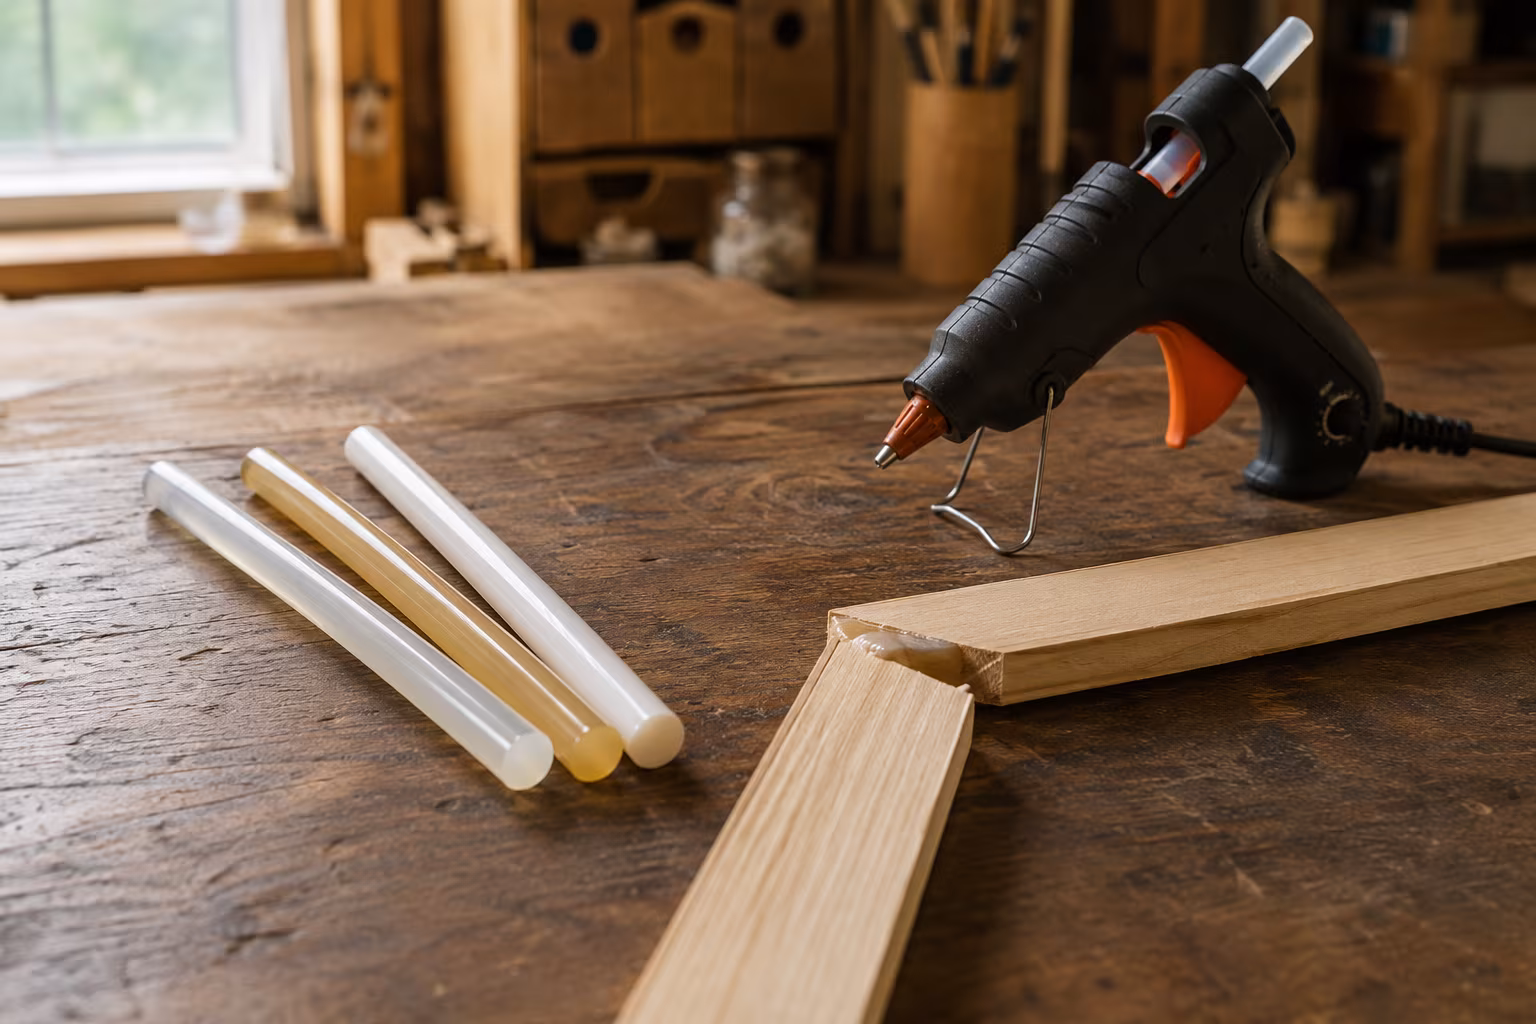
Hot Glue Sticks Compared: Low-Temp, High-Temp, Specialty
Low-temp glue sticks melt near 250°F, high-temp near 380°F. Compare stick types, specialty...

Sandpaper Grits Demystified: When to Stop Going Finer
Sand 80 to 120 to 180 for film finishes, 220 for oil, and stop there: finer burnishes wood and...