Why Silicone Mold-Making Kits Are Worth the Investment for Crafters
A two-part silicone mold-making kit captures the exact shape of an object so you can cast copies of it in resin, concrete, soap, wax, or plaster. For crafters who keep buying the same $3 to $5 embellishments or wish they could reproduce one perfect thrift-store find, a kit turns a single component into an unlimited supply. A decent starter kit runs $30 to $100 and, spread across the hundreds of casts a single mold can produce, pays for itself within a few projects.
Why Molds Pay Off
The core appeal is replication. A one-off object, a vintage button, a detailed gear, a seashell, becomes a mold you can cast from for pennies per copy. The same logic applies to your own designs: sculpt something in clay, print a 3D model, or pick up an interesting natural object, and you can reproduce it exactly instead of assembling projects from whatever the craft store stocks.
Silicone is the standard material for three reasons. It is flexible, so cured casts pop out without damage. It is naturally non-stick, so most casting materials release cleanly. And it is durable, holding fine detail through repeated use. A quality mold cast in resin as easily as it takes clear resin without trapped air bubbles will still perform after dozens of pours.
What Comes in a Kit
Most kits contain two liquid components, labeled Part A and Part B, that cure into flexible rubber when mixed. Beyond the silicone itself you will want mixing cups, stir sticks, and nitrile gloves. The kit's real value shows once you realize a single mold works across many casting materials, each with its own working characteristics.
| Casting material | Typical set/cure time | Best for |
|---|---|---|
| Epoxy resin | 24 hours to full cure | Jewelry, clear coasters, embedded objects |
| Fast-set concrete | 30 to 60 minutes to demold | Planters, trays, industrial-look decor |
| Melt-and-pour soap | 1 to 2 hours to set | Guest soaps, textured bars |
| Candle wax | 1 to 3 hours to set | Molded pillar and novelty candles |
| Plaster of Paris | 20 to 40 minutes to demold | Wall hangings, paintable ornaments |
The same succulent planter mold can produce a translucent resin version and a grey concrete version with no change to the mold itself. That single-mold, many-material flexibility is what spreads the cost across so many projects.
Working Time and Silicone Types
Two numbers on the label matter more than the price. Pot life (or working time) is how long the mixed silicone stays pourable, usually 15 to 45 minutes; a short pot life means you must mix and pour quickly, so read it before you commit to a large master. Cure time is how long until you can safely demold. Tin-cure (condensation-cure) silicones are the affordable hobby standard and tolerate imperfect mixing better, while platinum-cure (addition-cure) silicones capture finer detail and last longer but can be "inhibited" (left permanently tacky) by contact with latex, sulfur-based clay, or some superglues.
For a first purchase, a tin-cure kit around Shore A 20 to 30 hardness is forgiving: soft enough to flex a cast out, firm enough to hold its shape. Match the mold type to the object, too. A one-piece open pour, silicone poured over an object in a box, works for anything with a flat back, like a coin or a charm. Objects that need detail on all sides require a two-part block mold or a brush-on glove mold, which are worth learning only after the basic pour feels routine.
Making Your First Mold
Set everything out before mixing, because most silicones start curing the moment the two parts combine. Wear gloves throughout; uncured silicone is sticky and unpleasant to clean off skin.
- Prep the master object. Clean and dry it. Dust or grease blocks fine detail. Porous items, unsealed wood, paper, cardboard, or bare clay, must be sealed first with a few light coats of clear acrylic spray, or the silicone will bond to them permanently.
- Build a containment box. Snapped-together LEGO bricks, a cut plastic container, or hot-glued plastic sheet all work. Leave 1/4 to 1/2 inch of space around and above the object so the finished mold is sturdy.
- Secure the master. Anchor it to the bottom of the box with a dab of hot glue or non-sulfur clay so it cannot float or shift when silicone is poured.
- Mix the two parts. Follow your kit's ratio exactly, usually 1:1 by volume or weight. Stir thoroughly for 3 to 5 full minutes, scraping the sides and bottom repeatedly until the color is uniform with no streaks.
- Pour slowly from a height. Aim a thin stream into one corner from 12 to 18 inches up and let the silicone flow across and engulf the object. Pouring from height stretches the stream and helps release trapped air.
- Cure undisturbed. Cure times run 4 to 24 hours depending on product and temperature. A cooler room extends the time, so give it an extra hour or two before demolding.
- Demold and inspect. Peel the box away, then gently flex the cured silicone off the master. Trim any thin flash with a craft knife.
Common Mistakes and Fixes
Under-mixing leaves tacky spots that never cure and transfer stickiness to your casts. Scrape the container walls religiously and time your mixing rather than eyeballing it.
Trapped bubbles show up as holes on finished casts. The slow high pour is your first defense; after pouring, tap the box against the table for a minute or two to float bubbles to the surface. Hobbyists get good results without the vacuum chamber the pros use.
Skipping the sealer on porous masters fuses the object into the mold and ruins both. Seal wood, paper, and unglazed clay before molding, every time.
Too little silicone produces a thin mold that tears when you pull a cast. Aim for at least 1/4 to 1/2 inch of silicone on every side, including above the highest point of the object.
Rushing the cure gives you a weak, distorted, or torn mold. Set a timer and walk away; full cure is what gives the silicone its strength.
Frequently Asked Questions
Can I make food-safe molds? Only with a silicone kit specifically labeled food-safe. Never use general crafting silicone for anything that will touch food or candy.
What can I mold? Almost any non-porous or properly sealed object that can sit submerged for a few hours without damage, plastic toys, coins, seashells, buttons, 3D prints, small sculptures. Silicone itself is described in more detail in the overview of silicone materials on Wikipedia if you want the chemistry behind why it releases so cleanly.
How long do molds last? Hundreds of uses with care. Store them flat so they hold their shape, clean with mild soap and water, and avoid abrasive scrubbing or harsh solvents that degrade the rubber.
What if my first mold is imperfect? A few bubbles or a slight lopsided edge are normal on a first attempt and often add character to casts. Each mold teaches you whether to mix longer or tap more before the next pour.
Related Posts
Beginner Cricut Blade Set: What You Actually Use Daily
The Cricut starter blade list is longer than most beginners need. The two or three blades that...
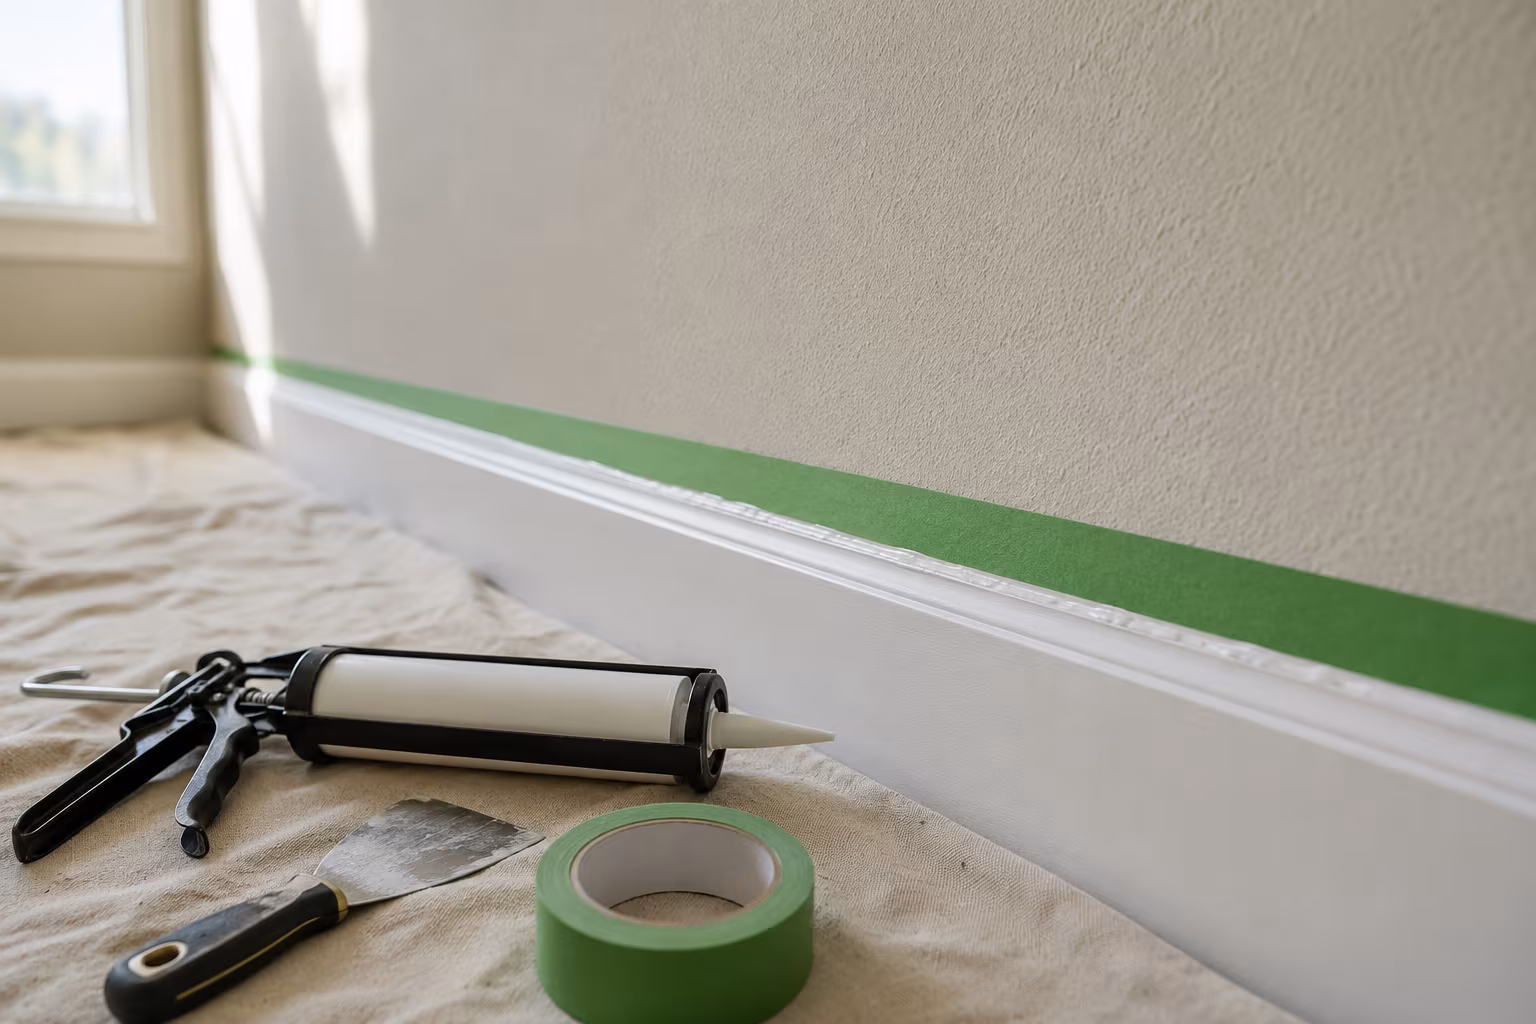
Painter's Tape for Crisp Lines on Textured Wall Surfaces
Standard blue tape bleeds on textured walls. The specialty tapes, caulk-edge-seal step, and...
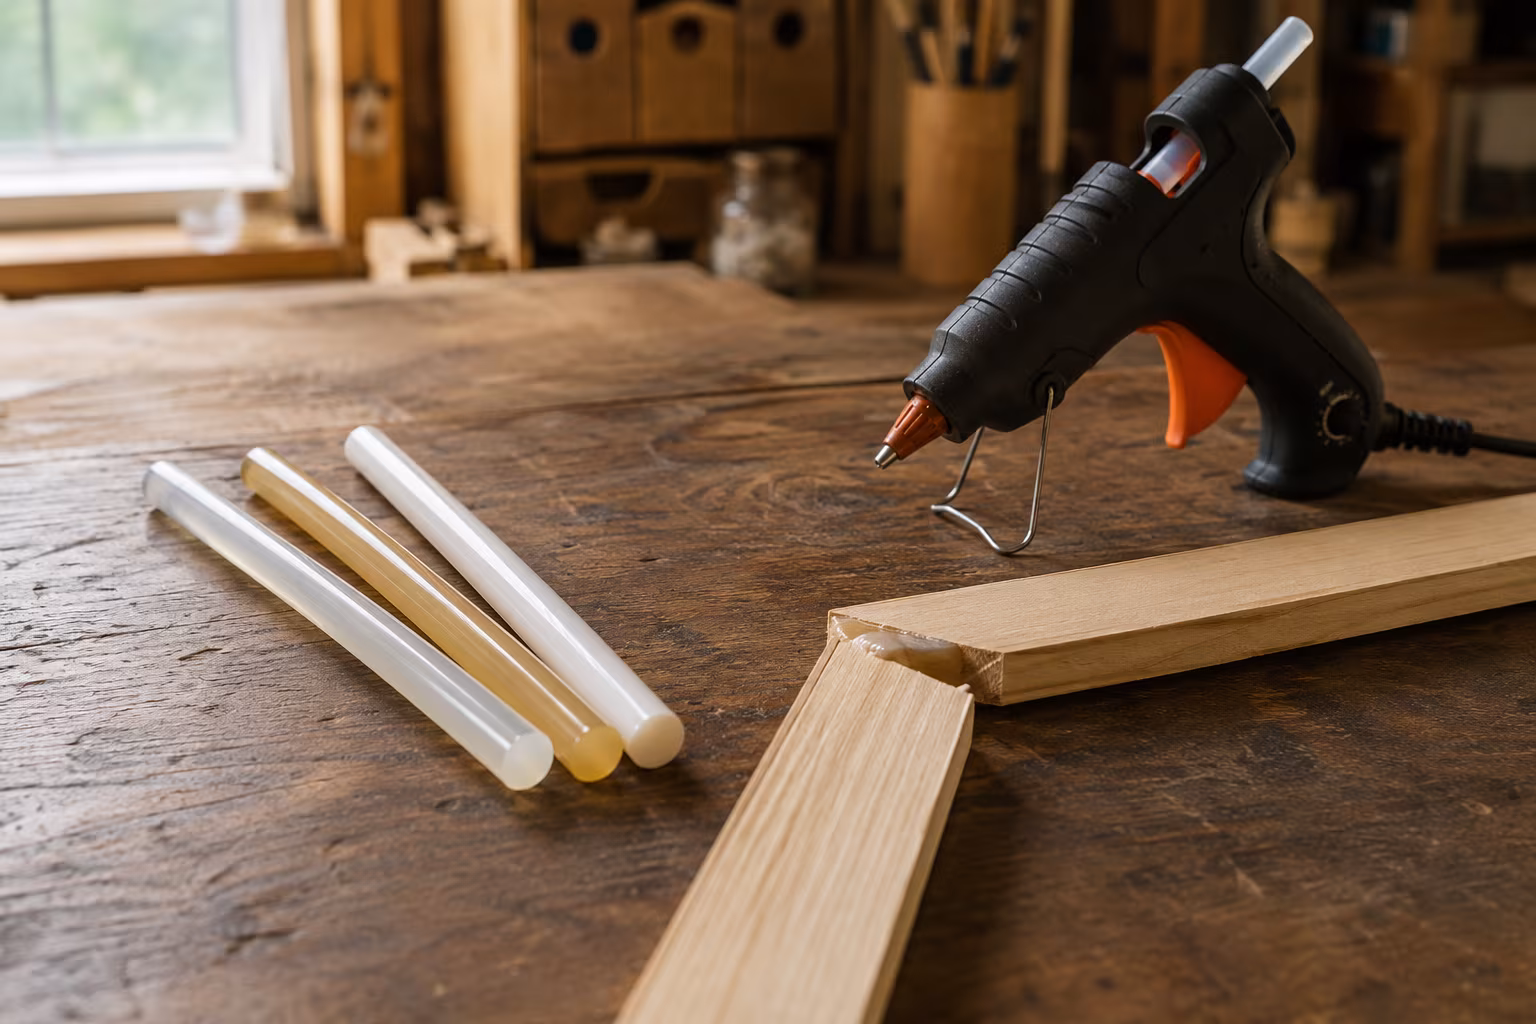
Hot Glue Sticks Compared: Low-Temp, High-Temp, Specialty
Low-temp glue sticks melt near 250°F, high-temp near 380°F. Compare stick types, specialty...

Sandpaper Grits Demystified: When to Stop Going Finer
Sand 80 to 120 to 180 for film finishes, 220 for oil, and stop there: finer burnishes wood and...