
Why Virtual Craft Workshops Still Work Better Than YouTube Tutorials
A recorded tutorial can show you a finished dovetail joint or a poured resin coaster, but it cannot tell you why your paper keeps ripping at the crease or why your glue will not grab. That gap — the moment you get stuck with no one to ask — is where most self-taught projects stall out and end up in a drawer. Live virtual craft workshops close that gap. They cost more than free video, but for actually learning a physical skill and finishing a project, the trade is usually worth it. Here is exactly what they do differently and how to pick a good one.
Live Workshop vs. Recorded Video: The Core Difference
A virtual workshop is a scheduled live class where you connect with an instructor and a small group online, everyone working the same project at the same time, with time built in to ask questions and show progress. A recorded tutorial is a one-way library entry — excellent for a 10-minute overview or a single quick tip, useless the moment your material behaves differently from the one on screen. The distinction is coach versus textbook. Both have a place, but a physical skill is learned by doing it under correction, and only one of these formats can correct you while you work.
Real-Time Feedback Fixes What Video Cannot
The single biggest advantage is that a live instructor sees your work through your webcam and responds immediately. Three things follow from that:
- Instant answers. When your glue is not sticking or you are unsure how to hold a tool, you ask and get an answer in the moment instead of hunting through five more videos.
- On-the-spot correction. Instructors routinely catch small errors as they happen — a brush held at the wrong angle, a saw pushed instead of pulled, paper folded against the grain — the kind of mistake a recorded video can never notice because it cannot see you.
- Shared troubleshooting. Another student's question often surfaces a problem you did not know you had, and you absorb the fix without failing your way into it first.
That grain-direction example is not hypothetical. Ripping at the fold is almost always a sign the paper is being bent across its grain rather than along it — a two-second correction in a live class, and an evening of wasted cardstock without one.
Structured Pacing and a Finished Project
Recorded videos are edited for watch time, which means the tricky, slow parts are often the parts cut out. Workshops are built for the opposite goal. The instructor sets the pace and waits for the group to complete each step before moving on, so you are not racing an edited timeline. The session is designed so you walk away with a finished piece — a bound book, a printed shirt, a poured mold — or far enough along to complete it confidently at home. And good instructors teach the foundations rather than assuming them: how to hold a ruler square, how to mix paint to the right consistency, how to load a brush. Those unglamorous basics are exactly what tutorials skip and exactly what separates a project that works from one that does not.
The pacing also protects you from a specific trap of self-teaching: skipping ahead. With a video you can jump past a step that looks tedious, then discover an hour later that the tedious step was load-bearing. A live class holds the whole group at each stage, so you complete the boring-but-essential parts — measuring twice, letting glue set, sanding between coats — in the right order rather than learning the hard way why they mattered. That enforced sequence is one of the quieter reasons people finish workshop projects and abandon video ones.
Community and Accountability
Crafting alone makes it easy to quit quietly. A workshop puts you in a temporary group all facing the same challenge, and that changes the odds you finish. Seeing other people struggle with the same step is reassuring rather than discouraging. Having committed to a specific date and time creates a gentle push to show up, and knowing you will share your work — even just with the instructor — nudges you to actually complete it. You also pick up ideas watching how others interpret the same instructions, which is the kind of lateral inspiration a solo video session never delivers.
Where to Find Workshops
Live classes are scattered across many places rather than one central site, which is a feature — it means more variety. Platforms like Skillshare and Domestika carry huge catalogs, though those lean toward pre-recorded courses rather than live sessions. For genuinely live, scheduled workshops, look at Eventbrite listings, the event calendars of local craft and art stores, and nearby makerspaces or studios, many of which now run their in-person classes as hybrid or online events. Independent artists frequently host directly through their own sites or their own studio channels. Trade organizations are another reliable starting point; a yarn craft, for instance, is well served by the Craft Yarn Council and the local shops that follow its standards. Some of the best finds are a nearby shop's online calendar, even when the class itself is virtual.
How to Vet an Instructor
Treat a workshop like any purchase and spend a few minutes checking it before you pay. Look for a listing that states plainly what you will make, which specific skills it teaches, the experience level it targets — beginner, intermediate, advanced — and a detailed supply list. Read the instructor's background and any past-student reviews, paying attention to teaching style rather than just portfolio quality. Someone whose work is stunning but whose manner is intimidating will make you hesitate to ask questions mid-class, which defeats the entire reason you signed up. You want an instructor who reads as approachable, because the value here is the questions you feel comfortable asking.
Setting Up Your Space and Supplies
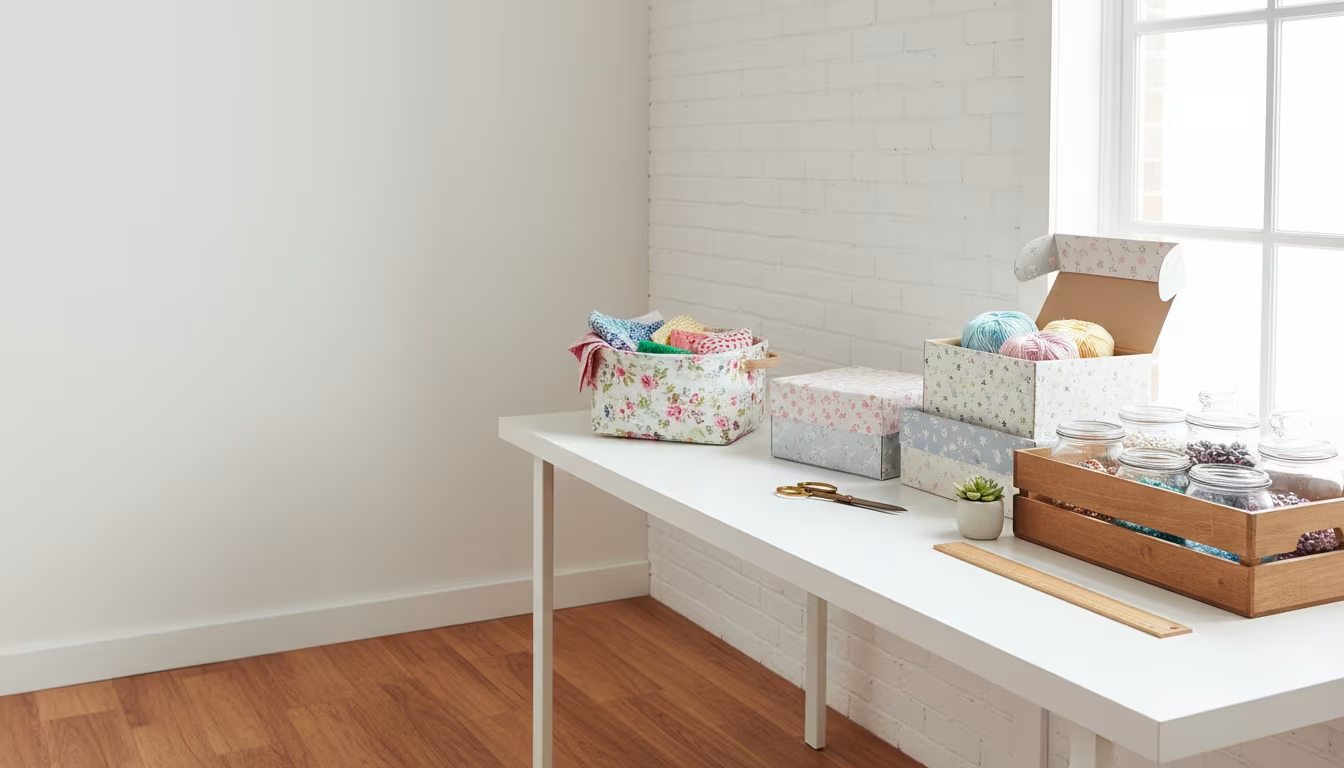
This is the most-skipped step and the one that most affects how the session goes. Read the supply list days ahead and gather everything before class starts — the scramble to find one specific glue or a small pair of scissors while the group moves on is pure avoidable stress. Test your webcam and microphone in advance. Clear a work surface that is well lit, ideally by a window or a strong lamp, and angle the camera so the instructor can actually see your hands and your piece; feedback is only as good as their view of your work. Block out 30–60 minutes beforehand to lay out tools, position the camera, and settle in, the same way you would prepare for a real appointment.
Engaging and Following Up
You have paid for interaction, so use it. Ask questions the moment you are unsure — if you have one, someone else almost certainly does — and use the chat function if unmuting feels awkward, or the designated Q&A breaks. Show your progress when the instructor invites it. Afterward, the learning continues: practice the new technique within a day or two while it is fresh, since repetition is what makes a skill stick. If a class teaches you to use a miter saw safely, cut some scrap the next day at different angles. Many workshops also provide a recording or follow-up notes, so take advantage of them, and photograph your finished piece — including the in-progress shots — as a record of how far you have come.
What You Pay For
The cost is the honest tradeoff against free video, and it helps to know what the fee actually buys. Live single-session workshops commonly run from about $25 for a short online class up to $75–$150 or more when a materials kit ships to your door. Recorded-course subscriptions on platforms like Skillshare or Domestika sit lower per class but give you none of the live interaction. What the higher price covers is specific: scheduled instructor time, real-time feedback on your own work, a curated supply list or kit so you are not guessing which glue or blade to buy, and often a recording plus follow-up notes you keep. Judged as passive entertainment, a workshop looks expensive next to free video. Judged as skill instruction — the thing that actually gets a project finished — it competes with a private lesson at a fraction of the cost. If budget is tight, look for shorter beginner sessions that let you bring your own supplies rather than paying for a shipped kit.
Common Mistakes and How to Avoid Them
A handful of predictable errors undercut otherwise good classes:
- Underestimating prep time. Logging on five minutes early guarantees you start stressed and behind. Reserve 30–60 minutes for setup instead.
- Staying silent. A held-back question is a missed correction. Write questions down as they occur and drop them into the chat rather than waiting for a "smart" one.
- Expecting a perfect first result. You are there to learn the process, not to match the instructor's sample on attempt one. First versions carry a rough charm; that is normal.
- Poor lighting or camera angle. If the instructor cannot see your work, they cannot help. A window or a bright lamp and a clear view of your hands is enough — no special gear required, the same setup that good natural light placement gives any indoor task.
None of this makes recorded video worthless — it is still the fastest way to grab a quick tip or preview a technique before committing. But the next time a craft intimidates you, book a live session instead of collecting another bookmark. Pick a beginner-labeled workshop with a clear supply list, prep your table and camera the hour before, and plan to leave the class with a finished object in hand rather than a folder of good intentions. Whether it is etched glass, a first hand-tool cut, or a screen-printed shirt, the real-time correction is what turns watching into making.
Live vs. recorded, honestly:
| Aspect | Live workshop | Recorded tutorial |
|---|---|---|
| Feedback | instructor corrects you mid-stitch | one-way; you guess |
| Cost | ~$25 short → $75–$150+ with materials kit | free |
| Prep | 30–60 min: tools out, camera set | none |
| Best for | technique you keep failing alone | 10-minute overviews and quick tips |
Related Posts
Workshop Air Compressor Sizing: CFM and SCFM
Air compressor matched to your tools means smooth work; too small means constant waiting. CFM...

Workshop Dehumidifier Sizing for Tool Rust Prevention
Tools rust silently when shop humidity sits over 60%. The pint capacity that matches your shop...
Bench Vise Sizing and Mounting for First-Time Buyers
Bench vises bolted to scrap plywood pull right out. The right size for the work, the right...
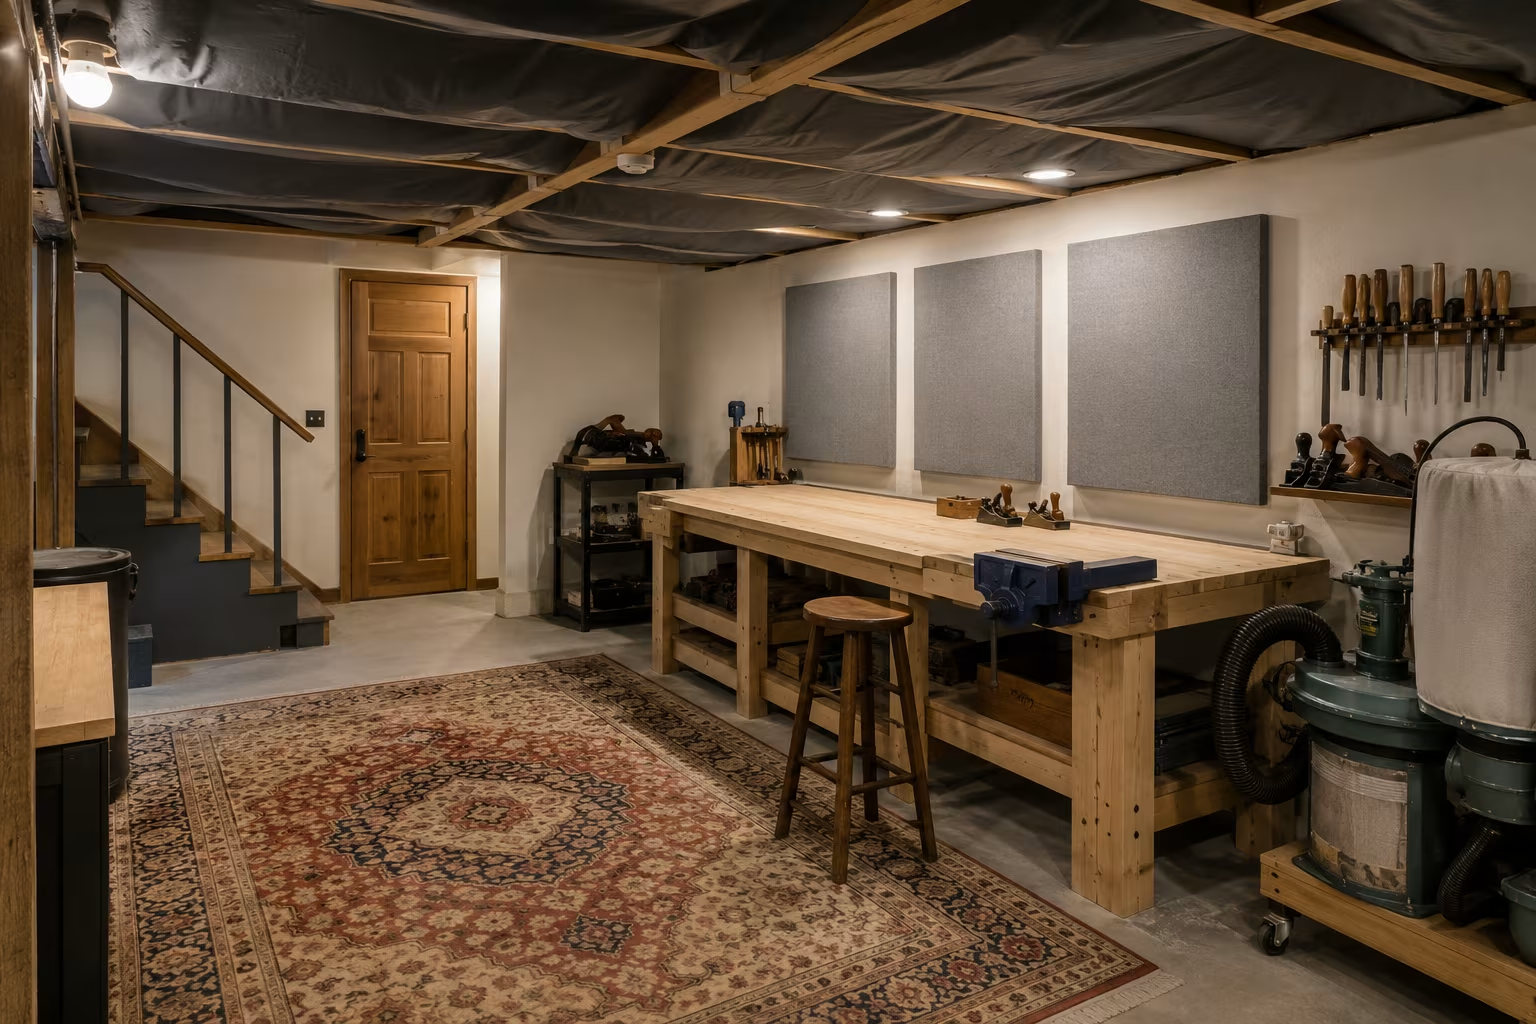
Soundproofing a Basement Workshop on a Renter's Budget
Basement shop noise traveling up to the family room is how you lose workshop privileges. The...
Comments
No comments yet. Be the first to share your thoughts!