How to Build a Murphy Desk That Folds Flat Against Your Wall
How to Build a Murphy Desk That Folds Flat Against Your Wall
You know that feeling, right? When your dining table doubles as your office, craft station, and, well, dining table? Or maybe you've got a corner of a tiny apartment that's just begging for a dedicated workspace, but you can't spare the square footage for a permanent desk.
I totally get it. My own small Portland workshop can feel like a game of Tetris sometimes. Before I really got into making, my kitchen counter was often buried under half-finished projects and laptop cables. It was a mess, and it definitely didn't spark joy.
That's exactly why I decided to tackle a Murphy desk project a while back. It's a brilliant solution for getting a functional workspace that literally disappears when you're done with it. 👋 We're talking about a desk that folds neatly against your wall, freeing up precious floor space.
Today, I'm going to walk you through how I built mine. We'll chat about why this desk is a game-changer for small spaces, what materials you'll need, and every step from cutting wood to those all-important finishing touches. I'll even share some of the hiccups I ran into, because let's be real, DIY isn't always a smooth ride.
Why This Actually Matters
In our homes, every inch counts, especially if you're like me and have a knack for collecting hobbies. A traditional desk can hog a huge amount of space, making a small room feel even smaller and more cluttered. It can be hard to relax when you're constantly looking at your work setup, even when you're off the clock.
Think about it: that desk is sitting there, taking up space, whether you're using it or not. For a long time, I just dealt with it. I'd move my laptop from the kitchen table to the couch, then back again, always feeling a little disorganized. I needed a dedicated spot for my computer, for sorting papers, or even just for a quick sewing project, but I couldn't sacrifice the flexibility of an open room.
A Murphy desk changes all of that. You get a fully functional, sturdy workspace exactly when you need it. And when you don't? It folds away, flat against the wall, looking more like a piece of art or a simple cabinet. It's like having your cake and eating it too, but with sawdust.
For me, it meant finally having a dedicated spot for my laptop and some basic paper craft tools without having my dining room look like a permanent office. I used some leftover plywood and hinges I found at a flea market for $8, and it completely transformed that corner of the house. It's truly about reclaiming your space and your sanity.
The Basics of a Folding Desk
Okay, so what exactly is a Murphy desk? At its heart, it's a desk that's hinged to a wall frame, allowing the desktop surface to fold up and away when not in use. It's a clever bit of engineering, even for us hobbyists.
The beauty of it is its simplicity. You don't need super complex mechanisms. A few strong hinges, a sturdy piece of wood for the desktop, and a reliable way to support it when it's open are really all you need.
When I first thought about building one, I pictured elaborate springs and counterweights. But honestly, it's much more straightforward than that. We're essentially building a robust shelf that can pivot up and down. The trick is making sure it's secure, stable, and blends in nicely when it's folded up.
What Exactly are We Building Here?
Let's break down the main components of a basic Murphy desk. Understanding these parts really helps visualize the whole project.
- The Desk Panel - This is the actual work surface, the piece of wood you'll work on. It needs to be sturdy enough to hold your laptop, books, or craft supplies without bowing.
- The Wall Frame - This is the rectangular structure that attaches to your wall. It essentially acts as a cabinet or box that the desk panel folds into or against. It's super important for stability.
- The Hinges - These are the magic makers! They connect the desk panel to the wall frame, allowing it to pivot. You need strong, reliable hinges for this job.
- The Supports - When your desk is open, it needs something to hold it up. This could be folding legs, chains, or sturdy triangular brackets.
- The Latch/Closure - This keeps your desk panel neatly folded against the wall when you're not using it. Simple magnetic latches or barrel bolts work great.
I actually spent a good two hours just sketching out different ways these pieces could fit together before I even bought any wood. Don't skip that planning phase, it saves so much headache later on, trust me.
How to Actually do It
Alright, let's get down to the fun part: making some sawdust! This project might seem a little intimidating if you haven't done much woodworking, but I promise, if I can do it, you can too. I made plenty of mistakes along the way, and I'm still using that desk today.
I remember staring at my first piece of plywood for this project, saw in hand, wondering if I was really going to pull it off. You'll probably feel a little bit of that, and that's totally normal. Just take it one step at a time, and don't rush.
Step 1: Planning and Gathering Materials
Before you cut anything, you need a solid plan. Start by deciding where your desk will go and how big you need it to be. Measure your available wall space carefully, thinking about things like light switches, outlets, and how much room you need to stand or sit comfortably.
Sketch it out! Seriously, a rough drawing helps immensely. Decide if you want the desk to fold into a shallow box on the wall, or simply fold against a flat frame. I opted for folding against a flat frame because it was simpler for my first attempt.
Here's a basic shopping list for my desk, which measured about 30 inches wide by 20 inches deep:
- One sheet of 3/4-inch plywood (I used birch, super strong and takes stain well).
- Strong hinges – I used a 24-inch piano hinge for continuous support, but heavy-duty butt hinges (at least three) work too.
- Wood screws (various lengths – shorter for hinges, longer for wall mounting).
- Wood glue.
- Folding desk legs or strong metal folding brackets (I used two folding legs I found at a home improvement store for $10 each).
- A magnetic latch or barrel bolt to keep it closed.
- Stud finder, level, measuring tape, pencil.
- Sander and sandpaper.
- Paint, stain, or clear coat (optional).
I actually found a gorgeous piece of plywood at a lumberyard's "seconds" bin for half price, just because it had a tiny corner ding. Don't be afraid to hunt for deals on materials!
Step 2: Cutting the Wood
This is where things start to take shape. Accuracy is key here, so measure twice, cut once! I can't tell you how many times I've made that mistake and ended up with a piece that was just a hair too short.
For my desk, I cut:
- One piece for the desktop (30 inches wide x 20 inches deep).
- Two pieces for the vertical sides of the wall frame (20 inches tall x 2 inches deep, or however thick you want your frame).
- Two pieces for the horizontal top/bottom of the wall frame (30 inches wide x 2 inches deep).
Make sure your cuts are as straight and square as possible. A circular saw with a straight edge guide or a table saw is ideal. If you're using a hand saw, take your time and follow your lines carefully. Don't worry if they aren't perfect; sanding can fix minor imperfections later.
My first attempt at cutting the desktop was a bit wobbly. I ended up with a slightly trapezoid shape. It still worked, but it definitely taught me the value of setting up good guides for my saw. Don't be afraid to practice on some scrap wood first!
Step 3: Assembling and Mounting the Wall Frame
Now we build the sturdy foundation that your desk will hinge to. Assemble your wall frame pieces using wood glue and screws. Create a simple rectangle. Make sure it's square by measuring diagonally from corner to corner – the measurements should be identical.
This frame needs to be rock solid because it's holding the entire weight of your desk. Use plenty of wood glue at the joints and secure with screws. Let the glue dry completely before the next step.
Finding your wall studs is critical for mounting. You can't just screw this into drywall; it won't hold. Use a stud finder to locate at least two, preferably three, vertical studs where your desk will go. Mark them clearly.
Hold your assembled wall frame against the wall, using a level to make sure it's perfectly straight. Pre-drill pilot holes through your frame and into the center of the studs. Then, use long, heavy-duty wood screws (I used 3-inch ones) to securely fasten the frame to the wall. This is a two-person job if you can get a friend to help!
I actually skipped the stud finder the very first time I mounted something heavy to a wall. Let's just say I learned my lesson when a bookshelf started to lean. Don't make my mistake – studs are your friends here.
Step 4: Attaching the Desk Panel to the Wall Frame
This is where your desk actually becomes a folding desk! Lay your desk panel on a flat surface, good side down. Position the wall frame (which is now securely on your wall) on top of the desk panel, aligning the edge where you want the hinge.
If you're using a piano hinge, align it along the entire back edge where the desk meets the frame. This provides continuous, super-strong support. If you're using butt hinges, space them evenly – one at each end, and one in the middle for a desk this size.
Use the screws that came with your hinges (or good quality, short wood screws) to attach the hinge to the desk panel first. Make sure the hinge is positioned so the desk can fold up freely. Then, carefully lift the desk panel and align the other side of the hinge to the wall frame. Have a friend hold it perfectly level while you screw it into the frame.
Test the folding action several times. Does it move smoothly? Does it catch anywhere? Adjust as needed. My hinge was a bit stiff at first, but opening and closing it a few times helped loosen it up.
Step 5: Installing the Supports and Latch
With the desk hinged, you need a way to hold it open and keep it closed. For the supports, I used two folding metal legs that simply fold out from the underside of the desk when it's open. They screw directly into the desktop panel, about 2-3 inches in from the front corners.
Alternatively, you could use chains that attach from the front corners of the desk up to the wall frame, or even sturdy folding triangular brackets. Just make sure whatever you choose can support the weight of your desk and anything you put on it.
For the closure, I installed a simple magnetic latch on the underside of the desk panel that clicks into place on the wall frame when the desk is folded up. You could also use a barrel bolt or a small hook and eye latch, whatever feels secure and looks good to you.
It's a good idea to put your supports on and then gently put some weight on the desk to test its stability before you fully trust it. I put a stack of books and a gallon of paint on mine just to be sure it wouldn't collapse during my next crafting session.
Step 6: Finishing Touches
This is where you make your Murphy desk truly yours! Sand everything down really well, especially the edges. Trust me, you don't want splinters while you're working.
Once it's smooth, you can paint it, stain it, or apply a clear protective coat. I stained mine to match some existing trim in my house, then added a clear polyurethane topcoat for durability. This helps protect the wood from spills and wear and tear.
Consider adding a small pencil tray or a tiny shelf inside the wall frame for pens or paper. I added a shallow shelf just above the desk when it's closed, which is perfect for a small plant or a framed photo. These little details really make it feel integrated into your space.
I actually spent more time agonizing over the finish than I did on some of the construction steps. Picking the right stain took a lot of test swatches, but it was worth it. The final look felt so professional, even though it was my own handiwork.
Making It Stick / Common Mistakes
Okay, so you've got the steps, but what are the sneaky pitfalls that can trip you up? I've been there, trust me. Knowing what to watch out for can save you a lot of frustration (and extra trips to the hardware store).
One of the biggest mistakes I see (and have made myself!) is underestimating the importance of a solid wall connection. You have to hit those studs. If you just use drywall anchors, your desk will eventually sag, pull away from the wall, or worse, come crashing down. Don't skip that stud finder step!
Another common one is using flimsy materials. This isn't the project for thin particle board or tiny, decorative hinges. You're building a work surface, so it needs to hold up to actual use. Invest in good quality plywood and sturdy hardware. It pays off in the long run.
Also, don't forget to double-check your measurements at every single stage. It's so easy to accidentally cut a piece a half-inch too short or too long. A good rule of thumb? "Measure twice, cut once." I probably measure three times these days, especially on important cuts.
Building something with your own hands, especially when it doesn't quite go as planned, teaches you more than any perfect tutorial ever could.
Finally, consider the aesthetics of it when it's folded. Is it going to stick out like a sore thumb? Think about painting it to match your wall, or adding a decorative panel to the underside of the desk so it looks nice when closed. My first desk was just raw wood when closed, and it looked a little unfinished. A quick paint job later, and it blended right in.
Frequently Asked Questions
How Much does Building a Murphy Desk Typically Cost?
The cost really varies depending on your material choices. I built mine for about $75, mostly by using a plywood remnant and finding clearance hardware. If you buy all new, higher-end materials, you might spend anywhere from $100 to $250. Keep an eye out for sales on plywood or hardware to keep the budget friendly.
What Tools do I Absolutely Need for This Project?
You'll need a way to cut wood (a circular saw or jigsaw is great, a hand saw works too if you're patient), a drill/driver, a stud finder, a level, a measuring tape, and a pencil. Sandpaper is also a must. You don't need a full workshop, but those basics are pretty essential.
Can I Really do This if I'm a Beginner at Woodworking?
Absolutely! This was one of my earlier woodworking projects, and I learned so much along the way. Focus on one step at a time, watch some video tutorials for specific techniques like using a circular saw, and don't be afraid to ask for help if you hit a snag. My first screw wasn't perfectly straight, but it didn't stop me!
How Long does This Project Realistically Take to Complete?
If you're doing this solo and you're a beginner, plan for about two full days of work, or several evenings spread out over a week. Cutting and assembly might take 4-6 hours, but waiting for glue to dry, sanding, and applying finishes can add significant time. Don't rush the finishing steps; they make a big difference.
What if My Wall Isn't Perfectly Flat or Square?
Most walls aren't perfectly flat, so don't worry too much! Use shims (small pieces of wood or plastic) behind your wall frame to make it plumb and square against the wall before you screw it in. A level is your best friend here. Small gaps can often be hidden with a bit of caulk or trim after the desk is installed.
The Bottom Line
Building a Murphy desk might seem like a big undertaking, but it's incredibly rewarding. You're not just making a piece of furniture; you're reclaiming space, organizing your home, and gaining a whole lot of confidence in your making skills. It's truly a game-changer for small living areas.
Don't let the idea of working with wood intimidate you. Start small, take your time, and remember that every "mistake" is just another learning opportunity. My workshop is still a bit of a glorious mess, but at least my dining table is clear for dinner now. Give it a shot, you might surprise yourself! ❤️
Related Posts
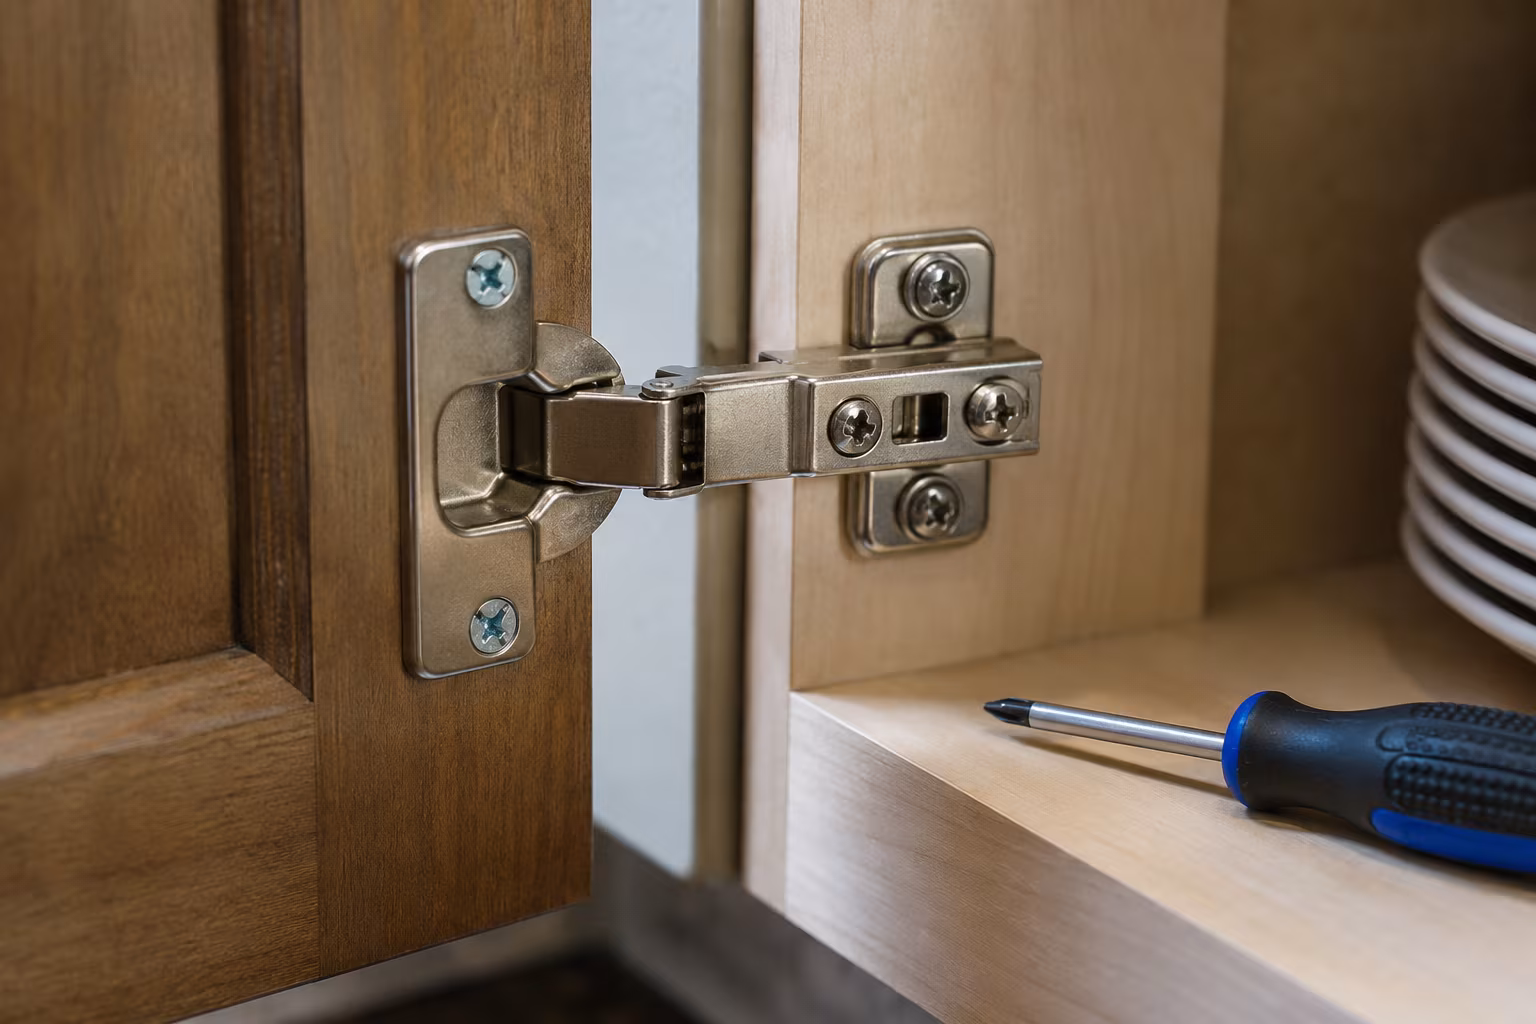
Cabinet Hinge Adjustment: Side, Depth, and Height Fix
Three screws, three directions, one diagnosis. Stop fighting misaligned cabinet doors — learn whi...
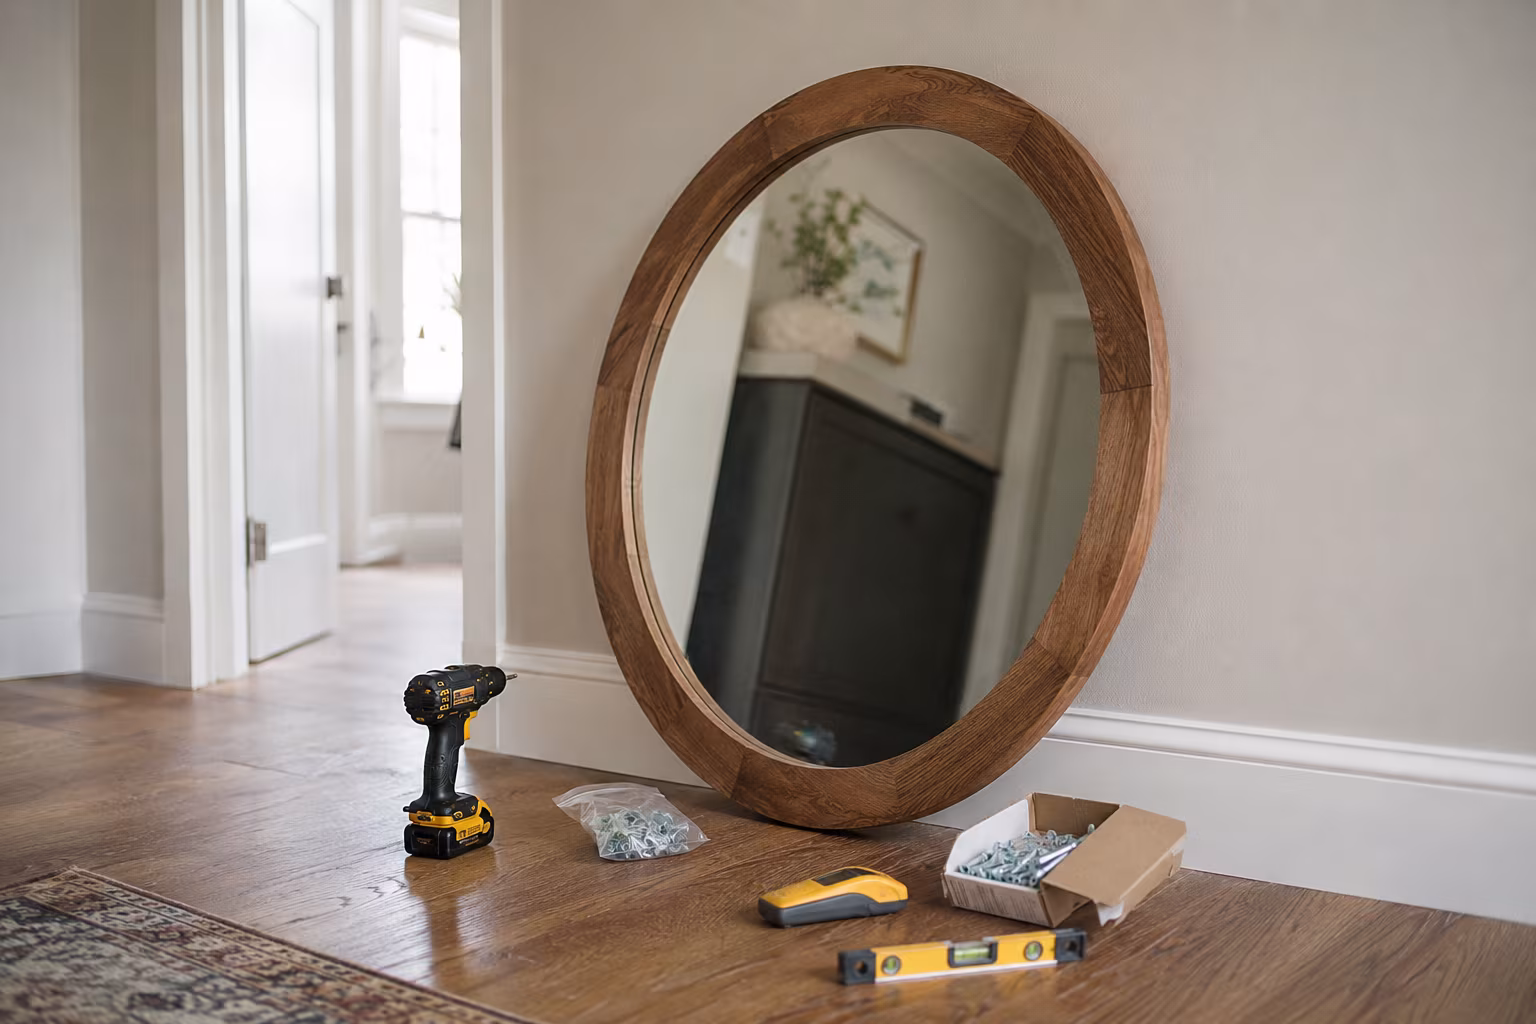
How to Hang a Heavy Mirror on Drywall Without Studs
No stud where you want the mirror? The anchor choices, weight math, and install routine that hold...
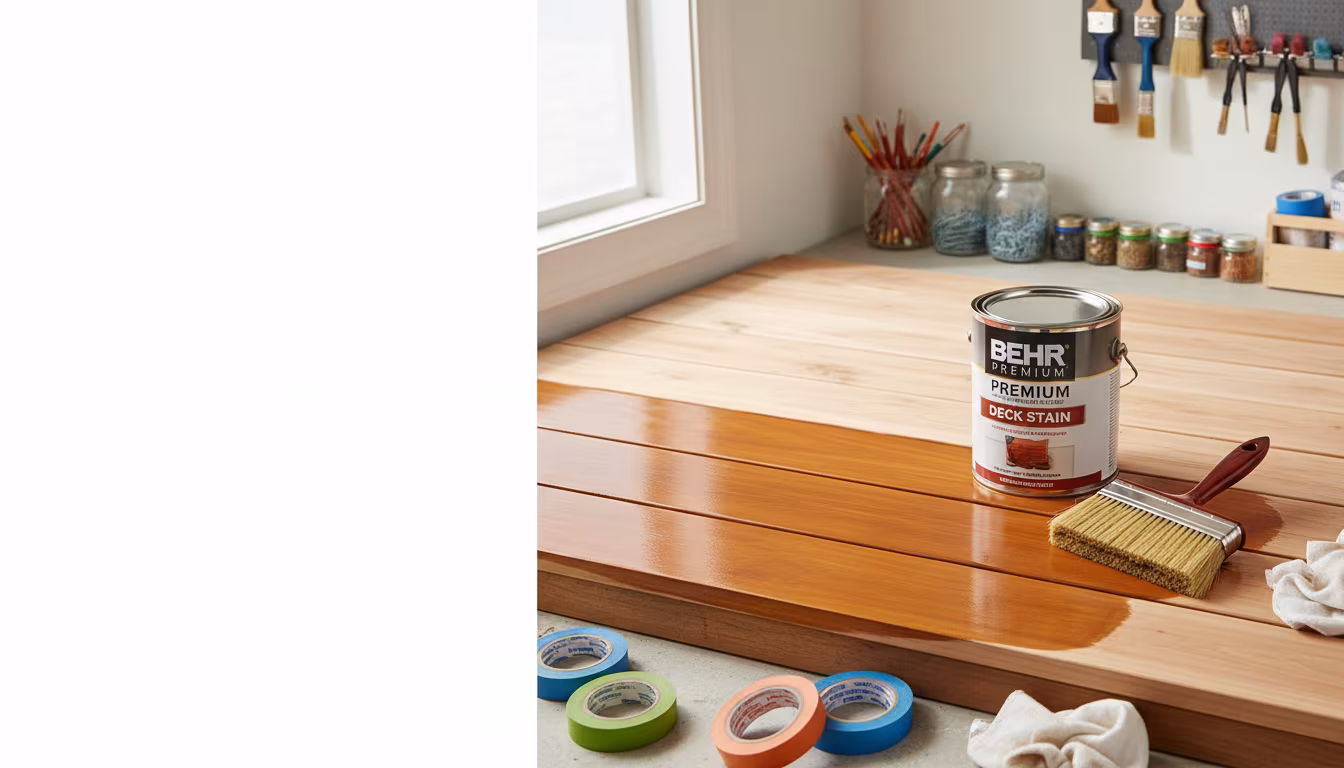
The Best Way to Weatherproof and Stain an Old Wooden Deck
Is your old wooden deck looking a little worse for wear? We'll show you the easiest, most effecti...
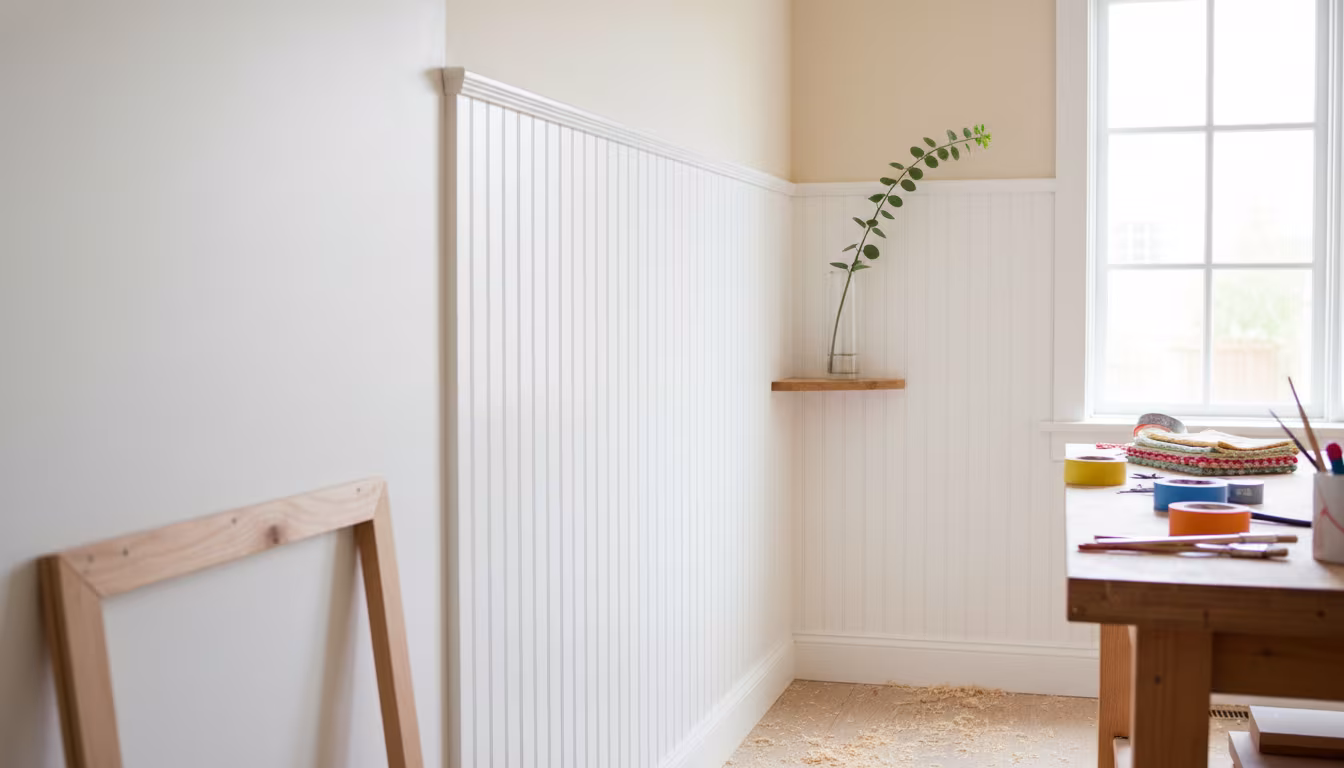
Why Wainscoting Panels Make Plain Hallways Look High-End
Dreaming of a more sophisticated entryway? Learn why wainscoting panels are a game-changer for ma...