How to Create Visual Flow Between Connected Rooms in Open Floor Plans
How to Create Visual Flow Between Connected Rooms in Open Floor Plans
Hey there, fellow makers! 👋 So, you know that feeling when you walk into a house with an open floor plan, and it just… works? Everything connects, feels light, and totally inviting?
Then you look at your own open space and it’s… well, it’s open. But maybe not quite flowing. I totally get it. For a while, my living room felt like it was having an argument with my kitchen, and my dining space was just trying to mediate.
Today, we’re going to chat about how to get that seamless, easy visual flow between your connected rooms. We’ll look at the basics of why this matters, how to actually make it happen with some practical steps, and even tackle some common mistakes I’ve made (and learned from!).
Why This Actually Matters
Okay, so why should we even care about visual flow? Isn't "open" enough? Well, it turns out that just having walls knocked down doesn't automatically create a functional, beautiful space.
A lack of visual flow can make your home feel disjointed, cluttered, or even smaller than it is. Think about it: if every "room" within your open plan has its own completely different vibe, color scheme, or style, your eye just jumps around. It's exhausting.
I remember when we first moved into our house, my idea of an open plan was "decorate each zone like a completely separate magazine spread." My kitchen was all industrial chic, the dining area was farmhouse rustic, and the living room was… well, a mishmash of thrift store finds that didn't quite gel. It was fun finding all the pieces, but living in it felt chaotic. My brain just couldn't relax.
Creating flow helps define areas without closing them off, making your entire space feel more cohesive and intentional. It actually makes the space feel larger and way more welcoming for you and any guests. Plus, it makes decorating way less stressful in the long run when you have a guiding principle!
Understanding the Basics of Visual Flow
So, what exactly is "visual flow" anyway? It's basically how your eye moves through a space, guided by elements like color, texture, and light. When there's good flow, your gaze glides smoothly from one area to the next.
It's about creating a sense of continuity, almost like a visual conversation between rooms. Think of it less as decorating individual boxes and more like painting one big, beautiful canvas.
Key Elements for Cohesion
To get started, we're really looking at a few big players. These are the elements you'll be manipulating to trick the eye into seeing one big, harmonious space.
- Color Palette: This is probably the most powerful tool in your arsenal. You don't need every wall to be the same color, but choosing a consistent palette across connected spaces is huge. We're talking about a main color, a couple of complementary shades, and perhaps one accent.
- Consistent Materials and Textures: Think about your flooring, your big furniture pieces, and even your textiles. Repeating similar wood tones, metal finishes, or even fabric types helps tie things together. If your kitchen has a lot of natural wood, try to echo that in your dining or living room.
- Lighting Strategy: Lighting isn't just about seeing; it's about mood and definition. Using similar light fixtures or ensuring a consistent brightness level throughout your open space creates a unified feeling. It also helps define zones without harsh lines.
How to Actually do It
Alright, enough theory! Let's get into the nitty-gritty of how you can start making these changes in your own home. Remember, you don't have to do it all at once. Pick one area to start, maybe a wall color, and see how it feels.
I always recommend starting small. My first attempt at "flow" was just painting the connecting wall between my kitchen and living room the same shade of off-white. It was a tiny step, but it immediately made a difference. You don't need a massive reno.
Step 1: Choose Your Core Color Palette
This is probably the most impactful step, so take your time here. Pick three to five colors that you love and that work well together. Think about a dominant neutral, one or two secondary colors, and an accent color. This palette will be your guide for everything.
I usually start with something already existing in the space that I can't easily change – maybe a kitchen countertop, a large rug, or a favorite piece of art. Build your palette around that fixed element. My first palette was inspired by the slightly olive green tint in my old couch, which then led to some warm grays and a muted terracotta accent.
Step 2: Connect with Paint Colors
You don't need to paint every wall the same color, but a cohesive wall color throughout your open space is incredibly effective. Consider using the same neutral shade on all walls in the connected areas. This creates a calm, consistent backdrop.
If you want more distinction, try using different shades from your chosen palette on accent walls within each zone. For instance, your dominant neutral in the living room, and then a slightly deeper tone from your palette on a dining room accent wall. This subtle shift still feels connected. I've often used the same trim color throughout the entire main floor, even if the wall colors change slightly. It’s a small detail that really helps.
Step 3: Repeat Materials and Textures
Look around your spaces. What materials are prominent? Do you have warm wood floors in one area? Try to echo that wood tone in furniture, shelves, or even picture frames in the adjacent space. It’s not about matching exactly, but complementing.
If your kitchen has stainless steel appliances, you might introduce a small stainless steel element like a lamp base or a decorative bowl in your living room. The same goes for textures. A chunky knit throw in the living room could be complemented by a textured placemat set in the dining area. I scored some amazing velvet pillows at a thrift store once, and then found a velvet-covered stool a few months later that perfectly brought that texture into another part of the room for $12.
Step 4: Maintain Consistent Flooring
This is a big one. If you can, having the same flooring material throughout your connected open space is a game-changer for visual flow. It literally creates an uninterrupted path for the eye to follow.
If replacing all your flooring isn't in the cards (and for most of us, it isn't!), then use large area rugs to help define zones while still allowing the underlying flooring to connect. Make sure your rugs complement each other in style and color, sticking to your chosen palette. I’m a big fan of neutral jute rugs as a base, then adding smaller, colorful rugs on top if I want more personality in a specific area.
Step 5: Cohesive Furniture Style
You don't need to buy a matching furniture set (please don't!). But try to keep a consistent furniture style across your open plan. If your living room leans mid-century modern, don't suddenly throw in a super ornate Victorian dining set. It will just clash.
Focus on common lines, shapes, and finishes. If your couch has clean, simple lines, choose a dining table or kitchen stools that also have a contemporary feel. My trick is to find one really solid piece I love – like my living room bookshelf – and then look for other pieces that feel like they're from the same "family" even if they're not identical. Thrift stores are amazing for this; you can often find pieces with similar wood tones or design cues that just need a little TLC.
Step 6: Smart Lighting Choices
Lighting does so much more than just illuminate. It creates mood and helps define zones. Use similar styles of light fixtures throughout your open space. If you have a modern pendant over your kitchen island, consider a contemporary floor lamp in your living room. The styles should echo each other.
Also, pay attention to the color temperature of your light bulbs. Using warm light (around 2700K-3000K) throughout creates a cozy, inviting feel. Mixing warm and cool lights can make a space feel disconnected. I made this mistake for a while, with bright white kitchen lights and super warm living room lights. It felt like walking into two different houses!
Step 7: Strategically Placed Decor and Art
This is where your chosen accent colors really shine. Use throw pillows, blankets, vases, and artwork to subtly repeat your palette throughout the different zones. Don't go overboard, but strategically placed pops of color or texture will draw the eye through the space.
For example, if your accent color is a deep teal, have a teal throw pillow in the living room, a small teal vase on the dining table, and maybe a piece of art in the kitchen that incorporates a hint of teal. This gentle repetition creates a cohesive visual path. I love finding old landscape paintings at garage sales and pulling out a specific color from them to use as an accent in throw pillows.
Step 8: Define Zones with Rugs and Furniture Arrangement
While you want flow, you also need to define where one "room" ends and another begins. Area rugs are fantastic for this. A large rug can anchor a living room seating arrangement or delineate a dining space. Just make sure they're big enough – too small a rug makes a space feel cramped and disconnected.
Furniture placement is key too. Use the back of a sofa to act as a soft "wall" between the living room and dining area, or a console table behind it. These are visual cues that separate without physically blocking. I found a cool old wooden console table at an antique fair for $75 that serves as a perfect divider behind my couch, holding books and a few plants.
Making It Stick / Common Mistakes
Okay, so you’ve got the ideas, you’re ready to start making changes. But what about the things that can trip you up? I’ve definitely learned some hard lessons here!
The biggest mistake I ever made was trying to do too much at once. I got excited, bought a bunch of new things, and ended up with a space that still felt disjointed because I hadn't truly thought through the connecting elements. Pace yourself!
"Creating flow isn't about making everything identical; it's about making everything feel like it belongs together."
One common trap is focusing too much on individual "statement pieces" for each room without considering how they play together. You might find an amazing, vibrant rug for your living room, and then an equally amazing but completely different one for your dining room. They might be beautiful on their own, but together, they create a visual cacophony.
Another mistake I see (and have been guilty of!) is neglecting consistency in scale. If your living room has a huge, plush sectional, but your dining area only has tiny, spindly chairs and a small table, the proportions will feel off. Try to keep a similar visual weight in your furniture choices across the open space.
Also, don't forget the power of negative space. Sometimes, the best way to create flow is to actually remove clutter. When there's too much visual noise, your eye can't follow any path. I try to do a "clutter audit" every few months, especially in my open spaces. If it doesn't serve a purpose or bring me joy, it goes.
Frequently Asked Questions
What if I Already have Furniture I Love That Doesn't "match"?
You absolutely don't need to get rid of everything! Focus on connecting elements like paint color, textiles, and accessories. You can use slipcovers to change the color of a sofa, or add throws and pillows in your new palette to existing chairs. It’s all about working with what you've got and introducing those cohesive elements around them.
How do I Make a Small Open Space Feel Bigger and More Connected?
For smaller open plans, an even more consistent approach to color and materials is key. Use lighter paint colors, mirrors to expand the space, and fewer, larger pieces of furniture rather than many small ones. A single, large rug can also do wonders for anchoring a smaller living zone without visually chopping up the floor.
Can I Still have Different "vibes" in Each Area?
Absolutely! The goal isn't to make everything sterile and identical. It's about a consistent undertone. You can layer in different vibes with artwork, smaller decorative items, and personal touches within each zone. Just ensure the underlying framework – the walls, floors, and primary furniture – carries that cohesive thread. Think of it like different chapters in the same book, not completely different books.
How Long does This Take to Implement?
This is definitely not an overnight project. Choosing a palette might take you a weekend, but painting could be a few days, and slowly integrating new textiles or decor could take weeks or even months. My own open plan has evolved over years! Start with paint and rugs, then slowly layer in the smaller details. Be patient with yourself and the process.
Is This Worth It for a Rental Property Where I Can't Paint?
Even in a rental, you can make a huge difference! Focus on textiles like rugs, throws, and curtains that follow your chosen palette. Use artwork that connects rooms visually. Introduce consistent material types in your decor like metal accents or specific wood tones. You'll be amazed at what a difference non-permanent changes can make.
The Bottom Line
Creating visual flow in an open floor plan really comes down to intentionality. It's about making deliberate choices for your color palette, materials, and how you arrange your space. You're trying to make your home feel like one big, thoughtful hug rather than a bunch of awkward high-fives.
Start small, choose one element to focus on first, and don't be afraid to experiment. Your home should reflect you, and a little flow can make it feel so much more comfortable and inviting. Happy connecting! ❤️
Related Posts
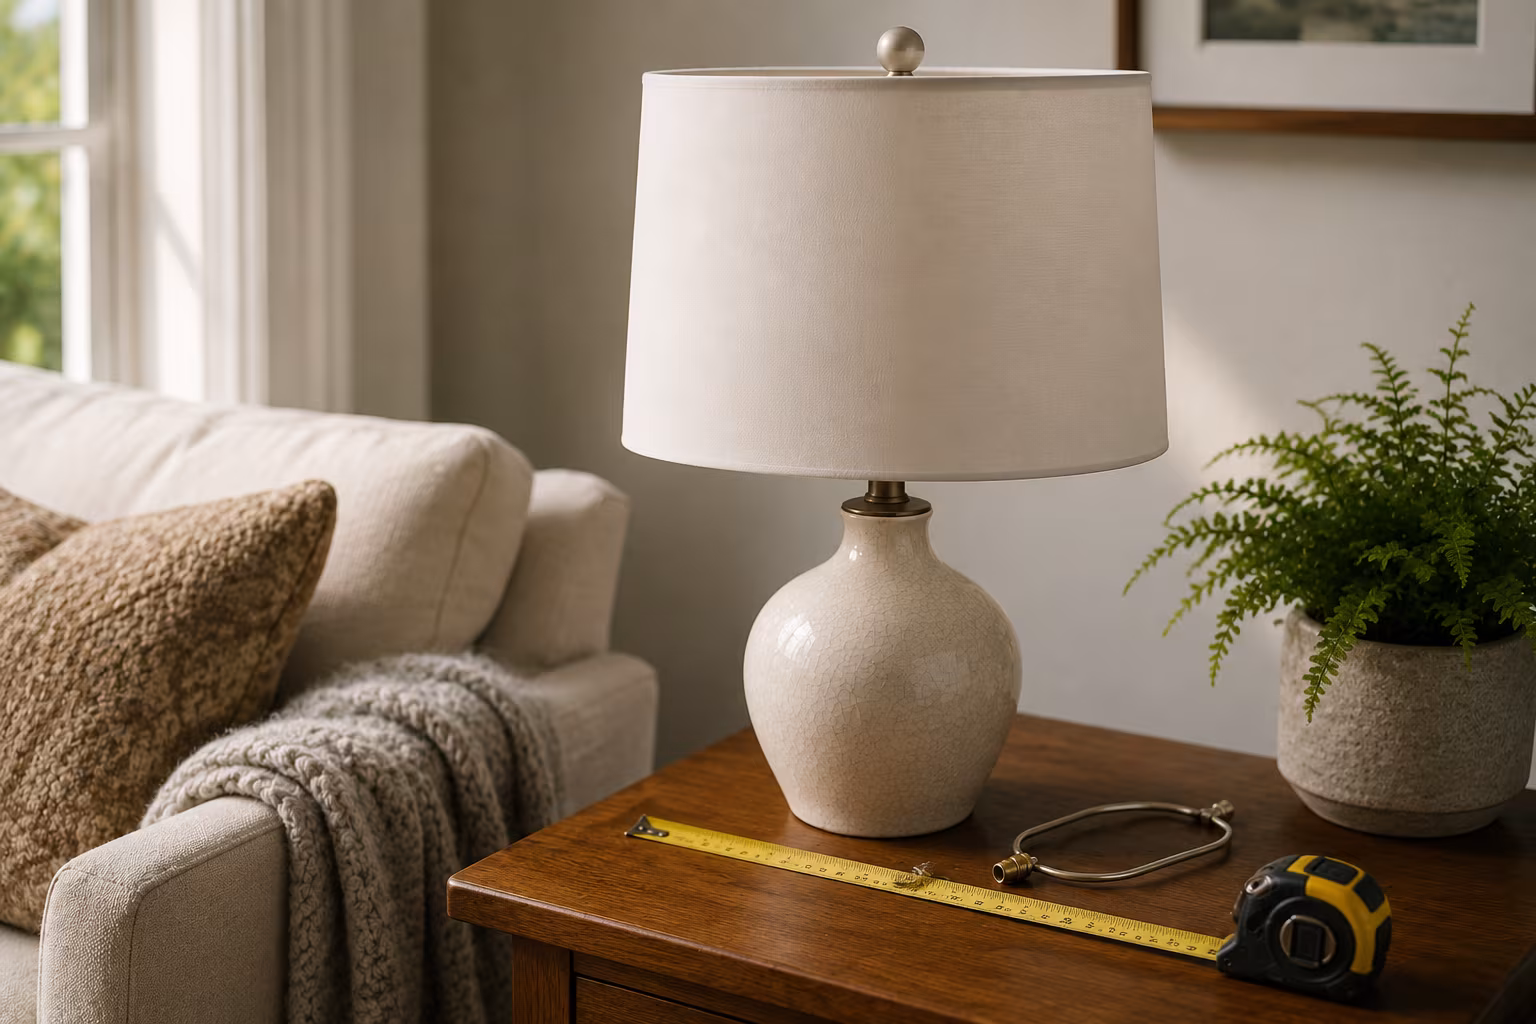
Lampshade Sizing: Harp, Bulb, and Drum Math Explained
Lamp shades sit at the wrong height because three measurements get mixed up: harp height, bulb cl...
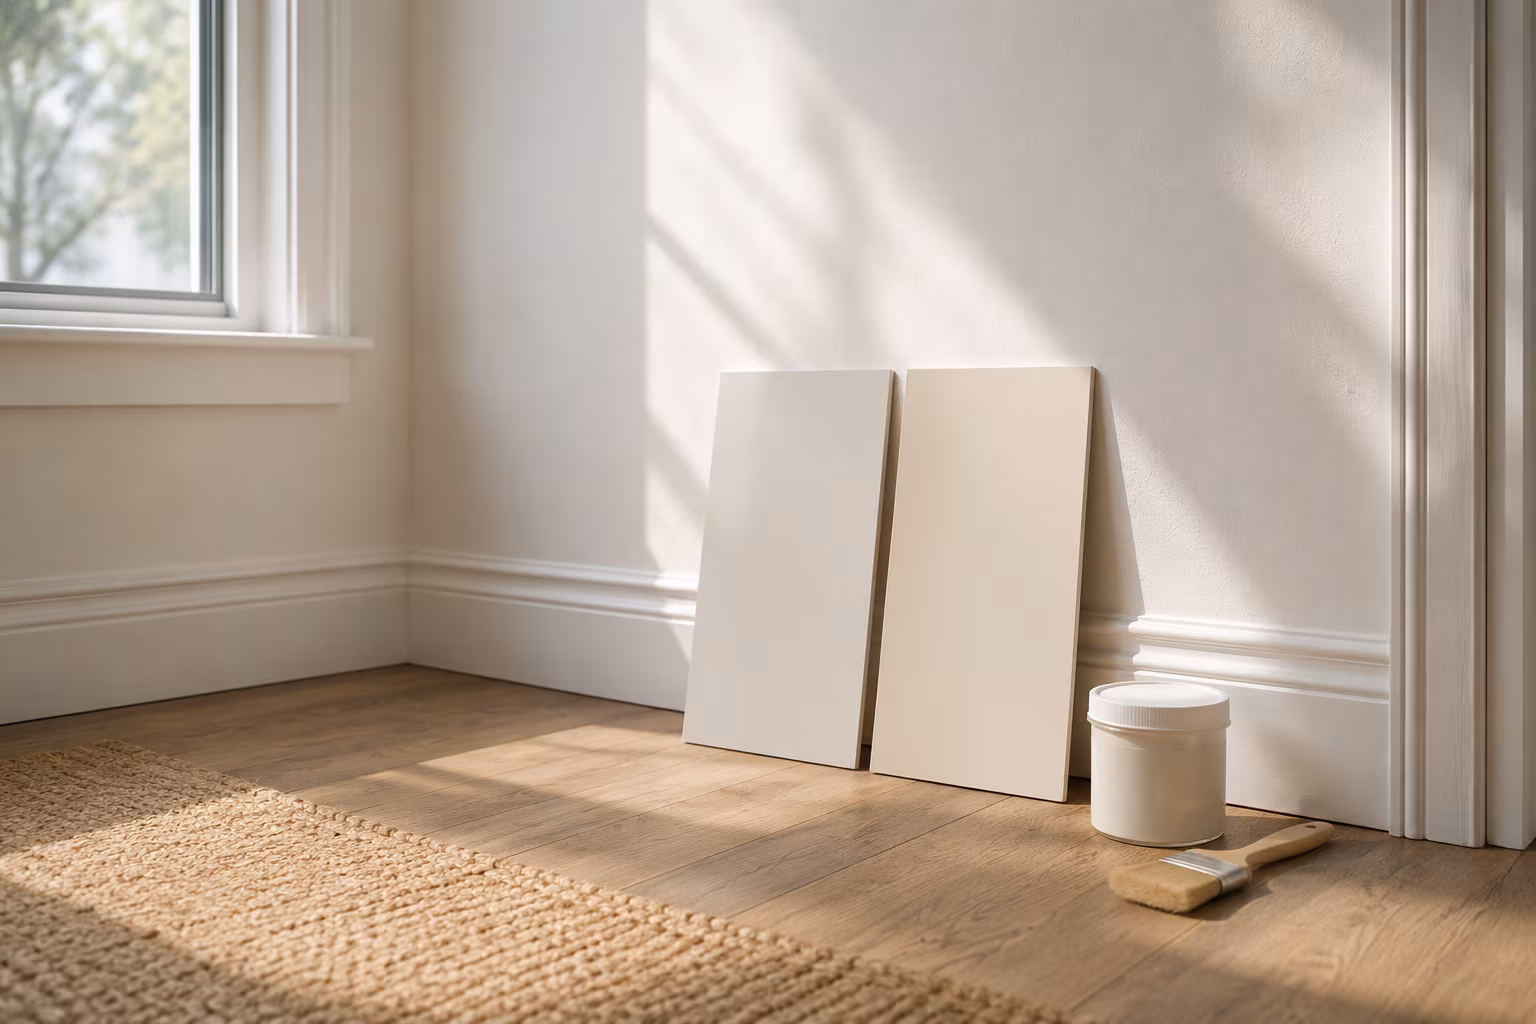
Color-Match Trim Paint to Existing Off-White Walls
Off-white walls hide three or four different undertones. The routine for matching new trim paint ...
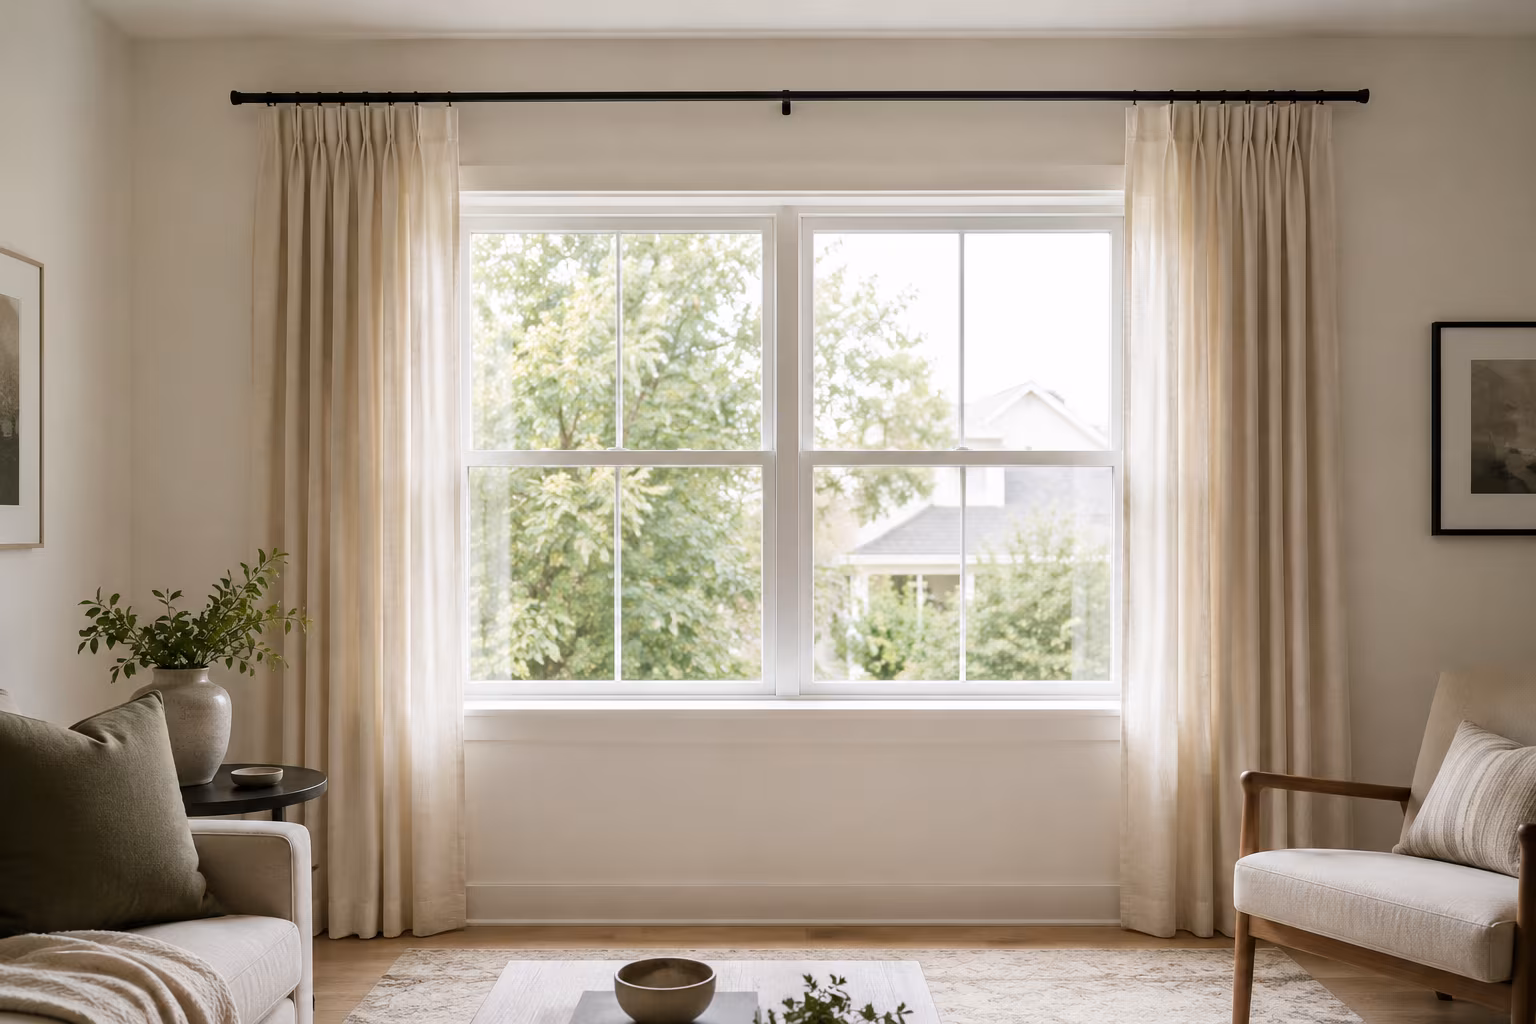
How Far to Extend Curtain Rods Past the Window Frame
How far the rod should reach past each side of the window, why the extension matters more than ro...
Gallery Wall Picture Spacing: The Repeatable Method
Stop eyeballing it — the exact spacing, center height, and paper-template routine that turns a pi...