How to Dye Fabric Using Rust and Vinegar for Unique Earth Tones
How to Dye Fabric Using Rust and Vinegar for Unique Earth Tones
Hey there, makers! 👋 You know that feeling when you're flipping through an old craft book or scrolling Pinterest, and you stumble on something so utterly simple, yet totally magical, that you just HAVE to try it?
That was me, a few years back, staring at a picture of some incredible fabric dyed with... rust. Yeah, rust! Like, the stuff that eats away at old metal in your garage or yard.
I was so tired of buying synthetic dyes with weird chemicals, or trying to achieve those perfect "natural" earth tones that always seemed to elude me. This idea, using just rust and vinegar, felt like a secret whispered from another time.
It’s not some crazy, complicated technique, I promise. In fact, it's one of those projects where the "imperfections" are the whole point, creating one-of-a-kind patterns and shades you just can't buy.
Today, we’re diving into the wonderfully messy, incredibly rewarding world of rust dyeing. We’ll talk about what you need (spoiler: it’s mostly free), how to actually do it, and how to avoid some of the common hiccups I definitely ran into.
Get ready to transform some plain old fabric into something truly unique, using treasures you might literally trip over in your backyard. Let’s get started!
Why This Actually Matters
Okay, so "rust dyeing" might sound a little niche, right? Like, why bother when you can just grab a bottle of fabric dye at the craft store?
Well, for me, it’s about so much more than just changing a fabric’s color. It's about connecting with a really old process, reclaiming materials, and embracing the unexpected beauty of nature and decay.
Think about it: Every piece of rusted metal has a story. An old wrench from your grandpa’s toolbox, a nail pulled from a forgotten fence post, a discarded tin can from who-knows-where. When you use these objects to dye fabric, you're transferring a bit of that history, that texture, right onto your cloth.
The results are incredibly varied, giving you everything from deep, earthy oranges and warm terracotta shades to shadowy grays and rich, mottled browns. You get these organic, unpredictable patterns that are utterly impossible to replicate with commercial dyes.
And let's talk about the budget aspect. How many times have you looked at a fabric dyeing project and immediately thought about the cost of all those dyes? With rust dyeing, your main "ingredients" are often free or very, very cheap.
I've managed to dye yards of fabric for just the cost of a jug of vinegar and some scraps of metal I literally picked up off the ground. That feels good, you know? Like you're truly making something from nothing, sustainably and creatively.
Plus, there's a certain satisfaction in working with your hands, seeing a chemical reaction unfold before your eyes, and creating something completely unique. It’s not just a craft; it's a little bit of alchemy, right in your own backyard or garage.
The Magic of Rust Dyeing: a Little Science, a Lot of Art
At its heart, rust dyeing is pretty simple: you're letting iron oxide – that's rust – transfer onto fabric. The vinegar acts as a sort of catalyst, helping the iron bond with the fibers.
It's not like dipping fabric into a pot of liquid dye where you expect a uniform color. Here, the magic happens through direct contact and time. Wherever the rusty object touches the fabric, and wherever that rust starts to "bleed" with the help of moisture and acid, that's where your patterns appear.
You’ll get distinct outlines, shadowy halos, and sometimes even a faint "print" of the object itself. The unpredictability is part of the charm; you can guide the process, but you can’t fully control every single speck of color.
This process gives you hues that feel deeply rooted in nature. Think of the colors of fall leaves, dried mud, or weathered stone. These aren't bright, synthetic colors; they're rich, nuanced, and incredibly grounding.
Every piece becomes a little experiment, a tiny canvas reflecting the conditions of your environment and the unique history of the metal you choose. It’s a wonderful way to play with texture and tone in your textile projects.
What You'll Need (spoiler: It's Mostly Free!)
One of my favorite things about rust dyeing is how accessible it is. You don't need fancy equipment or expensive ingredients.
Most of what you'll use can be found lying around your house, your neighborhood, or for a few bucks at a thrift store. This is true upcycling at its best, turning "junk" into something beautiful.
- Natural Fabric: This is crucial! You absolutely need natural fibers like cotton, linen, silk, wool, or hemp. Synthetics like polyester or rayon just won't absorb the rust pigments in the same way, if at all. Thrift store sheets, old t-shirts, canvas drop cloths, or even just plain muslin are perfect. I love grabbing old tablecloths or napkins from the dollar bin at my local second-hand shop for this.
- Rusty Bits: This is where the treasure hunt begins! Look for anything made of iron or steel that's already started to rust. Nails, screws, washers, old tools, steel wool, bottle caps, tin cans, old chain, even rusty garden art can work. Different rust levels and types of metal will give you different results, which is part of the fun. Just make sure they're not too fragile or crumbly.
- White Vinegar: The cheap stuff from the grocery store is perfect. This acts as a mild acid to help the iron bond with the fabric fibers. You'll use a fair amount, so grab a big jug.
- Non-Reactive Containers: You'll need something to soak your fabric and hold your rusting projects. Plastic tubs, buckets, or even large glass jars work great. Don't use anything metal or anything you plan to use for food later, as the rust will stain it and potentially leach into your food.
- Rubber Gloves: Rust is messy, and it will stain your hands. Trust me on this one; I speak from experience with orange fingertips that lingered for days. Grab a pair of those standard kitchen gloves.
- Plastic Sheeting or Drop Cloth: To protect your work surface. This is not a clean craft, and rust stains are incredibly difficult to remove from porous surfaces like wood or concrete.
- Optional: Soda Ash (Washing Soda): This isn't strictly necessary for a beginner, but it can help scour your fabric more thoroughly before dyeing, leading to better dye uptake. It’s usually found in the laundry aisle.
- Water: Lots of it, for rinsing.
That's it! See? Mostly stuff you probably already have or can find for next to nothing. This makes it such a great beginner project because the initial investment is so low, you don't feel bad experimenting.
Getting Your Hands Dirty: the Step-by-step Process
Okay, so you've gathered your supplies. Now for the fun part: actually making the magic happen. Don't be intimidated; this process is more about letting nature do its thing than following rigid rules. Think of yourself as a guide, not a master.
Step 1: Gather Your Rusty Treasures
First things first, collect your rusty items. I spend a surprising amount of time at antique markets and yard sales, not just looking for cool furniture, but for rusty metal bits. Old washers, nuts, bolts, springs, even discarded tools – they all have potential.
Different shapes and sizes will create different patterns. A rusty chain might give you a snake-like imprint, while a flat piece of metal might create a solid block of color. Experiment with variety!
You don't need to "clean" the rust off these items; in fact, you want the rust. However, if there's a lot of loose dirt or gunk, a quick brush-off won't hurt. I usually just knock off any big clumps of dirt with an old brush.
One time, I found a rusty old cookie cutter at a thrift store for fifty cents. It made the coolest subtle shape on a piece of cotton canvas, which I then turned into a small pouch. The possibilities really are endless.
Step 2: Prepare Your Fabric (the Scouring Part)
This step is often overlooked by beginners, but it's super important for getting good, consistent results. Fabric, even new fabric, often has "sizing" or other finishes on it from the manufacturing process.
These finishes can prevent the rust from absorbing evenly. Think of it like trying to paint on a greasy surface; the paint just won't stick well. Scouring removes these barriers, opening up the fibers to better absorb the iron.
For a basic scour, simply machine wash your fabric on a hot cycle with a good detergent. Don't use fabric softener, as that will add another barrier.
If you want to get a little more serious, you can do a proper scour with soda ash. Dissolve a tablespoon or two of soda ash in hot water in a bucket, add your fabric, and let it soak for a few hours or even overnight, stirring occasionally. Then rinse thoroughly before moving on.
I definitely skipped this step on my very first rust dye attempt, thinking a quick rinse would be enough. The result was super patchy, with uneven color that looked more like faint stains than intentional dyeing. Lesson learned!
Step 3: the Vinegar Bath (mordanting Lite)
Now that your fabric is clean, it's time for its vinegar bath. This step is a gentle form of "mordanting," which helps the dye (in this case, the iron particles) adhere better to the fabric fibers.
Mix white vinegar with water in a non-reactive container. A good starting ratio is about 1 part vinegar to 4 parts water, but you can adjust this. More vinegar might lead to slightly darker or more intense results, but don't overdo it.
Submerge your prepared fabric completely in the vinegar solution. Make sure it's fully saturated, with no dry spots. Let it soak for at least 30 minutes, but an hour or two is even better.
After soaking, gently wring out the excess vinegar solution. You want the fabric to be damp but not dripping wet. Don't rinse it with plain water yet; we want that vinegar still in the fibers for the next step.
You'll notice the fabric smells strongly of vinegar at this point, which is totally normal. It'll dissipate as the fabric dries and gets rinsed later.
Step 4: Arranging Your Rusty Masterpiece
This is where your artistic vision comes into play, even if you just plan to toss things randomly! Lay out your damp, vinegar-soaked fabric on your protected work surface. Make sure you're wearing your gloves!
Now, arrange your rusty objects on the fabric. You can be deliberate, placing objects to create specific patterns or designs. For instance, you could lay out a rusty chain in a zig-zag pattern, or use washers to create circles.
Alternatively, you can go for a more organic, free-form look. Crumple the fabric around a few rusty nails, or wrap a long strip of cloth around a rusty pipe. The tighter the contact between the rust and the fabric, the more defined the imprint will be.
For some of my first experiments, I just laid a piece of fabric flat and scattered a bunch of different rusty objects over it. It produced a really cool, chaotic, almost constellation-like effect. Then, I tried folding the fabric accordion-style and tucking rusty bits into the folds, which gave me stripes and dashes.
Don't be afraid to stack items or create layers. You can even sandwich fabric between two rusty plates or pieces of metal. Each different arrangement will give you unique results, so have fun with it!
Step 5: the Rusting Begins!
Once your fabric is arranged with its rusty companions, it’s time to encourage the rust transfer. You need to keep the fabric damp for a prolonged period, and sometimes introduce a little more moisture.
Gently roll up, fold, or bundle your fabric and rusty objects together. Place this bundle into a non-reactive container – a plastic tub with a lid or even a sturdy plastic bag works well. The goal is to keep moisture in and allow the rust process to accelerate.
You can add a small splash of plain water to the container, especially if your fabric seemed to dry out quickly after wringing. This helps maintain the damp environment crucial for the rust transfer. Don't drown it; just enough to keep it moist.
Now, put the container aside in a warm, well-ventilated area. The warmth will help speed up the oxidation process. This step takes time – usually anywhere from 24 hours to several days, sometimes even a week or more for really intense results.
I usually start checking after 24 hours. Gently unroll a small section of your fabric (still wearing gloves!) to peek at the progress. You’ll start to see oranges, browns, and grays appearing where the rust is making contact. If you like the intensity, you can stop. If you want more, re-wrap and let it sit longer.
I once had a piece of fabric sitting for nearly two weeks in a bucket during a particularly humid stretch. The colors it produced were so incredibly deep and rich, almost like burnt umber. Patience really pays off with this technique.
Step 6: the Big Reveal & Rinsing
This is arguably the most exciting part of the whole process! Once you're happy with the intensity of the rust prints, it’s time for the big reveal. Again, make sure you're wearing those rubber gloves; the rust is still very active and will stain your hands instantly.
Carefully unroll or unfold your fabric and remove all the rusty objects. You'll probably be amazed at the patterns and colors that have emerged. Each reveal is like opening a little surprise package – you never quite know exactly what you’re going to get, and that’s what makes it so thrilling.
Now, take your rust-dyed fabric to a sink or outdoor hose. Rinse it thoroughly under cold running water. You'll see a lot of loose rust particles and murky water coming off. Keep rinsing until the water runs mostly clear. Don't use any soap at this stage, just plain water.
This initial rinse removes any excess, unbonded rust from the surface of the fabric, preventing it from staining other areas or future laundry loads. It's important to be gentle but thorough here.
I remember one time I dyed a really delicate silk scarf. I was so careful rinsing it, holding it under a gentle stream, and watching the orange cloud dissipate. The finished scarf looked like a piece of ancient tapestry.
Step 7: Fixing the Color (washing)
Once your fabric is thoroughly rinsed and no longer shedding rust, you need to "fix" the color. This means washing it with a gentle, pH-neutral soap to remove any remaining acidity from the vinegar and fully set the iron oxides into the fibers.
You can hand wash it in a basin with a small amount of mild detergent, like a wool wash or even dish soap, or run it through a gentle cycle in your washing machine with a minimal amount of laundry soap. Always wash it separately from other items, just in case any lingering rust decides to make a surprise appearance.
After washing, you can either air dry your fabric or tumble dry it on a low setting. Once dry, your beautiful, uniquely rust-dyed fabric is ready to be used in any project you can imagine! The colors will be permanent and should hold up well to future washing, though like all natural dyes, some gentle fading over many years is possible and often adds to its charm.
I usually give mine a good iron once it's dry, too. The heat from the iron can help further set the color and smooth out any wrinkles from the dyeing process. It also makes the fabric feel fresh and ready for its next life as a tote bag, cushion cover, or wall hanging.
Troubleshooting & Making It Stick (common Mistakes)
So, you’ve made your first rust-dyed fabric. What if it didn’t turn out exactly as you pictured? Don’t worry, that’s totally normal! This isn’t a precise science, and there are a few common things that can trip people up.
One of the biggest mistakes is impatience. Rust dyeing isn't a quick craft. You really need to give the metal and fabric time to interact, sometimes days. Pulling it too early often results in very pale, barely-there marks.
Another common issue is using the wrong fabric. Synthetic fibers just don't take the rust color like natural ones do. If your dye looks weak or uneven, double-check your fabric composition. I once tried to dye a blend and it just looked like I’d gotten dirt on it, not purposeful color.
Sometimes, the rust itself isn’t active enough. Not all rusty objects are created equal. Some metals rust more vigorously than others. If you’re not seeing much action, try adding more rusty bits, or using a different type of metal. Steel wool, for example, rusts very quickly and intensely.
Finally, uneven moisture can lead to patchy results. If parts of your fabric dry out while others stay damp, you'll get inconsistent dyeing. Make sure your bundles are sealed well in their container and stay consistently moist throughout the process.
Rust dyeing isn't about perfection; it's about embracing the story the iron tells on your fabric. Every "mistake" is just a unique design choice.
Frequently Asked Questions
Is Rust Dyeing Safe?
Generally, yes, rust dyeing is quite safe for household crafting. You're working with common household vinegar and iron oxide, which isn't considered toxic. The main precautions are wearing gloves to avoid staining your skin and making sure you use non-food-grade containers for your projects.
Also, work in a well-ventilated area, especially if you're using a lot of vinegar, just to keep the fumes from becoming overwhelming. You wouldn't want to use rust-dyed fabric for things like food wraps or anything that might be put directly into your mouth, but for textiles, it's fine.
What Kind of Fabric Works Best?
Natural fibers are your best friends here! Cotton, linen, hemp, silk, and wool all take rust dye beautifully. They have a natural affinity for the iron particles, allowing for strong, permanent adhesion.
Synthetics like polyester, nylon, or rayon, on the other hand, usually don't work. Their chemical structure just doesn't bond with the rust in the same way, so you'll likely end up with little to no color transfer. Always check the fabric label or stick to known natural materials for the best results.
Can I Use Colored Fabric?
Absolutely, and it can create some really interesting effects! Instead of starting with plain white or off-white fabric, try rust dyeing a light-colored cotton shirt or a piece of pale blue linen.
The rust colors will overlay the existing fabric color, creating new, complex tones. For example, rust on a pale blue might lean towards greenish-browns, while on a light yellow, it could become a rich orange-brown. It's a fantastic way to experiment with layered color and add even more depth to your projects.
How Long does the Color Last? Will It Wash Out?
Once properly fixed and washed, rust dye is quite permanent. The iron particles become chemically bonded with the fabric fibers, so the colors won't simply wash out in subsequent laundries.
Like many natural dyes, it might soften or subtly change over many, many washes and years, but it won't disappear. Think of it like a beautiful patina on an old object; it ages gracefully, developing character rather than fading entirely. My rust-dyed tote bag has been through countless washes and still looks fantastic.
What if My Rust Doesn't Stick or the Colors are Too Faint?
If you're getting weak results, there are a few things to troubleshoot. First, did you scour your fabric properly? Any sizing or residue can inhibit dye uptake. Second, was your vinegar solution strong enough, and did the fabric soak long enough?
Third, check your rusty items. Are they actively rusting, or are they more oxidized and stable? Freshly active rust tends to transfer better. Lastly, ensure the fabric stays consistently damp and in good contact with the rust for sufficient time. Sometimes, just leaving it for another day or two makes all the difference.
Can I Use Other Acids Instead of Vinegar?
While other acids can promote rust, I strongly recommend sticking to plain white vinegar for this craft, especially as a beginner. Stronger acids, like hydrochloric acid or sulfuric acid, are much more dangerous to work with.
They require specialized safety equipment and careful handling, and they can also damage your fabric fibers. Vinegar is effective, widely available, inexpensive, and safe for home use, making it the perfect choice for this particular dyeing technique. No need to get complicated when simple works beautifully!
Where Can I Find Interesting Rusty Objects?
The best places are often overlooked! Start by looking in your own garage or shed – old tools, forgotten bolts, rusty nails. Then expand your search to thrift stores, antique malls, or salvage yards where you can find old metal odds and ends for cheap. Yard sales and flea markets are also goldmines.
Just remember to ask permission if you're scavenging on private property, like construction sites or abandoned lots. My favorite finds have often been random bits of metal from walks in the woods or along old railroad tracks – just be mindful of safety and what you're picking up!
The Bottom Line
So there you have it – the wonderfully tactile, slightly unpredictable, and deeply satisfying art of rust dyeing. It’s a craft that challenges you to embrace natural processes and find beauty in what others might see as decay.
You don't need to be an expert dye master to get stunning results. You just need a bit of patience, some rusty bits, and a willingness to let the process unfold. Each piece you create will be a testament to slow craft, upcycling, and the unique story of the materials you’ve used.
So, next time you're out and about, keep an eye out for those forgotten rusty treasures. Grab a bit of fabric from your stash, a jug of vinegar, and give it a try. You might just discover your new favorite way to add truly unique, earthy tones to your next project. Happy making!
Related Posts
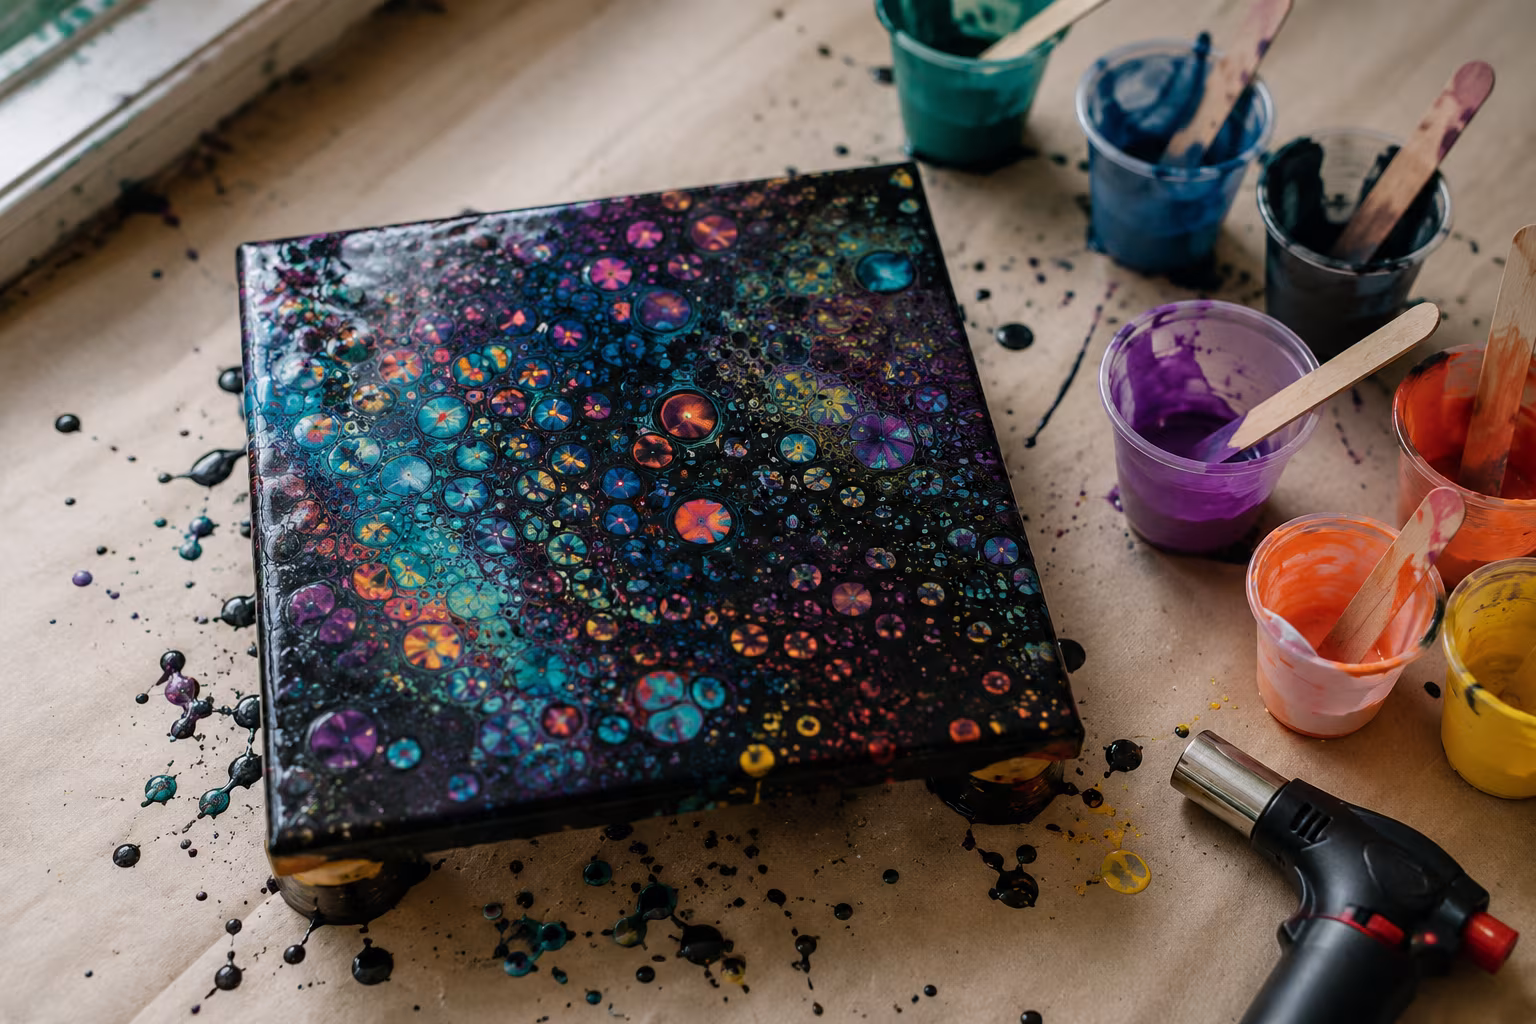
Acrylic Pouring Cells: Why They Form and How to Control
Cells in acrylic pouring come from density and surface tension differences. Understand the chemis...
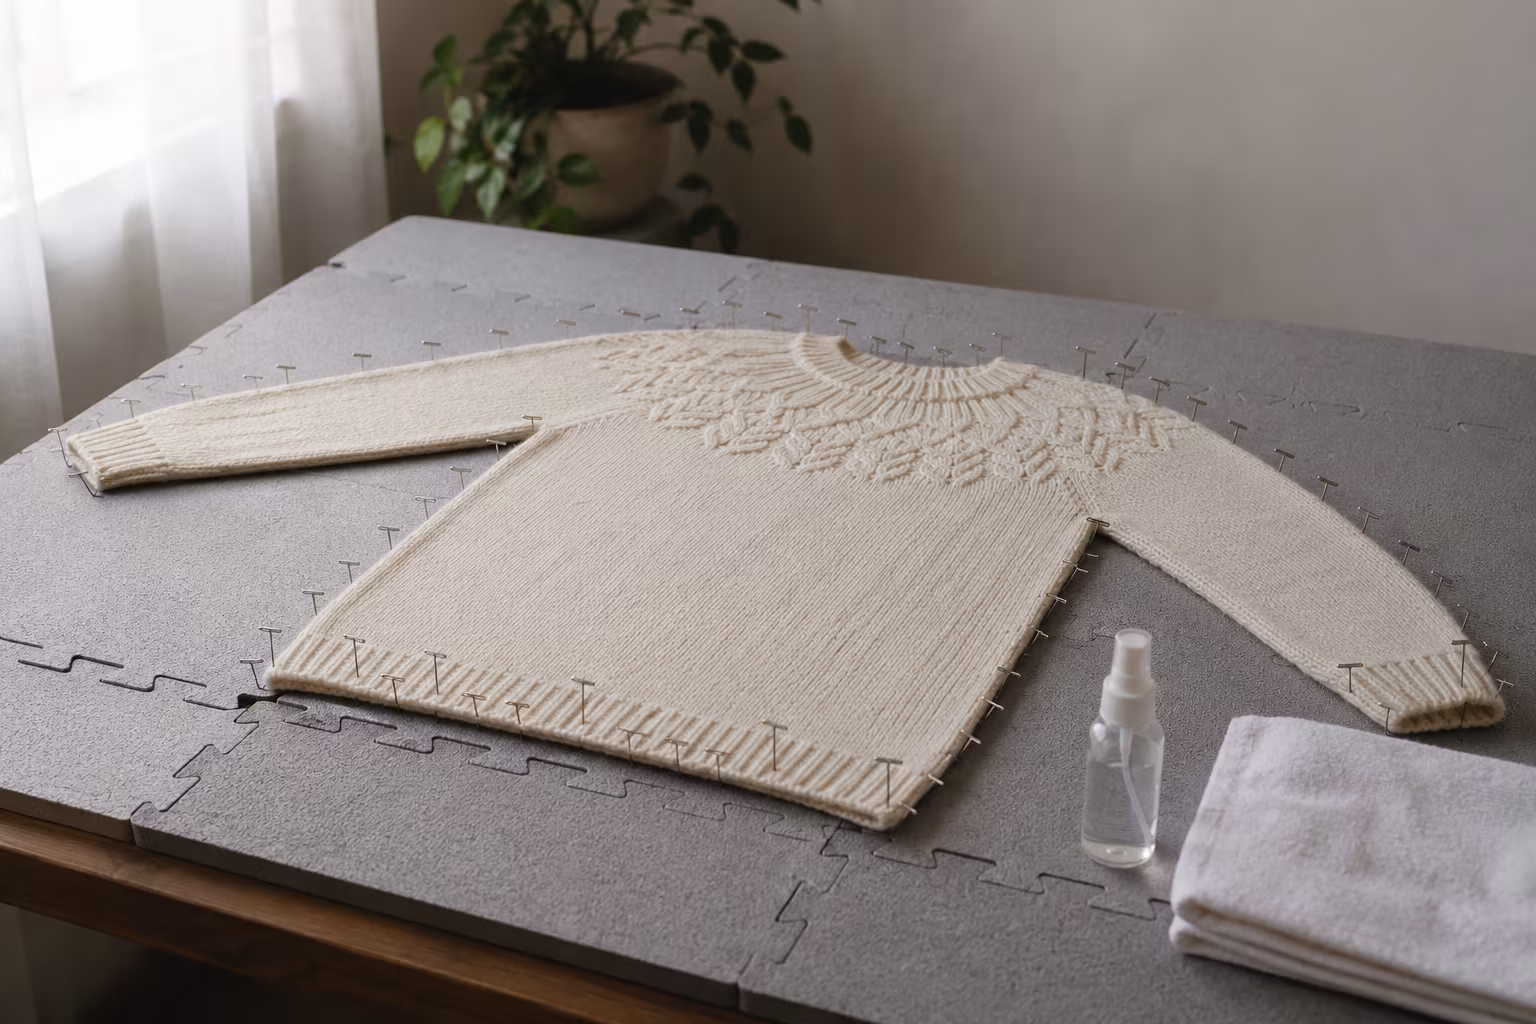
How to Block a Knitted Wool Sweater Without Felting
The blocking routine that opens stitches and sets the shape without turning your wool sweater int...
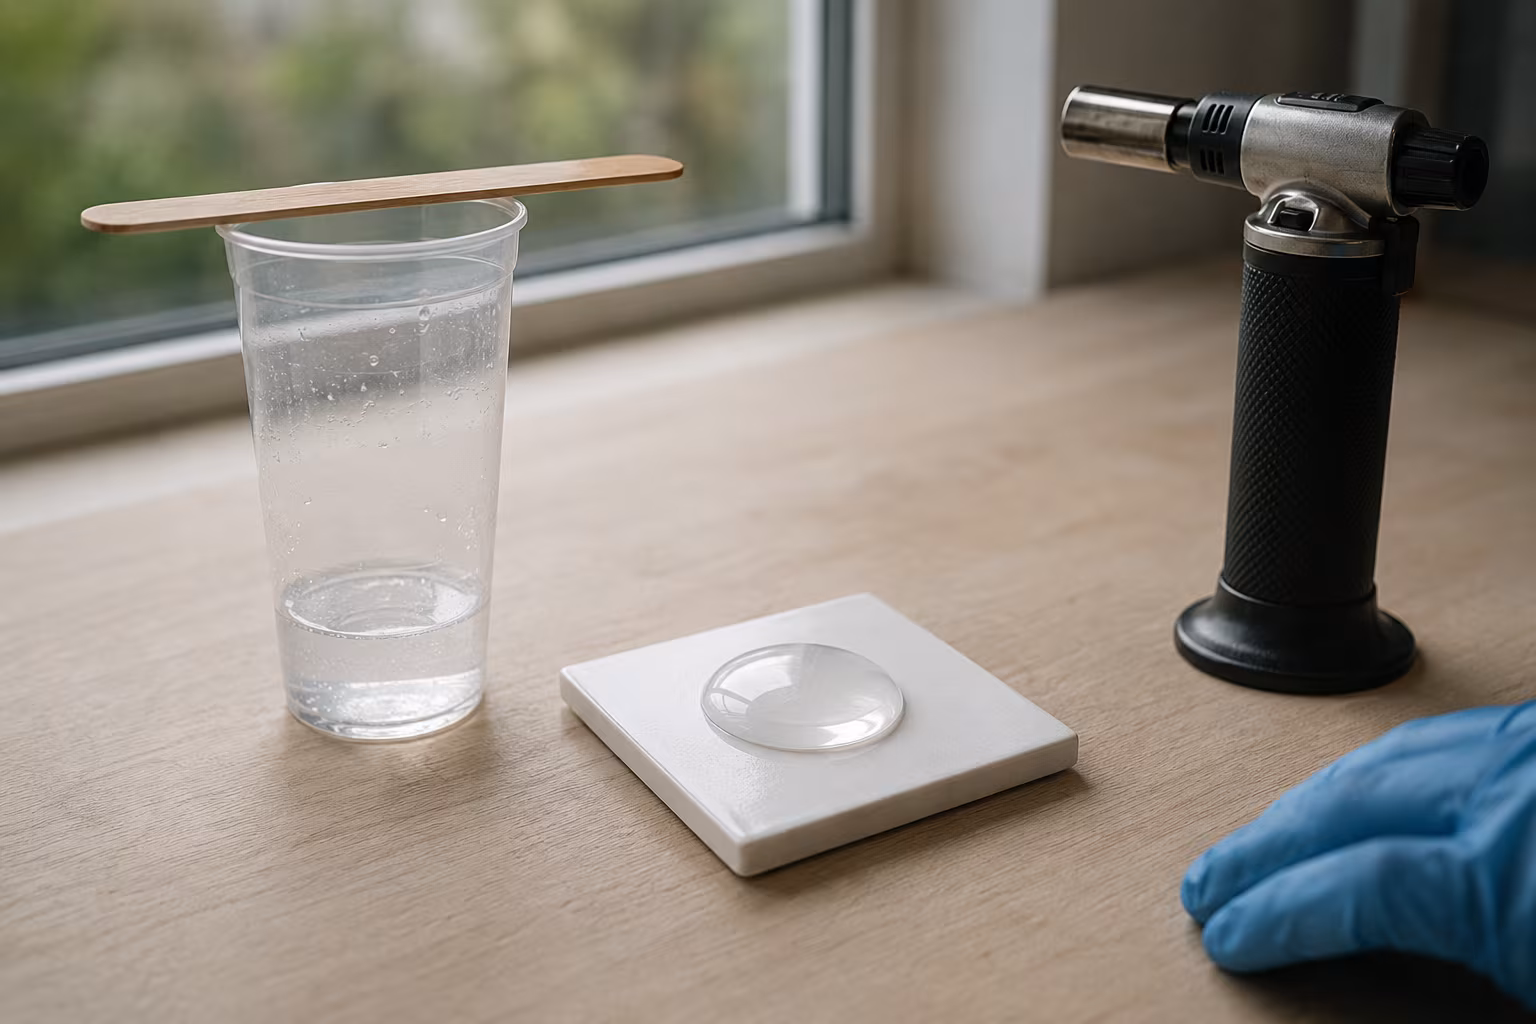
Resin Doming Without Bubbles: A Calm, Reliable Method
A repeatable doming routine that keeps bubbles out and the dome tidy — pour technique, heat metho...
Why Quilling Earrings Are the Most Profitable Craft to Sell Online
Thinking about starting a craft business? You might be surprised to learn that delicate, colorful...