
How to Style a Minimalist Entryway Table That Welcomes Your Guests
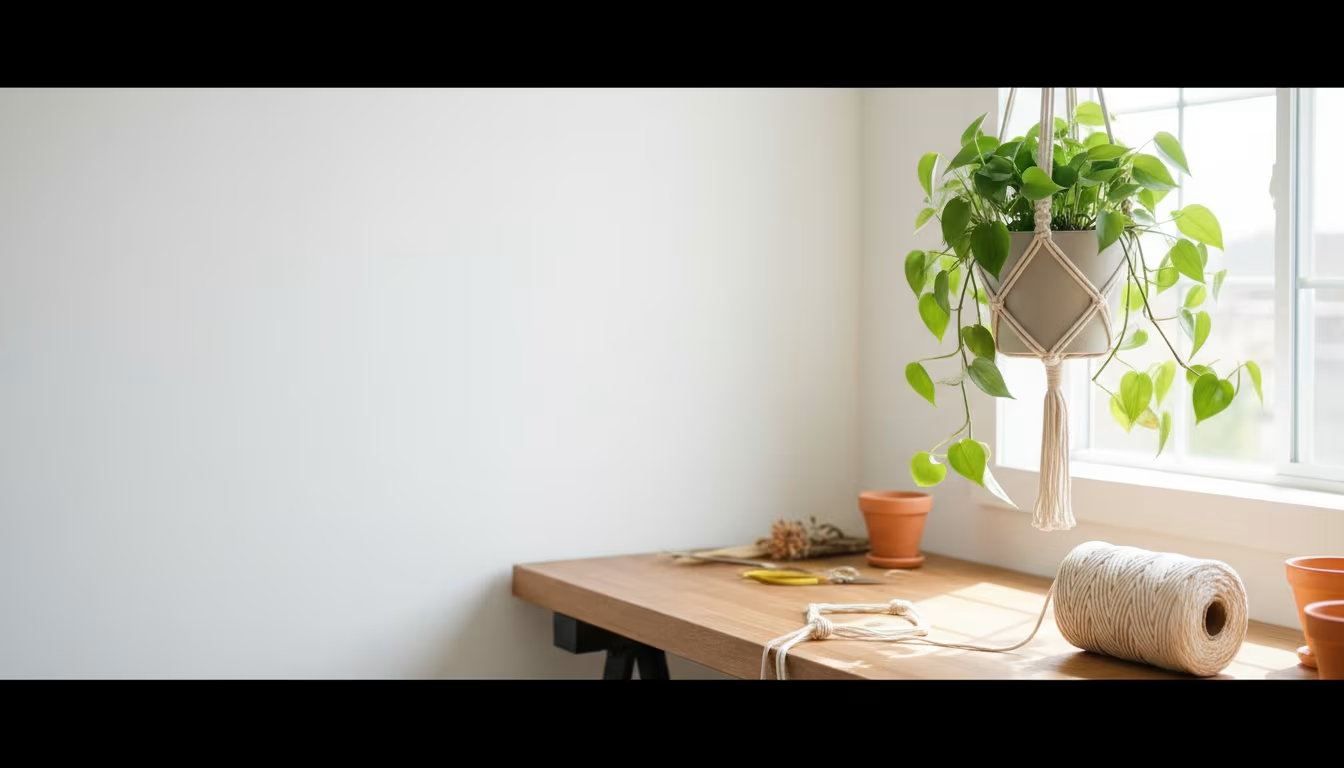
An entryway table is the first surface you meet coming home and the last one guests see on the way out, so it does more work than its small footprint suggests. The trouble is that flat surface near the door collects mail, keys, receipts, and whatever else is in your hands. A minimalist setup solves that by giving every item a designated spot and leaving the rest of the surface clear. The result reads as calm and welcoming without looking sterile.
This guide covers what minimalist styling actually means, the pieces worth investing in, and a build order that works whether you have a full console or a 24-inch shelf by the door.
What Minimalist Styling Actually Means Here
Minimalist does not mean empty. It means every object on the table either does a job or earns its place visually, and usually both. A key bowl earns its spot by catching keys. A single plant earns its spot by adding life. A stack of unopened mail earns nothing, so it goes.
The working rule most stylists use is the three-item guideline: beyond the functional pieces (a catch-all dish and a tray), keep no more than three decorative objects on the surface at once. Past that, the eye reads clutter instead of intention. You also want a restrained palette, two or three colors that repeat, rather than a different accent everywhere. That palette can carry through the rest of the home, which is easier to plan if you build a cohesive color story first.
The Essentials and What Each One Does
Before styling anything, get the foundation pieces right. A console table between 10 and 14 inches deep fits most hallways without blocking the walkway; anything deeper than 16 inches starts to crowd a standard 36-inch hall. Narrow console tables in the $100 to $300 range are common new, but secondhand pieces at $30 to $50 are easy to find and refinish in a weekend with 120-grit sanding and a wipe-on stain.
| Piece | What it does | Sizing / budget guide |
|---|---|---|
| Console or slim table | Foundation surface | 10-14 in deep; $30-50 thrifted, $100-300 new |
| Mirror or framed art | Anchors the wall, bounces light | Hang bottom edge 6-8 in above tabletop |
| Catch-all dish | Home for keys and loose change | Small ceramic or carved wood bowl |
| Tray | Corrals mail, wallet, sunglasses | Wood, metal, or woven; 10-14 in wide |
| Basket (under table) | Hides shoes or bags | Woven; keep it inside the table footprint |
| Small plant | Adds a single point of life | Snake plant, ZZ, or pothos |
For the plant, snake plants, ZZ plants, and pothos all tolerate the low, indirect light most entryways get and forgive irregular watering, which makes them reliable low-maintenance picks for a spot you pass rather than tend. If natural light is scarce, a good matte faux plant reads as real; skip anything with a plastic sheen.
Building the Table Step by Step
Work in this order so each decision supports the next rather than fighting it.
1. Clear the surface completely. Take everything off and sort it: recycle old mail, relocate items that belong elsewhere, and be honest about what actually lands here daily. You cannot style around existing clutter.
2. Set the table and check the scale. A large table in a tight hallway feels cramped; a tiny one in a wide foyer looks lost. Match the table length to roughly two-thirds of the wall space it sits against.
3. Anchor the wall. Hang a mirror or a single piece of art so the bottom of the frame sits 6 to 8 inches above the tabletop. That gap ties the table and wall into one visual unit instead of two floating objects. A mirror doubles as a last-look check and reflects light into a dim entry.
4. Add functional storage. Place a small dish for keys and a tray for mail. If shoes pile up, slide a woven basket underneath, sized to stay within the table's footprint so it does not intrude on the walkway.
5. Introduce one plant and one personal object. Keep it to a single plant and one or two meaningful pieces, a handmade ceramic, a framed photo, a piece from a pottery class. Balance height: pair a tall plant with a low, wide object so the arrangement does not lean.
6. Edit with fresh eyes. Step away, then photograph the table on your phone. A photo flattens the scene and exposes imbalance your eye skips in person. Remove anything that does not pull its weight.
The console table format is worth understanding on its own; a console table is built shallow specifically to sit against a wall, which is why it suits entryways better than a repurposed dining or side table.
Common Mistakes and Quick Fixes
Clutter creeps back. Do a 60-second reset when you walk in: everything returns to its assigned spot. If an item has no assigned spot, it does not belong on the table.
Empty wall above. A bare wall makes the surface feel unfinished. Always add a mirror, art, or a slim hook rail to draw the eye upward.
Function ignored. If keys still hit the floor, the system failed. Match storage to your actual habits, a lidded box for heavy mail flow, a hook for bags you drop daily.
Looks like a showroom. One genuinely personal object, a thrifted find or something handmade, keeps the space from reading like a catalog page.
Start with a single change: clear the surface and add one intentional object. Live with it for a few days, then layer in the tray, the plant, and the wall anchor as the space tells you what it needs.
Related Posts
Light Fixture Height Over Dining Table: The Rule
The right pendant light height over a dining table is calculated, not guessed. The standard...

Hanging Plants Without Ceiling Hooks for Renters
Hanging plants brighten any room but drilling into the ceiling isn't always an option....
Indoor Plant Pot with No Drainage Hole: How to Make It Work
A no-drainage pot rots roots fast. Use the double-pot method, skip the gravel myth, pick...
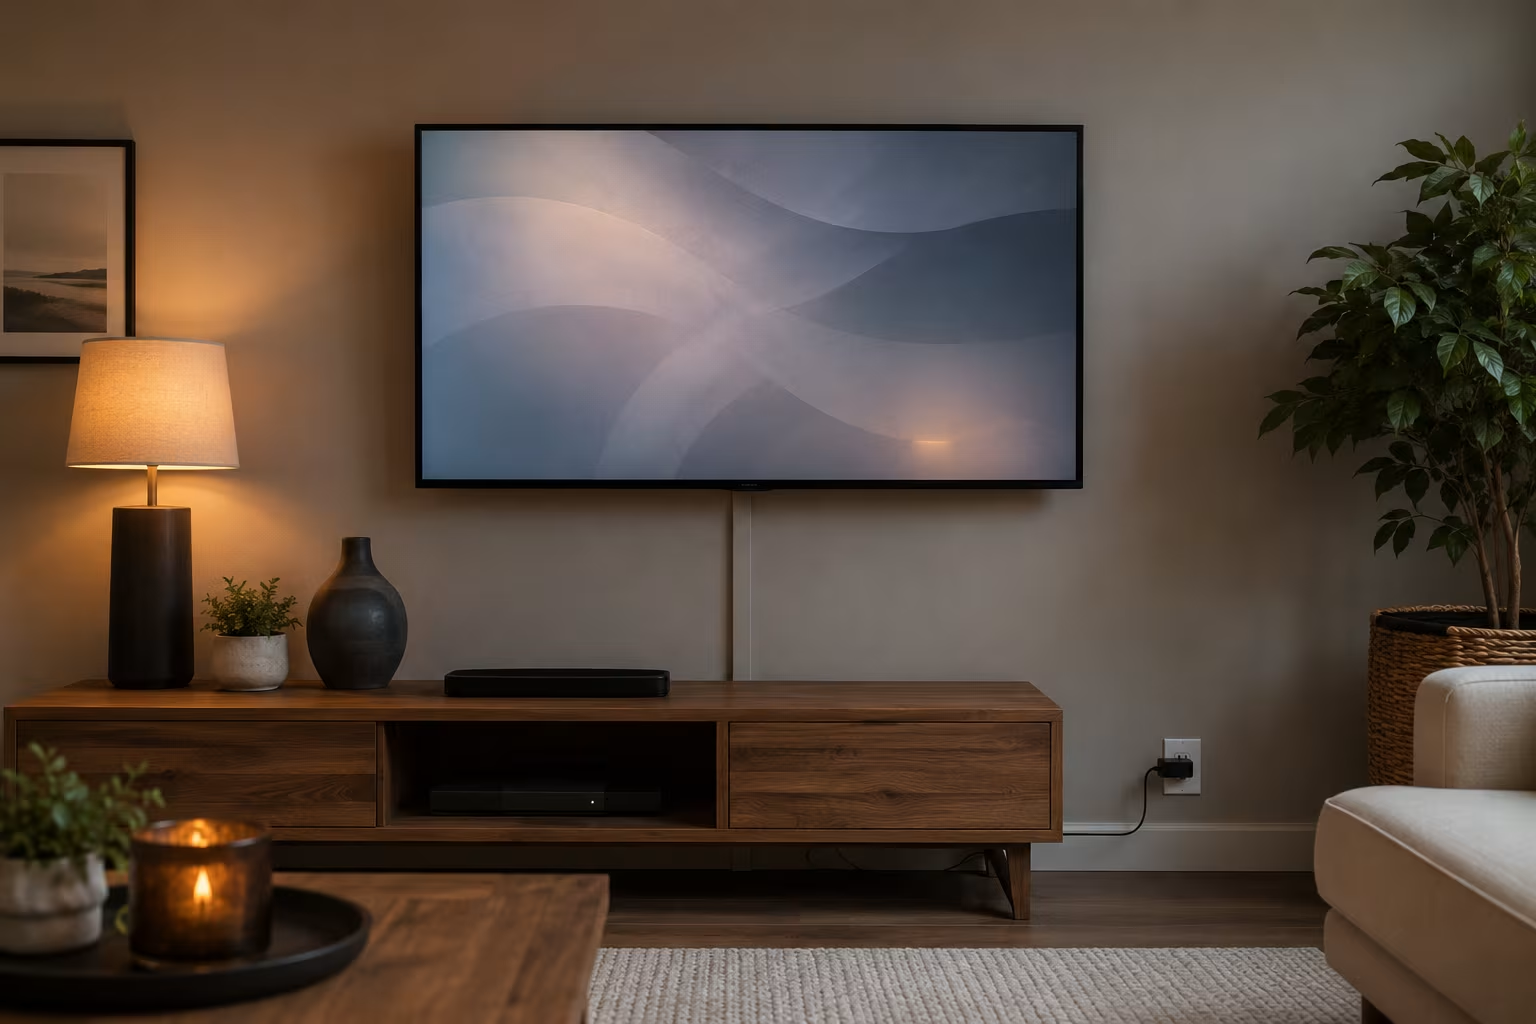
Hide TV Cable Clutter Renter-Safe Without Drilling
Hide a wall-mounted TV's cables without drilling: a paintable adhesive raceway to the outlet, a...
Comments
No comments yet. Be the first to share your thoughts!