The Complete Beginner Guide to Screen Printing on T-Shirts at Home
The Complete Beginner Guide to Screen Printing on T-shirts at Home
You know that feeling when you're scrolling through social media, see a super cool graphic tee, and think, "I could totally make that"? Then you check the price, close the tab, and immediately regret ever having that thought. Yeah, I've been there more times than I can count. My closet is full of "almost" perfect shirts I didn't buy because of the price tag.
Or maybe you've got a brilliant idea for a design for your book club, your D&D group, or just a funny inside joke for your friends. Ordering a custom batch feels expensive for just a few shirts. That's exactly how I landed in the world of screen printing.
It looked complicated at first, I won't lie. I pictured huge industrial machines and toxic chemicals. But then I saw someone doing it in their garage, and suddenly, the gears started turning. Turns out, it's totally doable at home, even if your "workshop" is just a corner of your laundry room like mine sometimes is.
Today, we're going to break down everything you need to know to start screen printing your own t-shirts right in your own space. We'll talk about what supplies you actually need (and what you can skip), how to get your design onto a screen, and my go-to methods for actually printing without making a giant mess.
I'll even share some of the face-palm moments I had when I first started. Because, trust me, I've made all the beginner mistakes, so you don't have to. Let's get those creative ideas onto fabric, shall we? 👋
Why This Actually Matters
Okay, so why bother with screen printing at home when you can just buy a shirt? Well, for starters, it's about making exactly what you want. No more settling for "almost." You pick the design, the colors, even the shirt itself.
Think about customizing gifts. I made a batch of coffee-themed t-shirts for my sister and her husband last Christmas, with an inside joke only they'd get. The look on their faces? Priceless. You just can't get that kind of personal touch from a store.
It also saves you money in the long run, especially if you love unique graphic tees. A single custom shirt can cost $20-$30, sometimes more. Once you have the basic supplies, you can churn out shirts for just a few dollars in materials each.
Plus, it's just plain satisfying. There's something truly magical about pulling that squeegee and revealing your design perfectly transferred onto fabric. It’s a tangible representation of your creativity, and it feels awesome.
My first attempts were... humbling. I remember trying to print a simple text design, and the letters came out all wobbly because I didn't apply even pressure. It looked like a kindergartner tried to write on a shirt. But that failure taught me so much about technique, and now I can print sharp, clean designs I'm really proud of.
It's not just about shirts, either. Once you get the hang of it, you can print on tote bags, hoodies, even wood signs. It opens up a whole new world of personalization for your home and gifts. That's why diving into screen printing is more than just a craft; it’s a skill that keeps on giving.
Getting Started: the Essentials of Home Screen Printing
Let's demystify screen printing. At its core, it's a stencil method. You create a stencil on a mesh screen, push ink through the open areas of the stencil onto your fabric, and block ink from the closed areas. Simple, right?
The magic happens with a light-sensitive emulsion that lets you create really detailed stencils without having to hand-cut anything. This means you can use your computer to design something and then transfer it right to your screen.
You don't need a massive setup for this. Most of what we're talking about can happen on a tabletop. I started with a tiny kit I bought online for about $70, and I still use some of those original tools today.
What You'll Actually Need (the Shopping List)
Before you dive in, let's talk about the absolute must-haves. Don't worry, you don't need to break the bank here. I've found some amazing screens at estate sales for a couple of bucks!
- Screen Printing Frame: This is literally a wooden or aluminum frame with mesh stretched across it. For beginners, a 16"x20" frame with a mesh count of 110-125 is a great starting point. Higher mesh counts are for finer details, lower for thicker inks.
- Photo Emulsion Kit: This usually comes with a two-part emulsion (sensitizer and emulsion itself) and a scoop coater. The emulsion is light-sensitive and creates your stencil.
- Squeegee: A rubber blade in a handle. You'll use this to push ink through your screen. An 8-10 inch squeegee is good for most t-shirt designs.
- Screen Printing Ink: Water-based inks are easiest for home use and cleanup. Pick a color or two to start. Textile inks are designed to be durable on fabric.
- Transparency Film: You'll print your design onto this. It needs to be opaque enough to block UV light during exposure. Standard inkjet or laser transparency film works.
- Dark Room/Safe Light: You need a dimly lit area (or a yellow "safe" light) when working with emulsion so it doesn't get exposed prematurely. A bathroom with the main lights off and a small lamp in another room usually works fine.
- Light Source for Exposure: A strong UV light is ideal. Some people use specialized screen printing exposure units. For a budget-friendly option, a 500-watt halogen work light from the hardware store (around $20-$30) works surprisingly well.
- Washout Area: A utility sink, a bathtub, or even a designated garden hose area. You'll need water pressure to wash out your design.
- Tape: Waterproof tape (like packing tape or painter's tape) to block off the edges of your screen.
- T-Shirts or Fabric: Start with some cheap practice shirts! Thrift stores are your best friend here. I always grab a few plain white tees for testing.
- Cardboard Inserts: To place inside your shirts to prevent ink bleed-through and give a firm printing surface.
- Spatula/Stir Stick: For mixing ink.
- Gloves and Apron: Protect your hands and clothes. Ink is messy!
See? It's not too wild. Most of these things can be found online, at craft stores, or even your local hardware store. Don't feel like you need the fanciest version of everything right away. My first squeegee was a hand-me-down from a friend's art studio, and it worked great.
How to Actually do It: Step-by-step Screen Printing
Alright, let's get into the nitty-gritty. This is where the magic (and sometimes the mess) happens. Remember, patience is your best friend here. Don't rush any of these steps, especially your first time around.
Step 1: Design Your Image
This is where your creativity shines! Keep it relatively simple for your first few prints. Intricate details can be tough for beginners to expose properly. Think bold lines and clear shapes.
You can use any graphic design software you like – Photoshop, Illustrator, Canva, even basic programs if you're comfortable. The key is to create a completely black image on a transparent background. This black area is what will block the UV light and create your stencil.
Once your design is ready, print it onto your transparency film using a laser printer (which usually gives a denser black) or an inkjet printer. Make sure the black is as opaque as possible. If it looks a little gray, try printing two copies and stacking them perfectly to increase opacity.
Step 2: Prepare Your Screen with Emulsion
This step needs to happen in a dimly lit room – no direct sunlight or bright overhead lights. Mix your two-part emulsion according to the manufacturer's instructions. It's usually sensitizer added to the main emulsion bottle.
Using your scoop coater, apply an even, thin layer of emulsion to both sides of your screen. Hold the scoop coater at a slight angle and pull it smoothly across the screen, ensuring full coverage. You want enough to block light, but not so much it's gloopy.
After coating, let your screen dry completely flat and level in a dark, dust-free environment. This can take several hours, or even overnight. A small fan can help speed up drying, but still keep it dark. A screen that's not fully dry won't expose correctly.
Step 3: Expose Your Design
Once your screen is bone dry, it's time for the light! This step still needs to happen in that dimly lit room. Lay your transparency film design-side-down onto the mesh side of your screen. The design should be readable from this angle.
Place a piece of clear glass (a picture frame glass works great!) on top of your transparency to hold it firmly against the screen. This ensures crisp lines. Now, position your UV light source about 12-18 inches above the screen.
Exposure time is the trickiest part and varies greatly depending on your emulsion type and light source. Start with the manufacturer's recommended time as a baseline. For a 500-watt halogen light, I usually start around 8-12 minutes. You'll likely need to do a few test exposures to dial it in.
Step 4: Wash out Your Screen
Immediately after exposure, take your screen to your washout area. You'll notice the areas of the screen where your design was (the black parts on your transparency) will look slightly different, maybe a bit darker or shinier. This is where the emulsion didn't harden.
Use a steady stream of water (medium pressure) to gently spray both sides of the screen. You should see your design slowly start to wash away, revealing the mesh underneath. If it's not washing out, your screen might be underexposed. If too much washes out, it might be overexposed.
Once your design is fully open and clear, gently blot excess water with a paper towel and let the screen air dry completely. You can use a fan, but again, make sure it's dust-free. A completely dry screen prevents ink bleeding later.
Step 5: Prepare Your Printing Area
While your screen dries, set up your printing station. Lay down some newspaper or an old sheet to catch any drips. Place your t-shirt flat on your printing surface.
Insert a piece of cardboard inside your shirt, centered under where your design will go. This prevents the ink from bleeding through to the back of the shirt. It also provides a nice firm surface to print on.
Use waterproof tape to block off any open mesh around your design on the screen. This prevents ink from getting onto your shirt in unwanted areas. Don't skimp on this step – ink loves to find every little gap!
Step 6: the Printing Magic!
Position your screen squarely over your t-shirt. Hold it steady. Spoon a line of screen printing ink across the top of your design, above where the squeegee will start.
Now for the squeegee! Hold it at about a 45-degree angle. With firm, even pressure, pull the squeegee down across the entire design in one smooth, continuous motion. You want to push the ink through the screen, not just slide it across. Some people like to do a second pass, but often one good pass is enough for water-based inks.
Carefully lift your screen. Ta-da! Your design should be on the shirt! If it looks a little thin, you can try another pass or adjust your pressure. Just don't let the ink dry on the screen while you're fiddling.
Step 7: Curing Your Ink
Screen printing ink isn't truly permanent until it's heat-set, or "cured." This is a crucial step that often gets overlooked by beginners. If you skip this, your design will wash right out in the laundry.
Let your printed shirt air dry for at least 24 hours. Once dry to the touch, place a piece of parchment paper or a clean cotton cloth over the design. Then, use a household iron on a high, dry setting (no steam) and press firmly over the entire design for about 2-3 minutes, moving the iron constantly to avoid scorching.
Alternatively, you can use a heat gun (carefully!) or even bake the shirt in your oven at a low temperature for a short period (check ink manufacturer's instructions for specifics). The heat setting process cross-links the ink polymers, making them wash-fast.
Step 8: Clean up
Clean up immediately after printing. Do not let ink dry on your screen! Scrape any excess ink back into its container. Then, take your screen to your washout sink and use water (and sometimes a scrub brush for stubborn spots) to clean all the ink off the mesh. If ink dries in the mesh, it can permanently block areas of your stencil.
Clean your squeegee and spatula too. Let your screen dry, and it's ready for its next print!
Making It Stick / Common Mistakes
Okay, so you've got the steps, but let's be real: things don't always go perfectly the first time. I've had so many frustrating moments where I felt like I was doing everything right, but my print came out terrible. Here's what usually trips people up.
Mistake 1: Uneven Emulsion Coating
If your emulsion is too thick in some spots and too thin in others, you'll get uneven exposure. Thin spots might wash out when they shouldn't, or thick spots might not wash out at all. Take your time with the scoop coater – one or two even passes are better than multiple patchy ones.
Mistake 2: Incorrect Exposure Time
This is probably the biggest hurdle for beginners.
Underexposed screens (not enough light) will wash out too easily, sometimes even the parts that should be hardened. You'll end up with a blurry, distorted design, or even no design at all.
Overexposed screens (too much light) will make it impossible to wash out your design. The emulsion hardens everywhere, even where your transparency blocked the light. It's like trying to carve granite with a garden hose.
My advice? Do a test strip. Cover parts of your transparency with cardboard and expose it in timed increments (e.g., 5 min, 6 min, 7 min, 8 min). Wash it out, and see which section looks best. It saves a lot of wasted emulsion and screens.
Mistake 3: Poor Transparency Opacity
If your black design isn't truly opaque, UV light will sneak through it during exposure. This leads to parts of your design washing out incorrectly or having fuzzy edges. If your home printer doesn't print super dark, print two transparencies and layer them perfectly on top of each other before exposure.
Mistake 4: Not Enough Pressure (or Too Much!) with the Squeegee
Screen printing is all about the "pull." If you don't use enough firm, even pressure, the ink won't fully transfer through the mesh, and your design will look faded or patchy. If you use too much pressure, you might push too much ink, causing bleeds or blurring, especially on textured fabrics.
It's a delicate balance. I learned by watching a lot of videos and then just practicing on cheap shirts. You'll develop a feel for it. Think of it like spreading frosting on a cake – you want smooth, even coverage.
Mistake 5: Skipping the Curing Step
Remember what I said about the ink washing out? It's true! I've had so many friends get excited about their first printed shirt, wear it, wash it, and then email me heartbroken that their design disappeared. Don't let this be you! That heat setting step is non-negotiable for durability.
"The secret to a great screen print isn't just knowing the steps; it's learning to love the mess-ups. Each 'failure' is just a lesson in disguise, showing you exactly what not to do next time."
Honestly, the biggest mistake is giving up after the first try. My first perfectly crisp print felt like a miracle after a few less-than-stellar attempts. But that's how you learn! Embrace the learning curve.
Frequently Asked Questions
Can I Really do This Without a Fancy Screen Printing Press?
Absolutely! Most of my personal projects are done with what's called a "hinge clamp" method, where I literally just tape the screen to a board on one side so it can lift up and down. You can buy cheap hinge clamps, or even make your own simple hinge with some tape and wood blocks. A press offers convenience for multi-color prints and faster production, but it's not essential for starting out.
How do I Make Multi-color Designs?
Multi-color printing is definitely a step up, but totally achievable! You'll need a separate screen for each color in your design. Each screen gets its own unique stencil, blocking out everything except the areas for that specific color. This also requires careful "registration," which means making sure each color lines up perfectly with the others when you print. It takes practice, but it's super rewarding when you get it right!
What if My Design Isn't Washing out Properly After Exposure?
This is usually a sign of either an overexposed screen (too much UV light hardened the emulsion everywhere) or an underexposed transparency (your black design wasn't opaque enough, letting light through). Try reducing your exposure time slightly or printing two transparencies and layering them to block more light. If it's a completely stubborn non-washout, you likely overexposed significantly.
How Long does the Whole Process Take for One Shirt?
For your very first shirt, including design, screen prep, exposure, printing, and clean up, you might be looking at a few hours total spread across drying times. Once your screen is prepped, printing a batch of shirts goes much faster. You could probably print 10 shirts in an hour or so, not including the initial screen prep and final curing steps.
Is Water-based Ink Durable Enough, or do I Need Plasticol Ink?
For home hobbyists, water-based inks are fantastic. They're much easier to clean up (just water!), less toxic, and often have a softer feel on the shirt. Once properly cured with heat, they're incredibly durable and will withstand many washes without cracking or fading. Plastisol inks are more industrial and require higher temperatures to cure, often needing a flash dryer, which is usually out of reach for a home setup.
My Prints are Blurry or have Fuzzy Edges, What's Wrong?
Blurry prints can happen for a few reasons. One common cause is ink bleeding under the screen, often because your screen isn't sitting flush against the shirt, or you're using too much ink. Another reason could be that your transparency wasn't held firmly against the screen during exposure, leading to light scattering and fuzzy edges on your stencil. Make sure that piece of glass is firmly pressed down!
Can I Reuse My Screens?
Yes, absolutely! That's part of the beauty of screen printing. After you've finished a print job, you thoroughly clean all the ink off your screen. If you want to use the screen for a different design, you'll need to "reclaim" it. This involves using an emulsion remover chemical that dissolves the hardened emulsion, allowing you to wash it off and re-coat the screen with new emulsion for a new design. It saves so much money in the long run.
What's the Best Way to Store My Prepared Screens if I Want to Print More Later?
Once your screen is exposed and washed out, make sure it's completely dry. Then, store it somewhere dark and dust-free. Light exposure can eventually harden the emulsion further, even if it's not direct sunlight, so a covered box or a drawer is ideal. Just don't let anything press against the mesh, as it can damage your stencil.
The Bottom Line
Screen printing at home isn't just a craft; it's a superpower for personalizing your world. It might seem like a lot of steps, and I won't lie, your first few attempts probably won't be gallery-worthy. But every single "oops" moment teaches you something vital.
Don't get caught up trying to make everything perfect. Just start. Grab a basic kit, find some cheap thrift store tees, and give it a try. The satisfaction of wearing something you designed and printed yourself is truly unmatched.
So, what are you waiting for? Pick a simple design, gather your supplies, and get ready to transform some fabric. Your next favorite t-shirt is waiting to be printed. Happy making! ❤️
Related Posts
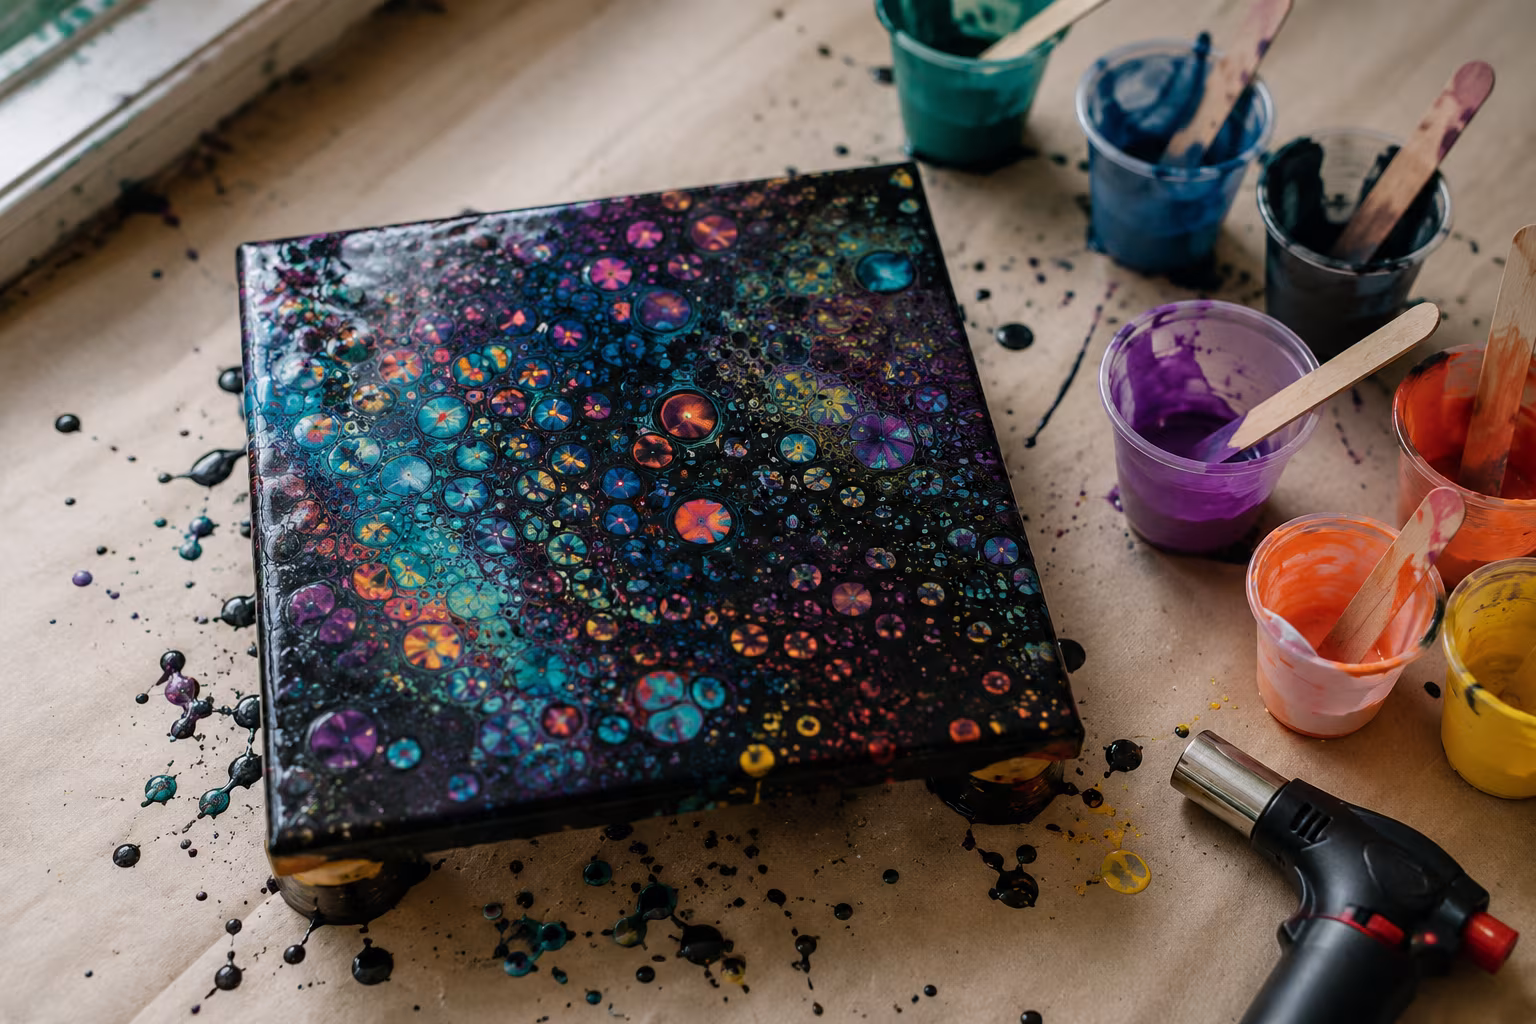
Acrylic Pouring Cells: Why They Form and How to Control
Cells in acrylic pouring come from density and surface tension differences. Understand the chemis...
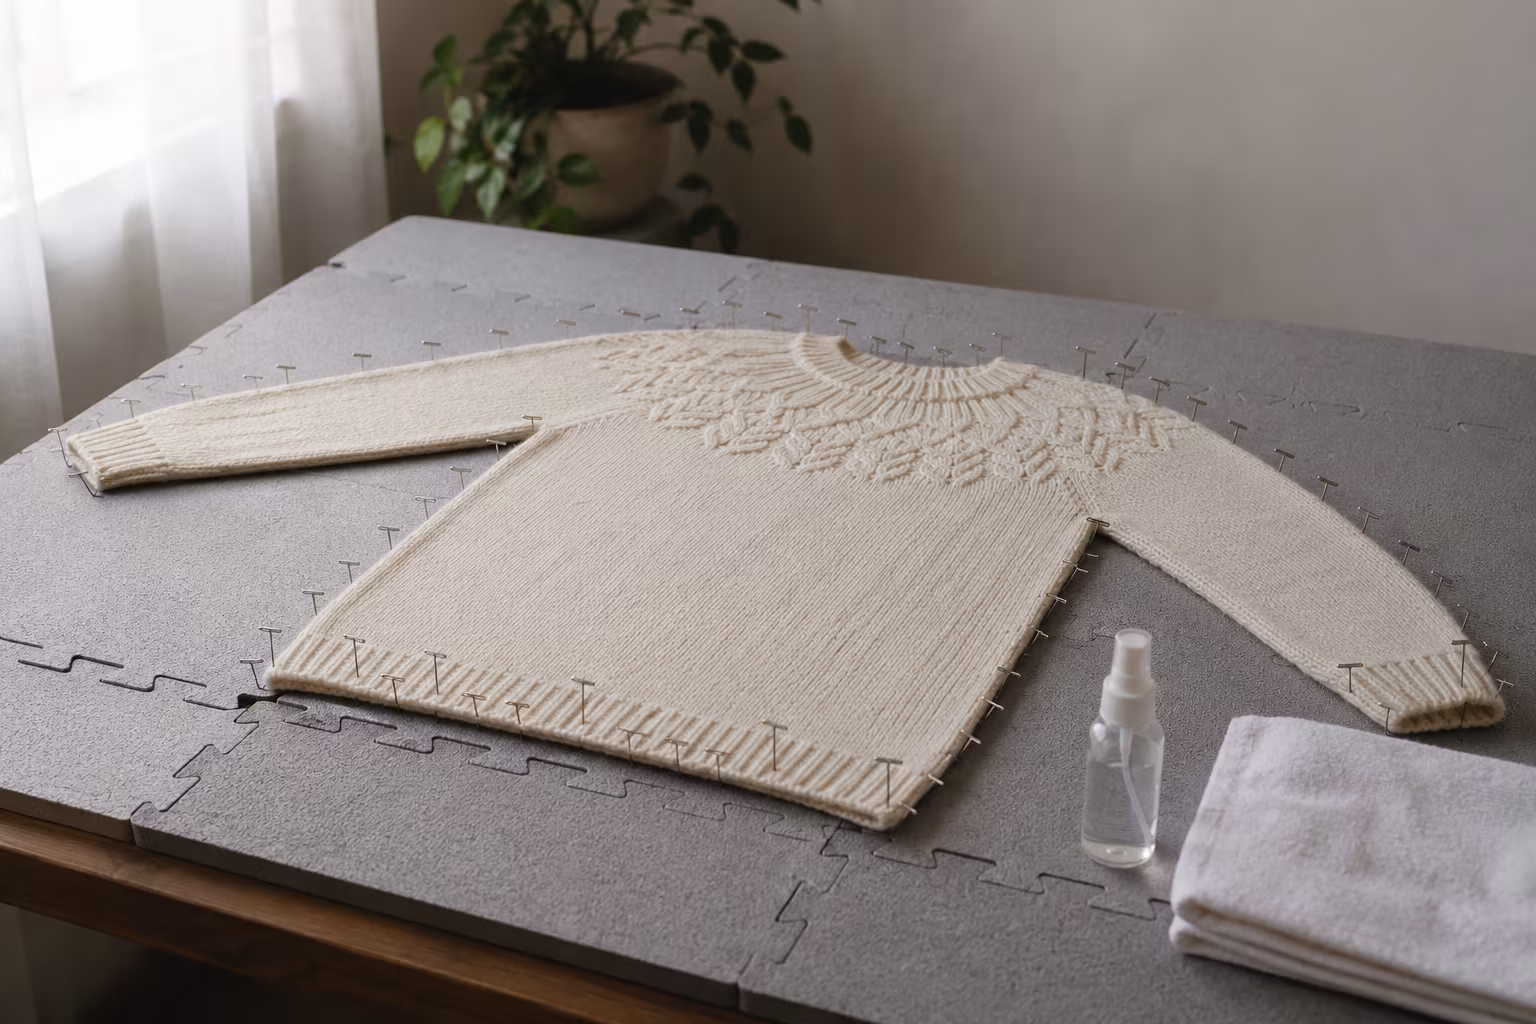
How to Block a Knitted Wool Sweater Without Felting
The blocking routine that opens stitches and sets the shape without turning your wool sweater int...
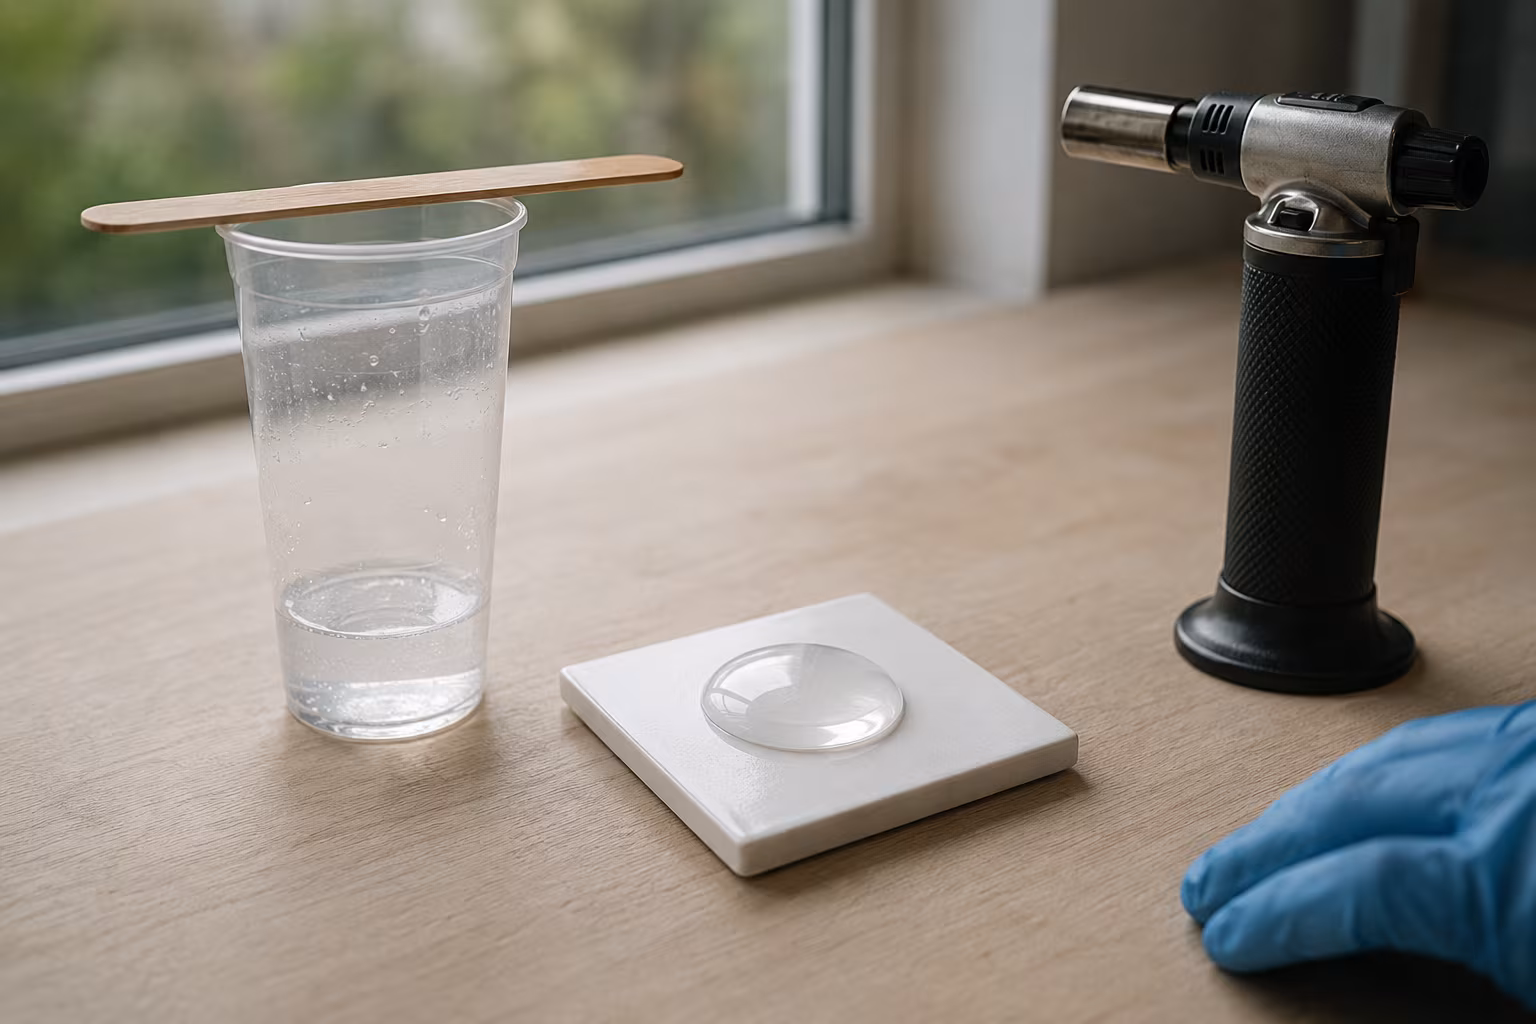
Resin Doming Without Bubbles: A Calm, Reliable Method
A repeatable doming routine that keeps bubbles out and the dome tidy — pour technique, heat metho...
Why Quilling Earrings Are the Most Profitable Craft to Sell Online
Thinking about starting a craft business? You might be surprised to learn that delicate, colorful...