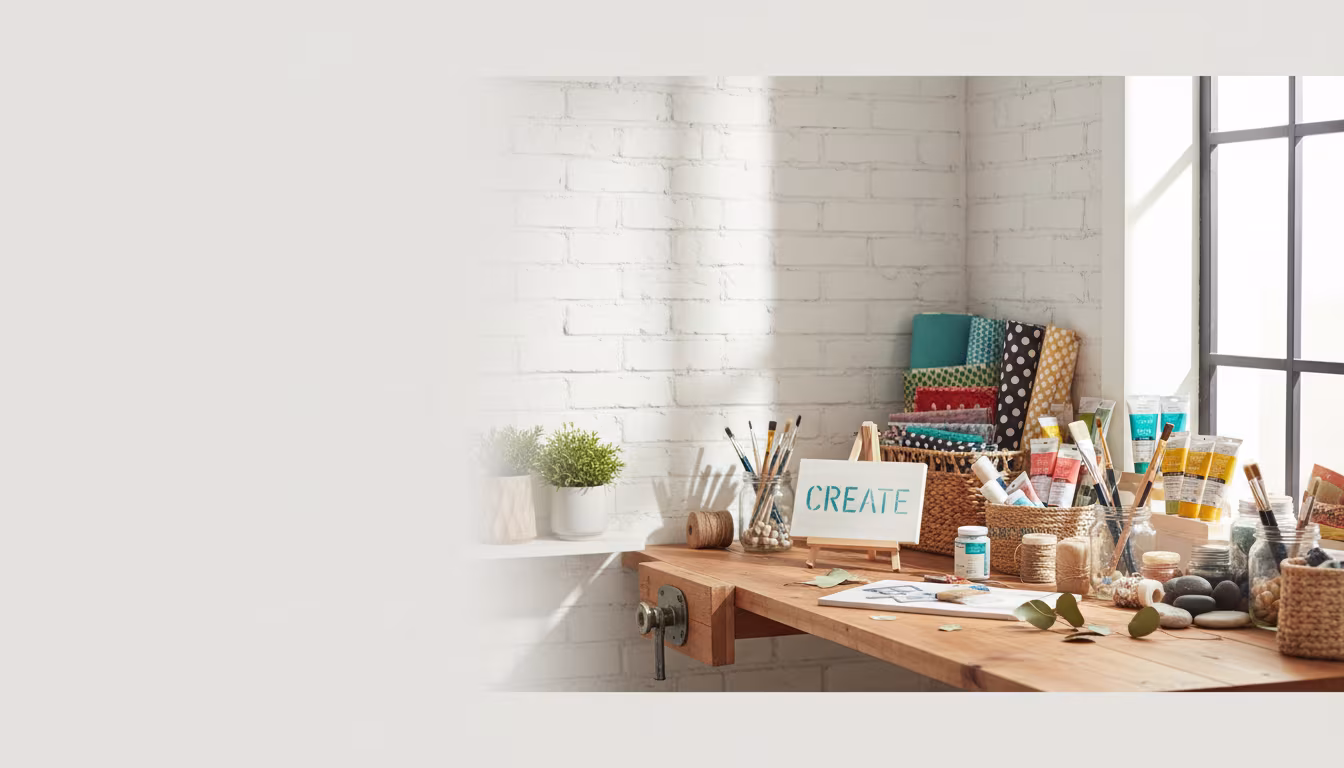
Why Botanical Illustration with Colored Pencils is the Perfect Quiet Hobby
Botanical illustration with colored pencils is a slow, focused craft that asks for patient observation rather than natural drawing talent. You render a plant, a single leaf, a flower, a seed pod, closely enough to capture its structure and color, building the image up in thin layers. It needs almost no space and no noisy equipment, which makes it one of the few creative hobbies you can do at a kitchen table without setup or cleanup.
The appeal is partly the quiet. Concentrating on the curve of a petal or the fine hairs on a stem crowds out other noise, closer to a focused meditation than to a demanding project. Below is what the discipline actually involves, the supplies that matter, and a step-by-step process you can follow with a leaf from your own yard.
Why It Works as a Quiet Hobby
Most crafts pull your attention outward, toward tools, materials, and mess. Botanical drawing pulls it inward and down to one object. The intense focus required to render a plant accurately leaves little room for a racing mind, which is why many people find it genuinely restorative rather than one more task on a list. It is also cheap to start and forgiving of small spaces, so the barrier between wanting to do it and actually doing it is low.
What Botanical Illustration Actually Is
Botanical illustration is more than drawing a flower prettily. It aims for accuracy, capturing the real structure of a plant: every vein, the shape of the edges, the subtle color shifts, the way one part overlaps another. Think of the plates in old natural-history books, precise enough that a botanist could identify the species from the drawing. The tradition sits at the intersection of science and art, and botanical illustration has documented plant species for centuries for exactly that reason.
That focus on observation over invention is good news for beginners. You are not creating something from imagination; you are copying what is in front of you. Hand-eye coordination improves with practice the same way it does in woodworking or baking, so "I can't draw" matters far less than willingness to look carefully.
Why Colored Pencils Suit This Work
Colored pencils are close to ideal for botanical subjects for three reasons. First, the barrier to entry is low: a decent student set, paper, and an eraser cost well under $30, and you can learn the fundamentals on inexpensive pencils before upgrading. Second, they are forgiving. Unlike watercolor or ink, you build color slowly and can lift small mistakes, which suits the fine, incremental detail plants demand. Third, a sharp pencil renders very fine detail, the veins on a leaf, the fuzz on a stem, the speckling on a seed pod, and layering colors produces realistic depth. There is no drying time, so you simply draw. For crisp line work in a sketchbook alongside your pencil pieces, technical pens like Micron pens pair well.
Supplies You Actually Need
Resist the urge to buy the largest set on the shelf. A set of at least 24 artist-grade colors gives you enough greens and browns to start. Two brands dominate for good reason, and they behave differently:
| Supply | Recommended | Why / notes |
|---|---|---|
| Pencils (wax-based) | Prismacolor Premier | Soft core, buttery blending; great for smooth color transitions |
| Pencils (oil-based) | Faber-Castell Polychromos | Harder core, holds a fine point; better for sharp details |
| Paper | Bristol or drawing pad, 90 lb or heavier | Smooth with slight tooth; avoid printer paper, it won't hold layers |
| Graphite pencil | H or 2H (or well-sharpened HB) | Light lines for the underdrawing that won't show through |
| Erasers | Kneaded + white vinyl | Kneaded lifts color without tearing; vinyl for stronger corrections |
| Sharpener | Manual or electric | A fine point is essential for vein and texture work |
A starter kit at the low end runs about $15 to $30; you can always add colors and better paper as your work gets more serious.
The Step-by-Step Process
The whole method rewards slowness. A simple leaf takes 30 minutes to 2 hours; a detailed flower with many petals can run 4 to 8 hours across several sessions.
Step 1: Choose a Simple Subject
Start with a single leaf or an uncomplicated flower with clear petals, a daisy or a petunia. A real plant is best because you can turn it and feel its texture, but a clear, well-lit photo works too. A well-placed window helps you see subtle color and shadow, which is one reason natural light matters as much for drawing as for the room itself.
Step 2: Observe Before You Draw
This is the step beginners rush and shouldn't. Spend five to ten minutes just looking. Is the edge smooth or serrated? Are there hairs on the stem? Is the green uniform or shot through with yellow, brown, or purple? Where does the light hit hardest, and where are the deepest shadows? Jotting these notes on scrap paper makes the drawing far more accurate later. It helps to name the shapes as you look: a maple leaf is a set of pointed lobes off a central spine, a daisy is a ring of even petals around a raised disc. Breaking the subject into a few large shapes before you notice the fine detail keeps the proportions honest.
Step 3: Sketch Lightly in Graphite
With an H or 2H pencil, lay down a ghost-light outline, barely visible. This is a roadmap, not a finished line. Press hard and the graphite becomes nearly impossible to erase and will show through your color. Block the biggest shapes first, then add main veins or petal shapes, using the kneaded eraser to adjust proportions.
Step 4: Build Color in Thin Layers
The secret to realistic work is many thin layers, not one hard pass. Start with the lightest color, a whisper of base green over the whole leaf. Then layer the other tones you observed, hints of yellow, touches of blue in the shadows, following the direction of the plant's growth so strokes blend. Increase pressure gradually, but never so hard that you flatten the paper's tooth; you want room for more layers. A single leaf often takes six to ten thin passes before the color reads as solid. If two colors refuse to blend, lay a lighter neutral, cream or pale grey, between them and work it in with small circular strokes; this is how you avoid the streaky, striped look that gives away a rushed drawing.
Step 5: Add Fine Detail and Texture
Sharpen to a fine point and render the specifics: veins where they branch and fade, using a slightly darker green or brown at light pressure. Vary your strokes for texture, short choppy marks for fuzz, smooth even strokes for a waxy surface, tiny dots for speckles. Include the imperfections too, a browned edge or a small hole adds realism.
Step 6: Set Shadows and Highlights
Identify the light source, then deepen the shadows. Shadows are rarely just dark; they carry cool tones, so layer a deep blue or plum under your darker greens where parts overlap or curve away from the light. For highlights, use a pale yellow or cream, or leave the paper bare if you planned for it. A white pencil can brighten small areas, but too much reads chalky.
Step 7: Work Patiently Across Sessions
Rushing produces flat, thin drawings. Let a piece span several sittings, and come back with fresh eyes to spot what you missed. A dedicated practice sketchbook, where mistakes are the point, keeps the pressure off. The finished plates you frame later, or turn into pressed flower frames and cards, come out of that patient practice.
Common Mistakes and Fixes
Expecting instant perfection. Comparing early work to gallery pieces is the fastest route to quitting. Treat imperfect first attempts as practice, not failures.
Skipping observation. Grabbing a pencil without studying the subject produces generic, flat results. Make observation a standing habit, notice plants on your walks even when you are not drawing.
Pressing too hard, too soon. Going straight for intense color burnishes the paper, fills its tooth, and stops you from adding more layers. Build slowly with light pressure, like thin glazes.
Cheap paper. Thin paper pills, tears, and refuses to hold layered pigment. A step up to 90 lb or heavier drawing paper makes the whole process more enjoyable.
Frequently Asked Questions
Do I need expensive supplies to start?
No. A student-grade set and a decent drawing pad are enough to learn the techniques. Upgrade to artist-grade pencils and better paper once you know what you like.
What if I feel I have no artistic talent?
Botanical illustration leans on observation and patience more than innate skill. You are copying what you see, not inventing it, and hand-eye coordination improves steadily with practice.
How long does one drawing take?
A simple leaf might take 30 minutes to 2 hours. A complex flower with many petals, shadows, and textures can run 4 to 8 hours across several sessions.
Where do I find subjects without a garden?
Walk your neighborhood or a local park for leaves, seed pods, and weeds; check a florist or the grocery store's flower section; or use high-resolution photos. Botanical garden and university extension sites are good sources for clear, well-lit reference images.
Pick one simple leaf, sharpen a few pencils, and spend the first ten minutes just looking before you draw a line. That habit, observe first, layer slowly, is the whole craft in miniature, and it is where the calm comes from.
Related Posts

Bathtub Resealing: When Silicone Beats Caulk and Vice Versa
Reseal a bathtub right: 100% silicone at the flexing tub-to-tile joint, acrylic caulk only on...

Fix Squeaky Hardwood Floors From Above (No Access)
Fix squeaky hardwood floors from above with no access below: talcum powder for board-on-board...

Replacing a Cracked Bathroom Tile Without Re-grouting
Swap one cracked bathroom tile with hand tools: score and saw the four grout joints, chisel the...

Patching Drywall Anchor Holes Without Sand-Through Halos
Make anchor-hole patches vanish instead of showing as halos: two thin spackle coats, sand only...