
DIY Dollhouse Miniatures: Affordable Ideas for Beginners
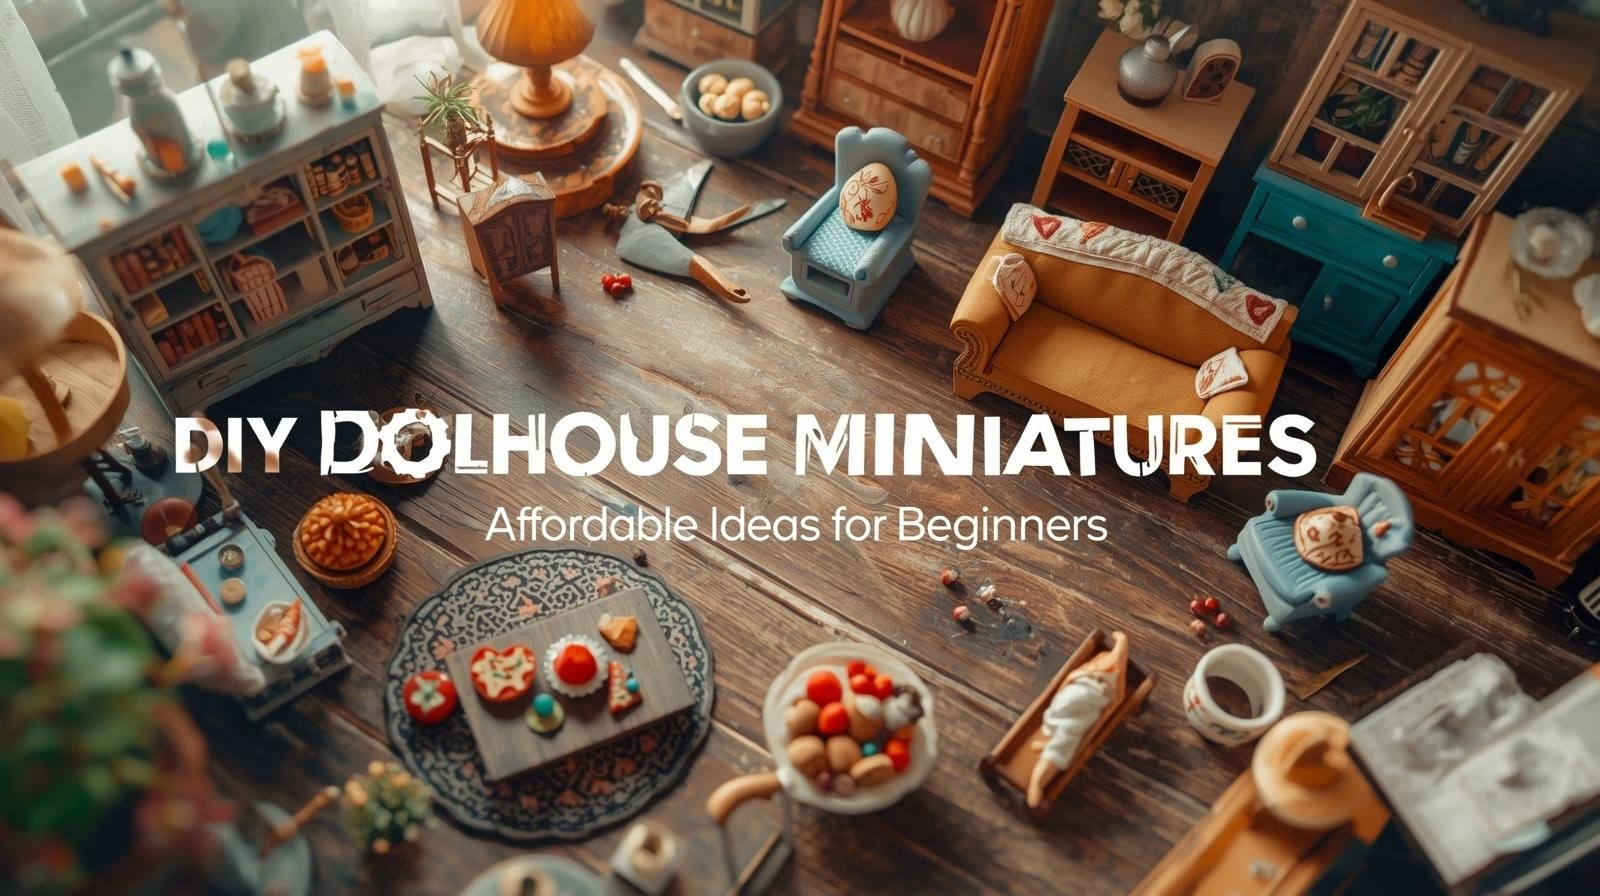
Dollhouse miniatures reward patience and a good eye more than money. Most of what a scene needs, from a dresser to a loaf of bread, can be built from packaging, wooden scraps, and a block of clay. This guide walks through the supplies, the scale system that keeps everything believable, and specific projects for furniture, food, and finishing, all aimed at a first-time builder working on a small budget.
Why miniatures reward beginners
Miniature work is forgiving because the pieces are small: a mistake costs a few cents of material and a few minutes, not an afternoon. It also builds transferable skills, precise cutting, controlled gluing, and fine painting, that carry into other crafts. The history of dollhouses stretches back centuries, and today's hobby ranges from children's playsets to museum-grade room boxes. You can aim anywhere on that spectrum. Finished pieces also make thoughtful, personal gifts, much like handmade greeting cards.
A beginner supply list
Start with a small kit and add specialized tools only as projects demand them:
- Cardboard and 3–5 mm foam board – for furniture frames and room-box walls.
- A sharp craft knife and a cutting mat – clean cuts matter more at small scale, so replace blades often.
- Tacky glue and a hot-glue gun – tacky glue for paper and fabric, hot glue for wood and heavier joins.
- Acrylic paint and small brushes – acrylics dry fast and clean up with water.
- Toothpicks, wooden skewers, and craft (popsicle) sticks – legs, rails, frames, and slats.
- Fabric scraps – curtains, bedding, and upholstery.
- Polymer clay – food and small accessories.
Save bottle caps, matchboxes, corrugated packaging, beads, and buttons. A matchbox becomes a drawer, a bottle cap becomes a stool seat, and a bead becomes a lamp base. Our guide to upcycling everyday items into miniatures goes deeper on sourcing free materials.
Understanding scale before you build
Scale is the one technical rule that keeps a scene from looking wrong. A dollhouse scale expresses how many real-life units equal one unit in the model. The standard is 1:12, where one inch on the model equals one foot in reality, so a 30-inch-tall real table becomes 2.5 inches. Picking one scale and sticking to it is what makes a chair, a plate, and a doorway look like they belong together.
| Scale | Also called | 1 inch on model equals | Best for |
|---|---|---|---|
| 1:12 | One-inch scale | 12 inches (1 foot) | Beginners; most furniture and kits |
| 1:24 | Half scale | 24 inches (2 feet) | Whole rooms in less space |
| 1:48 | Quarter scale | 48 inches (4 feet) | Tiny room boxes, advanced detail |
Keep a small printed ruler on the bench and check each new piece against it. If a chair back reaches roughly 3 inches in 1:12, it will look right beside a 2.5-inch table.
Easy furniture from household items
Furniture is the backbone of a room and the best place to start. Four projects that use only scrap:
- Clothespin chairs – take apart wooden clothespins, sand the edges smooth, and glue the flat halves into a seat and back with toothpick legs. Paint to match the room.
- Craft-stick tables – glue three or four sticks side by side for a top, add four cut-stick legs, and seal with a coat of clear varnish so the wood does not fuzz.
- Bottle-cap stools – flip a metal or plastic cap, glue three short toothpick legs underneath, and pad the seat with a felt circle.
- Matchbox dressers – stack and glue two or three empty matchboxes, paint the shell, and press a small bead into each drawer front as a knob. The trays still slide, so the drawers actually open.
Let hot glue set fully, about 60 seconds, before handling, and clamp glued wood joins with a clothespin while they dry.
Miniature food and kitchen details
Food is where polymer clay earns its place. Polymer clay stays workable until you bake it, usually around 265–275°F (about 130°C) for 15 minutes per 6 mm of thickness, though you should always follow the temperature on your brand's package. Bake on a ceramic tile or foil, and ventilate the room.
- Bread and pastries – roll and shape clay, score a crust line with a knife, bake, then brush with a wash of brown acrylic to build up realistic golden tones in the crevices.
- Plates and bowls – flat buttons and dome beads read as tableware with a coat of gloss.
- Fruit – tiny clay balls for grapes and berries; a dab of gloss varnish makes them look fresh.
- Utensils – cut thin aluminum foil or fine wire into forks and spoons.
Nail-art supply shops sell miniature beads and embellishments that double as dollhouse food and décor, often cheaper than dedicated miniature stock.
Room boxes versus a full dollhouse
Decide early whether you are building a single room or a whole house, because it changes the budget and the timeline. A room box is a shallow open-fronted box, often a repurposed wooden crate or a shadow box, that frames one scene: a kitchen, a study, a shop counter. It is the ideal first project because it is finished in a weekend or two, forces you to practice every skill on a small canvas, and stores flat on a shelf.
A full dollhouse is a long-term commitment. Kits arrive as flat laser-cut plywood parts you glue and clamp; a basic one runs a few weekends just to assemble the shell before any decorating begins. If you are new, build a room box first, learn what you enjoy, then decide whether to scale up. Either way, finish the interior surfaces, wallpaper, flooring, trim, before you glue down furniture, since reaching into a furnished room to paint a wall is nearly impossible.
Bedroom, living room, and garden touches
Once you can build basic furniture, dress each room with soft goods and small props.
In the bedroom, cut a simple cardboard bed frame and cover a thin foam mattress with fabric-scrap sheets; a crocheted circle or a felt oval becomes a rug, and a bead topped with a paper cone makes a bedside lamp. In the living room, carve a sponge into a sofa, wrap it in fabric, and glue on separate cushion pieces; stack cardboard circles on toothpick legs for a coffee table, and fold paper into tiny books with hand-drawn spines. For a garden, glue skewer offcuts into a picket fence, build a slatted bench from craft sticks, and use craft moss or dried herbs as shrubs. Aquarium gravel makes a convincing path or gravel bed for pennies.
Painting and weathering for realism
Paint is what sells the illusion. Three techniques do most of the work:
- Dry brushing – load a brush, wipe almost all the paint off on a paper towel, then drag the near-dry bristles across raised edges to catch highlights and suggest age.
- Washes and shading – thin dark paint with water and let it settle into corners and grooves; it deepens shadows and adds instant depth.
- Gloss versus matte – finish plates, glass, and food with gloss varnish, and use matte on wood and fabric so surfaces read differently under the same light.
Use trimmed or worn-down brushes, even an old eyeliner brush, for the finest lines. If you want to push realism further on wood pieces, our notes on layering acrylic paint on wood apply directly at miniature scale.
Displaying and storing your work
Finished miniatures collect dust and take knocks, so protect them. A shadow box suits a single room; a glazed cabinet showcases a set while keeping dust off; and labeled boxes with soft padding keep unfinished pieces safe between sessions. Photograph each finished piece in daylight, both for a record and to share.
Work one room at a time, hold to a single scale, and let each glue join cure before the next step. Build a chair the first weekend, a table the next, and a full room takes shape without ever feeling like a chore, or straining your budget.
Related Posts
Knitting Needle Materials Compared: Wood vs Metal vs Plastic
Knitting needle material changes how stitches slide, how cold or warm the needle feels, and how...

Beginner Watercolor Paper Choice for Textured Washes
Watercolor paper is the single biggest gear decision a beginner makes. Weight, surface texture...
Hand-Sewn Leather: Saddle Stitch Spacing That Actually Holds
Saddle stitching looks simple and fails subtly. Wrong spacing pulls thin leather apart. The...
Macrame Cord Choice for Beginners: Single-Twist vs 3-Ply
3-ply cord is forgiving, single-twist gives the boho fringe, braided locks in clean knots. The...
Comments
No comments yet. Be the first to share your thoughts!