Why Pyrography Is the Most Underrated Wood Craft for Beginners
Why Pyrography is the Most Underrated Wood Craft for Beginners
Hey there, fellow makers! 👋
Ever stare at a blank piece of wood, a beautiful thrift store find, and think, "What on earth can I actually make with this?" You've got ideas swirling, but maybe you're intimidated by power tools, or you just don't have the space for a full-blown woodworking shop. Sound familiar?
I totally get it. I've bought countless little wooden boxes and cutting boards, only for them to sit patiently, waiting for me to get over my fear of messing them up. I’ve been there with the project paralysis, feeling like every cool wood craft needs expensive gear or some secret artisan skill.
But what if I told you there's a super accessible wood craft that barely needs any tools, fits on a small table, and lets you create truly stunning custom pieces? We're talking about pyrography, or "drawing with fire."
Today, I want to share why pyrography is a hidden gem, especially for beginners. We'll chat about what it is, what you actually need to get started without breaking the bank, and how you can make your first burn without feeling overwhelmed.
Why This Actually Matters
For a long time, I felt like woodworking was a club I couldn't join. My garage workshop is pretty small, and big saws and routers just felt too daunting, not to mention expensive. I love the look of custom wood pieces, but the thought of trying to carve or precisely cut wood always stopped me.
I stumbled onto pyrography during a rainy Portland weekend, looking for a way to personalize some coasters I'd picked up for $5 at a garage sale. I wanted to add some charm, something uniquely "me," without needing a whole new skillset or a pile of power tools.
That's when I discovered the magic of wood burning. It's truly a game-changer for anyone who loves the warmth and character of wood but wants a craft that feels more like drawing or illustrating.
You don't need a huge budget or a dedicated workshop. You don't even need exceptional drawing skills, because you can trace! It's about taking simple pieces of wood – maybe that $15 cutting board from the thrift store or a blank wood slice – and transforming them into personalized art.
This craft gives you incredible creative control. You can create intricate designs, rustic textures, or simple elegant monograms. And the best part? The tools are relatively inexpensive, and the learning curve is surprisingly gentle.
It's about making something beautiful with your hands, finding that satisfying rhythm of the tool on the wood, and getting to show off a piece that you truly made from scratch. It's empowering to take a simple material and infuse it with your own vision, all without the intimidation factor of traditional woodworking.
What Even is Pyrography? (no Jargon, Promise!)
Okay, let's simplify things. Pyrography is basically drawing or writing on wood (or sometimes leather or gourds) using a heated metal tip. That's it! Think of it like a pen, but instead of ink, it uses heat to literally burn your design onto the surface.
The word itself comes from Greek: "pyro" meaning fire and "graphos" meaning writing. So, literally, "writing with fire." People have been doing this for centuries, in different forms, to decorate objects and tell stories.
It's a craft that's all about control. You can make light marks, deep dark lines, or soft shading, all by adjusting how much pressure you apply and how long you hold the tip on the wood. It’s wonderfully meditative once you get into the rhythm of it.
Unlike carving, where you remove material, pyrography adds texture and color through charring. It's more forgiving in some ways, because you're adding color rather than cutting away, which can be a relief for beginners.
The Gear You Actually Need (and What You Can Skip)
This is where pyrography really shines for beginners. You don't need a lot to get started. My first setup cost me about $25, and I still use some of those basic pieces today.
First up, you need a pyrography tool. These come in two main types.
- Craft Burners: These are usually shaped like a soldering iron, with fixed or screw-on interchangeable tips. They typically have an on/off switch and maybe one or two heat settings. They're affordable, usually in the $20-$40 range. This is what I started with, and it's perfect for learning. You get a good variety of tips to try out different lines and shapes.
- Professional Burners: These have a separate power supply box with a flexible pen-like handpiece and wire tips that heat up very quickly. They offer much more precise temperature control, which is great for advanced shading. These are more of an investment, usually $100 and up. You definitely don't need one of these to start. Save that for when you're hooked!
Next, you'll need some wood. This is crucial, and getting the right kind makes a huge difference in your experience.
- Best for Beginners: Light-colored, fine-grained, smooth wood works best. Think basswood, birch, maple, or even light-colored pine. These woods burn evenly and show your designs clearly. I often find basswood plaques and shapes at craft stores, or you can grab a cheap birch cutting board.
- Woods to Avoid (for now): Dark woods (like walnut) make it hard to see your burn marks. Woods with strong grains (like oak or some types of knotty pine) burn unevenly, causing frustrating patches where the tip "jumps" or burns too deep. Also, avoid treated wood or anything with paint/finish, as burning these can release toxic fumes.
Beyond the tool and wood, here are a few other bits and bobs that are super helpful:
- Sandpaper: Fine-grit sandpaper (around 220-grit) is essential. You want your wood surface smooth as can be. Any rough patches will grab your burning tip and make uneven lines.
- Pencil and Eraser: For sketching your design onto the wood before you burn. Don't worry, you can erase pencil marks even after burning lightly around them.
- Carbon Paper (optional but helpful): If you're not confident in your freehand drawing, carbon paper lets you transfer a printed design directly onto the wood. Just print, lay carbon paper, lay design, and trace.
- Ventilation: This is important! Burning wood creates smoke and fumes. Always work in a well-ventilated area – near an open window with a fan, or even outside if weather permits. I use a small desk fan to blow fumes away from my face.
- Heat-Resistant Surface/Stand: Your tool gets HOT. You'll need somewhere safe to rest it when you're not holding it. Most craft burners come with a small metal stand. A ceramic tile also works great to protect your table.
- Needle-Nose Pliers or Tweezers: Handy for changing hot tips (if your tool has screw-on ones). Always let the tool cool a bit first, but sometimes you need a little help.
That's really it! You don't need a special workbench, a dust collection system, or a band saw. Just a small space, your simple tool, and some wood.
How to Actually do It: Your First Burn
Alright, you've got your gear, you're excited, maybe a little nervous. That's totally normal! I remember my first time, staring at the glowing tip, wondering if I was about to set my whole house on fire. (Spoiler: I didn't.)
The key here is to start with practice. Don't go straight for that fancy cutting board you want to give as a gift. Grab some scrap wood, a simple wood slice, or even just the back of a small plaque. Think of it as warming up before the main event.
Step 1: Prep Your Surface
First things first, get that wood smooth. Take your fine-grit sandpaper and gently sand your piece, going with the grain. You want it smooth to the touch, no rough patches.
Once it's smooth, wipe it down with a dry cloth to remove any dust. A clean, smooth surface is essential for even burning.
Step 2: Transfer or Sketch Your Design
Now, decide what you want to burn. For your first few tries, keep it simple. Think lines, dots, simple shapes, or a basic letter. Don't try to recreate the Mona Lisa right away.
If you're using carbon paper, lay your carbon paper face down on the wood, then your printed design on top of that. Use a dull pencil or stylus to trace over your design, pressing firmly enough to transfer the lines.
If you're freehanding, gently sketch your design onto the wood with a light pencil. Remember, you can erase these lines later, so don't press too hard. This gives you a guide to follow, taking some pressure off your burning hand.
Step 3: Get That Tool Hot! (and Stay Safe)
Plug in your pyrography tool and let it heat up. This usually takes 5-10 minutes, depending on your tool. You'll see the tip start to glow a dull red, or simply feel the heat radiating from it.
Place your tool on its heat-resistant stand or ceramic tile. Make sure it's away from anything flammable. And remember that ventilation I mentioned? Now's the time to open that window or turn on that fan. You'll smell the burning wood, which is fine, but you don't want to be breathing in all the smoke.
My first time, I forgot the fan and ended up with a headache. Lesson learned! Safety first, always.
Step 4: Practice Your Strokes (lightly!)
Before touching your main project, grab a scrap piece of wood that's the same type you'll be using. This is your "test dummy." Practice making lines, dots, curves, and shading here. You'll get a feel for how the tool moves and how much pressure to use.
Start with a light touch. It's much easier to go darker later than to try and lighten a deep burn. Think of it like drawing with a pen; some strokes are quick and light, others are slow and deliberate. Experiment with different tips if your tool has them. A fine point for details, a rounded tip for thicker lines or filling in areas, a shader tip for smooth transitions.
You'll notice that slower movements and more pressure create darker lines. Quicker, lighter movements create lighter, feathery lines. Practice lifting the tool off the wood smoothly to avoid creating little "dots" at the end of your lines.
Step 5: Start Burning Your Design
Okay, project time! Take a deep breath. Hold your pyrography pen like you would a regular pen, but maybe a little further back from the tip, just to keep your fingers away from the heat.
Start with the outlines of your design. Follow your pencil lines slowly and steadily. Don't rush! Pyrography is a patient craft. If your lines aren't perfect, don't worry. A little wobble adds character, and you can often go back and refine them a bit.
As you burn, notice the smoke. If you're getting a lot of dark, thick smoke, you might be pressing too hard or holding the tip in one spot for too long. Adjust your pressure and speed. You want a light, wispy smoke, if any at all.
Step 6: Layer and Detail
Once your outlines are done, you can start adding detail and shading. This is where the magic happens!
To create shading, use a lighter touch and faster strokes. You can build up layers of light burns to create gradients, just like you would with a pencil drawing. Some tips are designed specifically for shading, creating a broader, smoother burn.
Experiment with different textures. You can make small dots for a stippled effect, tiny dashes for cross-hatching, or quick, light strokes to mimic wood grain. Look at examples online for inspiration on how different burn patterns create different looks.
Don't be afraid to go back over areas to deepen the color. Remember, it's easier to add darkness than to remove it. Take breaks often to let your eyes rest and to see your project with fresh perspective.
Step 7: Clean up and Finish Strong
Once you're happy with your design, unplug your tool and let it cool completely. Seriously, don't try to clean or change tips while it's hot unless you're using pliers for quick tip changes on a pro unit. Even then, I recommend letting it cool.
Once cool, you can gently erase any remaining pencil marks from your original sketch. Sometimes a good quality art eraser works best for this.
To really make your piece shine and protect it from wear and tear, you can apply a finish. A clear wood sealer, a light coat of beeswax, or even a simple mineral oil (for cutting boards) works wonderfully. This will make the colors pop a bit and give your project a nice, smooth feel. Just make sure whatever finish you choose is food-safe if you're working on something like a cutting board.
And there you have it! Your first pyrography piece. Take a moment to admire your work. You literally just drew with fire! How cool is that?
Making It Stick / Common Mistakes (and How I Made Them First!)
Starting any new craft means you're going to make mistakes. And that's totally okay! It's how we learn. I’ve scorched my fair share of wood, burned through a few designs, and definitely had moments where my lines looked more like a seismograph reading than a smooth curve.
One of the biggest mistakes I made early on was impatience. I wanted perfectly dark lines right away, so I'd press too hard or hold the tip in one spot for too long. This often resulted in uneven burns, really deep indentations, or even tiny scorch marks that were hard to cover.
My advice? Slow down. Think of pyrography as a slow dance, not a sprint. Gentle, consistent pressure and steady movement are your best friends. If you want it darker, go over it again with another light pass, rather than trying to achieve maximum darkness in one go.
Another common pitfall is using the wrong wood. I once tried to burn a complex design onto a piece of untreated pallet wood I found. Big mistake. The grain was wild, it burned unevenly, and the splinters were a nightmare. The fumes weren't great either. Stick to those light, fine-grained woods when you're starting out.
Sometimes, people also try to push the tool too hard. You don't need to apply a lot of force. The heat does the work. If you're pushing hard, you're probably fighting the wood, not burning it. This can lead to digging into the wood, ruining your tip, or even causing hand fatigue.
Don't forget about ventilation. Seriously. I know I mentioned it before, but it's often overlooked. The smell of burning wood is part of the experience, but inhaling a lot of smoke isn't good for you. A small fan moving air away from you makes a world of difference.
Finally, don't compare your first attempts to seasoned pros. It's easy to scroll through Instagram and see incredible pyrography art and feel discouraged. Remember, those artists have put in hundreds, if not thousands, of hours. Your journey is yours alone.
Art isn't about perfection; it's about the joy of making. And maybe a few happy accidents.
Embrace the process. Enjoy the smell of burning wood, the subtle shift in color as you make a mark, and the unique character of each piece you create. Practice is key, but so is having fun.
Frequently Asked Questions
Is Pyrography Safe for Beginners?
Absolutely, as long as you take some basic precautions. The main things are working in a well-ventilated area to avoid inhaling fumes, using a heat-resistant surface for your tool, and being mindful of the hot tip. Don't touch the tip while it's on, and always unplug it when you're done.
What Kind of Wood Should I Use for My First Project?
For beginners, basswood, birch, and maple are excellent choices. They're light-colored with a fine, even grain, which means they burn smoothly and show your design clearly. You can often find small plaques, boxes, or wood slices made from these at craft stores for just a few dollars.
How Much do Pyrography Tools Cost?
You can get a perfectly good beginner craft burner for anywhere from $20 to $40. These often come in a kit with several interchangeable tips, which is a great way to start. More advanced, professional-grade tools can run $100 or more, but you definitely don't need one of those to start.
Can I Use Household Items for Pyrography?
While some people get creative, I highly recommend sticking to dedicated pyrography tools. Using a soldering iron can work, but they often don't have the same variety of tips or the ergonomic design of a wood-burning tool. Never use anything like a heated nail or other improvised tools, as this can be incredibly unsafe and dangerous.
How do I Clean My Pyrography Tips?
Over time, carbon residue builds up on the tips, making them less efficient. The best way to clean them is when they are still warm (but not red hot). You can gently rub them on a piece of fine-grit sandpaper or a stropping block designed for pyrography. Some tools come with a small wire brush for cleaning too. Always unplug the tool and let it cool before a thorough clean.
How Long does It Take to Get Good at Pyrography?
Like any skill, "good" is subjective and takes time! You'll probably feel comfortable creating simple, clean designs after just a few practice sessions. Mastering shading and intricate details might take months of consistent practice. But the fun part is, every project teaches you something new, and you'll see improvement with each piece you complete.
Is This Worth It for Creating Gifts?
Absolutely! Pyrography makes incredible personalized gifts. I've burned custom designs onto cutting boards for weddings, made unique keychains, personalized jewelry boxes, and even decorated wooden ornaments for the holidays. People really appreciate the thought and effort that goes into a handmade, custom piece.
The Bottom Line
If you've been looking for a creative outlet that's accessible, rewarding, and doesn't require a huge investment in time, space, or money, pyrography might just be your next favorite hobby.
It's about taking a simple material, a warm tool, and adding your own unique touch. It's forgiving, meditative, and lets you create truly beautiful things that are packed with character.
So, grab a cheap wood burner and a simple piece of basswood. Try drawing a few lines, a heart, or a favorite word. You might just surprise yourself with what you can create. Happy burning! ❤️
Related Posts
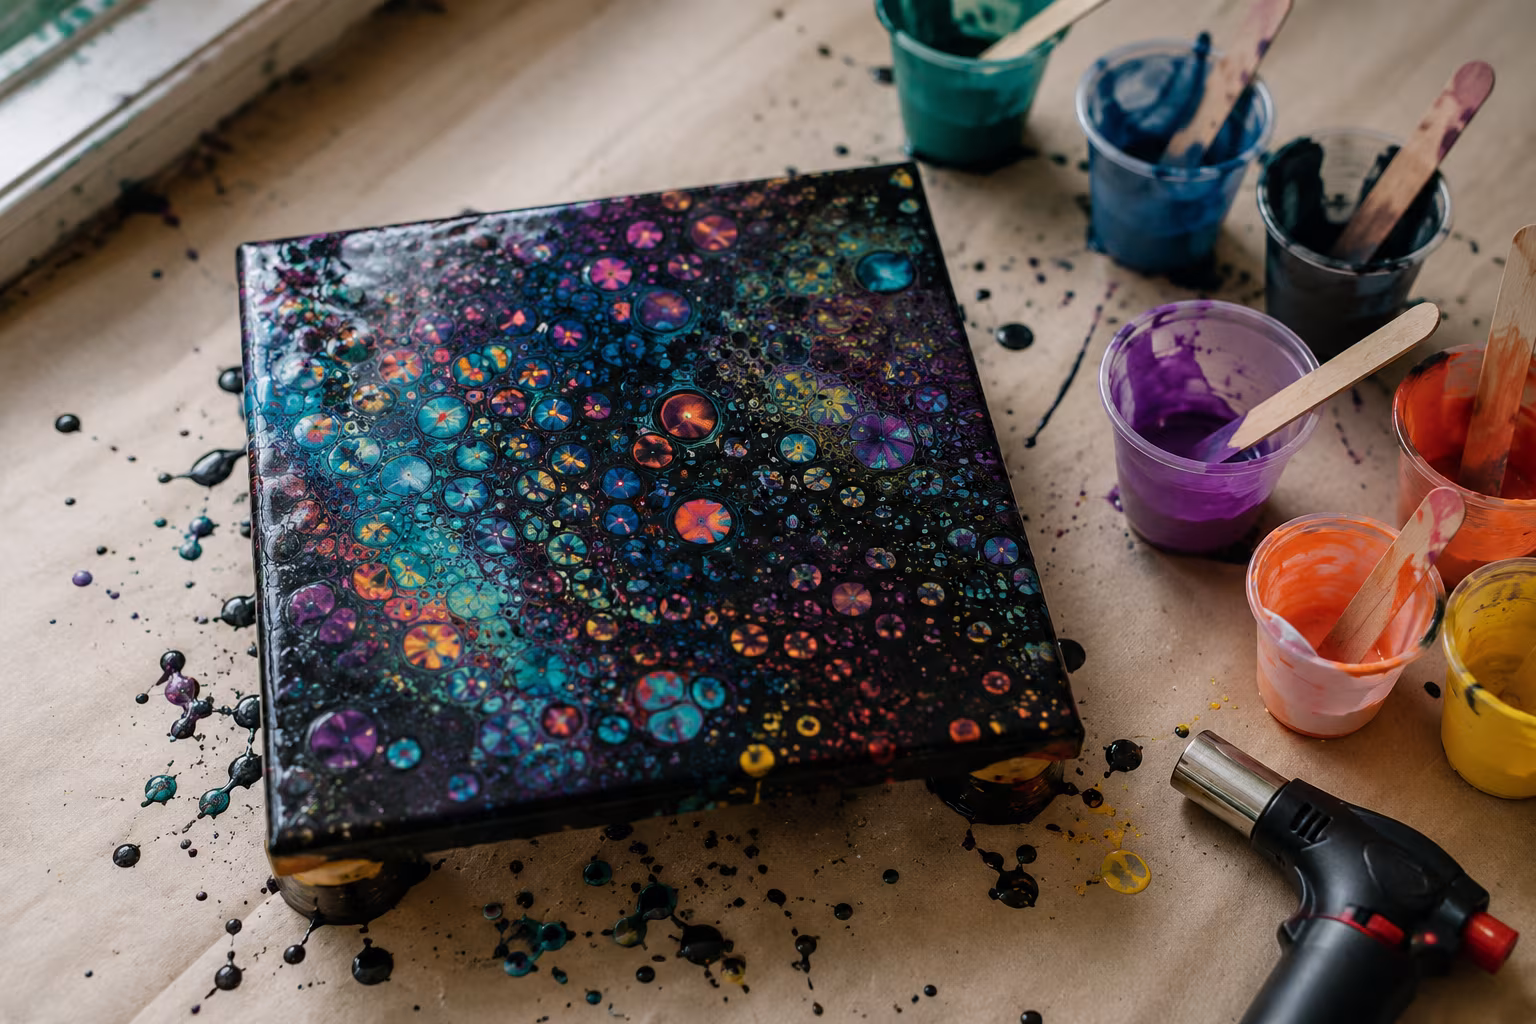
Acrylic Pouring Cells: Why They Form and How to Control
Cells in acrylic pouring come from density and surface tension differences. Understand the chemis...
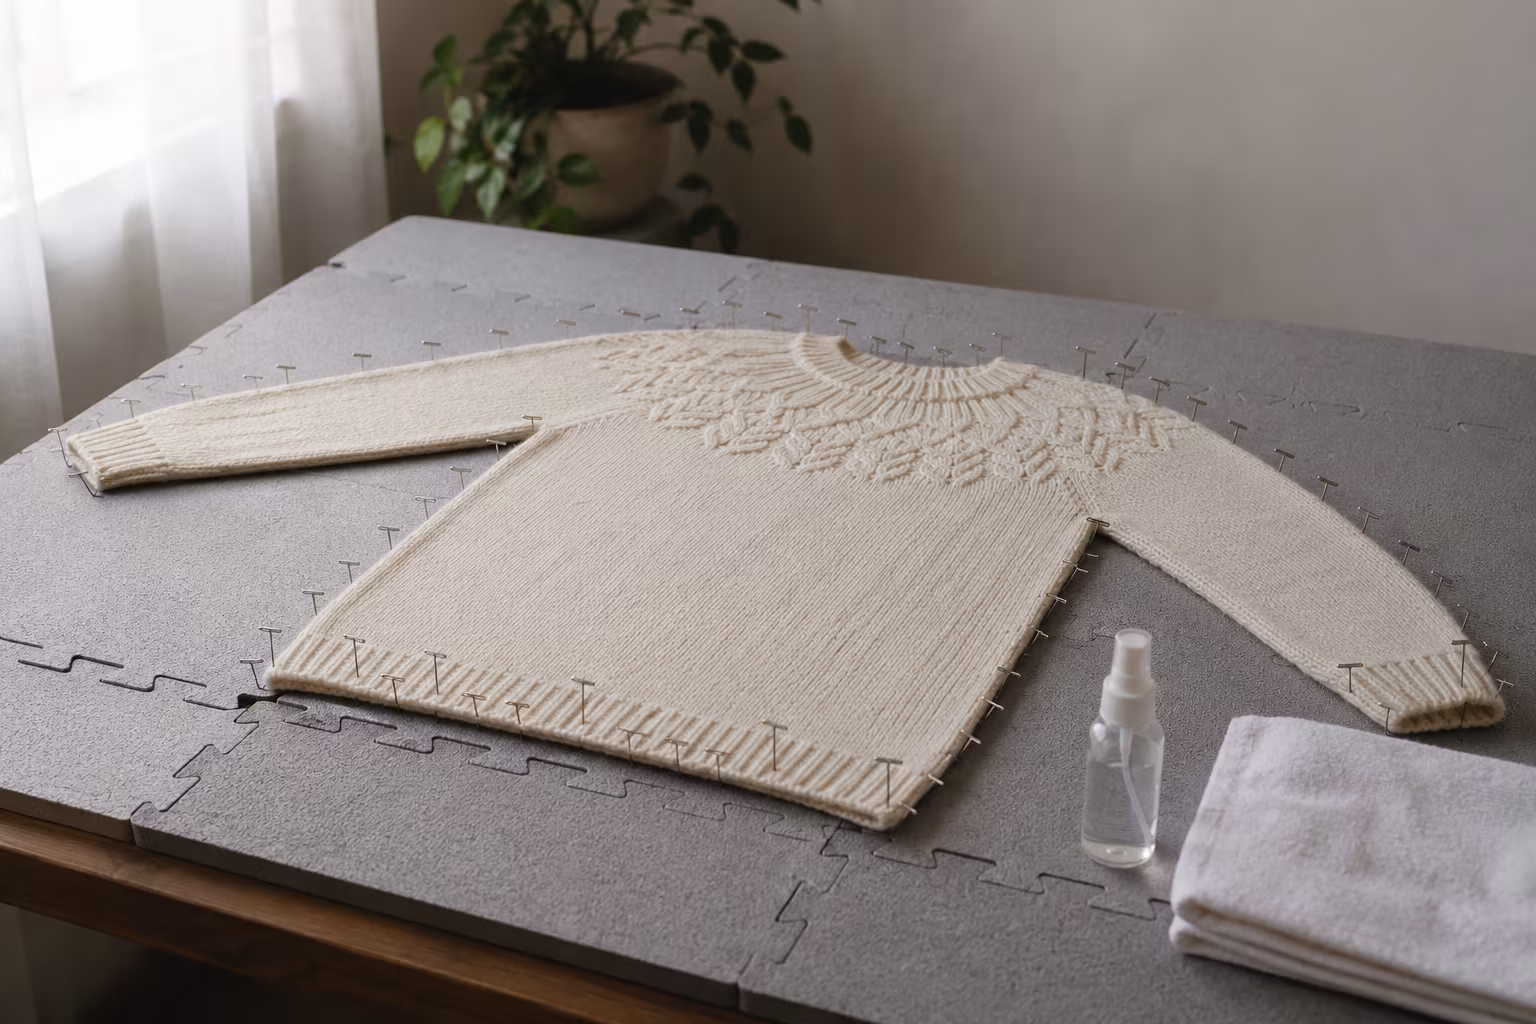
How to Block a Knitted Wool Sweater Without Felting
The blocking routine that opens stitches and sets the shape without turning your wool sweater int...
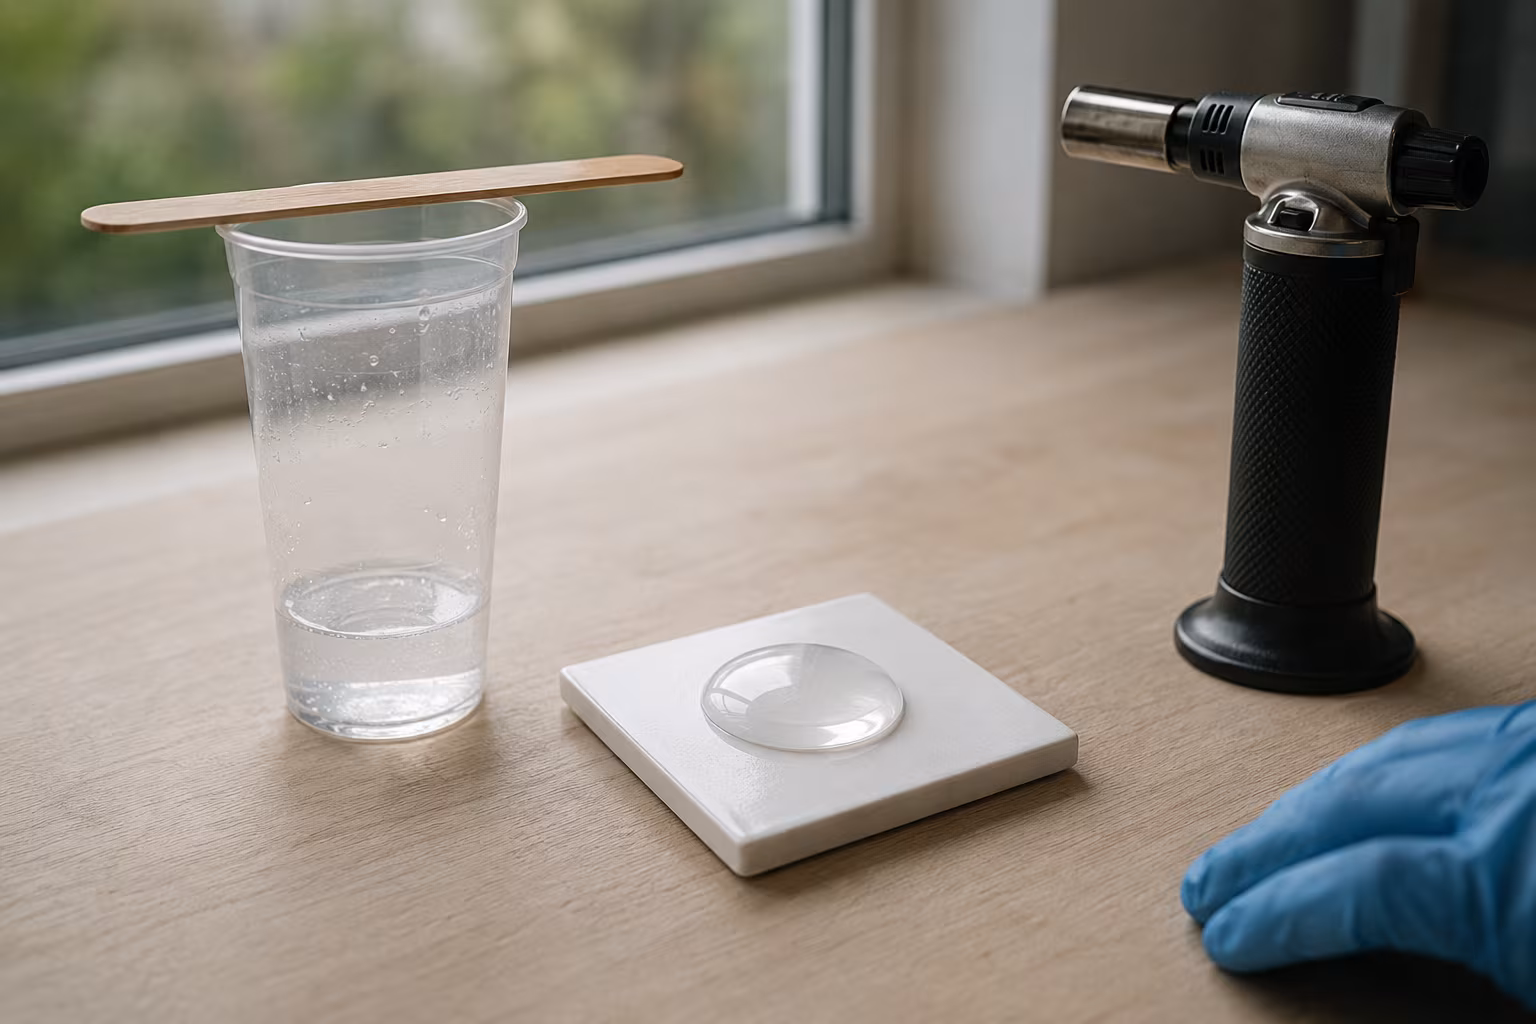
Resin Doming Without Bubbles: A Calm, Reliable Method
A repeatable doming routine that keeps bubbles out and the dome tidy — pour technique, heat metho...
Why Quilling Earrings Are the Most Profitable Craft to Sell Online
Thinking about starting a craft business? You might be surprised to learn that delicate, colorful...