Why Textured Wall Treatments Are Replacing Flat Paint Everywhere
Flat paint gives you color and nothing else. A textured wall adds physical depth that shifts with the light, hides minor drywall flaws, and pulls a room toward a specific style — rustic, Mediterranean, industrial — that flat color cannot reach on its own. The most beginner-accessible route is troweled joint compound, and a single accent wall runs about $20–$40 in materials. This walks through the methods, the exact supplies, application, and the failures worth avoiding.
Why Texture Is Replacing Flat Paint
Texture does three practical things. It reflects light unevenly, so a wall stops reading as a flat backdrop and becomes a feature without added decor. It camouflages imperfections — dings, uneven plaster, hairline cracks — that a smooth matte finish would highlight; this matters most in older homes. And a broken surface scatters sound slightly rather than bouncing it, which takes a hard edge off the acoustics in a bare room. For roughly the cost of a bucket of compound, you change the character of a space that repainting alone would leave feeling sterile.
The Main Texture Methods
Not every technique is a physical build-up. The four most common approaches range from heavy troweling to purely visual glaze work, and they differ sharply in cost, effort, and reversibility.
| Method | Material | Primary tool | Relative cost | Difficulty |
|---|---|---|---|---|
| Trowel / spatula texture | Joint compound or plaster | Drywall trowel | Low ($20–$40 per wall) | Moderate |
| Roller texture | Thick paint or texture additive | Nappy or patterned roller | Low–medium | Easy |
| Glaze / wash effect | Base coat plus translucent glaze | Sponge or rag | Medium | Moderate |
| Embossed wallpaper / fabric | Textured wallcovering | Smoothing tool | Medium–high | Moderate |
Troweling gives the most organic, one-of-a-kind result and forgives an unsteady hand, which is why it is the usual starting point. Rollers deliver more uniform patterns like orange-peel or stipple with less arm work — a 3/4-inch nap roller loaded with thinned compound or a texture additive covers a wall fast, and patterned rollers press a repeating design as you go. Glazes and washes add visual depth through layered color rather than relief: you roll a base coat, let it cure, then drag or dab a translucent glaze over it with a sponge or rag to mimic aged plaster or linen. Embossed wallpaper is the biggest commitment but the fastest to a polished look, and it is one of the few options you can strip off later without resurfacing the wall.
If you are matching a specific style, the method choice matters as much as the color. A skip-trowel or knockdown look suits rustic and Mediterranean rooms; a fine orange-peel reads as clean and contemporary; a soft glaze leans traditional. Trying two or three techniques on the same practice board under the room's actual lighting is the quickest way to see which one fits before you commit a wall to it.
Materials for a Troweled Accent Wall
All-purpose joint compound is the beginner's material: a large bucket costs about $15–$25 at any hardware store, spreads easily, and dries reasonably hard. Plaster dries harder still but sets faster, which is unforgiving on a first attempt, so save it for later. Beyond the compound you need a 10-inch drywall trowel (a basic one is fine), something to hold the mud — a hawk, or an improvised scrap of plywood or a sturdy plastic lid — painter's tape, drop cloths, a fine-grit sanding sponge, PVA primer, and your topcoat paint. A thick-nap roller, 3/4-inch or 1-inch, is essential later for driving paint into the crevices.
For quantity, a 4.5-gallon bucket of all-purpose compound covers a large accent wall of roughly 100–150 square feet at the thin 1/16- to 1/8-inch build described here, with enough left over for touch-ups. A single 8-by-10-foot wall usually needs well under half a bucket, so one container is plenty for a first project. Buy the pre-mixed tub rather than the powder for your first attempt — it skips the mixing step and gives a consistent, workable texture straight out of the bucket.
Applying the Compound
Prep first: move or center and cover furniture, tape drop cloths to the baseboards, and mask trim, ceiling, and adjacent walls carefully — 15 minutes of taping saves hours of scraping. Wear clothes you can ruin.
Practice before you touch the real wall. Load compound onto a scrap of drywall or cardboard and try thick layers, thin layers, sweeps, and dabs so you learn how the material and trowel behave. Then work the wall in small sections, roughly 2×2 feet at a time. Hold the trowel at a 30–45 degree angle and apply in sweeping arcs, overlapping strokes slightly to avoid hard lines. Aim for a build-up of about 1/16 to 1/8 inch — enough to read as texture, thin enough that it will not crack as it dries. A steeper trowel angle scrapes off more material; a flatter angle leaves more behind. Keep a damp rag nearby to wipe the trowel, because dried compound on the edge drags ugly lines. Step back every few minutes to check how the light hits the wall, and resist overworking it — too much fussing turns the surface muddy instead of organic.
Drying, Priming, and Painting
Joint compound needs 12–24 hours to dry fully, longer in thick spots or humid rooms. Do not rush it with a fan — fast drying invites cracking. It is ready when the color shifts from a darker damp tone to a uniform light off-white and feels firm throughout. Because dried compound is porous, prime it before painting; a PVA primer made for new drywall seals it so the topcoat absorbs evenly. Once the primer dries, paint with a matte or eggshell finish — gloss exaggerates flaws you did not intend. Expect two coats, applied with the thick-nap roller so paint reaches every recess, plus a brush for tight corners and deep pockets.
Common Problems and Fixes
Uneven texture — some patches too flat, others too lumpy — is the usual first-timer result. Let it dry, knock down the high spots with a fine-grit sanding sponge, and float a thin extra layer over the flat areas, feathering it into the surrounding texture. Hairline cracks appearing as it dries mean the layer went on too thick or dried too fast; thin a little compound with a few drops of water and work it into the crack with a fingertip or small putty knife, and it disappears once dry. The larger point is that texture forgives what clean paint lines do not — slight irregularity reads as character, not error. For a permanent record of what techniques you liked, some people photograph their practice board next to the finished wall.
One caution before you commit: texture is not a quick undo. You can repaint over it, but the relief stays; truly removing it means heavy sanding or skim-coating flat again. See how joint compound is formulated and used if you want to understand why it bonds and sands the way it does. Start on one small accent wall, treat the scrap board as your rehearsal, and you will get a durable, characterful surface for well under the price of new furniture — the same trick works whether you are chasing a rustic look or using it, like layered wall treatments, to add function as well as depth.
Related Posts
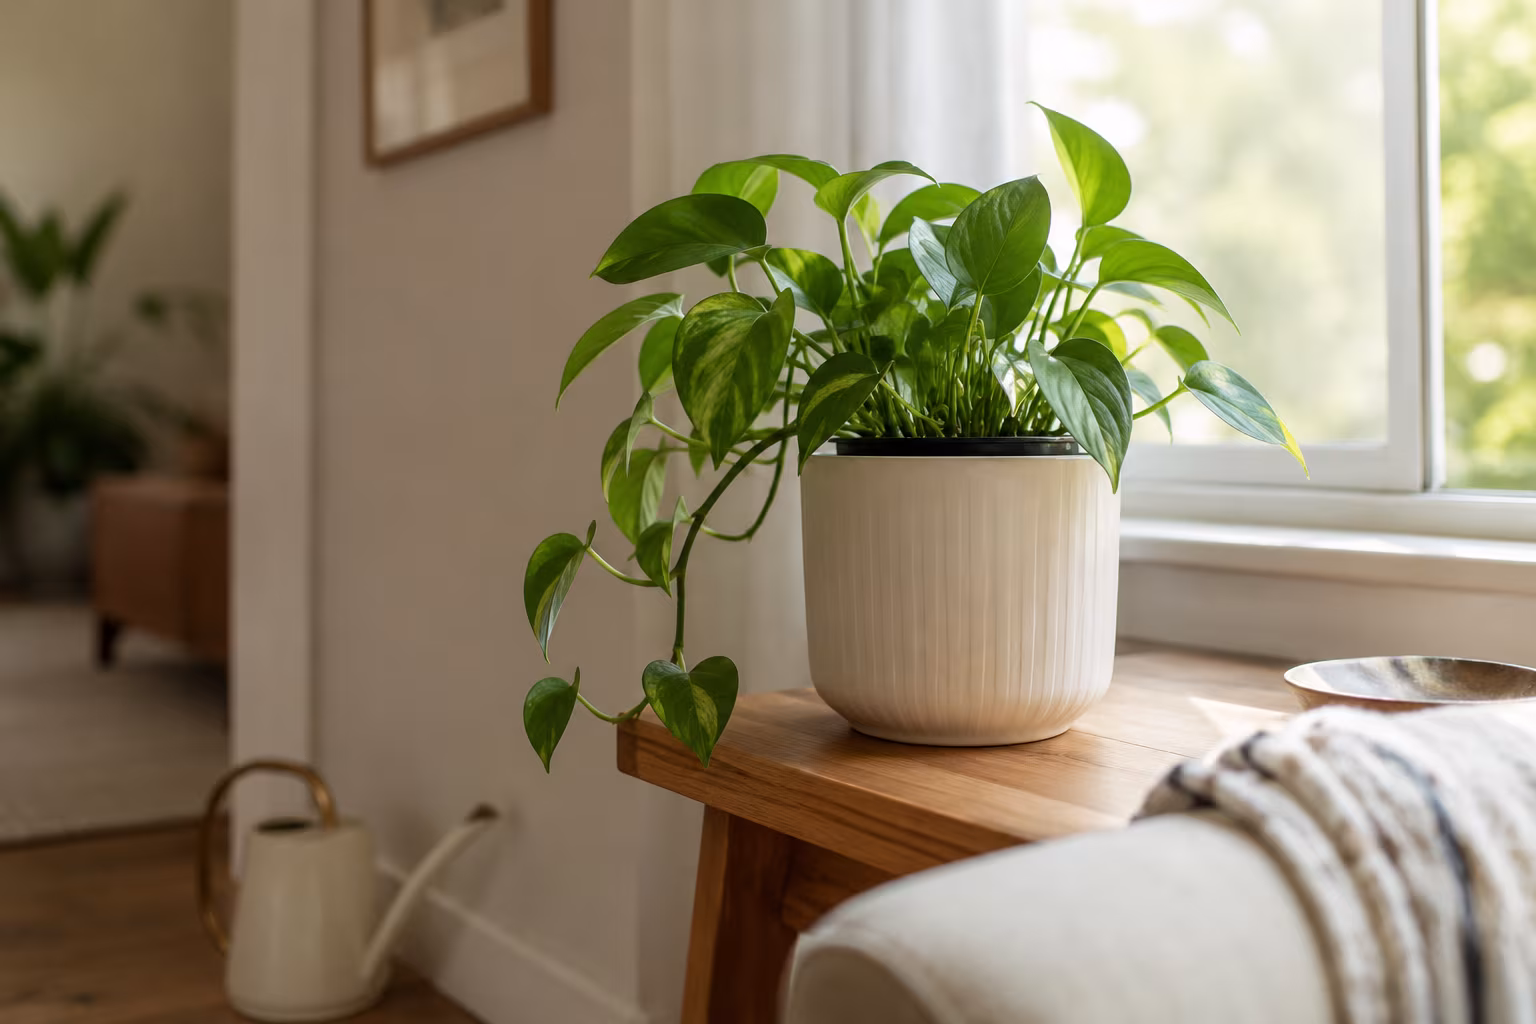
Indoor Plant Pot with No Drainage Hole: How to Make It Work
A no-drainage pot rots roots fast. Use the double-pot method, skip the gravel myth, pick...
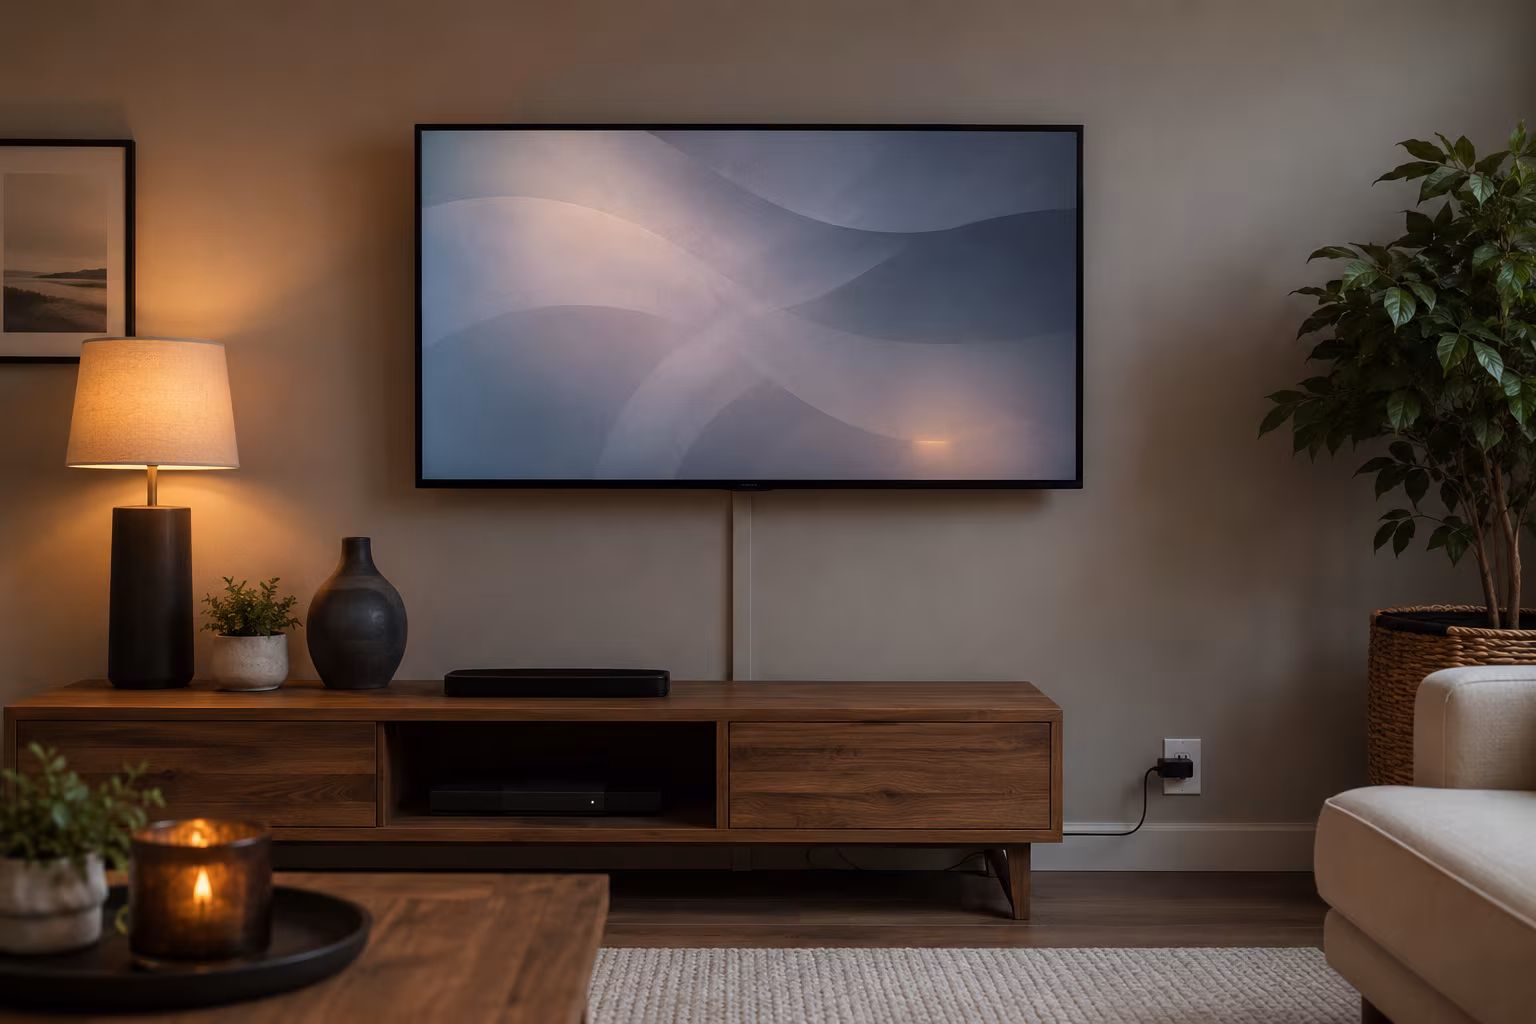
Hide TV Cable Clutter Renter-Safe Without Drilling
Hide a wall-mounted TV's cables without drilling: a paintable adhesive raceway to the outlet, a...
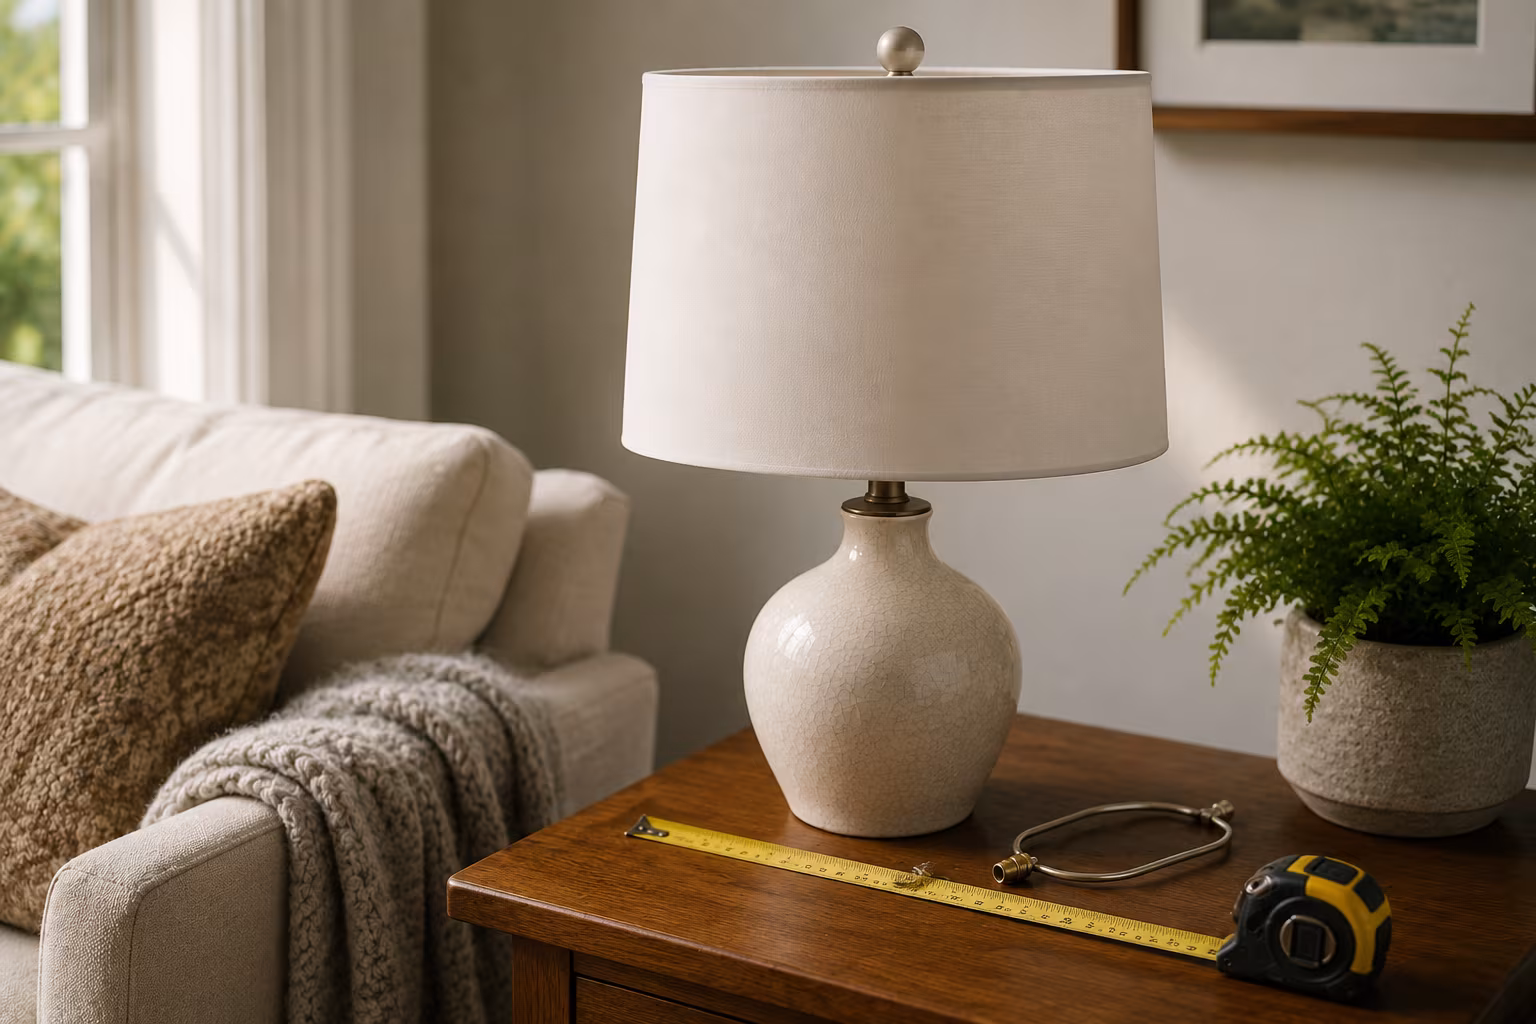
Lampshade Sizing: Harp, Bulb, and Drum Math Explained
Lampshade fit is three numbers: harp height near shade height, 3.5 inches of bulb clearance, and...
Color-Match Trim Paint to Existing Off-White Walls
Matching trim to aged off-white walls is about undertone, not lightness: cut a real chip, have...