How to Host a Beginner Woodworking Safety and Skills Workshop
How to Host a Beginner Woodworking Safety and Skills Workshop
You know that feeling? You’ve got this amazing idea for a handmade wooden shelf, a cool birdhouse, or maybe just a sturdy little bench. You’ve bought the wood, maybe even a few new tools that felt so official. Then you stand in your garage, staring at it all, and a little voice whispers, “What if I mess up?” Yeah, I’ve been there. More times than I care to admit.
The truth is, woodworking can feel pretty intimidating when you’re just starting out. There’s so much to know about tools, techniques, and, most importantly, staying safe. But guess what? It doesn't have to be that way! I've been tinkering in my garage workshop for years, and I’ve learned a whole lot – mostly through trial and error, and a few minor (and thankfully, harmless) mishaps. That’s why I decided to put together this guide on how to host a beginner woodworking safety and skills workshop. It's all about demystifying the process, building confidence, and making sure everyone leaves feeling capable and ready to create.
Why This Actually Matters
Honestly, knowing basic woodworking skills and how to use tools safely is more than just a fun hobby; it’s incredibly empowering. It means you can fix things around the house, build custom pieces that fit your space perfectly, and have a tangible sense of accomplishment that’s hard to find elsewhere. Plus, it’s a fantastic way to disconnect from screens and connect with something real and physical.
I remember when I first started. I’d spend way too much money on pre-made furniture that never quite fit or wasn’t exactly what I envisioned. Then I decided to try making a simple side table myself. It wasn’t perfect, not by a long shot, but the feeling of making it, of using my hands and seeing it come to life? That was a game-changer for me. It opened up a whole new world of possibilities, and I want that for you too.
Planning Your Workshop
So, you're ready to share the joy of woodworking? Awesome! Planning is key to making sure your workshop runs smoothly and everyone has a great time. It’s not about being a professional instructor; it’s about sharing what you know and creating a welcoming environment for beginners.
Setting Your Goals
What do you want attendees to walk away with? For a beginner workshop, it’s usually best to focus on a few core skills and a simple project. Think about what’s achievable in a few hours. Maybe it's how to safely use a handsaw and a drill, and the project is a small wooden box or a simple picture frame.
My first workshop focused on making birdhouses. We covered measuring, cutting wood to size with a handsaw, and assembling the pieces with screws. It was simple enough that everyone could finish, and they left with a functional item they made themselves. The goal is to build confidence, not overwhelm.
Choosing Your Project
The project should be the star of the show, but it also needs to be beginner-friendly. Look for projects that require minimal cuts and simple joinery. Projects that use pre-cut lumber or kits can also be a great starting point.
Think about things like:
Simple Wooden Boxes: Great for practicing measurement and screw driving.
Picture Frames: A classic that teaches mitering (or even just straight cuts).
Small Stools or Ottomans: Can be designed with very few pieces.
Wooden Coasters: Easy to cut and assemble, good for practicing finishing.
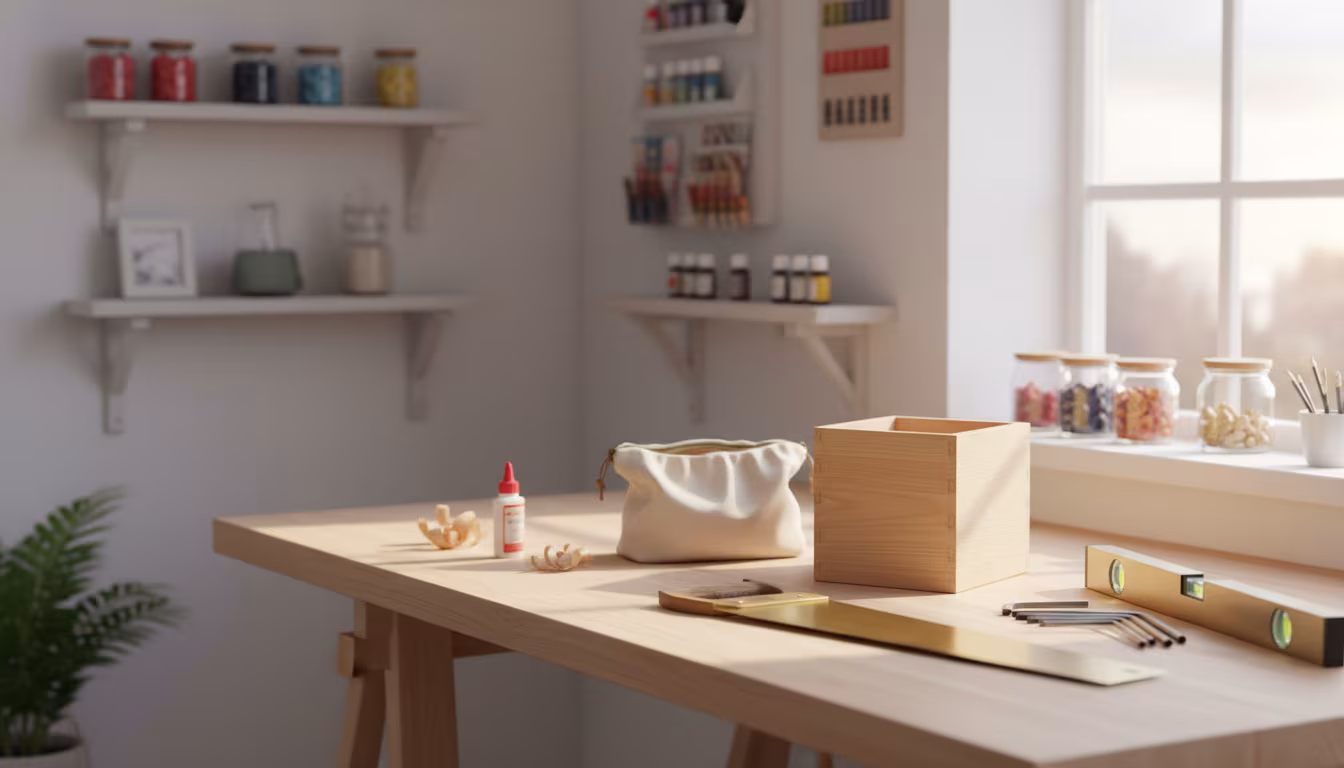
For my beginner woodworking workshop, we always make a small planter box. It involves straight cuts, measuring, and screwing pieces together. It’s super satisfying to see them come together.
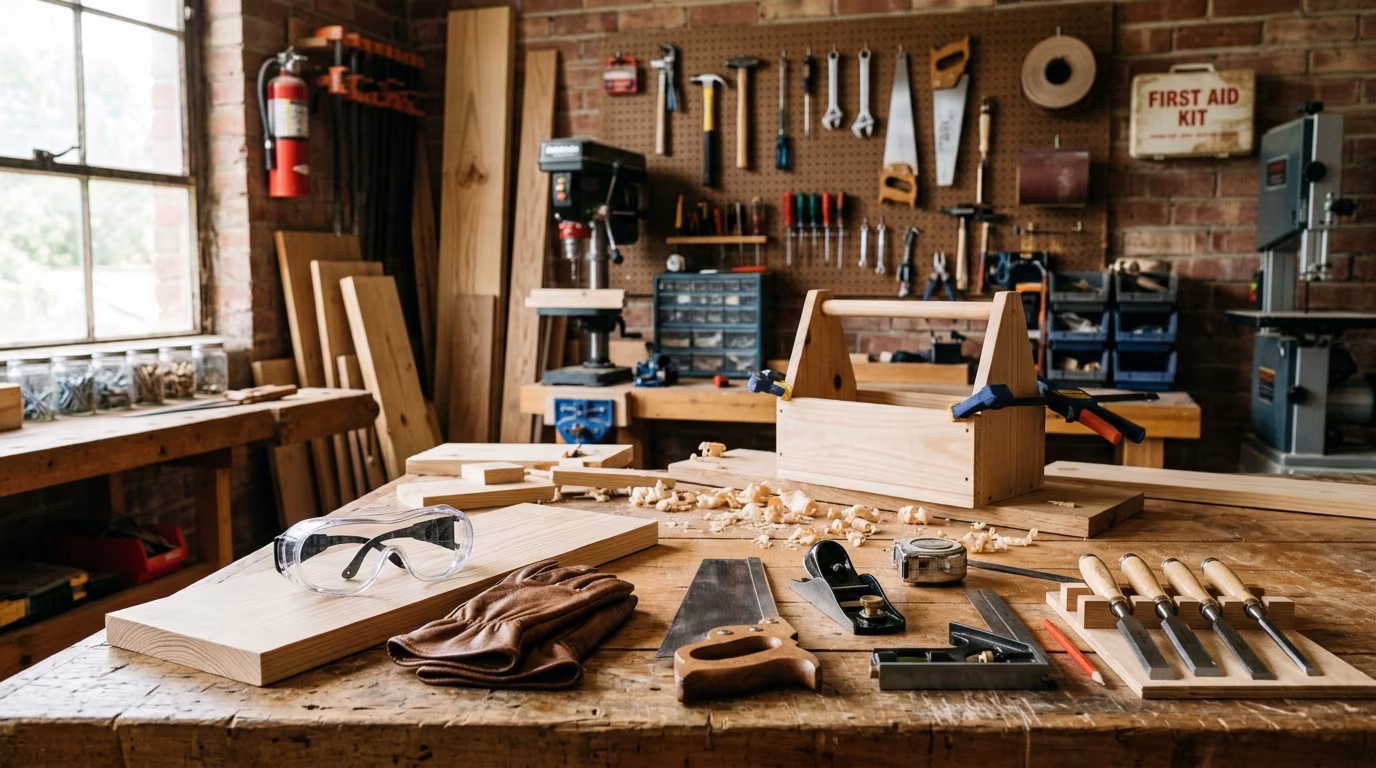
Gathering Your Supplies
This is where you'll spend a good chunk of your planning time. You'll need tools and materials. For a small group, you can often share tools, but make sure you have enough for everyone to have a turn or to work in pairs.
Here's a basic list to get you started:
Wood: Pine is affordable and easy to work with. Make sure it's smooth and free of major knots.
Measuring Tapes & Pencils: One per person or pair.
Handsaws: A decent crosscut saw for beginners is fine.
Clamps: Essential for holding pieces while you work.
Drill/Driver: Cordless drills are great. Have a few extra batteries.
Drill Bits & Driver Bits: For pilot holes and screws.
Screws: Appropriate length for your wood thickness.
Sandpaper: Medium and fine grit.
Safety Glasses: Non-negotiable! Everyone needs them.
Dust Masks: Especially important when sanding.
Workbenches or Sturdy Tables: A stable surface is crucial.
First-Aid Kit: Always have one on hand.
Don't forget to think about any finishes you might want to offer, like wood stain or sealer, and rags for application. I usually buy wood in bulk from the local lumber yard; it’s way cheaper than the home improvement store, especially if you're buying a few boards.
Preparing Your Space
Safety and organization are paramount. Your workspace needs to be well-lit, well-ventilated, and free of clutter. Make sure there's enough room for everyone to move around safely.
I always clear out my garage for workshops. I designate specific areas for cutting, assembly, and finishing. This helps keep things from getting chaotic. If you're doing this indoors, make sure you have good ventilation, especially if you're sanding or finishing.
Think about:
Clear pathways: No tripping hazards!
Adequate lighting: You need to see what you're doing.
Ventilation: Especially for sanding and finishing.
Designated work zones: Cutting, assembly, etc.
Tool storage: Keep tools organized and accessible.
Teaching the Fundamentals: Safety First!
This is the most critical part of your workshop. You can’t teach woodworking without instilling a deep respect for safety. Beginners often don't know what they don't know, so you have to be explicit and a little repetitive.
The Unspoken Rules of Tool Safety
Before anyone even touches a tool, you need to talk about safety. This isn't just a quick mention; it's a thorough overview. Explain why certain precautions are necessary. Don't just say "wear safety glasses," explain that flying debris is a real danger.
I always start with a safety briefing that covers the absolute non-negotiables:
Eye Protection: ALWAYS wear safety glasses. No exceptions.
Hearing Protection: If using power tools, earplugs or muffs are important.
Clothing: Avoid loose clothing, dangling jewelry, or anything that could get caught. Tie back long hair.
Tool Condition: Make sure tools are sharp and in good working order.
Focus: No distractions when operating machinery or using sharp tools.
Sharpness: A sharp tool is a safer tool. It requires less force and is less likely to slip.
You'd be surprised how many people don't think about things like loose sleeves around a drill. A quick demonstration of what can happen is far more effective than just telling them.
Understanding Your Tools
Introduce the tools you'll be using one by one. Explain what each tool does, how to hold it properly, and the basic mechanics of its operation. Keep it simple and focus on the tools needed for the project.
For a beginner workshop, I focus on handsaws, hand drills, and maybe a cordless drill/driver. I’ll show them how to hold the saw, how to start a cut, and how to make a straight cut. For the drill, it’s about holding it steady, drilling pilot holes, and driving screws without stripping them.
Demonstrate each tool yourself. Let them see your technique, the pressure you apply, and how you hold your body. Then, let them try it under your supervision. It’s way better to have them make a few shaky cuts while you’re there than to let them struggle alone later.
Creating a Safe Working Environment
Beyond tool safety, there's the environment itself. Discuss things like keeping your workspace clean and organized, especially as you're working. Sawdust can make surfaces slippery, and tools left out are hazards.
I tell everyone, "A tidy workspace is a safe workspace." It’s a simple mantra, but it really helps people remember to clean up as they go. This prevents tools from getting lost and reduces the risk of trips and falls.
Key environmental points:
Clear Clutter: Keep the area around you clear of unnecessary items.
Manage Sawdust: Sweep or vacuum regularly, especially in work zones.
Secure Your Work: Always use clamps to hold your piece steady.
Know Your Exits: Be aware of your surroundings and escape routes if needed.
First Aid Accessibility: Make sure the first-aid kit is clearly visible and easily reachable.
Hands-On Skills: Step-by-Step
Now for the fun part: actually making something! Break down the project into manageable steps and guide participants through each one. Patience is key here.
Step 1: Measuring and Marking
This is the foundation of any project. Teach them how to read a tape measure accurately and how to make a clear, precise mark with a pencil. Emphasize the importance of measuring twice and cutting once.
I always start by having everyone measure and mark all their pieces for the project. This gets them familiar with the tape measure and the importance of accuracy. It also helps them visualize the whole project before cutting begins. A sharp pencil and a clear line make a huge difference.
What to cover:
Reading a Tape Measure: Show them the different markings and their values.
Making Marks: Demonstrate how to make a crisp, visible line.
"Measure Twice, Cut Once": Explain why this adage is so important.
Square Lines: Briefly touch on using a speed square or combination square for accuracy.
Step 2: Cutting the Wood
This is often the most nerve-wracking part for beginners. Demonstrate how to use the handsaw safely and effectively. Show them how to start the cut and how to maintain a straight line.
When demonstrating the saw, I emphasize keeping the saw steady and letting the saw do the work. Pushing too hard often leads to a crooked cut or the saw jumping. I also show them how to position themselves so they have good leverage and balance.
Key cutting tips:
Secure the Wood: Use clamps to hold the workpiece firmly.
Start the Cut: Make a small notch with the saw spine to guide the blade.
Maintain the Line: Keep the saw blade on your marked line.
Smooth Strokes: Use long, steady strokes.
Support the Offcut: Prevent splintering by supporting the piece being cut off.
Step 3: Drilling Pilot Holes
Before you drive screws, you need pilot holes. Explain why this is important – it prevents the wood from splitting, especially near the ends, and makes driving screws much easier.
I show them how to choose the right size drill bit – usually slightly smaller than the screw's shaft. Then, how to position the drill bit on their mark and drill a straight hole all the way through or to the desired depth. Consistency is key here, so everyone's holes line up.
Why pilot holes matter:
Prevent Splitting: Especially in hardwoods or near edges.
Easier Screw Driving: Reduces torque required.
Straighter Screws: Guides the screw.
Choosing the Right Bit: Match the bit to the screw gauge.
Step 4: Assembling with Screws
Now they get to put it all together. Show them how to use the drill/driver to sink screws. Go over how to start the screw and how to drive it in without over-tightening, which can strip the head or damage the wood.
I always tell people, "Squeeze the trigger gently at first." This helps the screw find its footing. Then, once it’s engaged, you can increase the speed. And the golden rule: stop when the screw head is flush with the wood surface. Don’t keep going!
Assembly tips:
Align Pieces: Make sure the pieces are lined up correctly before screwing.
Start Slow: Engage the screw slowly to avoid stripping.
Drive Straight: Keep the drill/driver perpendicular to the wood.
Don't Overtighten: Stop when the screw head is flush.
Step 5: Sanding and Finishing (Optional but Recommended)
A little sanding makes a huge difference. Teach them how to sand with the grain to create a smooth surface. Discuss different grit sandpaper and when to use them. If time and materials allow, you can also introduce simple finishing techniques.
I usually have a few different grits of sandpaper available. We start with a medium grit (like 120) to smooth out any rough spots, then move to a fine grit (like 220) for a really smooth finish. For the finish itself, a simple clear coat or a light stain can really elevate their project and protect it.
Finishing touches:
Sand with the Grain: Always sand in the direction of the wood fibers.
Progress Through Grits: Start with coarser grit, then move to finer.
Wipe Away Dust: Remove all dust between grits and before finishing.
Apply Finish Evenly: Use light, even coats.
Making It Stick: Common Beginner Mistakes and How to Avoid Them
Even with the best instruction, beginners will encounter challenges. Anticipating common pitfalls can save a lot of frustration.
Mistake 1: Poor Measurement and Layout
This is probably the most common issue. If the measurements are off, nothing else will fit correctly. This is why stressing "measure twice, cut once" is so important. If a piece is cut wrong, it's usually a domino effect.
Solution: Emphasize accuracy from the start. Have participants double-check their measurements before cutting. Consider using a jig or a stop block for repetitive measurements to ensure consistency. Sometimes, it’s easier to make a piece slightly too long and trim it down than to cut it too short.
Mistake 2: Trying to Force Tools
When a saw isn't cutting well or a screw is hard to drive, the instinct is often to apply more force. This leads to slips, stripped screws, and potentially dangerous situations.
Solution: Teach patience and proper technique. Remind them that sharp tools and proper technique do the work, not brute force. If a screw isn't going in, check the pilot hole size or if the screw is cross-threading. If a saw is binding, check if the kerf is clear or if they're pushing too hard.
Mistake 3: Ignoring Sawdust and Clutter
A messy workspace is not only inefficient but also dangerous. Sawdust can accumulate and create slippery surfaces, and tools left lying around are tripping hazards.
Solution: Implement a "clean as you go" policy. Make regular cleanup breaks part of the workshop flow. Show them how to properly store tools when they're not in use. A quick sweep or vacuum can prevent accidents.
Mistake 4: Overtightening Screws
This is a classic beginner mistake that ruins the appearance of a project. Driving screws too deep splits the wood or strips the screw head.
Solution: Demonstrate the technique of starting slow and stopping when the head is flush. Teach them to listen to the drill – it often sounds different when the screw is fully seated. If they do over-tighten, show them how to potentially fill the hole or use a countersink bit to clean it up.
Mistake 5: Rushing the Finishing Steps
Sanding and finishing can feel like the "boring" parts, so people tend to rush them. This results in a less polished final product.
Solution: Explain the impact of good sanding and finishing. Show them the difference a smooth finish makes. Encourage them to take their time and enjoy the process of making their project look great. Sometimes, having pre-sanded pieces ready for finishing can help manage time and demonstrate the impact.
"Woodworking is a journey of problem-solving. Every mistake is just a puzzle waiting to be solved, and every solved puzzle makes you a better maker."
Frequently Asked Questions
What kind of wood is best for beginners?
Pine is fantastic for beginners. It's soft, affordable, and easy to cut and sand. It's also very forgiving if you make a small mistake. You can find it at most lumber yards or home improvement stores.
Do I need power tools to teach a beginner workshop?
Absolutely not! You can teach a lot of fundamental skills with basic hand tools like a handsaw, measuring tape, pencil, clamps, and a screwdriver. Hand tools are also generally safer and require more deliberate technique, which is great for learning foundational concepts.
What if someone is really nervous about using tools?
That's totally normal! Start with the absolute easiest tasks, like measuring and marking. Then, demonstrate a tool extensively before letting them try it. Pair them with someone more confident or work with them directly. The goal is to build their comfort level gradually.
How long should a beginner woodworking workshop typically last?
For a simple project covering basic safety and skills, 2-3 hours is usually a good timeframe. This allows enough time for instruction, hands-on practice, and a bit of cleanup without feeling rushed or exhausting participants.
Is it safe to have multiple people using tools in the same space?
Yes, with proper planning and supervision. The key is clear communication, designated work areas, and constant reinforcement of safety rules. Ensure everyone knows where to stand, how to pass tools safely, and to always be aware of what others are doing around them.
The Bottom Line
Hosting a beginner woodworking workshop is incredibly rewarding. You're not just teaching someone to cut wood; you're building their confidence, fostering a sense of accomplishment, and maybe even sparking a lifelong passion. Remember to prioritize safety above all else, break down skills into manageable steps, and most importantly, have fun with it!
Don't aim for perfection on your first try. Just aim to create a positive, safe, and encouraging environment. The skills will come with practice, and the joy of making something with your own hands is a reward in itself. So, gather some friends, grab some wood, and get ready to create something awesome together. Happy building! 👋
Related Posts

Pegboard vs French Cleat: The Honest Tool Wall Choice
A blunt comparison of pegboard and French cleat for shop tool walls — weight, customisation, cost...

The Complete Guide to Starting a Fiber Arts Guild in Your Town
Dreaming of a local hub for knitters, crocheters, weavers, and more? Starting a fiber arts guild ...
Why Tool Libraries Let You Try Expensive Hobbies Before Committing
Dreaming of diving into woodworking or pottery but worried about the cost of specialized tools? T...
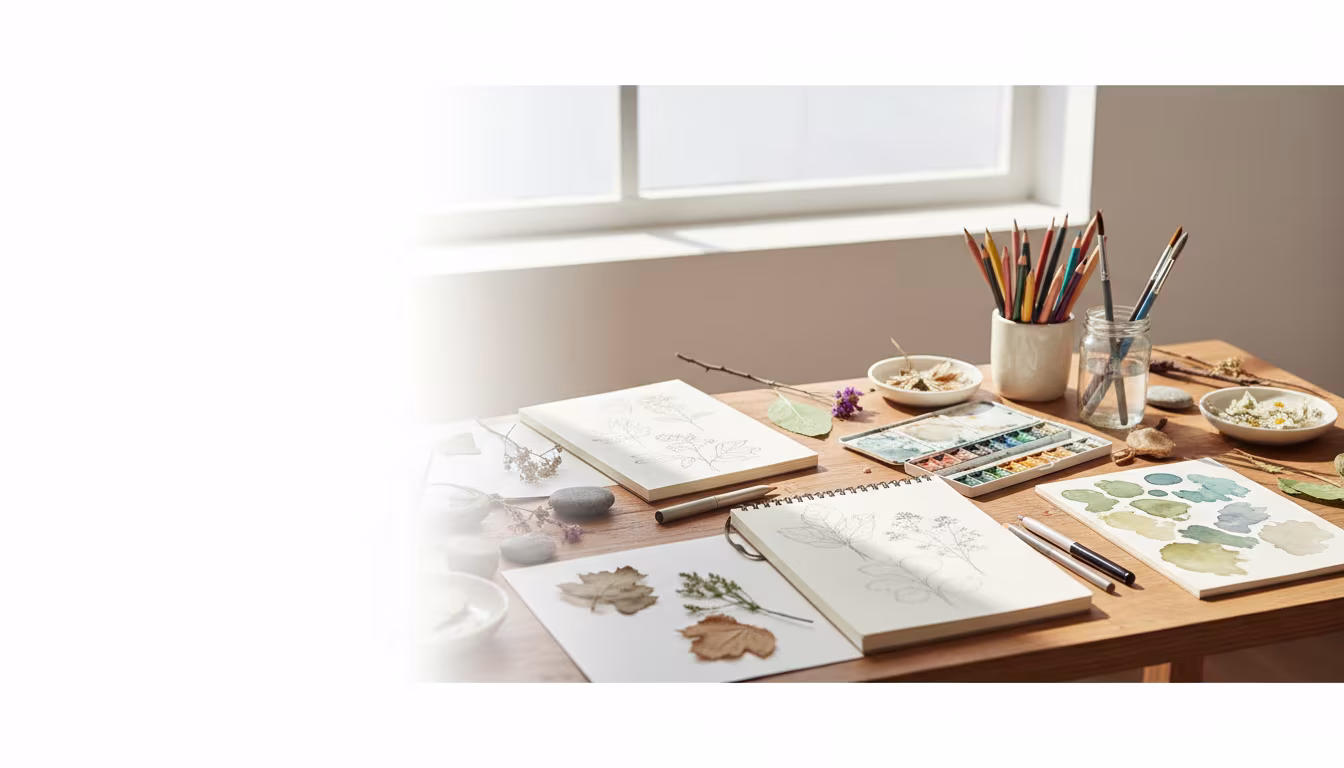
How to Plan a Nature Journaling Walk and Sketch Workshop
Ready to blend your love for nature with your creative spirit? Learn how to plan and host your ve...