The Art of Creating a Curated Vignette on Any Flat Surface
The Art of Creating a Curated Vignette on Any Flat Surface
You know that feeling. You walk into a friend's house, and their entryway table just looks right. Or maybe it's a shelf in their living room – perfectly arranged, inviting, and totally inspiring. Then you look at your own flat surfaces and see... well, clutter. A pile of mail, some stray keys, maybe a dusty souvenir you forgot you even owned. Yeah, same. 😔
We're going to break down how to create those little pockets of visual interest, those perfectly styled vignettes, without it feeling like a full-time job. It’s all about making your space feel intentional and, dare I say, a little bit magical.
Why This Actually Matters
Because honestly, a little bit of intentional styling can make a huge difference in how you feel in your own home. It’s not about being fancy; it’s about creating little moments of beauty and order in your everyday life.
Last spring, I finally tackled my notoriously cluttered coffee table. It was a graveyard of remote controls, half-read magazines, and the occasional rogue coaster. After an afternoon of rearranging and decluttering, just adding a small plant and a couple of thrifted books made the whole room feel calmer and more put-together. It sounds small, but it genuinely lifted my mood every time I walked into the living room.
The Building Blocks of a Beautiful Vignette
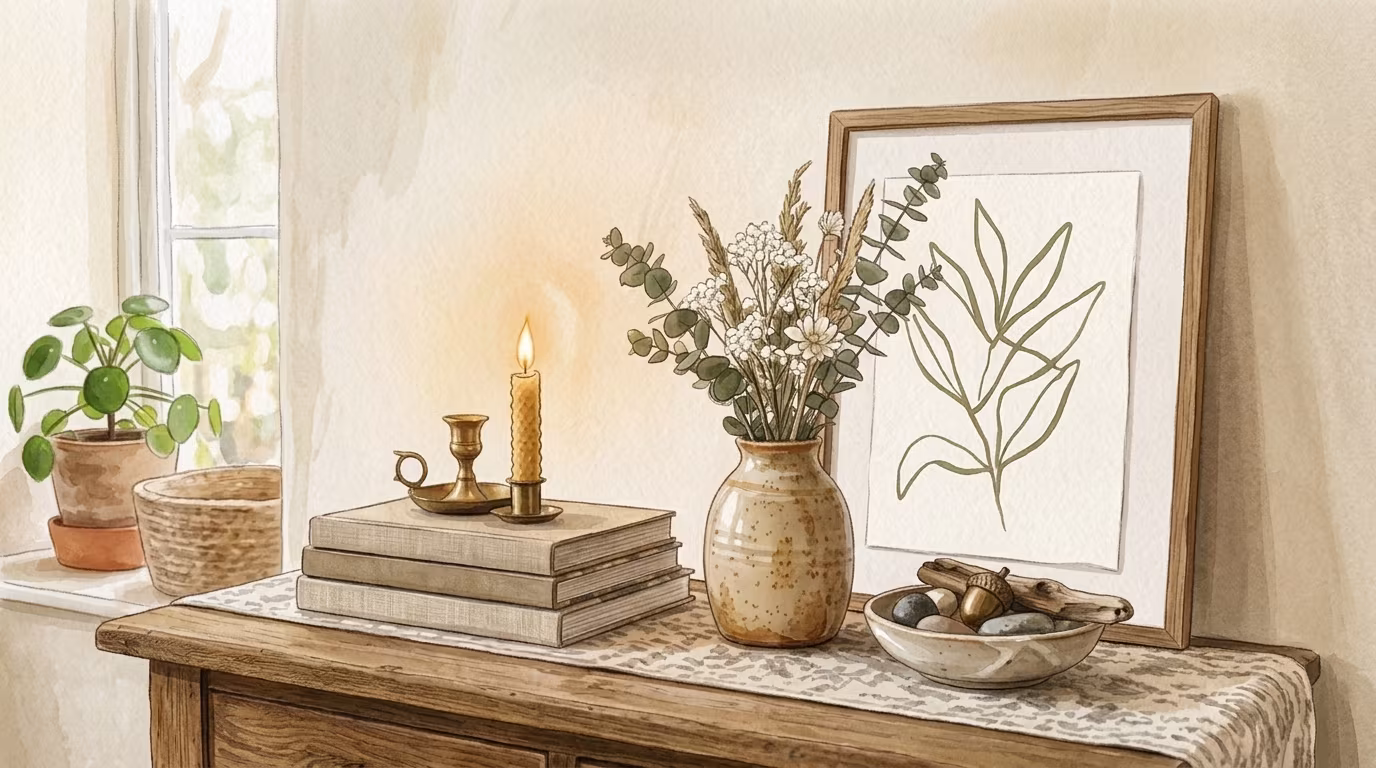
So, what exactly is a vignette? In home styling terms, it's simply a small, artfully arranged cluster of objects that create a pleasing visual composition. Think of it as a tiny still-life that tells a story or reflects your personality.
It's not about piling on a million things. It's about choosing a few items that work together. You want that "designer" look without needing a design degree or a limitless budget.
The Three-Legged Stool: Height, Texture, and Color
Every good vignette needs a little variety. I like to think of it like a visual recipe. You need a few key ingredients to make it taste just right.
Varying Heights: This is probably the most important rule. If everything is the same height, it looks flat and boring. Mix tall, medium, and short items. Think a tall vase, a stack of books, and a small decorative object.
Interesting Textures: Smooth, rough, shiny, matte – a mix of textures adds depth and makes the vignette more tactile and visually interesting. A ceramic bowl next to a wooden tray, with a fuzzy throw draped nearby? Yes, please.
Cohesive Color Palette: You don't need to match perfectly, but the colors should play nicely together. Sticking to a few complementary or analogous colors will make your vignette feel intentional and calm, rather than chaotic.
How To Actually Build Your Vignette
Alright, let's get practical. You've got a surface – a console table, a bookshelf, a kitchen counter, even a small bedside table. Now what?
Step 1: Declutter and Assess
Seriously, this is the most crucial first step. Clear off the entire surface. I mean everything. Give it a good wipe down. Then, take a look at what you actually need on that surface and what's just accumulated there.
Put back only the essentials. For example, on my entryway table, that means a small dish for keys and maybe a spot for the mail. Everything else needs a proper home elsewhere.
Step 2: Choose a "Hero" Piece
Every good vignette needs a starting point, something that draws the eye. This could be a piece of art, a beautiful vase, a special sculptural object, or even a stack of attractive books. This is your anchor.
Don't overthink it. It doesn't have to be expensive. I once used a brightly colored ceramic bird I found at a garage sale for $1 as my hero piece. It was quirky and made me smile, and the rest of the vignette built around it.
Step 3: Layer in Supporting Objects
Now it's time to bring in those supporting players that complement your hero piece. Remember height, texture, and color!
If your hero is a medium-height vase, maybe you add a stack of books (different heights!) next to it, and then a smaller decorative item on top of the books or beside them. Or place a trailing plant so it spills out slightly.
Step 4: Consider the "Rule of Three" (and Five, and Seven...)
Our eyes naturally gravitate towards odd numbers. Grouping items in threes, fives, or sevens often feels more dynamic and less staged than perfect symmetry. So, instead of two identical candlesticks, try three items of varying sizes.
This isn't a hard and fast rule, but it's a great guideline when you're starting out and feel like something is a little "off." Experiment with grouping and see what feels balanced.
Step 5: Add Some Greenery or Life
This is my secret weapon for making any vignette feel instantly more inviting. A small plant, a sprig of eucalyptus in a bud vase, or even some faux greenery can add a touch of nature and a pop of color.
It breaks up the hard lines of objects and adds a layer of softness that’s hard to achieve otherwise. Even a tiny succulent can make a big difference.
Step 6: Step Back and Edit
This is where the "curated" part really comes in. Once you think you're done, take a few steps back and look at it from different angles. Does it feel balanced? Is anything too crowded? Is there too much of one thing?
It's totally okay to move things around, take something away, or add something different. I often play with my vignettes for a good hour before I'm happy. Don't be afraid to edit ruthlessly.
Step 7: The "Thrift Store Scavenger Hunt" Method
My favorite way to build vignettes is by hitting up thrift stores with a specific feeling or color palette in mind, rather than a specific item. You never know what treasures you'll find!
I might go looking for interesting ceramic pieces, unique wooden objects, or vintage books. This approach leads to more unique and personal arrangements because you're not just buying what everyone else is buying.
Common Pitfalls and How to Avoid Them
Even with the best intentions, it's easy to fall into a few styling traps. But don't worry, I've tripped over them all.
"Perfection is the enemy of done. Your vignette doesn't need to be gallery-worthy; it just needs to feel good to you."
One of the biggest mistakes I see (and used to make constantly) is having too much stuff. It goes back to that cluttered entryway table idea. More isn't more; it's just more.
Another one? Making it too matchy-matchy. If every single item is the same color or material, it can look a bit sterile. Variety is key to making it feel dynamic and inviting.
And finally, forgetting about scale. Placing a tiny little object on a massive surface will make it look lost. Or trying to cram a huge object onto a tiny shelf will make it feel cramped and unbalanced.
Frequently Asked Questions
What's the difference between a vignette and just a bunch of stuff on a table?
A vignette is intentional. It’s a deliberate arrangement of objects designed to be visually pleasing and tell a small story. It has balance, height variation, and a sense of cohesion, unlike a random pile.
I don't have any "decorative objects." What can I use?
You'd be surprised! Look around your house. Books (stacked or upright), trays, bowls, candles, small plants (real or faux), picture frames, even attractive coasters can all work. Thrift stores are also goldmines for affordable decorative items.
What if I have a lot of functional items I need to keep accessible?
That's where stylish storage comes in! Use a beautiful tray to corral remotes, a decorative box for mail, or a nice bowl for keys. These functional items can absolutely become part of your vignette if they're presented nicely.
How long should this process take?
Honestly? It can take anywhere from 15 minutes to a couple of hours, depending on how much you're working with and how much you overthink it (like me!). The first time might take longer as you figure out your style. Once you get the hang of it, you can refresh a vignette in under 30 minutes.
Is this really necessary for a small apartment?
Absolutely! In smaller spaces, every surface counts. A well-styled vignette can make even a tiny corner or a small shelf feel more intentional and designed. It's about making the most of the space you have, big or small.
The Bottom Line
Creating a beautiful vignette is all about intentionality. It’s about taking a moment to curate your surroundings, even in small ways, to bring a little more joy and order into your life.
Don't aim for perfection. Start small with one surface, play around, and see what feels good. You might be surprised at how much you love the results! Happy styling! 👋
Related Posts
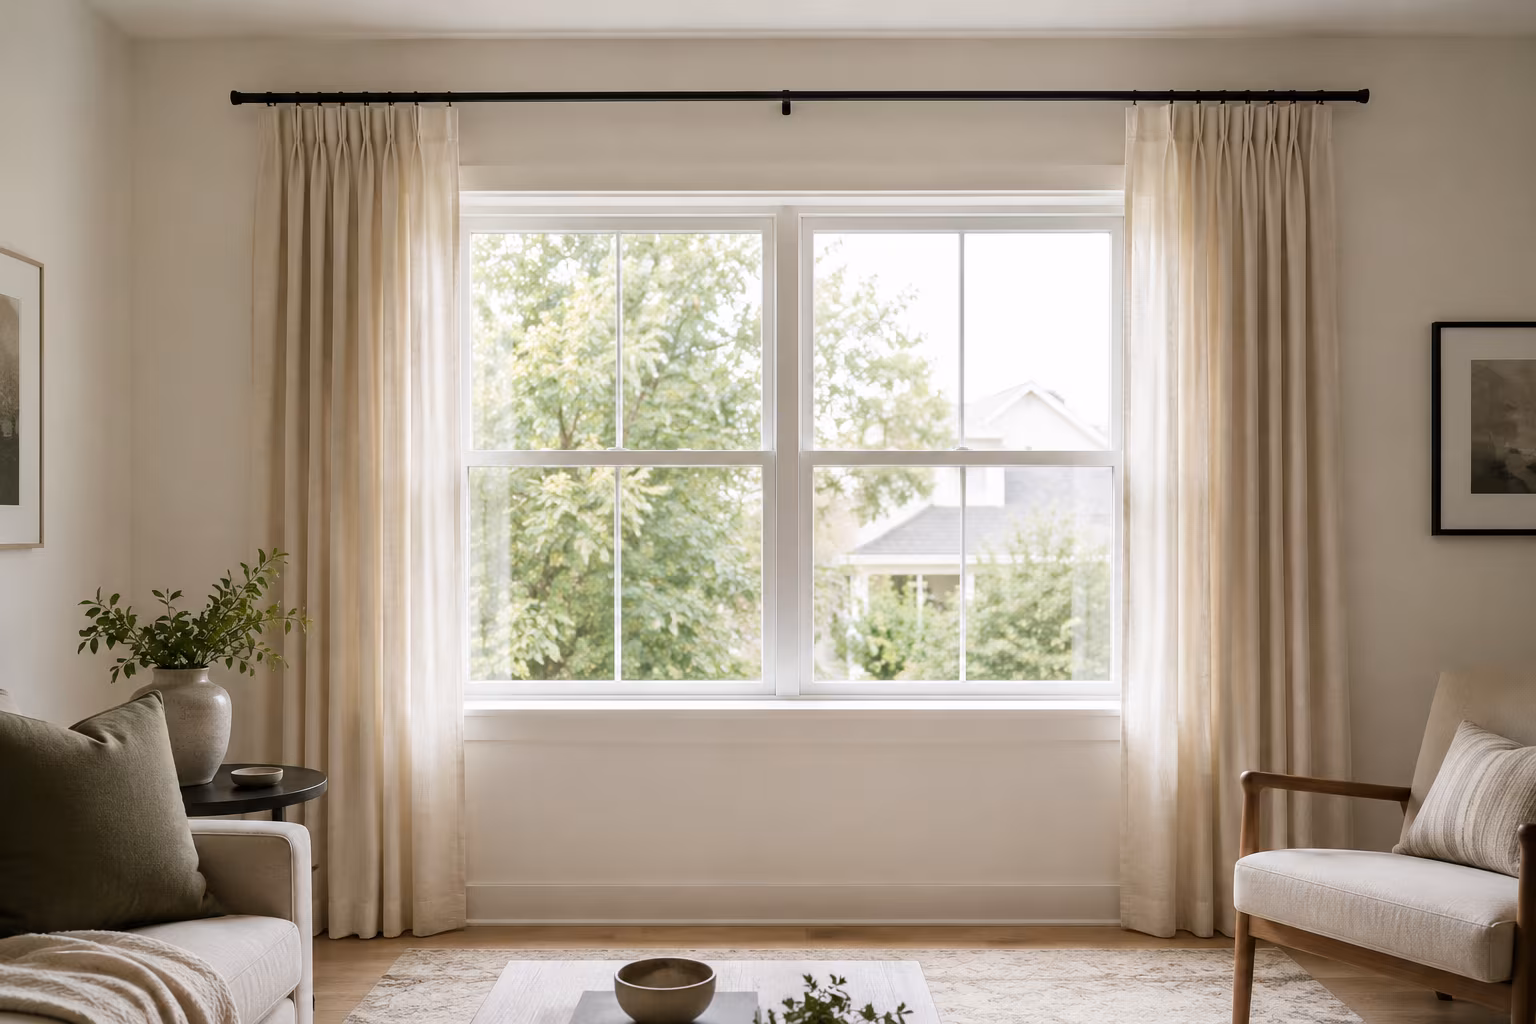
How Far to Extend Curtain Rods Past the Window Frame
How far the rod should reach past each side of the window, why the extension matters more than ro...
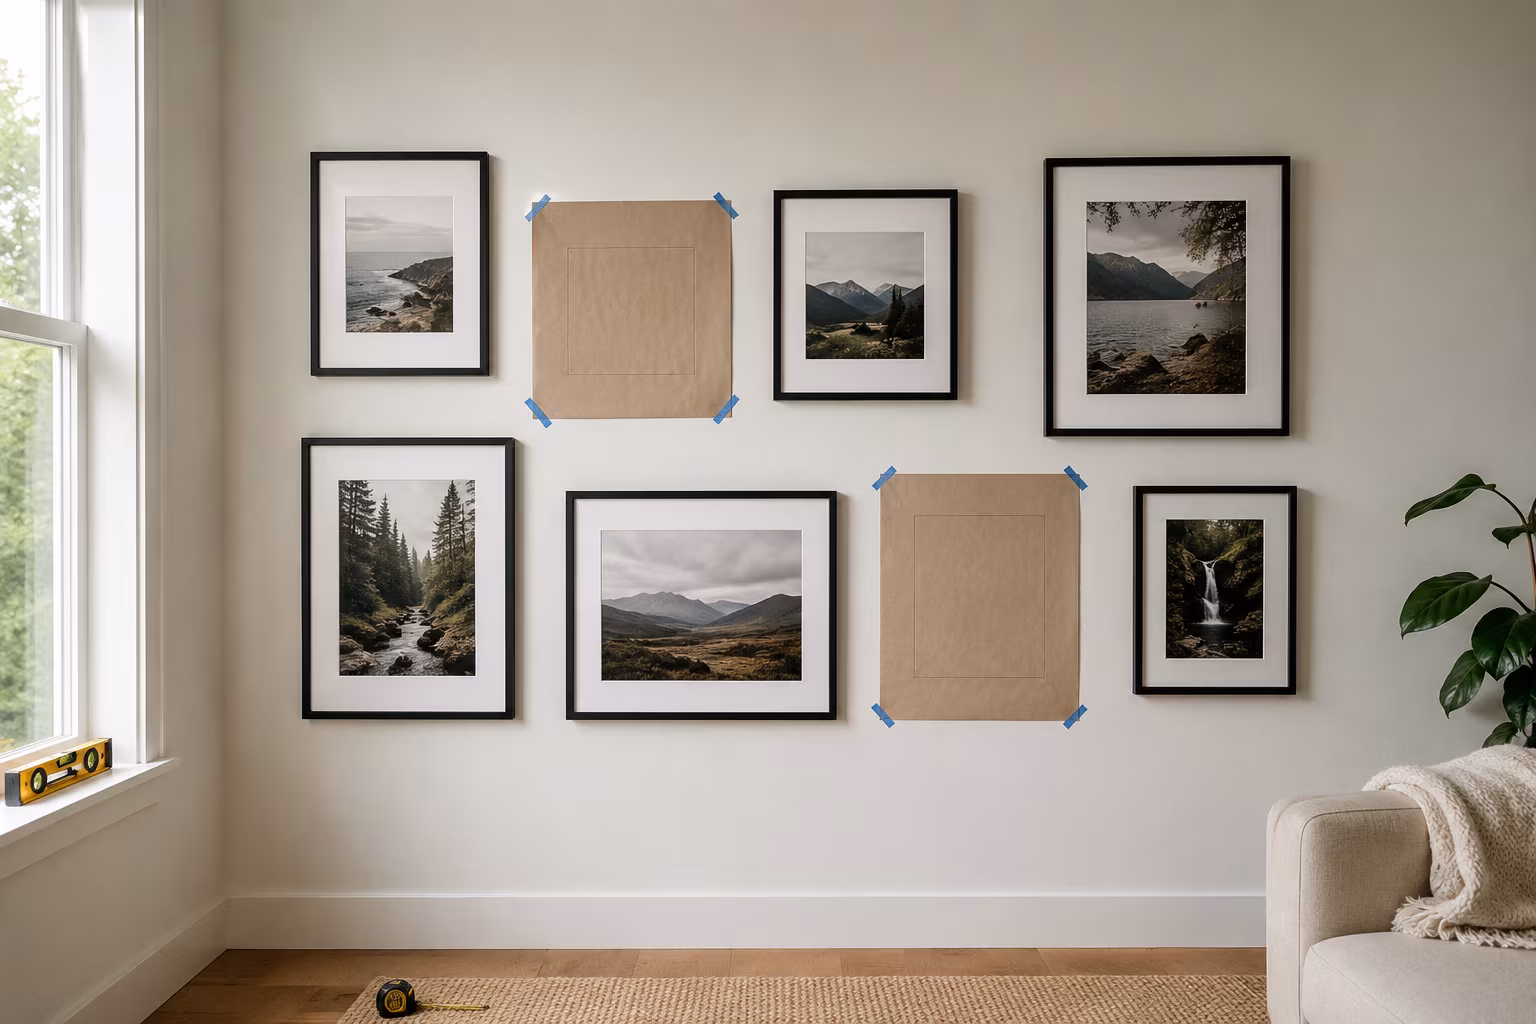
Gallery Wall Picture Spacing: The Repeatable Method
Stop eyeballing it — the exact spacing, center height, and paper-template routine that turns a pi...

The Secret to Making Your Home Smell Amazing Without Artificial Sprays
Tired of chemical-laden air fresheners? Learn how to fill your home with beautiful, natural scent...
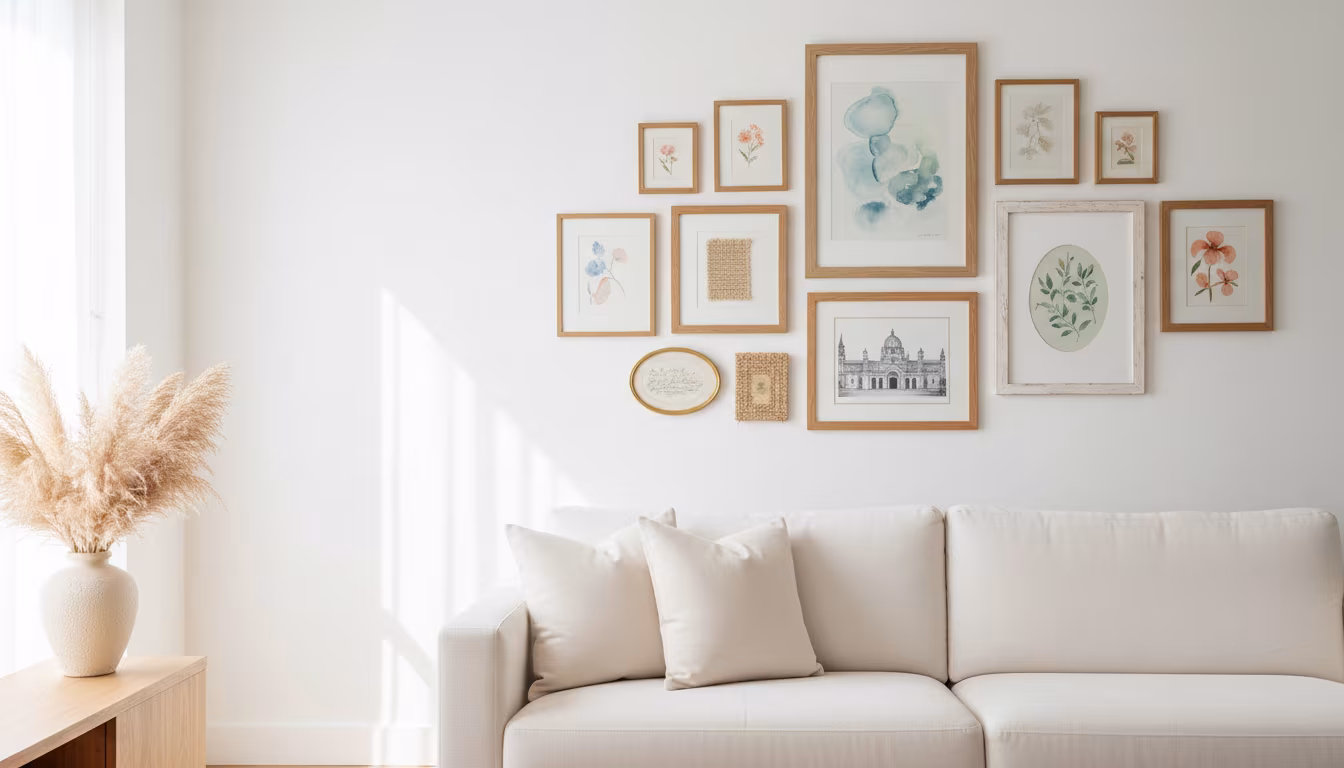
How to Arrange Art Above a Sofa Using the Right Proportions
Tired of staring at a blank wall above your couch? We'll show you exactly how to choose and arran...